android 加载类似长微博的超长图或超大图subsampling-scale-image-view

超长图直接加载的时候有可能会出现超出Bitmap最大高度,直接使用BitmapFactory.Options来缩放图片可能会把图片缩的太小,所以加载长图最好还是用BitmapRegionDecoder来进行分段显示。

subsampling-scale-image-view显示这种超长图或超大图效果很好,而且对手势判断也做的非常好,不过它只是一个控件,不能加载网络资源,只能通过其他下载后再用它进行加载,上效果

贴代码


public class MainActivity extends AppCompatActivity {


    private SubsamplingScaleImageView scaleImageView;

    @Override
    protected void onCreate(Bundle savedInstanceState) {
        super.onCreate(savedInstanceState);
        setContentView(R.layout.activity_main);
        scaleImageView = findViewById(R.id.scale_image_view);
//        设置最小缩放比,默认是1
//        scaleImageView.setMinimumScaleType(SubsamplingScaleImageView.SCALE_TYPE_CUSTOM);
//        scaleImageView.setMinScale(1.5f);

//        scaleImageView.setImage(ImageSource.uri("本地路径"));
        scaleImageView.setImage(ImageSource.asset("scale_image_1.jpg"));
//      设置默认缩放比和初始显示位置
        scaleImageView.setScaleAndCenter(1.5f, new PointF(0, 0));


    }

    public void change(View view) {
        scaleImageView.recycle();
        scaleImageView.setImage(ImageSource.asset("scale_image_3.jpg"));
        scaleImageView.setScaleAndCenter(1.5f, new PointF(0, 0));
    }
}
<?xml version="1.0" encoding="utf-8"?>
<android.support.constraint.ConstraintLayout xmlns:android="http://schemas.android.com/apk/res/android"
    xmlns:app="http://schemas.android.com/apk/res-auto"
    xmlns:tools="http://schemas.android.com/tools"
    android:layout_width="match_parent"
    android:layout_height="match_parent"
    tools:context="com.example.scaleimage.MainActivity">

    <com.davemorrissey.labs.subscaleview.SubsamplingScaleImageView
        android:id="@+id/scale_image_view"
        android:layout_width="match_parent"
        android:layout_height="match_parent"
        />
    <Button
        android:layout_width="wrap_content"
        android:layout_height="wrap_content"
        android:text="换图"
        android:onClick="change"/>

    <TextView
        android:layout_width="wrap_content"
        android:layout_height="wrap_content"
        android:text="Hello World!"
        app:layout_constraintBottom_toBottomOf="parent"
        app:layout_constraintLeft_toLeftOf="parent"
        app:layout_constraintRight_toRightOf="parent"
        app:layout_constraintTop_toTopOf="parent" />

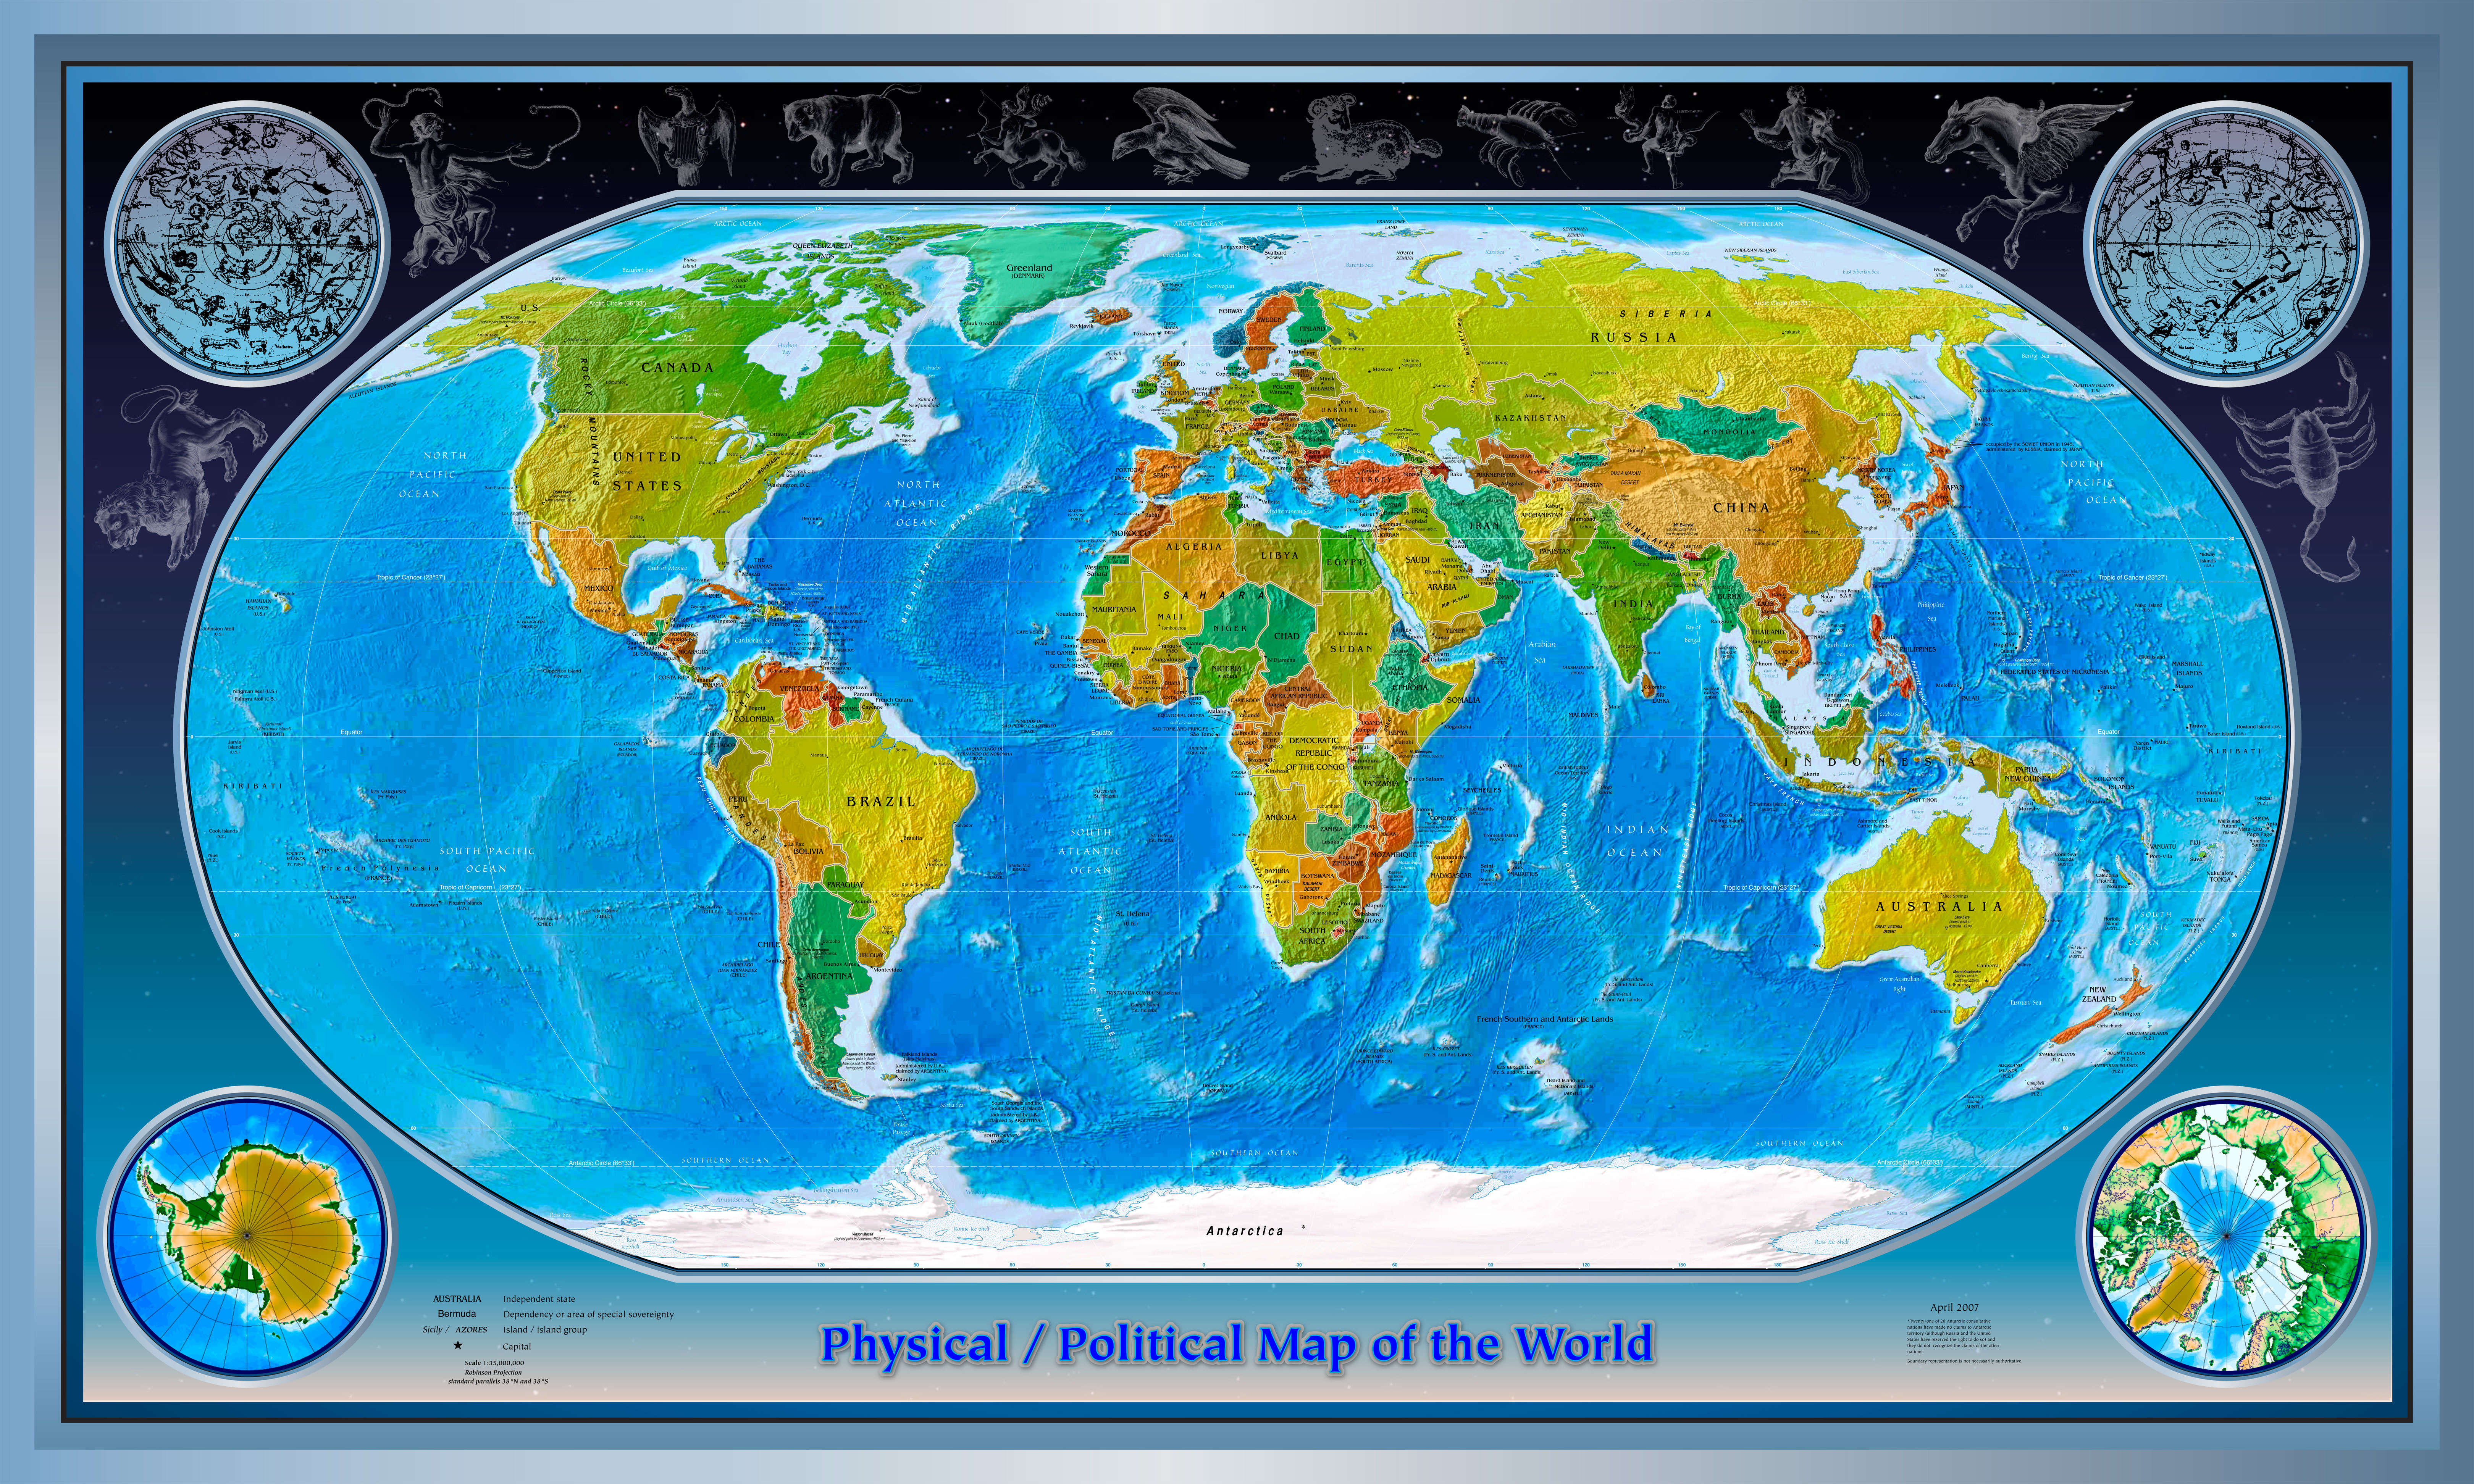
</android.support.constraint.ConstraintLayout>

长图是随便网上找的,大图是其他人那里拿的,地址是

http://upload.wikimedia.org/wikipedia/commons/3/33/Physical_Political_World_Map.jpg

分辨率6480x3888


  • 0
    点赞
  • 5
    收藏
    觉得还不错? 一键收藏
  • 0
    评论
Android 中,如果使用 `ImageView` 直接加载,可能会出现模糊的情况。这是因为 `ImageView` 默认只会根据自己的尺寸缩放图片,如果图片比 `ImageView` 大很多,那么缩放比例就会很大,导致图片变得模糊。 为了解决这个问题,可以使用以下两种方法: 1. 使用 `BitmapRegionDecoder` 加载局部区域的图片 可以使用 `BitmapRegionDecoder` 加载图片的局部区域,然后将局部区域的图片显示在 `ImageView` 中,这样就可以避免图片缩放比例过大而导致的模糊问题。 下面是使用 `BitmapRegionDecoder` 加载局部区域图片的示例代码: ```java public static Bitmap decodeSampledBitmapFromResource(Resources res, int resId, int reqWidth, int reqHeight) { // First decode with inJustDecodeBounds=true to check dimensions final BitmapFactory.Options options = new BitmapFactory.Options(); options.inJustDecodeBounds = true; BitmapFactory.decodeResource(res, resId, options); // Calculate inSampleSize options.inSampleSize = calculateInSampleSize(options, reqWidth, reqHeight); // Decode bitmap with inSampleSize set options.inJustDecodeBounds = false; return BitmapFactory.decodeResource(res, resId, options); } public static Bitmap decodeRegionFromBitmap(Bitmap bitmap, Rect rect) { BitmapRegionDecoder decoder = null; Bitmap bitmapRegion = null; try { decoder = BitmapRegionDecoder.newInstance(bitmap, false); bitmapRegion = decoder.decodeRegion(rect, null); } catch (IOException e) { e.printStackTrace(); } finally { if (decoder != null) { decoder.recycle(); } } return bitmapRegion; } // 计算 inSampleSize 的方法 public static int calculateInSampleSize(BitmapFactory.Options options, int reqWidth, int reqHeight) { // Raw height and width of image final int height = options.outHeight; final int width = options.outWidth; int inSampleSize = 1; if (height > reqHeight || width > reqWidth) { final int halfHeight = height / 2; final int halfWidth = width / 2; // Calculate the largest inSampleSize value that is a power of 2 and keeps both // height and width larger than the requested height and width. while ((halfHeight / inSampleSize) >= reqHeight && (halfWidth / inSampleSize) >= reqWidth) { inSampleSize *= 2; } } return inSampleSize; } ``` 然后在 `ImageView` 中加载局部区域的图片: ```java Bitmap bitmap = decodeSampledBitmapFromResource(getResources(), R.drawable.large_image, imageView.getWidth(), imageView.getHeight()); Rect rect = new Rect(0, 0, imageView.getWidth(), imageView.getHeight()); Bitmap regionBitmap = decodeRegionFromBitmap(bitmap, rect); imageView.setImageBitmap(regionBitmap); ``` 2. 使用 `SubsamplingScaleImageView` 加载 `SubsamplingScaleImageView` 是一个开源库,可以用来加载并进行缩放、拖拽等操作。使用这个库可以避免图片缩放比例过大而导致的模糊问题。 下面是使用 `SubsamplingScaleImageView` 加载的示例代码: 1. 在 app 的 build.gradle 文件中添加依赖项: ```groovy implementation 'com.davemorrissey.labs:subsampling-scale-image-view:3.10.0' ``` 2. 在布局文件中添加 `SubsamplingScaleImageView`: ```xml <com.davemorrissey.labs.subscaleview.SubsamplingScaleImageView android:id="@+id/imageView" android:layout_width="match_parent" android:layout_height="match_parent" /> ``` 3. 在代码中加载图片: ```java SubsamplingScaleImageView imageView = findViewById(R.id.imageView); imageView.setImage(ImageSource.resource(R.drawable.large_image)); ``` 这样就可以使用 `SubsamplingScaleImageView` 加载并避免模糊问题了。

“相关推荐”对你有帮助么?

  • 非常没帮助
  • 没帮助
  • 一般
  • 有帮助
  • 非常有帮助
提交
评论
添加红包

请填写红包祝福语或标题

红包个数最小为10个

红包金额最低5元

当前余额3.43前往充值 >
需支付:10.00
成就一亿技术人!
领取后你会自动成为博主和红包主的粉丝 规则
hope_wisdom
发出的红包
实付
使用余额支付
点击重新获取
扫码支付
钱包余额 0

抵扣说明:

1.余额是钱包充值的虚拟货币,按照1:1的比例进行支付金额的抵扣。
2.余额无法直接购买下载,可以购买VIP、付费专栏及课程。

余额充值