


原文
在 iOS13 中,如果 App 提供第三方登录,就必须添加 苹果登录 Sign in with Apple 选项,并要求所有开发者于 2020年4月之前 完成现有应用的更新,否则审核不给通过。
iOS 苹果授权登录(Sign in with Apple)系列之Apple Developer配置篇
iOS 苹果授权登录(Sign in with Apple)系列之原生篇
iOS 苹果授权登录(Sign in with Apple)系列之uniapp篇
iOS 苹果授权登录(Sign in with Apple)系列之服务端篇
iOS 苹果授权登录(Sign in with Apple)系列之Apple Developer配置篇 主要写给非 iOS 开发人员(例如 uniapp 开发者)。
登录 Apple Developer
1、打开并登录 苹果开发者网站
https://developer.apple.com
2、点击 Certificates, Identifiers & Profiles 按钮
配置 Sign in with Apple
现有 app 开启 Sign in with Apple
1、选择左边 Identifier 栏目,在右侧选择要开通 苹果授权登录(Sign in with Apple)的 Identifiers 点击打开。
2、下拉找到 Sign In with Apple 打钩
右边的 Edit 打开会提示
If you're enabling an App ID for the first time or for a new app, enable the App ID as a primary. You can use primary App IDs on their own or to enable identifiers for related apps and websites through grouping. To enable an App ID for a related app, (for example, an App ID for the iOS version of your Mac app), group it with the existing primary. This will also ensure that users only need to provide consent to share their information with you once for each group of apps and websites.如果首次启用应用程序ID或为新应用程序启用应用程序ID,请将该应用程序ID作为主应用程序。你可以自己使用主应用id,或者通过分组来启用相关应用和网站的标识符。要启用相关应用程序的应用程序ID(例如,Mac应用程序的iOS版本的应用程序ID),请将其与现有的主应用程序分组。这也将确保用户只需提供同意,就每组应用程序和网站与您共享一次信息。
然后点击 右上角 save 保存会出现 Modify App Capabilities 弹窗 点击 Confirm
Modify App CapabilitiesAdding or removing any capabilities will invalidate any provisioning profiles that include this App ID and they must be regenerated for future use.修改应用程序功能添加或删除任何功能都将使包含此应用程序ID的任何设置配置文件无效,并且必须重新生成这些配置文件以供将来使用。
注:开启后 profile 将失效需要重新编辑 profile 文件
创建新 app 并开启 Sign in with Apple
1、创建 Identifiers
2、选择 App IDs 并点击右上角 Continue
3、在 Register an App ID 里按下图顺序操作
4、下拉在 Capabilities 里勾选 Sign In with Apple
5、点击右上角 Continue 后按钮会显示为 Register 点击即可
Profiles
现有 app 开启 Sign in with Apple
现有应用在开启 Sign in with Apple 后在 Profiles 里 EXPIRATION 一栏会显示 Invalid
点击这一栏- Generate a Provisioning Profile 页面- Edit -点击 save
下载新的 Profile 即可
创建新 app 并开启 Sign in with Apple
1、在 Profiles 栏右侧点击加号
2、Register a New Provisioning Profile 根据实际情况选择,这里作为演示选择 iOS App Development,选完点击 Continue
3、选择刚才创建的 App ID 选完点击 Continue
4、选择开发者证书如果有 For use in Xcode 11 or later 就选这个,选完点击 Continue
5、选择 允许安装 App 的设备,未勾选的将无法安装 App (选择 App Store 的无视),选完点击 Continue
6、填写描述文件名字,填写完点击 Generate
7、下载下载下载
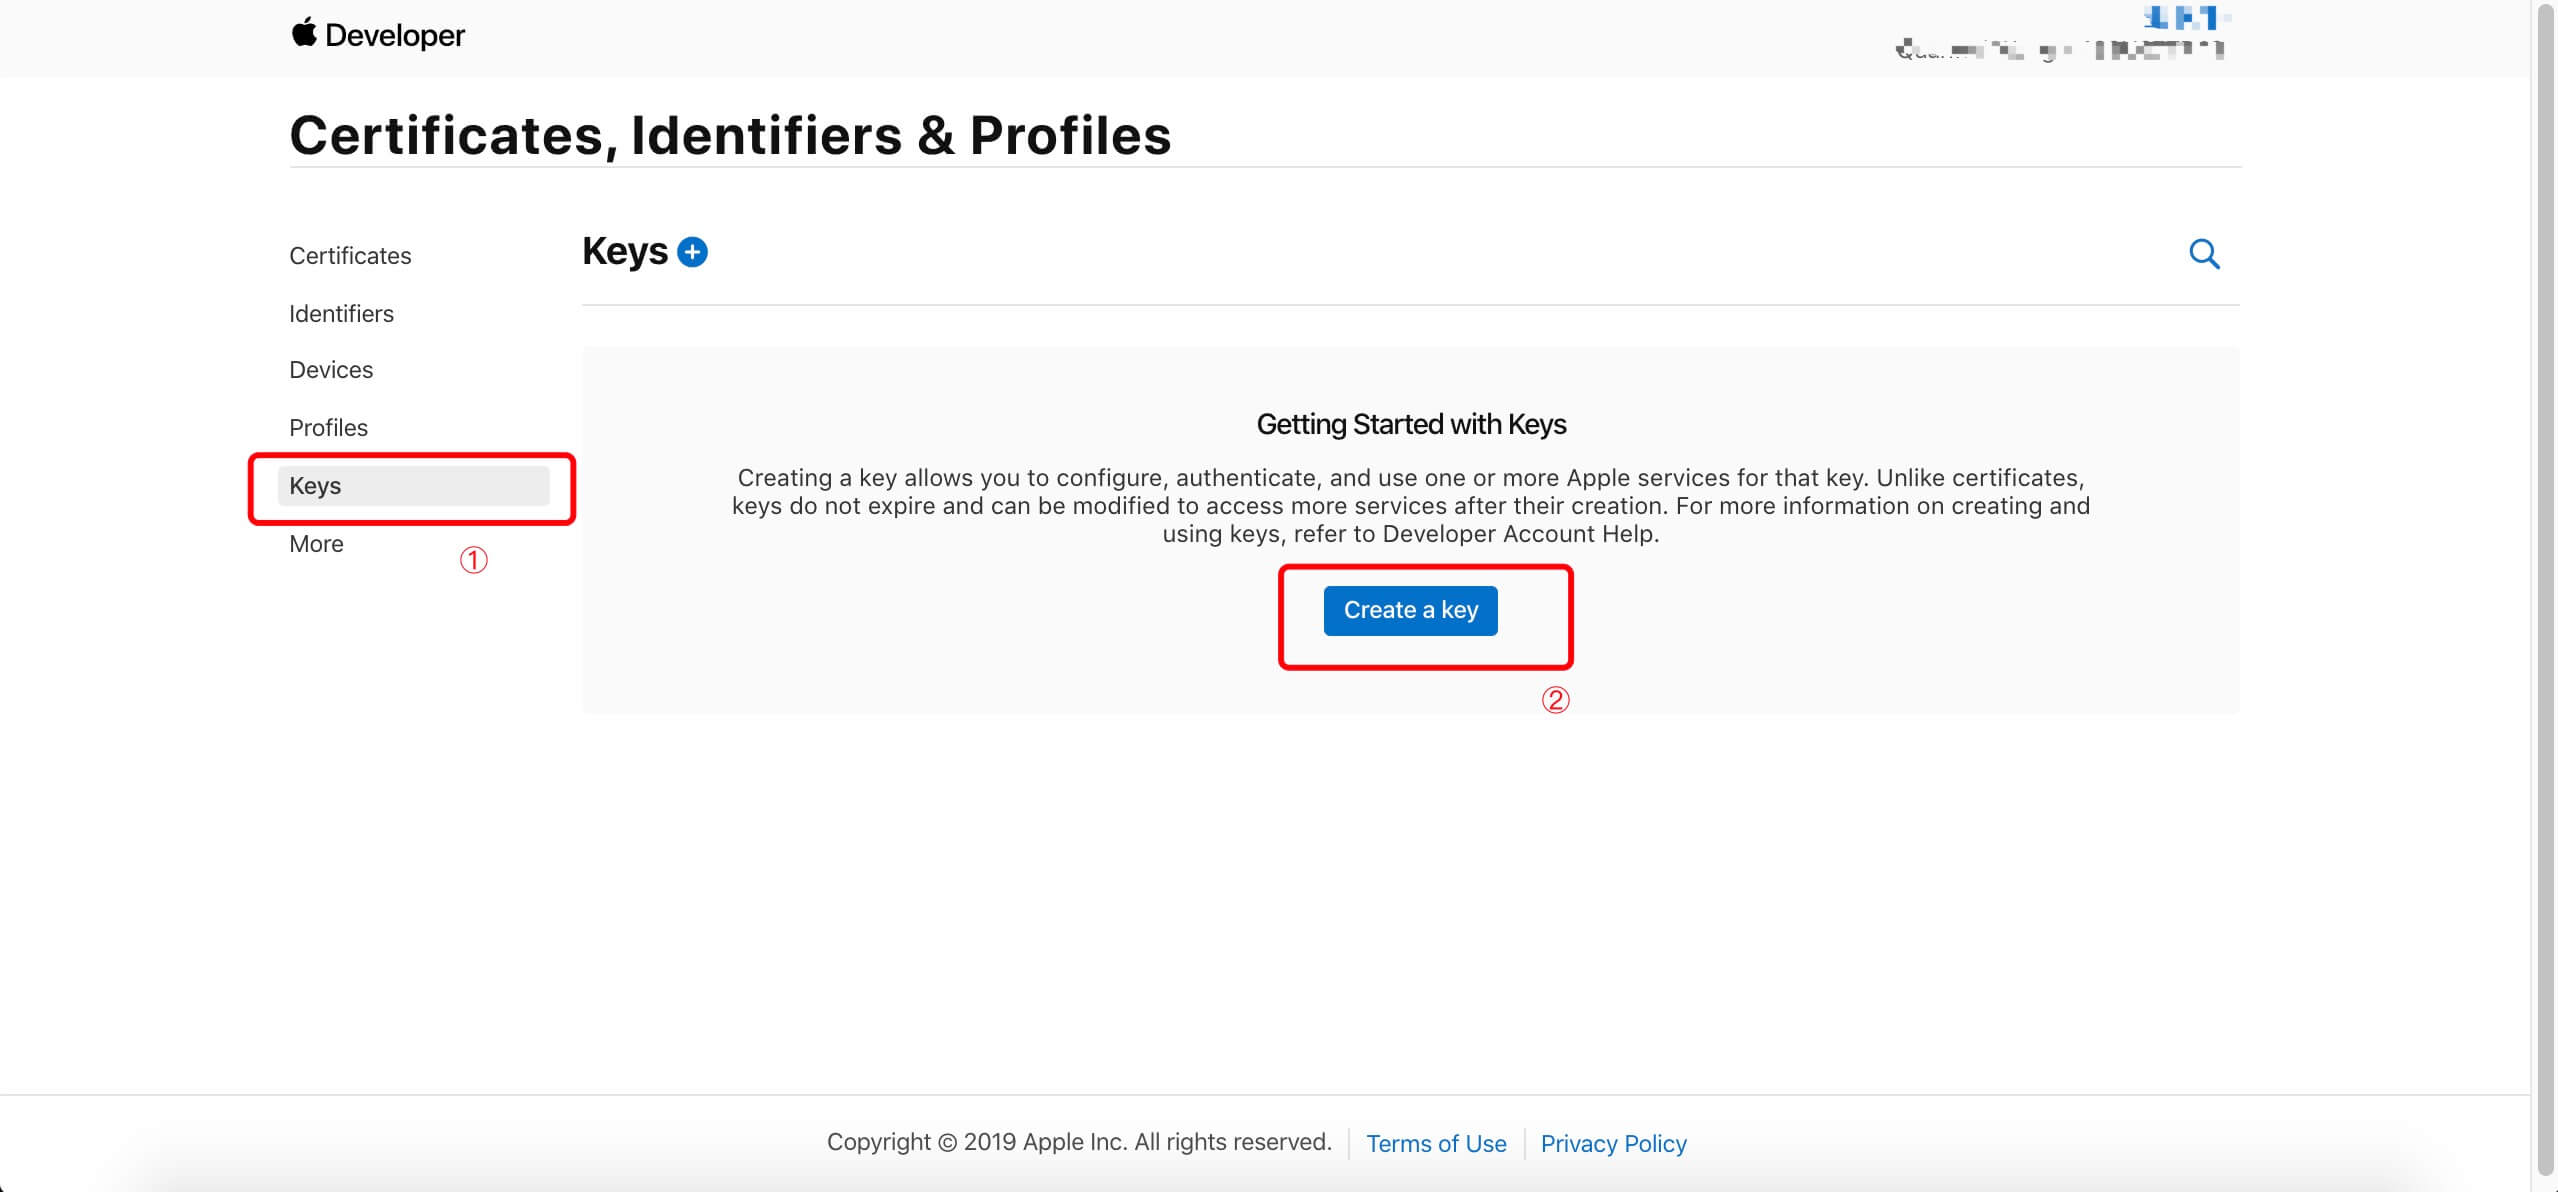
创建秘钥
1、选择左边 Keys 栏目,创建用于客户端身份验证的私钥,点击 Create a Key
2、按下图步骤操作
3、选择 App ID 并保存
4、在 Register a New Key 页面点击 Continue
没错!这里没图
5、点击 Register
6、密钥仅能下载一次,下载的文件将以.p8结尾,建议将其重命名为key.txt以便在后续步骤中更轻松地使用
After downloading your key, it cannot be re-downloaded as the server copy is removed. If you are not prepared to download your key at this time, click Done and download it at a later time. Be sure to save a backup of your key in a secure place.下载密钥后,由于服务器副本已被删除,因此无法重新下载。如果此时您还没有准备好下载密钥,请单击Done,稍后再下载。请务必将您的密钥备份保存在安全的地方。
前方高能
前方高能
前方高能
Key ID 在基于授权码的验证中会用到,具体见
iOS 苹果授权登录(Sign in with Apple)系列之服务端篇
//
//  LQAppleLogin.h
//  LQAppleLogin
//
//  Created by 刘启强 on 2019/10/10.
//  Copyright © 2019 Q.ice. All rights reserved.
//

#import <UIKit/UIKit.h>

NS_ASSUME_NONNULL_BEGIN
typedef void(^LQAppleLoginCompleteHandler)(BOOL successed,NSString * _Nullable user, NSString *_Nullable familyName, NSString *_Nullable givenName, NSString *_Nullable email,NSString *_Nullable password, NSData *_Nullable identityToken, NSData *_Nullable authorizationCode, NSError *_Nullable error, NSString * msg);

typedef void(^LQAppleLoginObserverHandler)(void);
@interface LQAppleLogin : NSObject

+ (instancetype) shared ;

+ (UIView *) creatAppleIDAuthorizedButtonWithTarget:(id)target selector:(SEL)selector ;

+ (void) checkAuthorizationStateWithUser:(NSString *) user
                         completeHandler:(void(^)(BOOL authorized, NSString *msg)) completeHandler ;

- (void) loginWithExistingAccount:(LQAppleLoginCompleteHandler)completeHandler ;

- (void) loginWithCompleteHandler:(LQAppleLoginCompleteHandler)completeHandler ;

- (void) startAppleIDObserverWithCompleteHandler:(LQAppleLoginObserverHandler) handler ;
@end

NS_ASSUME_NONNULL_END
//
//  LQAppleLogin.m
//  LQAppleLogin
//
//  Created by 刘启强 on 2019/10/10.
//  Copyright © 2019 Q.ice. All rights reserved.
//

#import "LQAppleLogin.h"
#import <AuthenticationServices/AuthenticationServices.h>

@interface LQAppleLogin ()<ASAuthorizationControllerDelegate, ASAuthorizationControllerPresentationContextProviding>

@property (nonatomic, copy) LQAppleLoginCompleteHandler completeHander;
@property (nonatomic, copy) LQAppleLoginObserverHandler observerHander;

+ (instancetype) shared;

@end
@implementation LQAppleLogin

+ (instancetype) shared {

    static dispatch_once_t onceToken;
    static LQAppleLogin *ZY_instanceShard ;
    dispatch_once(&onceToken, ^{
        ZY_instanceShard = [[LQAppleLogin alloc]init];
    });

    return ZY_instanceShard;
}

+ (UIView *) creatAppleIDAuthorizedButtonWithTarget:(id)target selector:(SEL)selector {

    ASAuthorizationAppleIDButton *button = [ASAuthorizationAppleIDButton buttonWithType:(ASAuthorizationAppleIDButtonTypeSignIn) style:(ASAuthorizationAppleIDButtonStyleBlack)];
    [button addTarget:target action:selector forControlEvents:(UIControlEventTouchUpInside)];

    return button;
}

+ (void) checkAuthorizationStateWithUser:(NSString *) user
                         completeHandler:(void(^)(BOOL authorized, NSString *msg)) completeHandler {

    if (user == nil || user.length <= 0) {
        if (completeHandler) {
            completeHandler(NO, @"用户标识符错误");
        }
        return;
    }

    ASAuthorizationAppleIDProvider *provider = [[ASAuthorizationAppleIDProvider alloc]init];
    [provider getCredentialStateForUserID:user completion:^(ASAuthorizationAppleIDProviderCredentialState credentialState, NSError * _Nullable error) {

        NSString *msg = @"未知";
        BOOL authorized = NO;
        switch (credentialState) {
            case ASAuthorizationAppleIDProviderCredentialRevoked:
                msg = @"授权被撤销";
                authorized = NO;
                break;
            case ASAuthorizationAppleIDProviderCredentialAuthorized:
                msg = @"已授权";
                authorized = YES;
                break;
            case ASAuthorizationAppleIDProviderCredentialNotFound:
                msg = @"未查到授权信息";
                authorized = NO;
                break;
            case ASAuthorizationAppleIDProviderCredentialTransferred:
                msg = @"授权信息变动";
                authorized = NO;
                break;

            default:
                authorized = NO;
                break;
        }

        if (completeHandler) {
            completeHandler(authorized, msg);
        }
    }];
}

- (void) startAppleIDObserverWithCompleteHandler:(LQAppleLoginObserverHandler) handler {

    self.observerHander = handler;

    [[NSNotificationCenter defaultCenter] addObserver:self selector:@selector(lq_signWithAppleIDStateChanged:) name:ASAuthorizationAppleIDProviderCredentialRevokedNotification object:nil];
}

- (void) lq_signWithAppleIDStateChanged:(NSNotification *) noti {

    if (noti.name == ASAuthorizationAppleIDProviderCredentialRevokedNotification) {
        if (self.observerHander) {
            self.observerHander();
        }
    }
}

- (void) loginWithExistingAccount:(LQAppleLoginCompleteHandler)completeHandler {

    self.completeHander = completeHandler;

    ASAuthorizationAppleIDProvider *provider = [[ASAuthorizationAppleIDProvider alloc]init];

    ASAuthorizationAppleIDRequest *req = [provider createRequest];
    ASAuthorizationPasswordProvider *pasProvider = [[ASAuthorizationPasswordProvider alloc]init];
    ASAuthorizationPasswordRequest *pasReq = [pasProvider createRequest];
    NSMutableArray *arr = [NSMutableArray arrayWithCapacity:2];
    if (req) {
        [arr addObject:req];
    }

    if (pasReq) {
        [arr addObject:pasReq];
    }

    ASAuthorizationController *controller = [[ASAuthorizationController alloc]initWithAuthorizationRequests:arr.copy];

    controller.delegate = self;
    controller.presentationContextProvider = self;
    [controller performRequests];
}

- (void) loginWithCompleteHandler:(LQAppleLoginCompleteHandler)completeHandler {

    self.completeHander = completeHandler;

    ASAuthorizationAppleIDProvider *provider = [[ASAuthorizationAppleIDProvider alloc]init];

    ASAuthorizationAppleIDRequest *req = [provider createRequest];
    req.requestedScopes = @[ASAuthorizationScopeFullName, ASAuthorizationScopeEmail];

    ASAuthorizationController *controller = [[ASAuthorizationController alloc]initWithAuthorizationRequests:@[req]];
    controller.delegate = self;
    controller.presentationContextProvider = self;

    [controller performRequests];
}

// 授权失败的回调
- (void)authorizationController:(ASAuthorizationController *)controller didCompleteWithError:(NSError *)error {

    NSString *msg = @"未知";

    switch (error.code) {
        case ASAuthorizationErrorCanceled:
            msg = @"用户取消";
            break;
        case ASAuthorizationErrorFailed:
            msg = @"授权请求失败";
            break;
        case ASAuthorizationErrorInvalidResponse:
            msg = @"授权请求无响应";
            break;
        case ASAuthorizationErrorNotHandled:
            msg = @"授权请求未处理";
            break;
        case ASAuthorizationErrorUnknown:
            msg = @"授权失败,原因未知";
            break;

        default:
            break;
    }

    if (self.completeHander) {
        self.completeHander(NO, nil, nil, nil, nil, nil, nil, nil, error, msg);
    }
}

// 授权成功的回调
- (void)authorizationController:(ASAuthorizationController *)controller didCompleteWithAuthorization:(ASAuthorization *)authorization {

    if ([authorization.credential isKindOfClass:[ASAuthorizationAppleIDCredential class]]) {
        ASAuthorizationAppleIDCredential *credential = authorization.credential;
        NSString *user = credential.user;
        NSString *familyName = credential.fullName.familyName;
        NSString * givenName = credential.fullName.givenName;
        NSString *email = credential.email;

        NSData *identityToken = credential.identityToken;
        NSData *code = credential.authorizationCode;


        if (self.completeHander) {
            self.completeHander(YES, user, familyName, givenName, email, nil, identityToken, code, nil, @"授权成功");
        }


    } else if ([authorization.credential isKindOfClass:[ASPasswordCredential class]]) {
        // 使用现有的密码凭证登录
        ASPasswordCredential *credential = authorization.credential;

        // 用户唯一标识符
        NSString *user = credential.user;
        NSString *password = credential.password;

        if (self.completeHander) {
            self.completeHander(YES, user, nil, nil, nil, password, nil, nil, nil, @"授权成功");
        }
    }
}

- (ASPresentationAnchor)presentationAnchorForAuthorizationController:(ASAuthorizationController *)controller {
    return [UIApplication sharedApplication].windows.firstObject;
}


@end
目前有遇到苹果登录切换手机时候,服务器验证不通过的问题
如何取消账号授权?
当我们授权给了这些 APP 之后,怎么管理和取消这些授权呢?如果你担心账户的安全问题或者不想要登录某些应用了,那要取消操作也是非常简单的。
第一步:点击手机中的「设置」,点击你的「Apple 账户」,然后接着点击进入「密码与安全性」。
将会看到一个选项,叫「使用您的 Apple ID 的 App」,点击进入,将会看到已经授权登录的 APP 应用列表们。(比如这里有个「抖音短视频」)
选择你想要取消授权的 APP 应用,如点击这个应用,会进入到详情页面,可以看到有「停止使用 Apple ID」的按钮,点击即可取消授权。


 2067
2067


 被折叠的 条评论
为什么被折叠?
被折叠的 条评论
为什么被折叠?
 到【灌水乐园】发言


