


最近项目需要实现一个视频连接功能,即将一些小的视频片段连接成一个视频,项目开发用的是C#语言。
最终决定使用ffmpeg。
FFmpeg是一个开源免费跨平台的视频和音频流方案,属于自由软件,采用LGPL或GPL许可证(依据你选择的组件)。它提供了录制、转换以及流化音视频的完整解决方案。它包含了非常先进的音频/视频编解码库libavcodec,为了保证高可移植性和编解码质量,libavcodec里很多codec都是从头开发的。
更多关于ffmpeg介绍看http://baike.baidu.com/view/856526.htm?fr=aladdin
以前也没有接触过ffmpeg,首先去官网现在windows平台的ffmpeg。
下载地址:http://ffmpeg.zeranoe.com/builds/
其中有三个版本,适用于不同情况。下载完成后解压其目录结构如下:
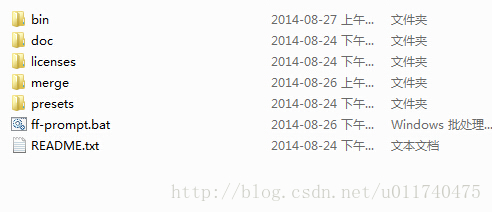
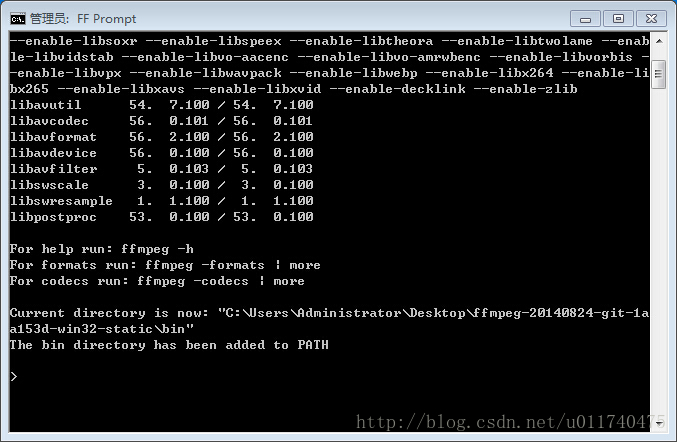
运行ff-prompt批处理命令,在其中输入相应的指令即可完成操作。
连接视频的命令如下:
ffmpeg -i "1.mp4" -qscale 6 "inputfile_01.mpg"
ffmpeg -i "2.mp4" -qscale 6 "inputfile_02.mpg"
copy /b "inputfile_01.mpg"+"inputfile_02.mpg" "inputfile_all.mpg"
ffmpeg -i inputfile_all.mpg -qscale 6 outputfile.mp4
del "inputfile_01.mpg"
del "inputfile_02.mpg"
del "inputfile_all.mpg"
上述命令只能连接两个视频的连接,因为在程序中无法事先确定视频数量,因此采用list集合来存储需要连接视频绝对路径,然后使用循环方式连接视频,具体代码如下:
using System;
using System.Collections.Generic;
using System.Linq;
using System.Text;
using System.Diagnostics;
using System.IO;
using System.Collections;

namespace MP4
{
    class MergeVedio
    {
        /// <summary>
        /// 调用指定的命令
        /// </summary>
        /// <param name="batPath"></param>
        /// <param name="cmd"></param>
        public void RunBat(string batPath, string cmd)
        {
            Process pro = new Process();
            FileInfo file = new FileInfo(batPath);
            pro.StartInfo.WorkingDirectory = file.Directory.FullName;
            pro.StartInfo.FileName = batPath;
            pro.StartInfo.Arguments = cmd;
            pro.Start();
            pro.WaitForExit();
        }

        /// <summary>
        /// 调用指定的命令
        /// </summary>
        /// <param name="batPath"></param>
        /// <param name="cmd"></param>
        public void RunWindowsCMD( string cmd)
        {
            Process pro = new Process();
            FileInfo file = new FileInfo("cmd.exe");
            pro.StartInfo.WorkingDirectory = file.Directory.FullName;
            pro.StartInfo.FileName = "cmd.exe";
            pro.StartInfo.CreateNoWindow = false;
            pro.StartInfo.UseShellExecute = false;
            pro.StartInfo.RedirectStandardInput = true;
            pro.StartInfo.RedirectStandardOutput = true;
            pro.Start();
            pro.StandardInput.WriteLine(cmd);
            pro.WaitForExit();
        }
        public void saveVedio(List<string> list, string name, string binpath)
        {
            string first = list[0].Replace("mp4", "mpg");
            string conert = " -i " + list[0] + " -qscale 6 " + first;
            string del;
            RunBat(binpath, conert);
            for (int i = 1; i < list.Count; i++)
            {
                string temp = list[i].Replace("mp4", "mpg");
                string conert1 = " -i " + list[i] + " -qscale 6 " + temp;
                RunBat(binpath, conert1);
                string merge = "copy /b " + first + "+" + temp +" " + first+" \r\n exit";
                RunWindowsCMD(merge);
                del = "del " + temp+" \r\n exit";
                RunWindowsCMD(del);
            }
            string final = "-i " + first + " -qscale 6 " + name;
            RunBat(binpath, final);
            del = "del " + first + " \r\nexit";
            RunWindowsCMD(del);
        }
    }
}
通过调用该类的saveVedio方法即可将参数中传入的视频地址中的视频连接,并保存在指定为name的地址中。


 4095
4095


 被折叠的 条评论
为什么被折叠?
被折叠的 条评论
为什么被折叠?
 到【灌水乐园】发言


