


目录
1 我的RK3588开发板
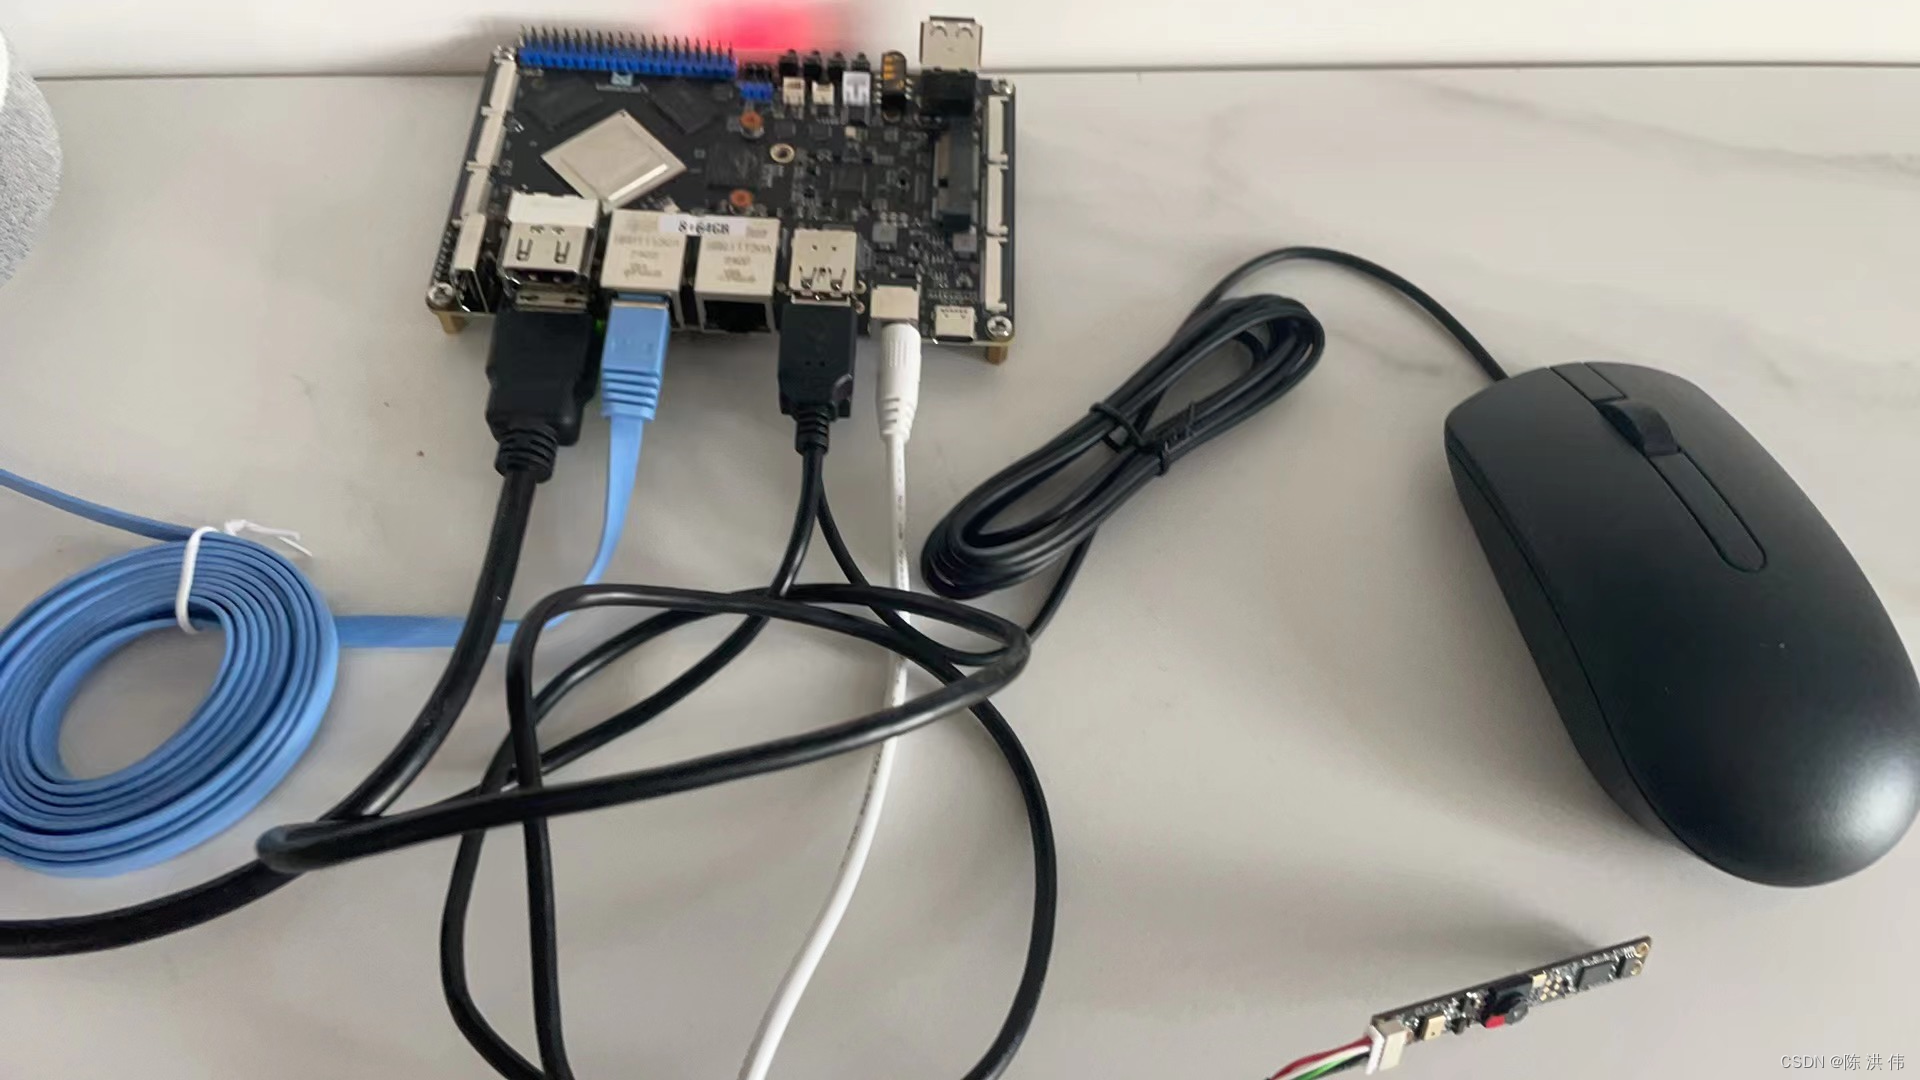
我把它放客厅了,连接电视。然后我在书房远程登录做开发,

2安装opencv
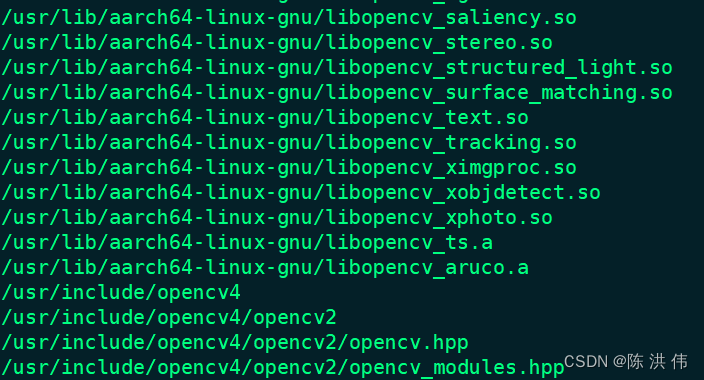
这里不下载源码编译了,直接用apt-get安装opencv
sudo apt-get update
sudo apt-get install libopencv-dev
然后find / -iname *opencv*就可以看到安装的opencv了
3 安装QT
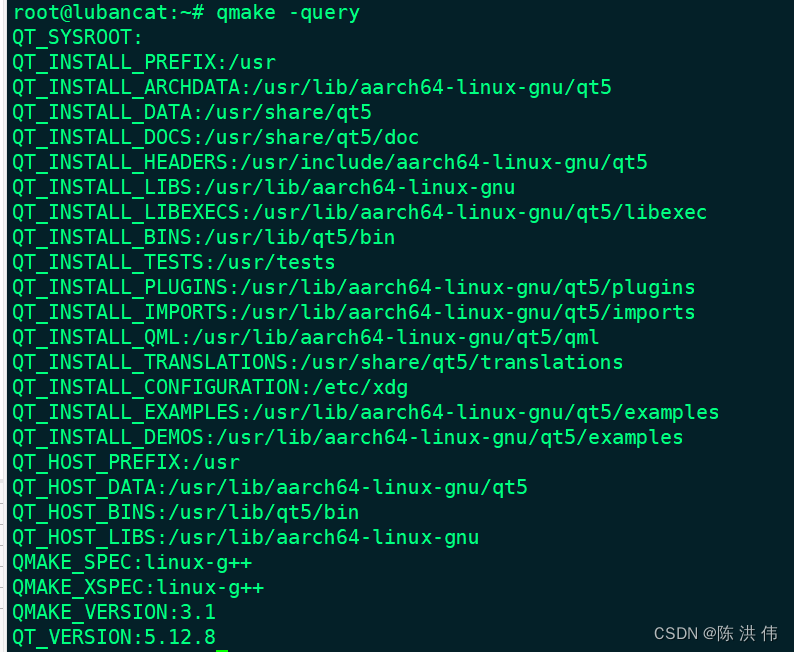
同样QT也不编译源码,直接用apt-get安装。
sudo apt-get install qt5-default
sudo apt-get install qt5-doc qt5-doc-html qtbase5-doc-html qtbase5-examples
sudo apt-get install qtcreator
sudo apt-get install qt5*
然后qmake -query可以看到安装的QT。
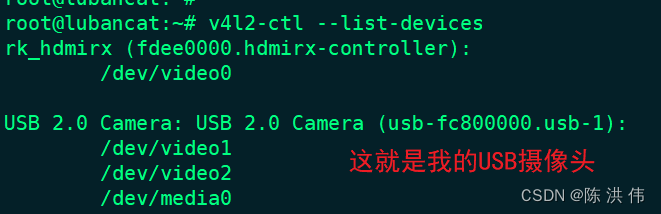
4 摄像头节点
可以通过v4l2-ctl --list-devices来获取摄像头的节点。
5 安装向日葵
由于我需要编写界面程序,所以仅仅SSH远程登录不太够,我需要直接远程桌面,因此安装向日葵
去向日葵官网下载Linux arm64麒麟版本;
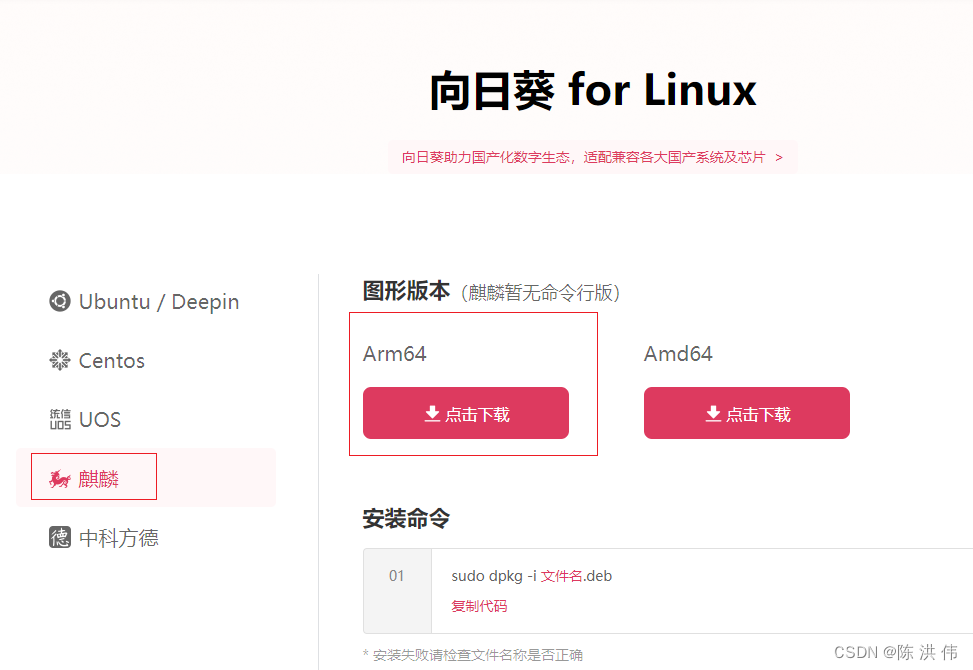
然后安装
sudo apt-get install libappindicator3-1;
sudo dpkg -i SunloginClient_11.0.1.44968_kylin_arm.deb
6 QT代码
6.1 qt_opencv_cmaera_demo.pro
QT       += core gui

greaterThan(QT_MAJOR_VERSION, 4): QT += widgets

CONFIG += c++11

INCLUDEPATH += /usr/include/opencv4

LIBS += -L/path/to/your/opencv/libs \
        -lopencv_core \
        -lopencv_imgproc \
        -lopencv_highgui \
        -lopencv_ml \
        -lopencv_video \
        -lopencv_videoio \
        -lopencv_features2d \
        -lopencv_calib3d \
        -lopencv_objdetect \
        -lopencv_flann


# The following define makes your compiler emit warnings if you use
# any Qt feature that has been marked deprecated (the exact warnings
# depend on your compiler). Please consult the documentation of the
# deprecated API in order to know how to port your code away from it.
DEFINES += QT_DEPRECATED_WARNINGS

# You can also make your code fail to compile if it uses deprecated APIs.
# In order to do so, uncomment the following line.
# You can also select to disable deprecated APIs only up to a certain version of Qt.
#DEFINES += QT_DISABLE_DEPRECATED_BEFORE=0x060000    # disables all the APIs deprecated before Qt 6.0.0

SOURCES += \
    main.cpp \
    mainwindow.cpp

HEADERS += \
    mainwindow.h

FORMS += \
    mainwindow.ui

# Default rules for deployment.
qnx: target.path = /tmp/$${TARGET}/bin
else: unix:!android: target.path = /opt/$${TARGET}/bin
!isEmpty(target.path): INSTALLS += target
6.2 mainwindow.ui
<?xml version="1.0" encoding="UTF-8"?>
<ui version="4.0">
 <class>MainWindow</class>
 <widget class="QMainWindow" name="MainWindow">
  <property name="geometry">
   <rect>
    <x>0</x>
    <y>0</y>
    <width>952</width>
    <height>644</height>
   </rect>
  </property>
  <property name="windowTitle">
   <string>MainWindow</string>
  </property>
  <widget class="QWidget" name="centralwidget">
   <widget class="QLabel" name="label">
    <property name="geometry">
     <rect>
      <x>40</x>
      <y>10</y>
      <width>891</width>
      <height>411</height>
     </rect>
    </property>
    <property name="text">
     <string>TextLabel</string>
    </property>
   </widget>
   <widget class="QPushButton" name="openCameraButton">
    <property name="geometry">
     <rect>
      <x>190</x>
      <y>530</y>
      <width>131</width>
      <height>27</height>
     </rect>
    </property>
    <property name="text">
     <string>open camera</string>
    </property>
   </widget>
   <widget class="QPushButton" name="closeCameraButton">
    <property name="geometry">
     <rect>
      <x>590</x>
      <y>530</y>
      <width>131</width>
      <height>27</height>
     </rect>
    </property>
    <property name="text">
     <string>close camera</string>
    </property>
   </widget>
  </widget>
  <widget class="QMenuBar" name="menubar">
   <property name="geometry">
    <rect>
     <x>0</x>
     <y>0</y>
     <width>952</width>
     <height>24</height>
    </rect>
   </property>
  </widget>
  <widget class="QStatusBar" name="statusbar"/>
 </widget>
 <resources/>
 <connections/>
</ui>
6.3 mainwindow.h
#ifndef MAINWINDOW_H
#define MAINWINDOW_H

#include <QMainWindow>
#include <QWidget>
#include <QImage>
#include <QDebug>
#include <QTimer>
#include <QPixmap>
#include <opencv2/core/core.hpp>
#include <opencv2/highgui/highgui.hpp>
#include <opencv2/imgproc/imgproc_c.h>
#include <opencv2/imgproc/types_c.h>


QT_BEGIN_NAMESPACE
namespace Ui { class MainWindow; }
QT_END_NAMESPACE

class MainWindow : public QMainWindow
{
    Q_OBJECT

public:
    MainWindow(QWidget *parent = nullptr);
    ~MainWindow();

public slots:
    void on_opencamera_clicked();//打开摄像头
    void readFrame();//读取一帧
    void on_closecamera_clicked();//关闭摄像头


private:
    Ui::MainWindow *ui;
    QTimer *timer;//计时器
    QImage image;//用QImage形式记录的图片
    cv::VideoCapture cap;//视频捕捉
    cv::Mat frame;//用mat形式记录的图片
    void init();
};
#endif // MAINWINDOW_H
6.4 mainwindow.cpp
#include "mainwindow.h"
#include "ui_mainwindow.h"
#include <opencv2/opencv.hpp>
#include<QTimer>

MainWindow::MainWindow(QWidget *parent)
    : QMainWindow(parent)
    , ui(new Ui::MainWindow)
{
    ui->setupUi(this);
    init();
}


MainWindow::~MainWindow()
{
    delete ui;
}

void MainWindow::init()
{
    timer = new QTimer(this);
    connect(timer,&QTimer::timeout,this,&MainWindow::readFrame);//超时就捕捉一张图片
    connect(ui->openCameraButton, &QPushButton::clicked, this, &MainWindow::on_opencamera_clicked);
    connect(ui->closeCameraButton, &QPushButton::clicked, this, &MainWindow::on_closecamera_clicked);
}


void MainWindow::on_opencamera_clicked()//打开摄像头
{

    // 打开摄像头,参数为摄像头的设备节点
    cap.open("/dev/video1");
    if (!cap.isOpened()) {
        std::cout << "无法打开摄像头" << std::endl;
    }
    timer->start(25);        // 开始计时
}

void MainWindow::readFrame(){//读取帧并显示

    // 从摄像头捕获一帧图像
    cap >> frame;
    // 检查图像是否为空
    if (frame.empty()) {
        std::cout << "无法捕获图像" << std::endl;
        return;
    }

    // 将OpenCV的Mat图像转换为Qt的QImage
    QImage img = QImage((const unsigned char*)(frame.data), frame.cols, frame.rows, QImage::Format_RGB888).rgbSwapped();

    // 在QLabel中显示图像
    ui->label->setPixmap(QPixmap::fromImage(img));
}

void MainWindow::on_closecamera_clicked()//关闭摄像头
{
    cap.release();
}
6.5 main.cpp
#include "mainwindow.h"

#include <QApplication>
#include <opencv2/opencv.hpp>

int main(int argc, char *argv[])
{
    QApplication a(argc, argv);

#if 0
    // 创建一个VideoCapture对象
    cv::VideoCapture cap;

    // 打开摄像头,参数为摄像头的设备节点
    cap.open("/dev/video1");
    if (!cap.isOpened()) {
        std::cout << "无法打开摄像头" << std::endl;
        return -1;
    }
    // 创建一个Mat对象来存储摄像头的图像
    cv::Mat frame;
    while(1)
    {
        // 从摄像头捕获一帧图像
        cap >> frame;
        // 检查图像是否为空
        if (frame.empty()) {
            std::cout << "无法捕获图像" << std::endl;
            return -1;
        }
        // 显示图像
        cv::imshow("摄像头图像", frame);
        // 等待用户按键
        cv::waitKey(1);
    }

    // 释放摄像头
    cap.release();
#endif


    MainWindow w;
    w.show();
    return a.exec();
}
参考文献:
ArmSoM-W3之RK3588安装Qt+opencv+采集摄像头画面_rk3588 debian qt-CSDN博客
windows平台下Qt Creator的下载与安装流程_qt creator 下载-CSDN博客
2. Designer — [野火]嵌入式Qt应用开发实战指南——基于LubanCat-i.MX6ULL-MP157开发板 文档
1. Hello Qt — [野火]嵌入式Qt应用开发实战指南—基于LubanCat-RK开发板 文档


 2359
2359

 被折叠的 条评论
为什么被折叠?
被折叠的 条评论
为什么被折叠?
 到【灌水乐园】发言


