本篇文章是学习传智播客iOS开发课程的整理笔记。
相关参考阅读:
6. Core Animation2-CABasicAnimation- M了个J
7. 定时器:
(1). CADisplayLink
(2). CADisplayLink及定时器的使用
(3). CADisplayLink结合UIBezierPath的神奇妙用
1> CALayer简介
1,什么是图层:
* 在iOS中,你能看得见摸得着的东西基本上都是UIView,比如一个按钮、一个文本标签、一个文本输入框、一个图标等等,这些都是UIView。
*其实UIView之所以能显示在屏幕上,完全是因为它内部的一个图层。
* 在创建UIView对象时,UIView内部会自动创建一个图层(即CALayer对象),通过UIView的layer属性可以访问这个层:
** @property(nonatomic,readonly,retain)CALayer *layer;
* 当UIView需要显示到屏幕上时,会调用drawRect:方法进行绘图,并且会将所有内容绘制在自己的图层上,绘图完毕后,系统会将图层拷贝到屏幕上,于是就完成了UIView的显示。
* 换句话说,UIView本身不具备显示的功能,是它内部的层才有显示功能。
2,图层的简单使用:
* 通过操作CALayer对象,可以很方便地调整UIView的一些外观属性,比如:
1. 阴影
2. 圆角大小
3. 边框宽度和颜色
… …
* 还可以给图层添加动画,来实现一些比较炫酷的效果
* 宽度和高度:@propertyCGRect bounds;
* 位置(默认指中点,具体由anchorPoint决定):@propertyCGPoint position;
* 锚点(x,y的范围都是0-1),决定了position的含义:@propertyCGPoint anchorPoint;
* 背景颜色(CGColorRef类型):@propertyCGColorRef backgroundColor;
* 形变属性:@propertyCATransform3D transform;
* 边框颜色(CGColorRef类型):@propertyCGColorRef borderColor;
* 边框宽度:@propertyCGFloat borderWidth;
* 圆角半径:@propertyCGFloatcornerRadius;
* 内容(比如设置为图片CGImageRef):@property(retain)id contents;
* 阴影颜色:@propertyCGColorRef shadowColor
* 阴影不透明(0.0 ~ 1.0):@propertyfloat shadowOpacity;
* 阴影偏移位置:@propertyCGSize shadowOffset;
2> 属性和新建图层
01-CALayer01-基本使用
掌握
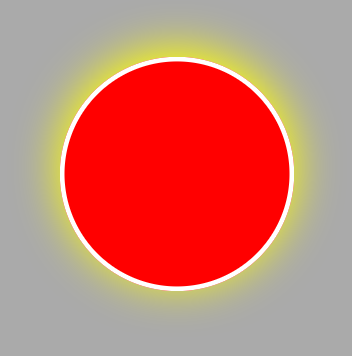
<1>. 怎么设置阴影:shadowOpacity,shadowRadius +解释圆角半径 + 边框达到效果:太阳发光
- (void)touchesBegan:(NSSet *)touches withEvent:(UIEvent *)event
{
    // 设置阴影透明度(1是阴影部分不透明,0是阴影部分透明)
    _redView.layer.shadowOpacity = 1;

    // 设置阴影颜色(要转换成CG)
    _redView.layer.shadowColor = [UIColor yellowColor].CGColor;

    // 设置阴影圆角半径
    _redView.layer.shadowRadius = 10;

    // 设置圆角半径(这里设置50会呈现出圆,因为原图是宽高为100的正方形)
    _redView.layer.cornerRadius = 50;

    // 设置边框半径
    _redView.layer.borderColor = [UIColor whiteColor].CGColor;

    // 设置边框半径
    _redView.layer.borderWidth = 2;
}
<2>. 比较特殊的View:UIImgeView:
设置UIImageView圆角半径:_imageView.layer.cornerRadius =10; -> 运行后还图片是没有圆角;
原因:刚才设置的是layer的圆角,而不是contents的圆角,然而,图片是加载在layer的contents上面的(contents是属于layer的一个属性)
解决:把超出layer的部分全部裁剪掉:_imageView.layer.masksToBounds = YES;
裁剪出带白色圆环的图片
- (void)touchesBegan:(NSSet *)touches withEvent:(UIEvent *)event
{
    // 圆形裁剪
    _imageView.layer.cornerRadius = 50; // 50为图片宽度的一半
    // 超出layer边框的全部裁剪掉(这样上面的裁剪才有效果)
    _imageView.layer.masksToBounds = YES;
    _imageView.layer.borderColor = [UIColor whiteColor].CGColor; // 设置边框颜色
    _imageView.layer.borderWidth = 2;  // 设置边框宽度

    // 图片加载在图层(layer)的contents上,而不是加载在layer的subViews上
    // 打印结果:(null)------<CGImage 0x8ccc2d0>
    NSLog(@"%@-----%@", _imageView.layer.sublayers, _imageView.layer.contents);
}
<3>. 可以改变图层的形变属性:touchBegin
怎么旋转图层:给三维坐标系的点,与原点形成向量,绕着向量旋转,加动画演示旋转效果
怎么利用KVC改变形变
KVC注意点:
1>给对象的哪个属性赋值,就写到keyPath里面。
2> value的值一定是属性的类型才行
如何快速二维旋转:ketPath为transform.rotation
缩放注意:z轴不需要缩放,为1就好。
KVC的好处:利用KVC可以快速的进行二维旋转和,宽,高同时缩放.
*讲解顺序阴影 ->圆角半径 ->边框 -> -> UIImageView圆角半径 ->transform -> KVC
- (void)touchesBegan:(NSSet *)touches withEvent:(UIEvent *)event
{
    [UIView animateWithDuration:1 animations:^{
        // 直接形变、位移
        _imageView.layer.transform = CATransform3DMakeRotation(M_PI, 1, 1, 0);   // 缩放
        _imageView.layer.transform = CATransform3DMakeTranslation(200, 200, 0);  // 平移
        _imageView.layer.transform = CATransform3DMakeScale(1, 0.5, 1);          // 缩放

        // 利用KVC改变形变、位移(这种方式尽量不要用,有bug)
        // 方法一:
        NSValue *rotation = [NSValue valueWithCATransform3D:CATransform3DMakeRotation(M_PI, 1, 1, 0)];
        [_imageView.layer setValue:rotation forKeyPath:@"transform"];
        // 方法二:
        // 注意:rotation不是transform的属性,也不是layer的属性,所以,在transform和rotation中间至少又包装了一层
        [_imageView.layer setValue:@M_PI forKeyPath:@"transform.rotation"];   // 绕图片中心选择180°
        [_imageView.layer setValue:@0.5 forKeyPath:@"transform.scale"];       // x、y同时缩放
        [_imageView.layer setValue:@200 forKeyPath:@"transform.translation.x"]; // 平移x轴
    }];
}
02-CALayer02-新建图层
掌握
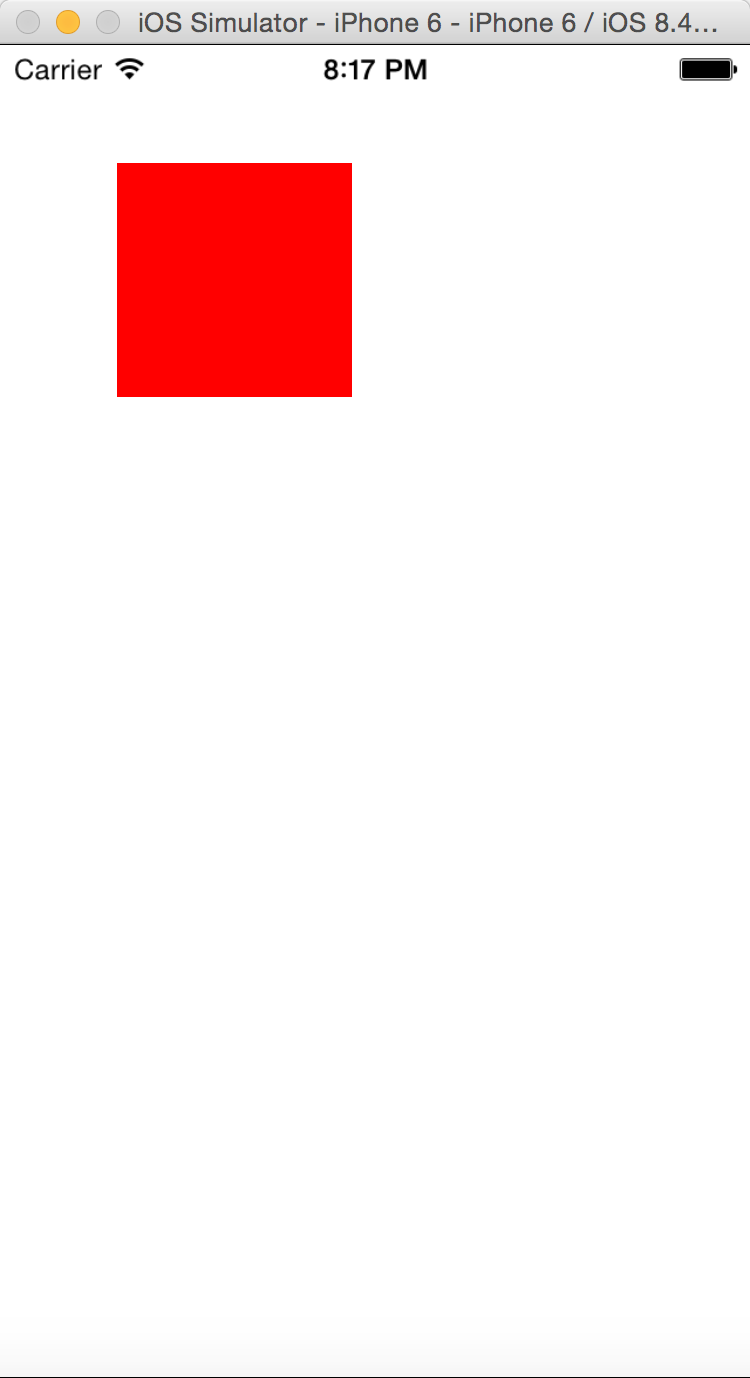
* 怎么显示自己的图层,直接加到控制器view的图层,还得设置位置和尺寸,背景。
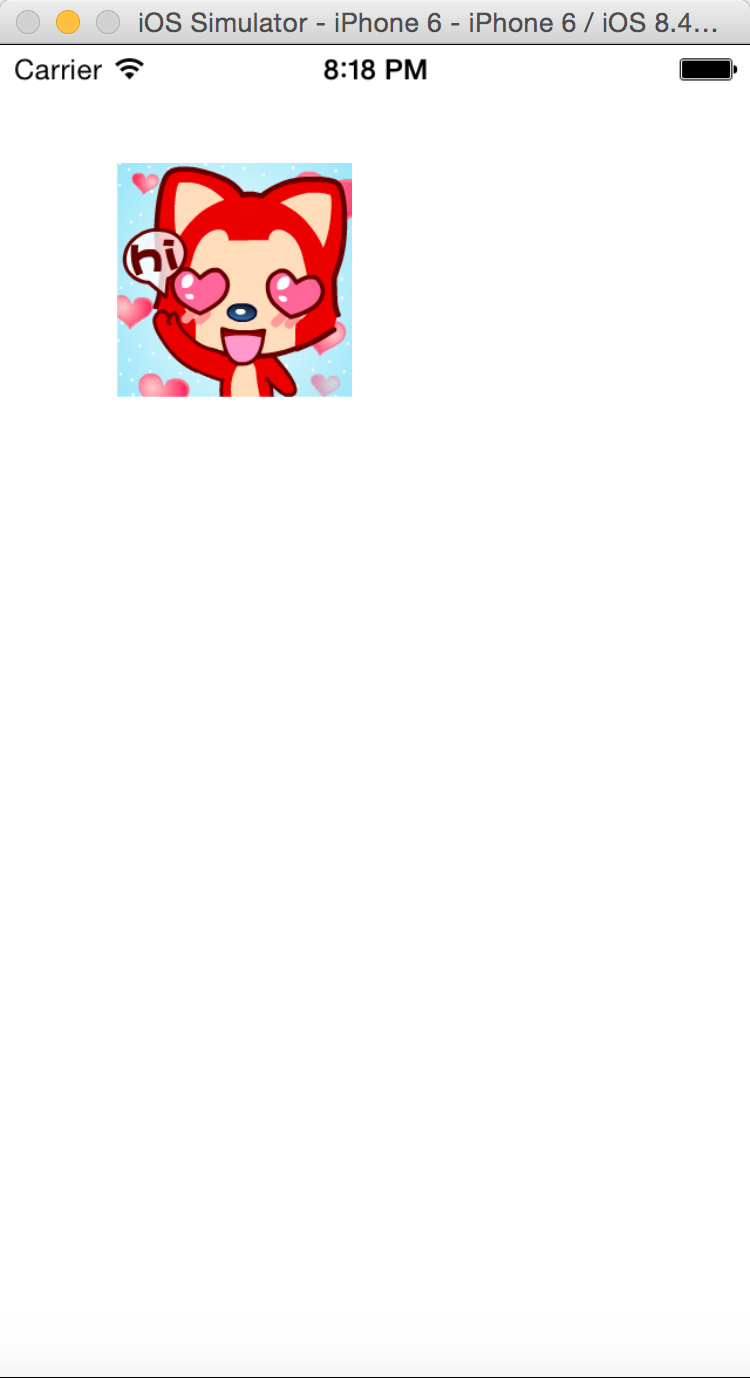
* 怎么给layer设置图片,设置contents:看头文件,contents必须是CGImageRef,UIImage先转CGImageRef再转id。
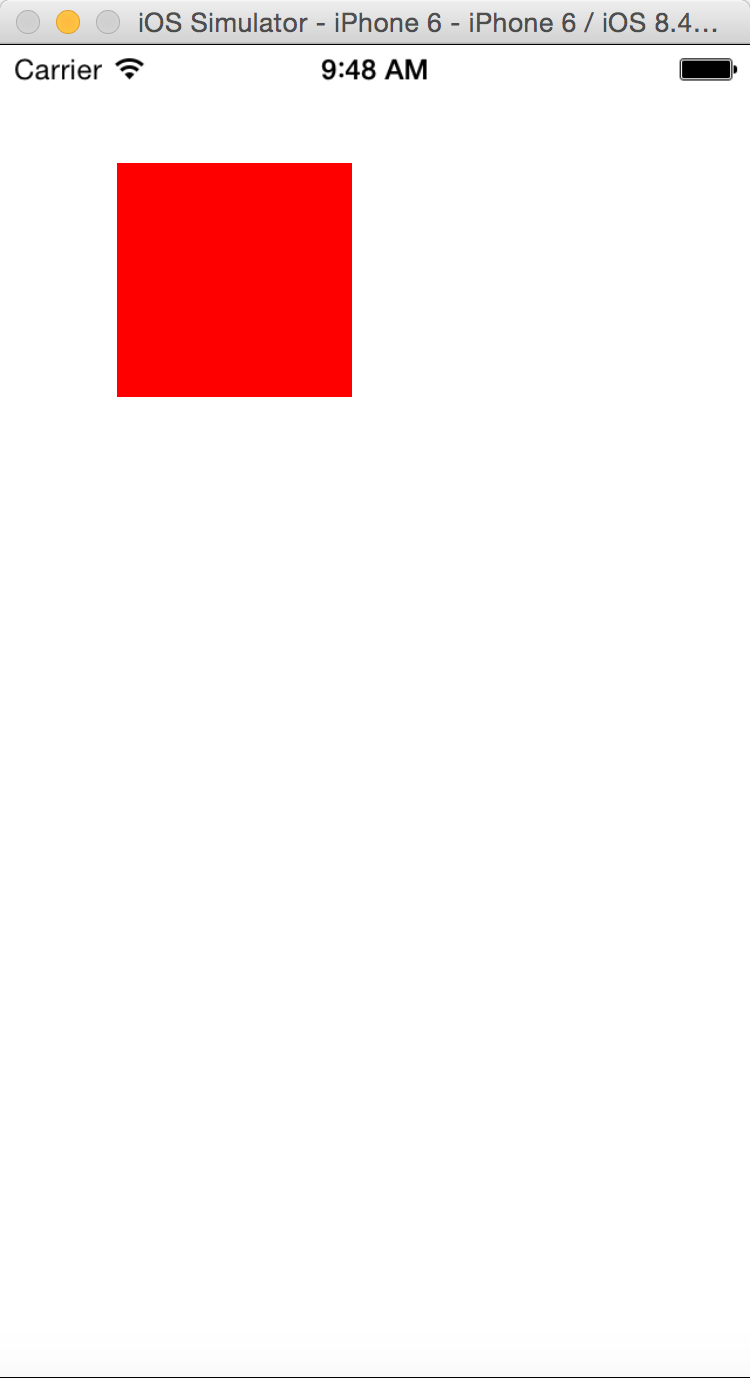
- (void)viewDidLoad
{
    [super viewDidLoad];
	// Do any additional setup after loading the view, typically from a nib.
    // 创建一个图层
    CALayer *layer = [CALayer layer];
    // 设置尺寸
    layer.bounds = CGRectMake(0, 0, 100, 100);
    // 设置位置
    layer.position = CGPointMake(100, 100);
    // 设置颜色
    layer.backgroundColor = [UIColor redColor].CGColor;
    // 设置内容:设置一个图片,注意:图片必须转化成CGImage,然后再包装成id,下面两种转化都行
    //layer.contents = (id)[UIImage imageNamed:@"阿狸头像"].CGImage;
    layer.contents = (__bridge id)[UIImage imageNamed:@"阿狸头像"].CGImage;
    // 添加到子图层
    [self.view.layer addSublayer:layer];
}
* 为什么图层要的图片和颜色使用CoreGraphics框架,不直接用UIKit框架。PPT解释CALayer的疑惑
1. 首先
* CALayer是定义在QuartzCore框架中的(Core Animation)
* CGImageRef、CGColorRef两种数据类型是定义在CoreGraphics框架中的
* UIColor、UIImage是定义在UIKit框架中的
2. 其次
* QuartzCore框架和CoreGraphics框架是可以跨平台使用的,在iOS和Mac OS X上都能使用
* 但是UIKit只能在iOS中使用
* 为了保证可移植性,QuartzCore不能使用UIImage、UIColor,只能使用CGImageRef、CGColorRef
* 图层也可以显示,为什么还要 UIView , PPT 解释 CALayer 的选择UIView和CALayer的选择
通过CALayer,就能做出跟UIView一样的界面效果
既然CALayer和UIView都能实现相同的显示效果,那究竟该选择谁好呢?
其实,对比CALayer,UIView多了一个事件处理的功能(UIView继承自UIResponder)。也就是说,CALayer不能处理用户的触摸事件,而UIView可以
所以,如果显示出来的东西需要跟用户进行交互的话,用UIView;如果不需要跟用户进行交互,用UIView或者CALayer都可以
当然,CALayer的性能会高一些,因为它少了事件处理的功能,更加轻量级
*讲解顺序创建图层 ->位置 ->背景 ->内容 -> CALayer疑惑 -> CALayer的选择
3>讲解两个非常重要的属性position和anchorPoint锚点
掌握
什么是position
什么是anchorPoint,他的取值范围,他在图层的哪个位置,
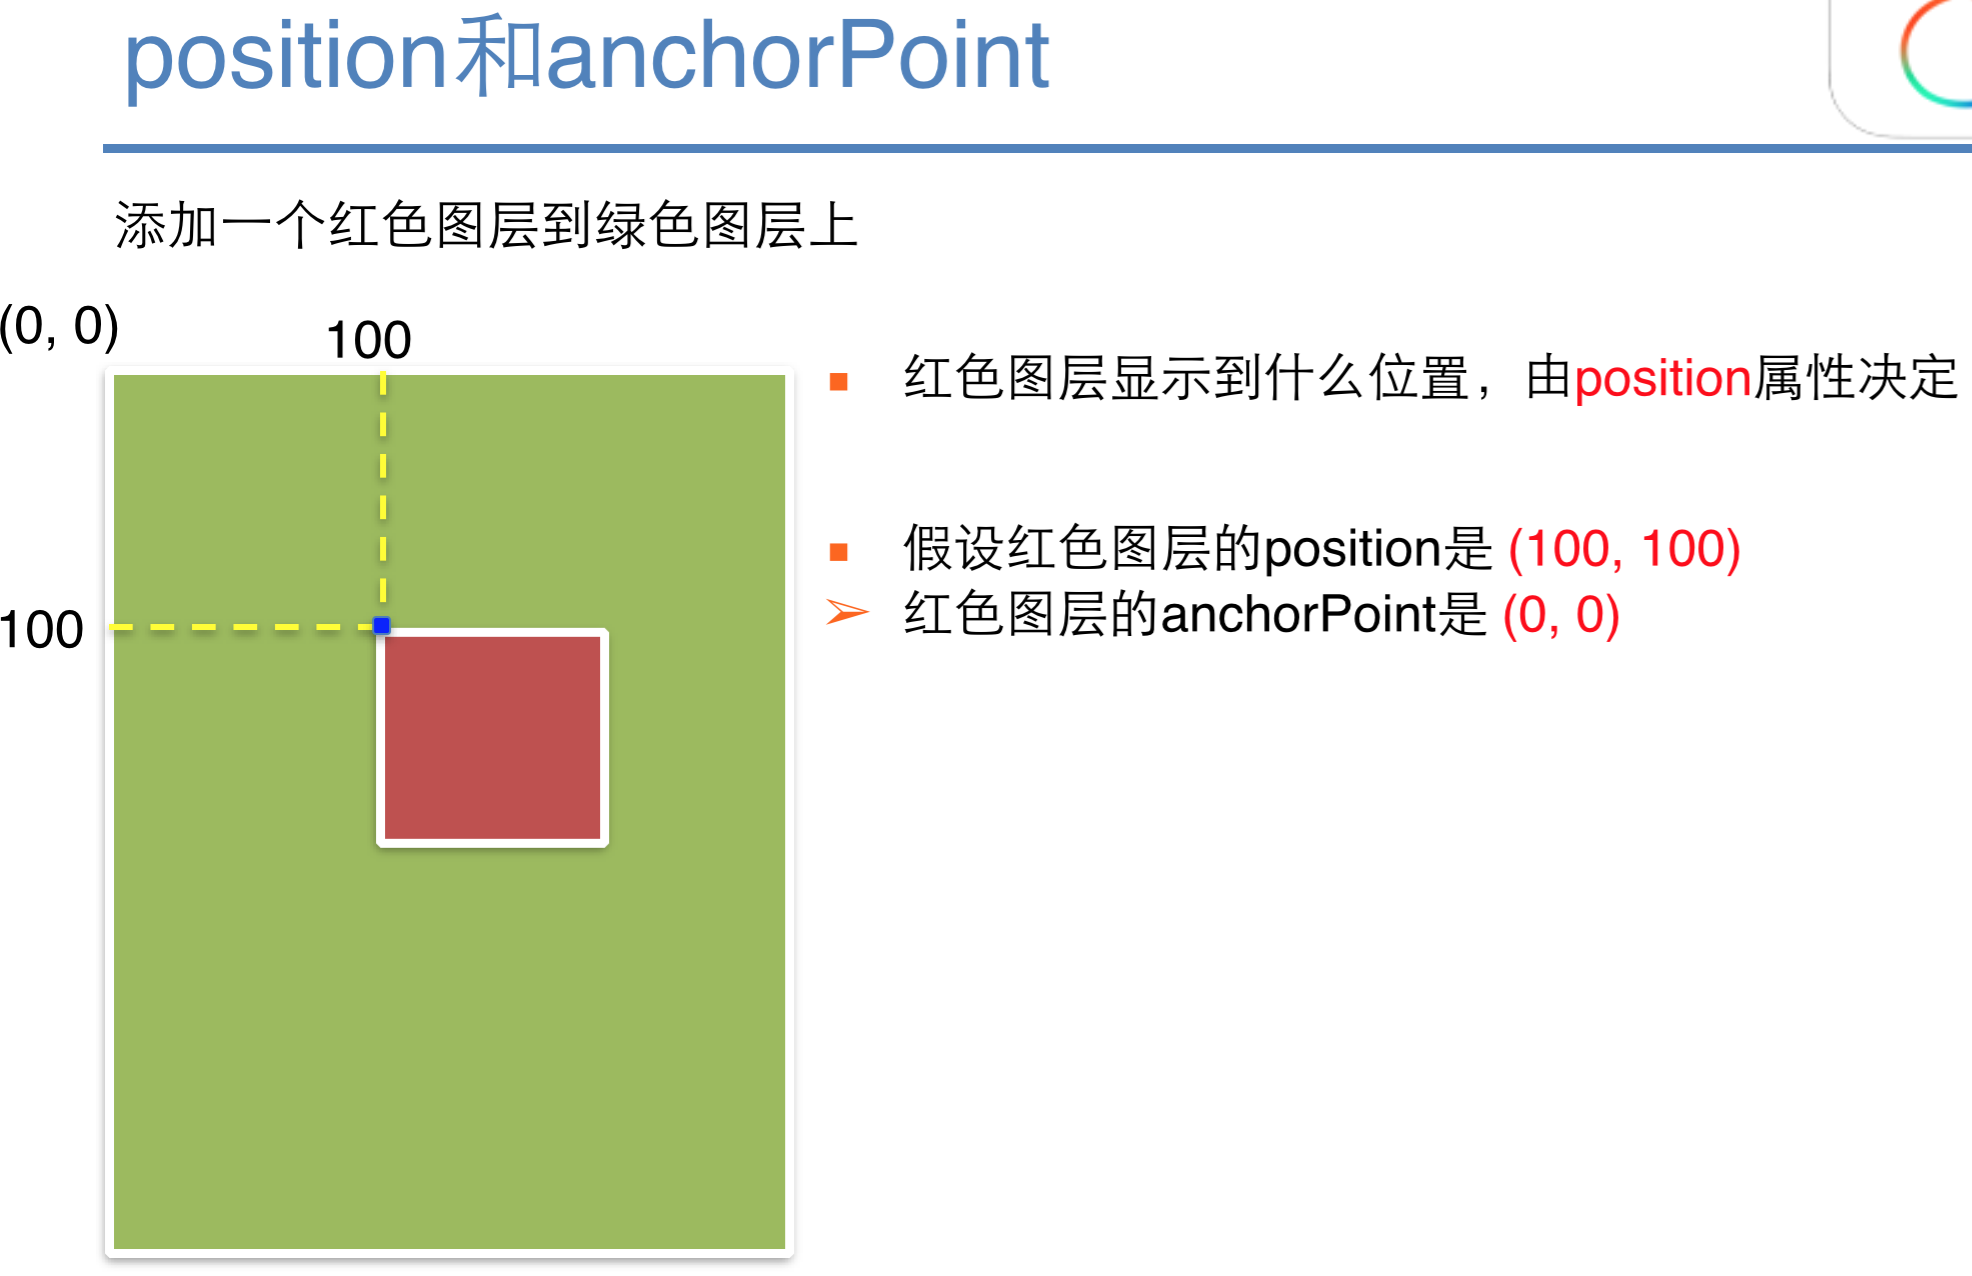
CALayer有2个非常重要的属性:position和anchorPoint
1. @propertyCGPoint position;
* 用来设置CALayer在父层中的位置
* 以父层的左上角为原点(0, 0)
2. @propertyCGPoint anchorPoint;
* 称为“定位点”、“锚点”
* 决定着CALayer身上的哪个点会在position属性所指的位置
* 以自己的左上角为原点(0, 0)
* 它的x、y取值范围都是0~1,默认值为(0.5, 0.5),意味着锚点在layer的中间
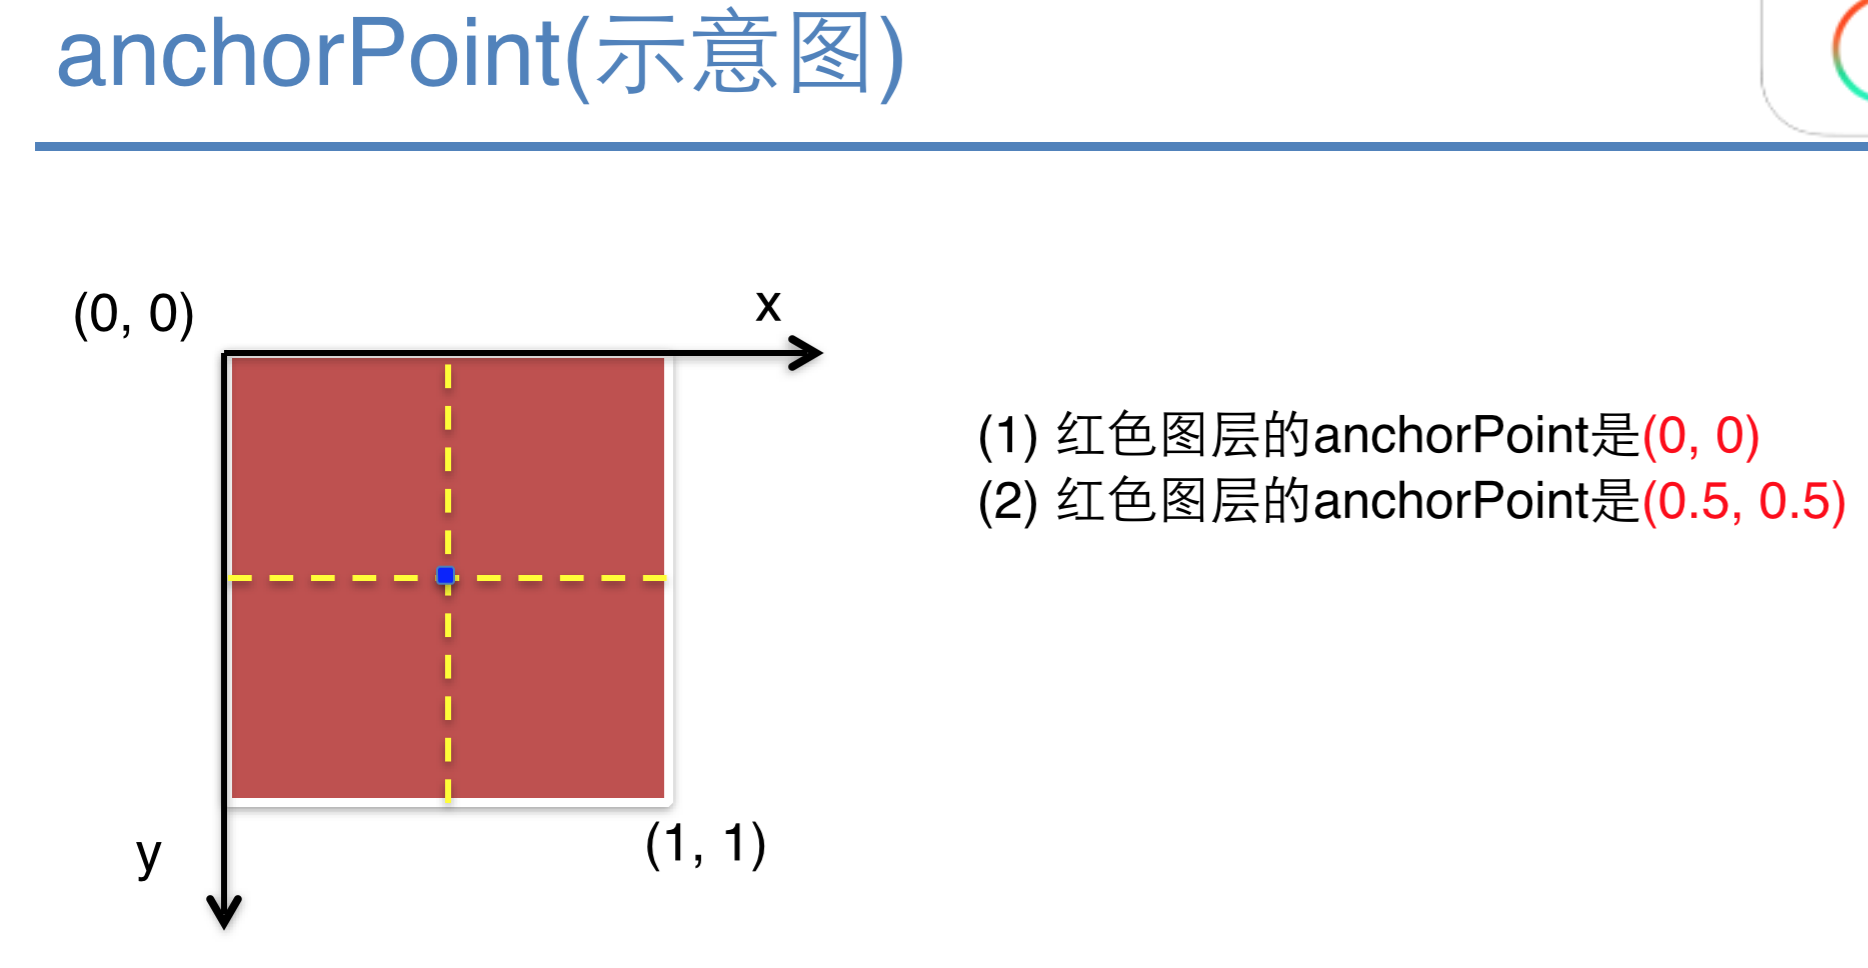
*讲解顺序 PPT解释 ->注意点:0~1,1表示一个单位。 -> position设置图层的位置 -> 一个图层中很多点,哪个点移动到position.
4>隐式动画
03-CALayer03-隐式动画
掌握:
只有非rootCalyer才有隐式动画。
如何学习哪些属性有隐式动画,跳进CALayer头文件,找animatable。
怎么演示隐式动画,点击屏幕就改变属性。
怎么取消隐式动画,每执行一个动画,开启一个事物CATransaction,只要setDisableActions等于YES就好
隐式动画:
1. 每一个UIView内部都默认关联着一个CALayer,我们可用称这个Layer为Root Layer(根层)
2. 所有的非Root Layer,也就是手动创建的CALayer对象,都存在着隐式动画
3. 什么是隐式动画?
* 当对非Root Layer的部分属性进行修改时,默认会自动产生一些动画效果
* 而这些属性称为Animatable Properties(可动画属性)
4. 列举几个常见的Animatable Properties:
* bounds:用于设置CALayer的宽度和高度。修改这个属性会产生缩放动画
* backgroundColor:用于设置CALayer的背景色。修改这个属性会产生背景色的渐变动画
* position:用于设置CALayer的位置。修改这个属性会产生平移动画
5. 可以通过动画事务(CATransaction)关闭默认的隐式动画效果
* [CATransactionbegin];
* [CATransactionsetDisableActions:YES];
* self.myview.layer.position = CGPointMake(10,10);
* [CATransactioncommit];
- (void)viewDidLoad
{
    [super viewDidLoad];
    // 创建layer
    CALayer *layer = [CALayer layer];
    // 设置尺寸
    layer.bounds = CGRectMake(0, 0, 100, 100);
    // 颜色
    layer.backgroundColor = [UIColor redColor].CGColor;
    // 将layer添加到子图层
    [self.view.layer addSublayer:layer];

    _layer = layer;
}
- (void)touchesBegan:(NSSet *)touches withEvent:(UIEvent *)event
{
    // 1,开启事务
    [CATransaction begin];
    // 2,取消隐世动画(要想取消隐式动画必须开启事务并提交事务)
    [CATransaction setDisableActions:YES];
    _layer.position = CGPointMake(100, 100);
    // 3,提交事务
    [CATransaction commit];
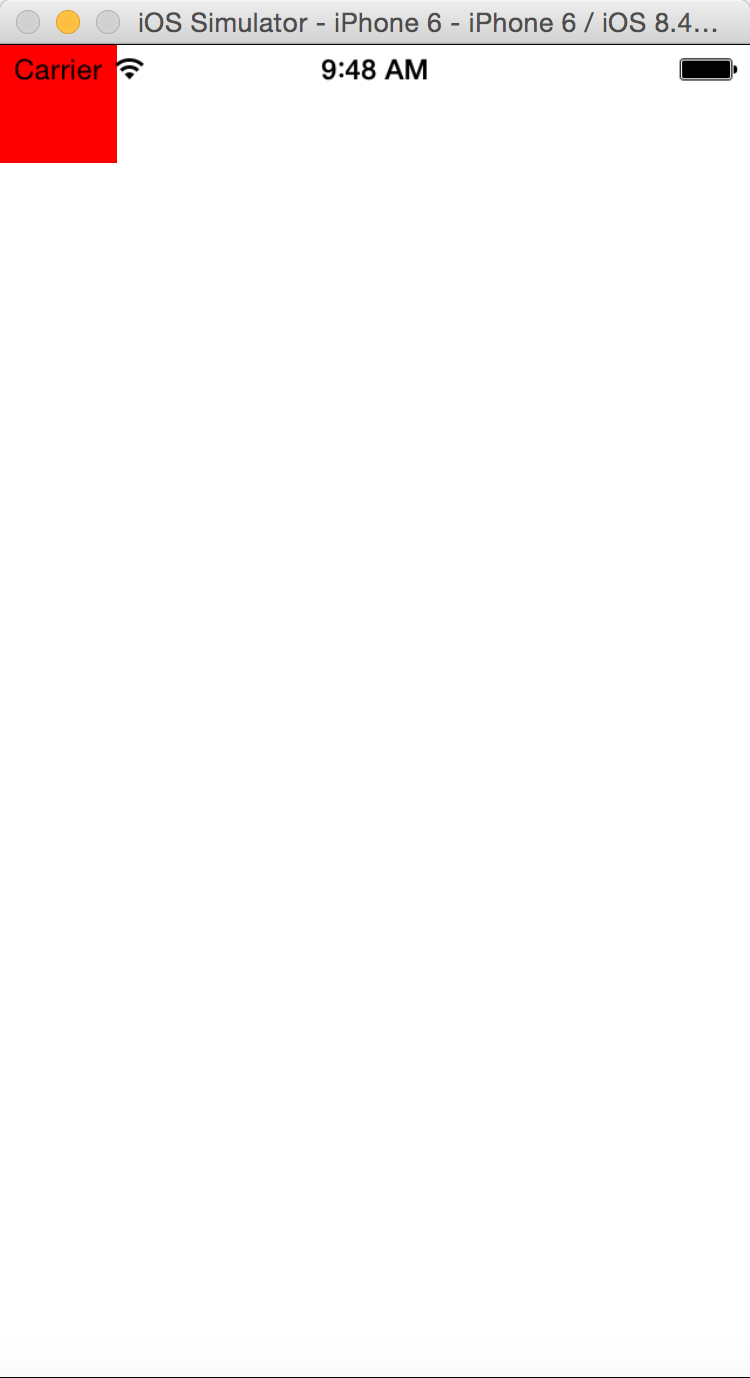
}
- (void)viewDidLoad
{
    [super viewDidLoad];
    // 创建layer
    CALayer *layer = [CALayer layer];
    // 设置尺寸
    layer.bounds = CGRectMake(0, 0, 100, 100);
    // 颜色
    layer.backgroundColor = [UIColor redColor].CGColor;
    // 将layer添加到子图层
    [self.view.layer addSublayer:layer];

    _layer = layer;
}
- (void)touchesBegan:(NSSet *)touches withEvent:(UIEvent *)event
{
    // 获取触摸点
    UITouch *touch = [touches anyObject];
    CGPoint pos = [touch locationInView:self.view];

    // 设置边框
    _layer.borderWidth = arc4random_uniform(5) + 1;  // 随机边框大小
    CGFloat r = arc4random_uniform(256) / 255.0;
    CGFloat g = arc4random_uniform(256) / 255.0;
    CGFloat b = arc4random_uniform(256) / 255.0;
    //    _layer.borderColor = [UIColor colorWithRed:r green:g blue:b alpha:1].CGColor;  // 随机边框颜色
    // 设置背景颜色
    _layer.backgroundColor = [UIColor colorWithRed:r green:g blue:b alpha:1].CGColor;
    // 设置圆角半径
    _layer.cornerRadius = arc4random_uniform(50); // 随机圆角半径大小
    // 设置位置
    _layer.position = pos;
}
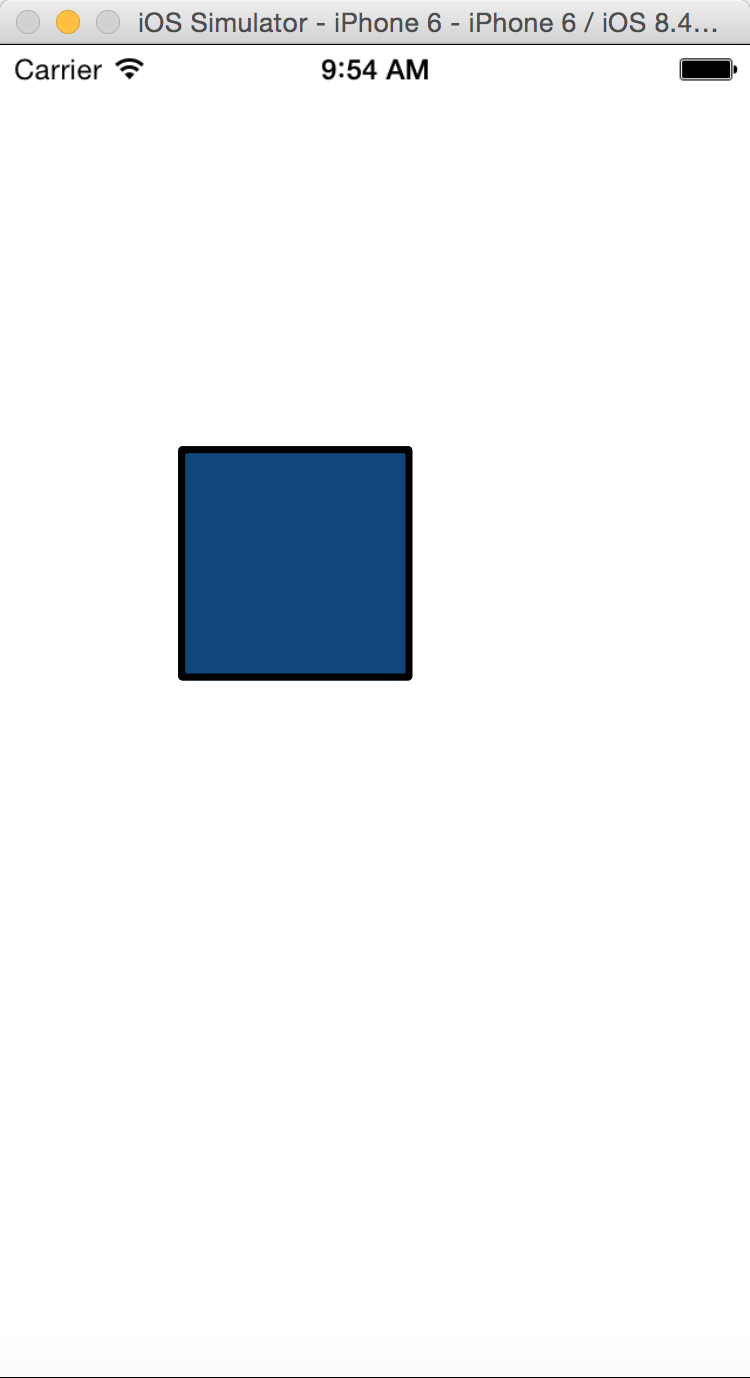
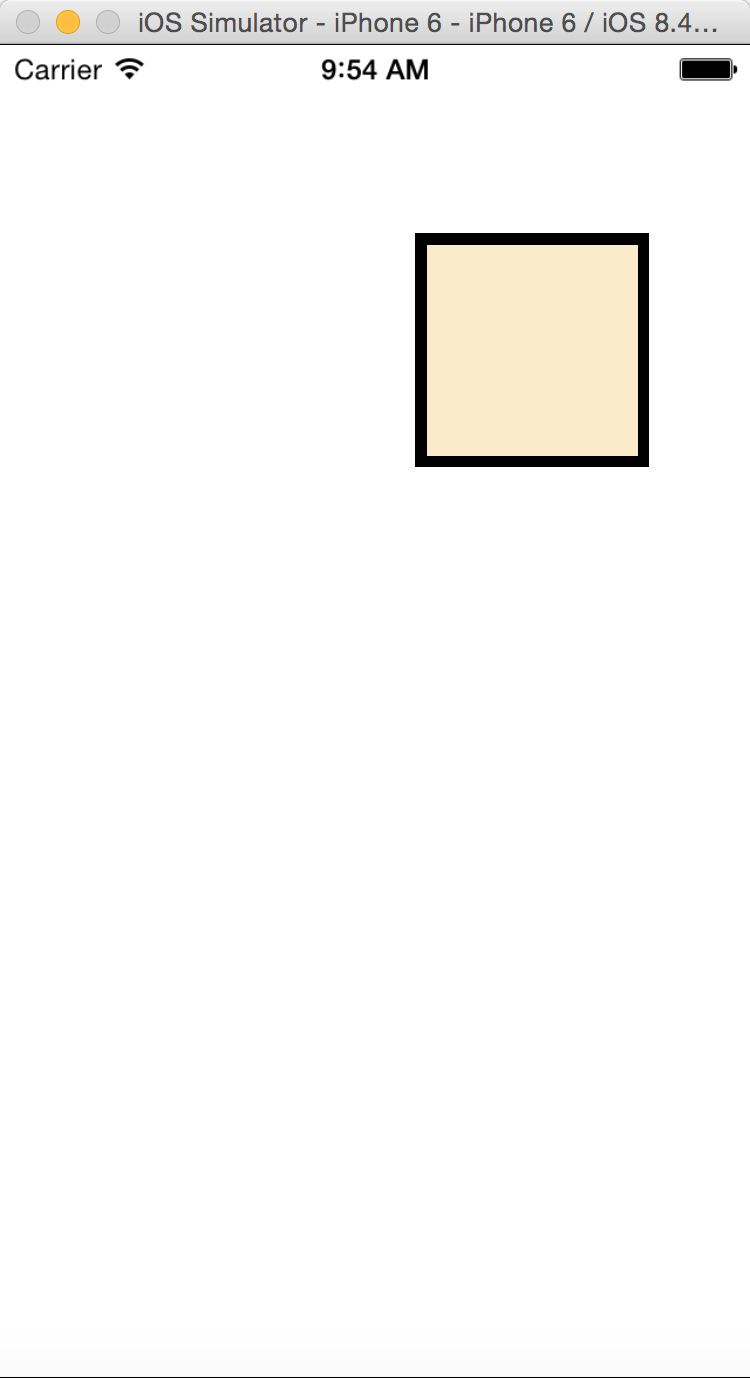
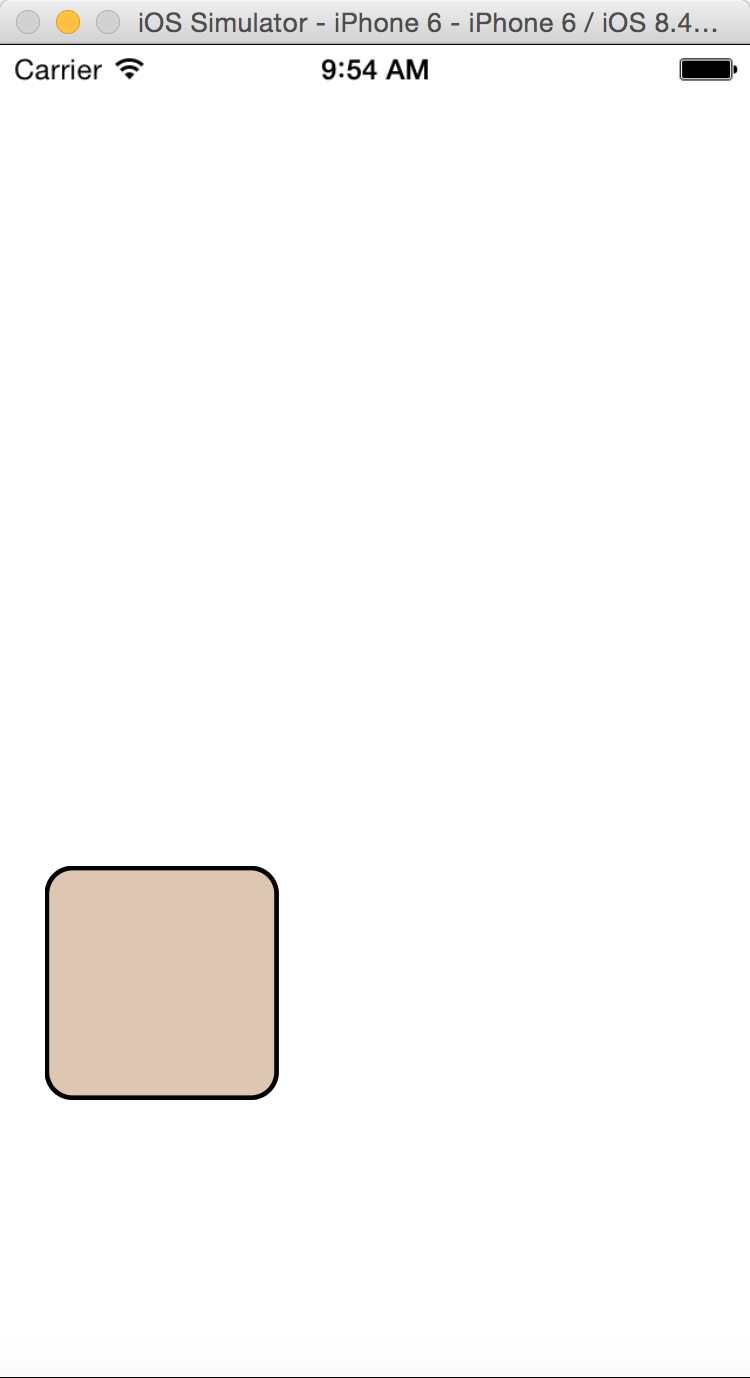
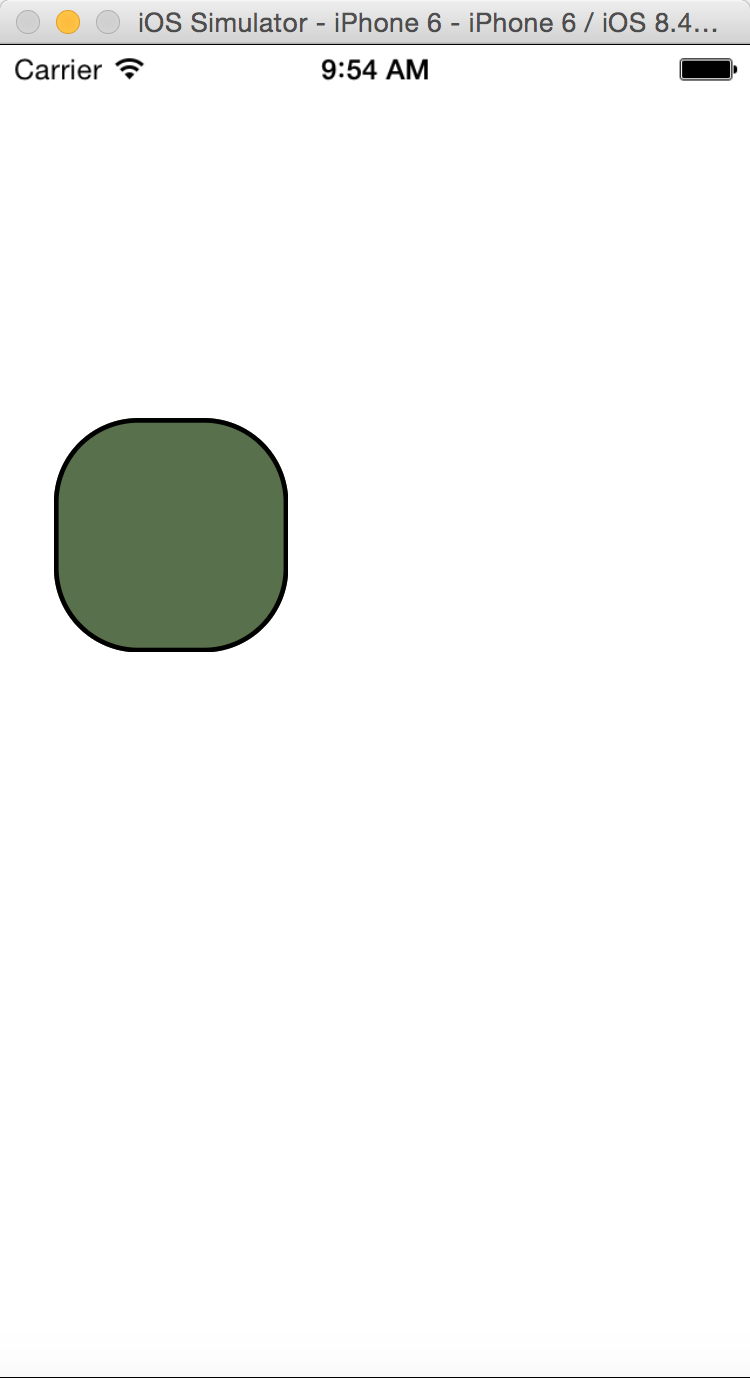
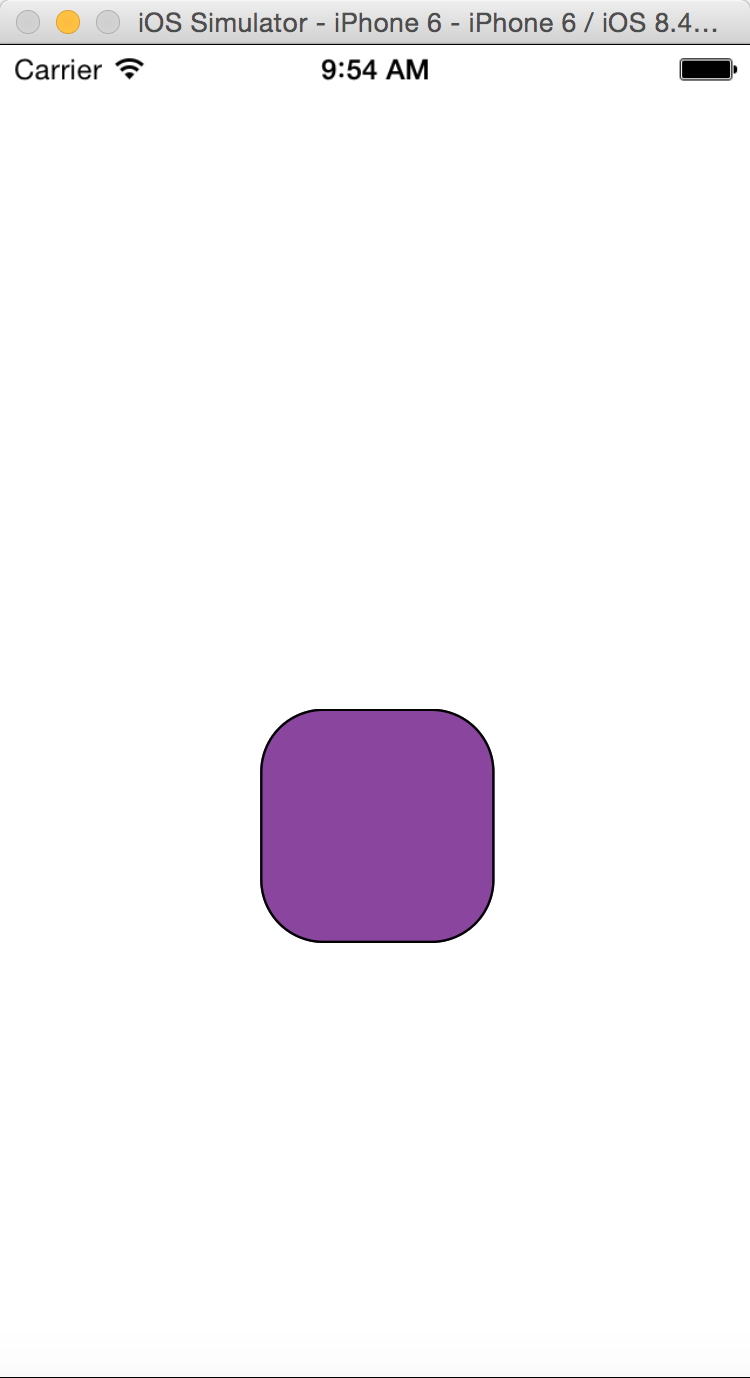
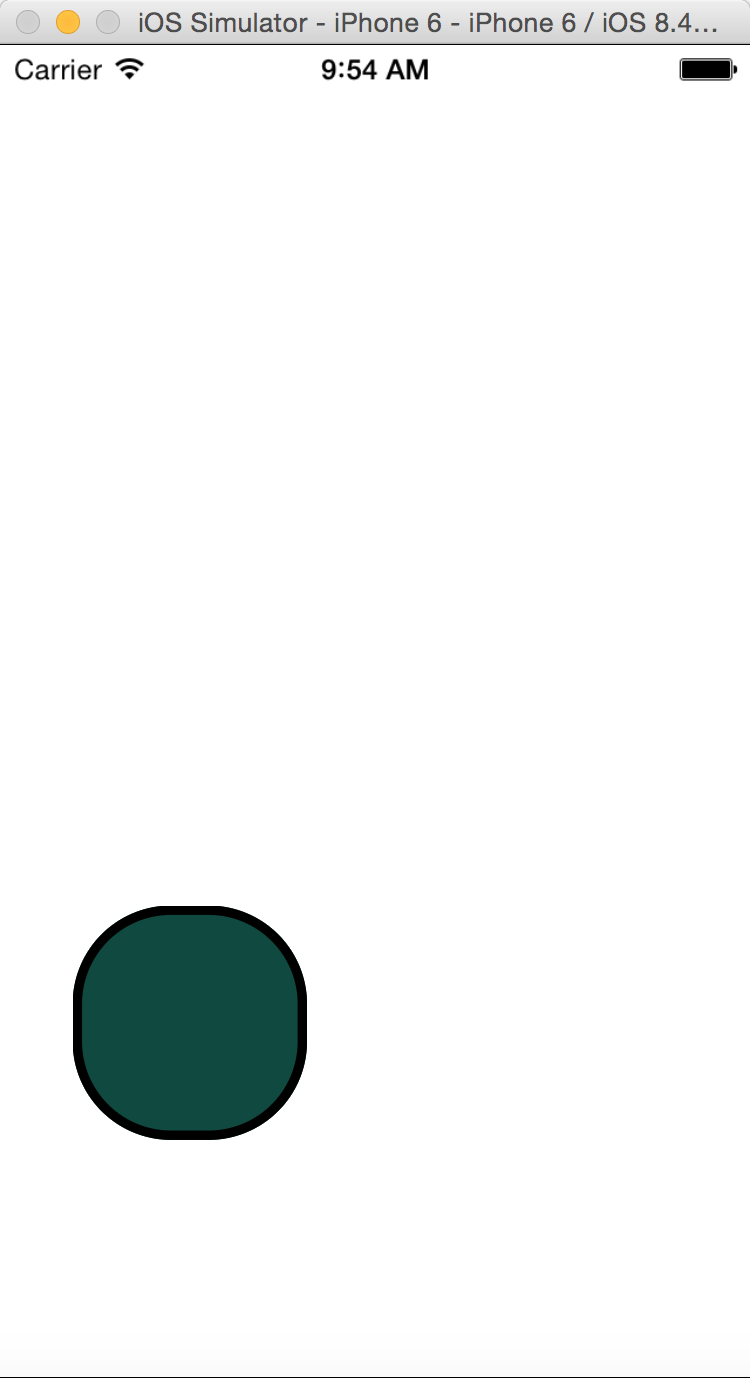
*讲解顺序 PPT解释 ->监听控制器的点击,点一下改变下属性 ->背景颜色,位置,边框,圆角半径
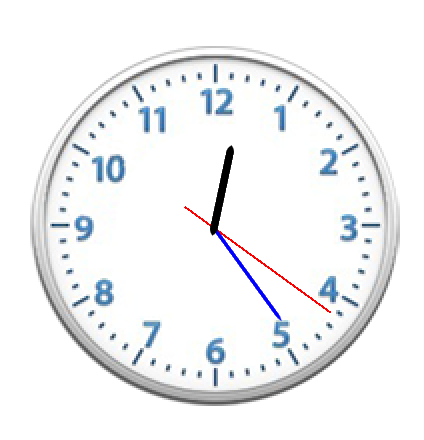
5>时钟-自定义图层
程序思路:
* 了解时钟由什么组成的,使用哪些控件。(UIImgeView,CALayer)
* 为什么不使用UIView,而使用CALayer,需要监听事件吗?
* 现实生活中秒针是怎么旋转的,绕着时钟的中点转,PPT演示,拖一根秒针线条
* 在ios中默认是绕着中心点旋转的,因为锚点默认在图层的中点,要想绕着下边中心点转,需要改变图层锚点的位置。
* 根据锚点,设置position坐标,为时钟的中点。
* 思考秒针旋转的角度,怎么知道当前秒针旋转到哪,当前秒针角度应该由系统时间决定。
* 当前秒针旋转的角度 =当前秒数 *每秒转多少°。
1> 计算一秒转多少°360 *60 =6
2> 获取当前秒数,通过日历对象,获取日期组成成分 NSCalendar -> NSDateComponents ->获取当前秒数
* 每隔一秒,获取最新秒数,更新时钟。
* 分钟一样的做法
* 时钟也一样
1.每一分钟,时钟也需要旋转,60分钟 ->1小时 - >30° ==》每分钟30 /60.0 一分钟时针转0.5°
* 把时针和秒针头尾变尖,设置圆角半径
- (void)awakeFromNib{
    // 1,添加秒针
    [self addSecond];
    // 2,添加分针
    [self addMinute];
    // 3,添加时针
    [self addHour];
    // 4,初始化表盘
    [self update];
    // 5,创建定时器
    [NSTimer scheduledTimerWithTimeInterval:1.0 target:self selector:@selector(update) userInfo:nil repeats:YES];
}
- (void)update{
    // 获取当前日历
    NSCalendar *calendar = [NSCalendar currentCalendar];
    // 获取日历的组件(注意:这里可以用|)
    NSDateComponents *components = [calendar components:NSCalendarUnitSecond | NSCalendarUnitMinute | NSCalendarUnitHour fromDate:[NSDate date]];
    // 从组件中获取当前秒数、分数、时数
    CGFloat sec = components.second;
    CGFloat min = components.minute;
    CGFloat hour = components.hour;

    // 每分钟,时针所在位置
    CGFloat angleHour = hour * hourA + min * minuteHourA;

    // 选转
    _second.transform = CATransform3DMakeRotation(sec * secondA, 0, 0, 1);
    _minute.transform = CATransform3DMakeRotation(min * minuteA, 0, 0, 1);
    _hour.transform = CATransform3DMakeRotation(angleHour, 0, 0, 1);
}
- (void)addSecond{
    CGFloat imageW = self.bounds.size.width;
    CGFloat imageH = self.bounds.size.height;

    // 创建秒针layer
    CALayer *second = [CALayer layer];
    _second = second;

    // 设置尺寸
    second.bounds = CGRectMake(0, 0, 1, imageW *0.5 - 10);
    // 设置锚点
    second.anchorPoint = CGPointMake(0.5, 0.8);
    // 设置位置,(这里不要用_clockView.center,因为,center是以屏幕为坐标系的,而这里是需要图片的中心点)
    second.position = CGPointMake(imageW * 0.5, imageH * 0.5);
    // 颜色
    second.backgroundColor = [UIColor redColor].CGColor;
    // 添加到子图层上
    [self.layer addSublayer:second];
}
- (void)addMinute{
    CGFloat imageW = self.bounds.size.width;
    CGFloat imageH = self.bounds.size.height;

    CALayer *minute = [CALayer layer];
    _minute = minute;
    minute.bounds = CGRectMake(0, 0, 2, imageH * 0.5 - 30);
    minute.anchorPoint = CGPointMake(0.5, 0.9);
    minute.position = CGPointMake(imageW * 0.5, imageH * 0.5);
    minute.backgroundColor = [UIColor blueColor].CGColor;
    minute.cornerRadius = 10.0;
    [self.layer addSublayer:minute];

}
- (void)addHour{
    CGFloat imageW = self.bounds.size.width;
    CGFloat imageH = self.bounds.size.height;

    CALayer *hour = [CALayer layer];
    _hour = hour;
    hour.bounds = CGRectMake(0, 0, 4, imageH * 0.5 - 52);
    hour.anchorPoint = CGPointMake(0.5, 0.9);
    hour.position = CGPointMake(imageW * 0.5, imageH * 0.5);
    hour.backgroundColor = [UIColor blackColor].CGColor;
    hour.cornerRadius = 5.0;
    [self.layer addSublayer:hour];
}
6>核心动画01-CABasicAnimation
* PPT简介
* Core Animation结构
* Core Animation 使用步骤
Core Animation 简介
* Core Animation,中文翻译为核心动画,它是一组非常强大的动画处理API,使用它能做出非常炫丽的动画效果,而且往往是事半功倍。也就是说,使用少量的代码就可以实现非常强大的功能。
* Core Animation可以用在Mac OS X和iOS平台(跨平台)。
* Core Animation的动画执行过程都是在后台操作的,不会阻塞主线程。
* 要注意的是,Core Animation是直接作用在CALayer上的,并非UIView。
核心动画
* 如果是xcode5之前的版本,使用它需要先添加QuartzCore.framework和引入对应的框架<QuartzCore/QuartzCore.h>
* 开发步骤:
1.使用它需要先添加QuartzCore.framework框架和引入主头文件<QuartzCore/QuartzCore.h>
2.创建图层,动画渲染到图层上的
3.初始化一个CAAnimation对象,并设置一些动画相关属性
4.通过调用CALayer的addAnimation:forKey:方法增加CAAnimation对象到CALayer中,这样就能开始执行动画了
5.通过调用CALayer的removeAnimationForKey:方法可以停止CALayer中的动画
CAAnimation——简介
1. 是所有动画对象的父类,负责控制动画的持续时间和速度,是个抽象类,不能直接使用,应该使用它具体的子类
2. 属性说明:(红色代表来自CAMediaTiming协议的属性)
* duration:动画的持续时间
* repeatCount:重复次数,无限循环可以设置HUGE_VALF或者MAXFLOAT
* repeatDuration:重复时间
* removedOnCompletion:默认为YES,代表动画执行完毕后就从图层上移除,图形会恢复到动画执行前的状态。如果想让图层保持显示动画执行后的状态,那就设 置为NO,不过还要设置fillMode为kCAFillModeForwards
* fillMode:决定当前对象在非active时间段的行为。比如动画开始之前或者动画结束之后
* beginTime:可以用来设置动画延迟执行时间,若想延迟2s,就设置为CACurrentMediaTime()+2,CACurrentMediaTime()为图层的当前时间
* timingFunction:速度控制函数,控制动画运行的节奏
* delegate:动画代理
CAAnimation——动画填充模式
* fillMode属性值(要想fillMode有效,最好设置removedOnCompletion = NO)
* kCAFillModeRemoved这个是默认值,也就是说当动画开始前和动画结束后,动画对layer都没有影响,动画结束后,layer会恢复到之前的状态
* kCAFillModeForwards当动画结束后,layer会一直保持着动画最后的状态
* kCAFillModeBackwards在动画开始前,只需要将动画加入了一个layer,layer便立即进入动画的初始状态并等待动画开始。
* kCAFillModeBoth这个其实就是上面两个的合成.动画加入后开始之前,layer便处于动画初始状态,动画结束后layer保持动画最后的状态
CAAnimation——速度控制函数
* 速度控制函数(CAMediaTimingFunction)
1. kCAMediaTimingFunctionLinear(线性):匀速,给你一个相对静态的感觉
2. kCAMediaTimingFunctionEaseIn(渐进):动画缓慢进入,然后加速离开
3. kCAMediaTimingFunctionEaseOut(渐出):动画全速进入,然后减速的到达目的地
4. kCAMediaTimingFunctionEaseInEaseOut(渐进渐出):动画缓慢的进入,中间加速,然后减速的到达目的地。这个是默认的动画行为。
CAAnimation——动画代理方法
* CAAnimation在分类中定义了代理方法
@interface NSObject (CAAnimationDelegate)

/* Called when the animation begins its active duration. */

- (void)animationDidStart:(CAAnimation *)anim;

/* Called when the animation either completes its active duration or
 * is removed from the object it is attached to (i.e. the layer). 'flag'
 * is true if the animation reached the end of its active duration
 * without being removed. */

- (void)animationDidStop:(CAAnimation *)anim finished:(BOOL)flag;

@end
CALayer上动画的暂停和恢复
#pragma mark 暂停CALayer的动画
-(void)pauseLayer:(CALayer*)layer
{
    CFTimeInterval pausedTime = [layer convertTime:CACurrentMediaTime() fromLayer:nil];

    // 让CALayer的时间停止走动
      layer.speed = 0.0;
    // 让CALayer的时间停留在pausedTime这个时刻
    layer.timeOffset = pausedTime;
}
#pragma mark 恢复CALayer的动画
-(void)resumeLayer:(CALayer*)layer
{
CFTimeInterval pausedTime = layer.timeOffset;
// 1. 让CALayer的时间继续行走
layer.speed = 1.0;
// 2. 取消上次记录的停留时刻
layer.timeOffset = 0.0;
// 3. 取消上次设置的时间
layer.beginTime = 0.0;
// 4. 计算暂停的时间(这里也可以用CACurrentMediaTime()-pausedTime)
CFTimeInterval timeSincePause = [layer convertTime:CACurrentMediaTime() fromLayer:nil] - pausedTime;
// 5. 设置相对于父坐标系的开始时间(往后退timeSincePause)
layer.beginTime = timeSincePause;
}CAPropertyAnimation
1. 是CAAnimation的子类,也是个抽象类,要想创建动画对象,应该使用它的两个子类:
* CABasicAnimation
* CAKeyframeAnimation
2. 属性说明:
* keyPath:通过指定CALayer的一个属性名称为keyPath(NSString类型),并且对CALayer的这个属性的值进行修改,达到相应的动画效果。比如,指定
@“position” 为 keyPath ,就修改 CALayer 的 position 属性的值,以达到平移的动画效果CABasicAnimation——基本动画
1. 基本动画,是CAPropertyAnimation的子类
2. 属性说明:
* fromValue:keyPath相应属性的初始值
* toValue:keyPath相应属性的结束值
3. 动画过程说明:
* 随着动画的进行,在长度为duration的持续时间内,keyPath相应属性的值从fromValue渐渐地变为toValue
* keyPath内容是CALayer的可动画Animatable属性
* 如果fillMode=kCAFillModeForwards同时removedOnComletion=NO,那么在动画执行完毕后,图层会保持显示动画执行后的状态。但在实质上,图层的属性值还是动画执行前的初始值,并没有真正被改变。
CAKeyframeAnimation——关键帧动画
1. 关键帧动画,也是CAPropertyAnimation的子类,与CABasicAnimation的区别是:
* CABasicAnimation只能从一个数值(fromValue)变到另一个数值(toValue),而CAKeyframeAnimation会使用一个NSArray保存这些数值
2. 属性说明:
* values:上述的NSArray对象。里面的元素称为“关键帧”(keyframe)。动画对象会在指定的时间(duration)内,依次显示values数组中的每一个关键帧
* path:可以设置一个CGPathRef、CGMutablePathRef,让图层按照路径轨迹移动。path只对CALayer的anchorPoint和position起作用。如果设置了path,那么values将被忽略
* keyTimes:可以为对应的关键帧指定对应的时间点,其取值范围为0到1.0,keyTimes中的每一个时间值都对应values中的每一帧。如果没有设置keyTimes,各个关键帧的时间是平分的
3. CABasicAnimation可看做是只有2个关键帧的CAKeyframeAnimation
CAAnimationGroup——动画组
1. 动画组,是CAAnimation的子类,可以保存一组动画对象,将CAAnimationGroup对象加入层后,组中所有动画对象可以同时并发运行
2. 属性说明:
* animations:用来保存一组动画对象的NSArray
* 默认情况下,一组动画对象是同时运行的,也可以通过设置动画对象的beginTime属性来更改动画的开始时间
转场动画——CATransition
1. CATransition是CAAnimation的子类,用于做转场动画,能够为层提供移出屏幕和移入屏幕的动画效果。iOS比Mac OS X的转场动画效果少一点
2. UINavigationController就是通过CATransition实现了将控制器的视图推入屏幕的动画效果
3. 动画属性:
* type:动画过渡类型
* subtype:动画过渡方向
* startProgress:动画起点(在整体动画的百分比)
* endProgress:动画终点(在整体动画的百分比)
转场动画过渡效果
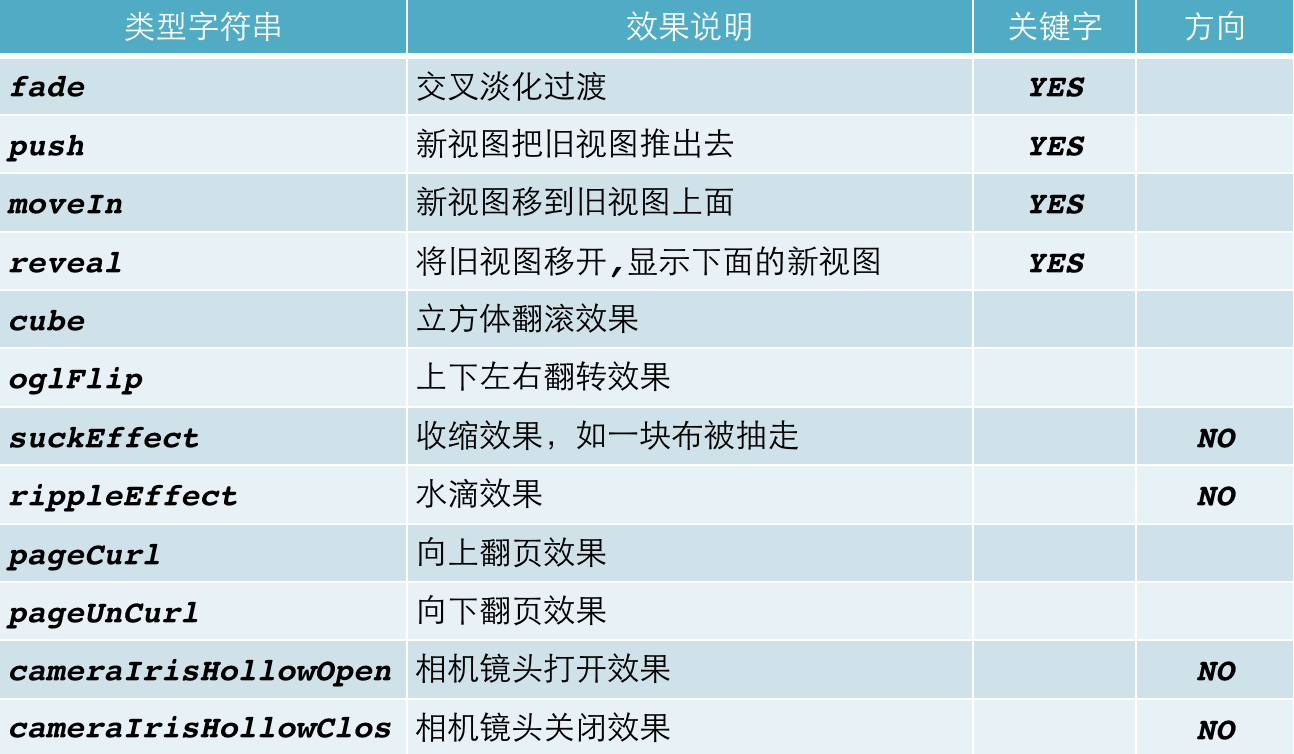
使用UIView动画函数实现转场动画——单视图
1. + (void)transitionWithView:(UIView *)view duration:(NSTimeInterval)duration options:(UIViewAnimationOptions)options animations:(void (^)(void))animations completion:(void (^)(BOOL finished))completion;
2. 参数说明:
* duration:动画的持续时间
* view:需要进行转场动画的视图
* options:转场动画的类型
* animations:将改变视图属性的代码放在这个block中
* completion:动画结束后,会自动调用这个block
使用UIView动画函数实现转场动画——双视图
1. + (void)transitionFromView:(UIView *)fromView toView:(UIView *)toView duration:(NSTimeInterval)duration options:(UIViewAnimationOptions)options completion:(void (^)(BOOL finished))completion;
2. 参数说明:
* duration:动画的持续时间
* options:转场动画的类型
* animations:将改变视图属性的代码放在这个block中
* completion:动画结束后,会自动调用这个block
CADisplayLink
1. CADisplayLink是一种以屏幕刷新频率触发的时钟机制,每秒钟执行大约60次左右
2. CADisplayLink是一个计时器,可以使绘图代码与视图的刷新频率保持同步,而NSTimer无法确保计时器实际被触发的准确时间
3. 使用方法:
* 定义CADisplayLink并制定触发调用方法
* 将显示链接添加到主运行循环队列
* 代码演示
* 创建CALayer
* touchBegin,点击屏幕,做动画
* 创建动画,添加动画到CALayer
* 怎样执行动画?执行动画的本质是改变图层的属性。
* 告诉动画执行怎样的动画?设置动画属性(position)
* 告诉动画属性怎么改变?设置动画属性值改变 toValue fromValue
* duration:动画时长
* 动画有反弹?取消反弹
1>执行动画完毕不要移除
2>设置动画填充模式,保持最新的位置。
* rotation:
三维旋转:transform
二维旋转:transform.rotation
* scale
* 设置图层内容(心)
* tovalue:@0.5
* 总结CABasicAnimation只能在两个值之间做动画,怎么多个值做动画,用CAKeyframeAnimation
- (void)viewDidLoad
{
    [super viewDidLoad];

    // 创建图层,核心动画必须在图层上才有有效果
    CALayer *layer = [CALayer layer];
    layer.position = CGPointMake(100, 100);
    layer.bounds = CGRectMake(0, 0, 100, 100);
    layer.backgroundColor = [UIColor redColor].CGColor;
    layer.contents = (id)[UIImage imageNamed:@"心"].CGImage;  // 设置图层的图片内容
    [self.view.layer addSublayer:layer];
    _layer = layer;
}

// 有动画效果的旋转
- (void)touchesBegan:(NSSet *)touches withEvent:(UIEvent *)event
{
    // 创建动画对象
    CABasicAnimation *anim = [CABasicAnimation animation];

    // 设置动画的属性
//    anim.keyPath = @"transform";  // (M_PI, 0, 0, 1):绕Y轴旋转180°,3D
//    anim.keyPath = @"transform.rotation";  // 旋转180°,2D
    anim.keyPath = @"transform.scale"; // X、Y同时缩放0.5

    // 设置属性改变的值
//    anim.toValue = [NSValue valueWithCATransform3D:CATransform3DMakeRotation(M_PI, 0, 0, 1)]; // (M_PI, 0, 0, 1):绕Y轴旋转180°,3D
//    anim.toValue = @M_PI;  // 旋转180°,2D
    anim.toValue = @0.5;  // X、Y同时缩放0.5

    // 设置动画时长
    anim.duration = 0.25;

    // 取消反弹
    anim.removedOnCompletion = NO;
    anim.fillMode = kCAFillModeForwards;

    // 重复动画的次数(MAXFLOAT是执行无限次)
    anim.repeatCount = MAXFLOAT;

    [_layer addAnimation:anim forKey:nil];

}

// 有动画效果的位移
- (void)position
{
    // 1,创建动画对象
    CABasicAnimation *anim = [CABasicAnimation animation];
    // 2,设置动画的属性(需要改变哪个属性)
    anim.keyPath = @"position";
    // 3,设置属性改变的值(改变多少)
    anim.toValue = [NSValue valueWithCGPoint:CGPointMake(200, 200)];
    // 4,设置动画时长
    anim.duration = 2;
    // 5,取消反弹
    // (1),动画执行完毕之后不要把动画移除
    anim.removedOnCompletion = NO;
    // (2),保持最新的位置
    anim.fillMode = kCAFillModeForwards;
    // 6,给图层添加了动画
    [_layer addAnimation:anim forKey:nil];
}
7> CAKeyframeAnimation
* 面向view开发,拖一个view
* values:能多个值之间做动画,按照顺序做。
* path
- (void)touchesBegan:(NSSet *)touches withEvent:(UIEvent *)event
{// 沿着某个路径移动
    CAKeyframeAnimation *anim = [CAKeyframeAnimation animation];

    // 设置动画属性
    anim.keyPath = @"position";

    // 沿着路劲走(此处是圆)
    UIBezierPath *path = [UIBezierPath bezierPathWithOvalInRect:CGRectMake(0, 0, 200, 200)];
    anim.path = path.CGPath;

    anim.duration = 0.25;

    // 取消反弹
    anim.removedOnCompletion = NO;
    anim.fillMode = kCAFillModeForwards;

    // 重复
    anim.repeatCount = MAXFLOAT;

    [_redView.layer addAnimation:anim forKey:nil];

}
- (void)value
{// 可以同时进行多次移动

    CAKeyframeAnimation *anim = [CAKeyframeAnimation animation];

    // 设置动画属性
    anim.keyPath = @"position";

    // 可以同时进行多值
    NSValue *v1 = [NSValue valueWithCGPoint:CGPointZero];
    NSValue *v2 = [NSValue valueWithCGPoint:CGPointMake(160, 160)];
    NSValue *v3 = [NSValue valueWithCGPoint:CGPointMake(270, 0)];

    anim.values = @[v1,v2,v3];

    anim.duration = 2;

    [_redView.layer addAnimation:anim forKey:nil];
}
* 动画节奏(timingFunction)
* 代理
8> CATransition
过度动画又叫转场动画(一般在图片切换时使用) -> type(转场类型) -> subtype(方向) -> 动画进度
注意:转场动画必须和过度代码放在一块,否则没有效果(过度代码就是改变属性值的代码,比如下面的NSString *fileName...和_imageView.image =... 那两行)
- (void)touchesBegan:(NSSet *)touches withEvent:(UIEvent *)event
{
    _index++;
    if (_index == 4) {
        _index = 1;
    }
    NSString *fileName = [NSString stringWithFormat:@"%d",_index];
    _imageView.image = [UIImage imageNamed:fileName];

    CATransition *anim = [CATransition animation]; // 创建动画对象
    anim.type = @"pageCurl"; // 翻页效果
    anim.subtype = kCATransitionFromLeft; // 从左边开始翻
//    anim.startProgress = 0.5;  // 翻页的起始位置
    anim.duration = 2;
    [_imageView.layer addAnimation:anim forKey:nil];
}
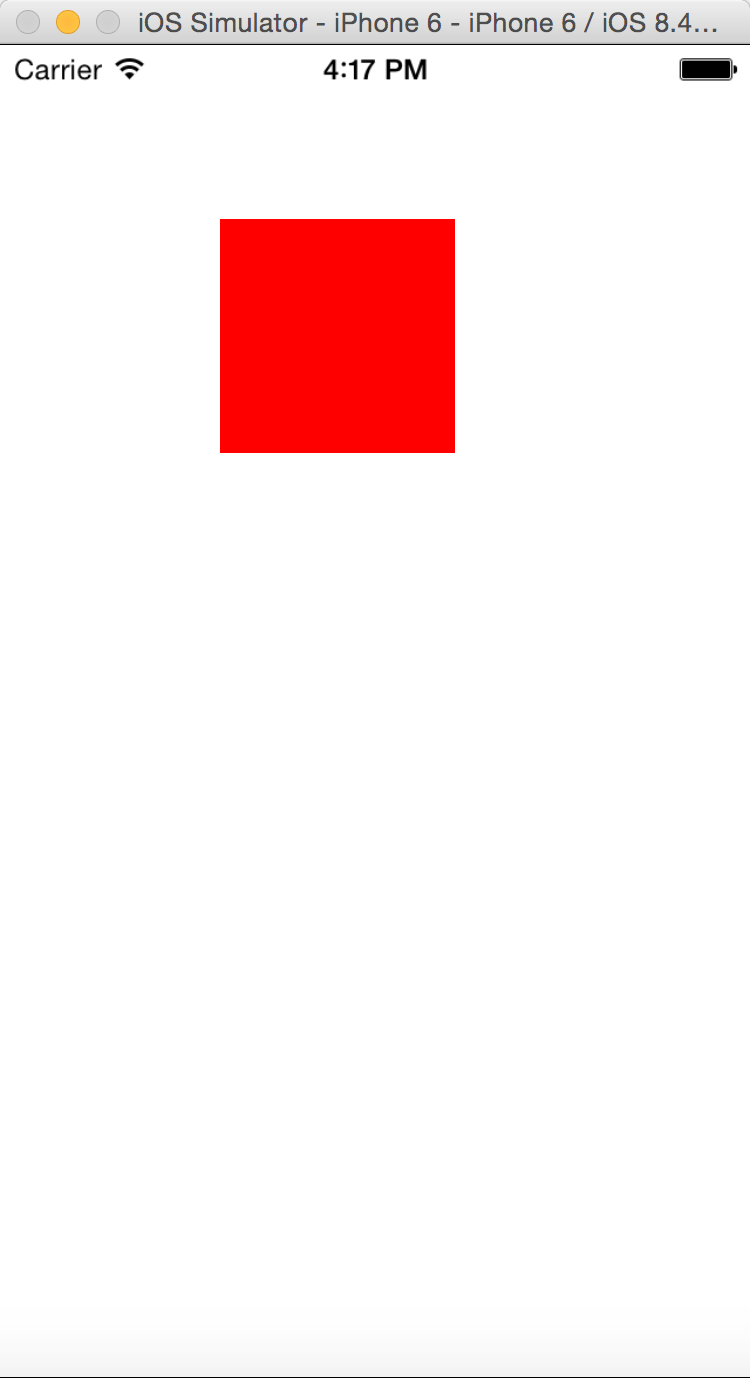
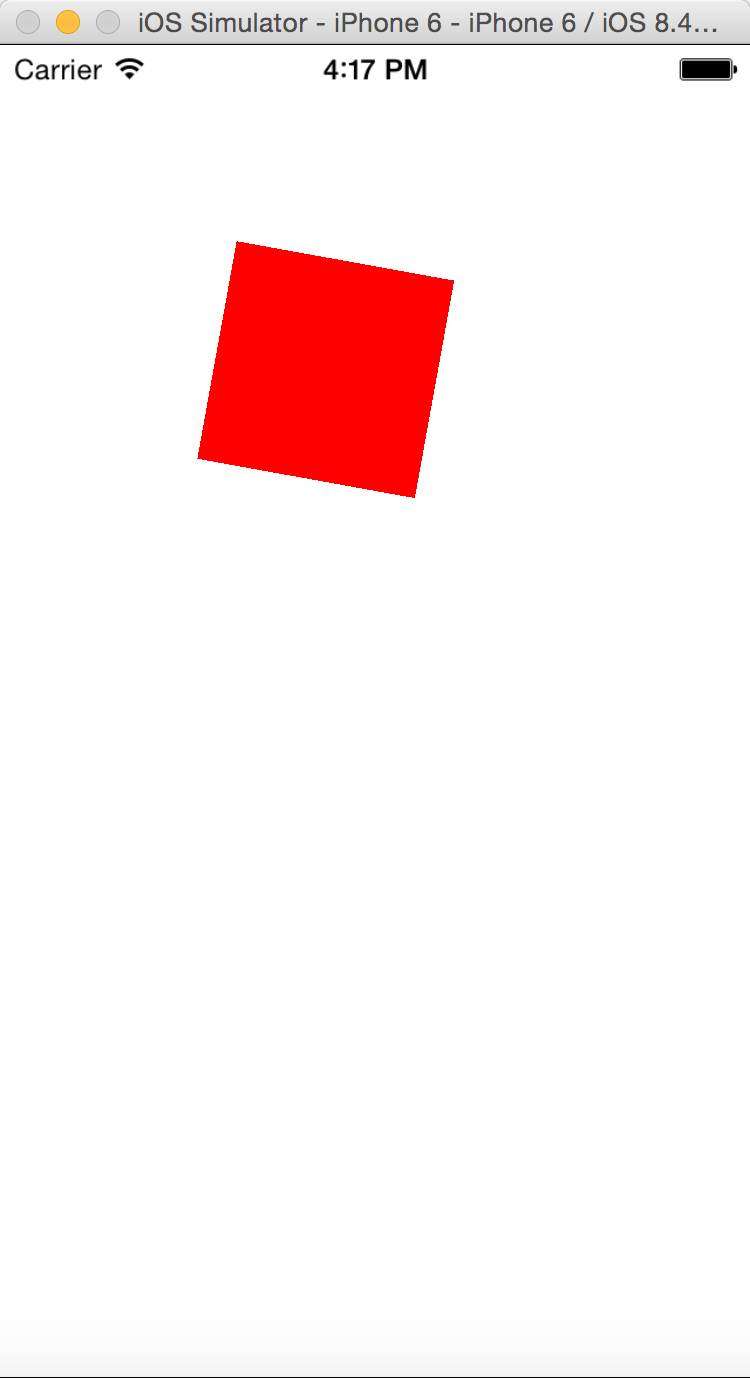
9>CAAnimationGroup(动画组)
同时进行多种动画(动画组) ->平移,旋转,缩放 ->取消反弹
// 动画组:同时进行几个动画效果
- (void)touchesBegan:(NSSet *)touches withEvent:(UIEvent *)event
{
    // 旋转90°
    CABasicAnimation *rotation = [CABasicAnimation animation];
    rotation.keyPath = @"transform.rotation";
    rotation.toValue = @M_PI_2;
    // 位移到(100, 250)这个点
    CABasicAnimation *position = [CABasicAnimation animation];
    position.keyPath = @"position";
    position.toValue = [NSValue valueWithCGPoint:CGPointMake(100, 250)];
    // 缩小0.5倍
    CABasicAnimation *scale = [CABasicAnimation animation];
    scale.keyPath = @"transform.scale";
    scale.toValue = @0.5;

    // 创建动画组
    CAAnimationGroup *group = [CAAnimationGroup animation];
    // 修改动画组属性:同时旋转、位移、缩小,注意:三个动画是同时进行的,不是按顺序进行的
    group.animations = @[rotation,position,scale];

    // 取消反弹
    group.removedOnCompletion = NO;
    group.fillMode = kCAFillModeForwards;

    group.duration = 2;
    [_redView.layer addAnimation:group forKey:nil];
}
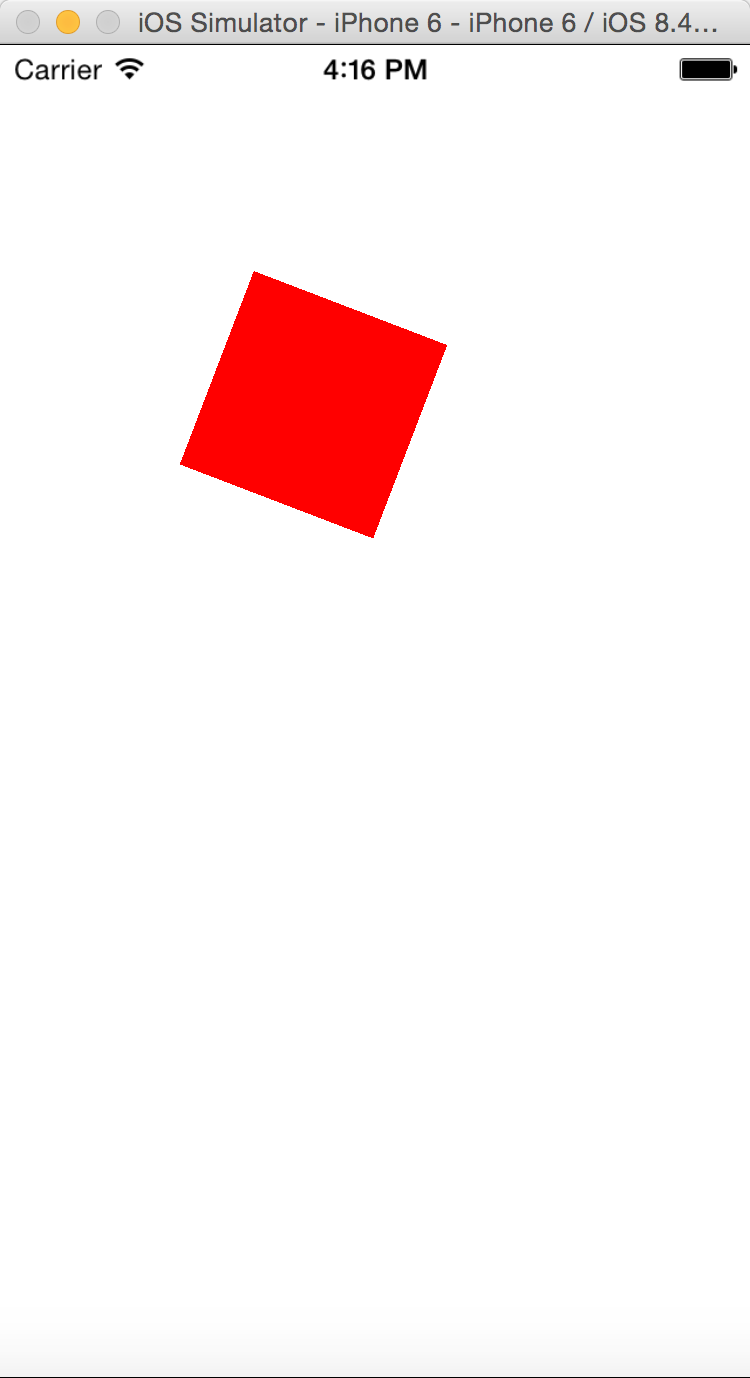
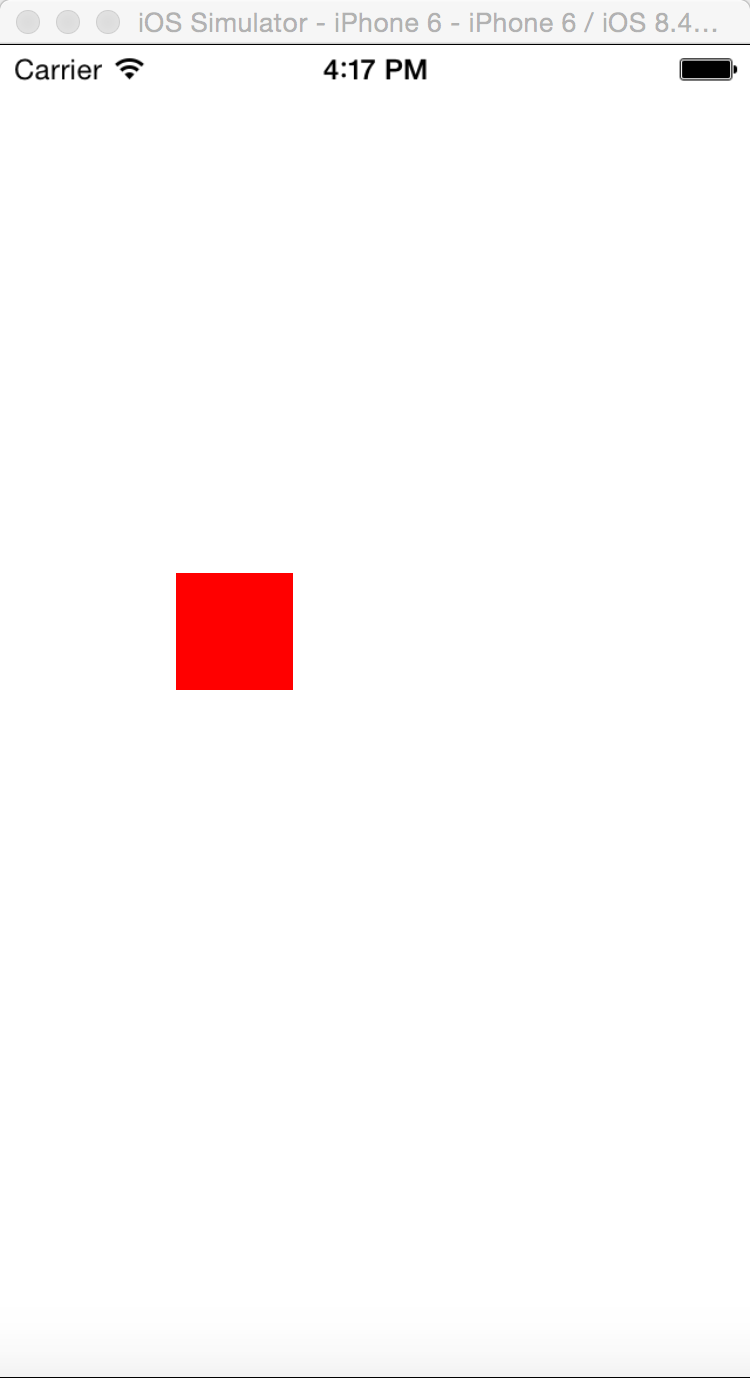
10> UIView封装的动画
* 什么时候用核心动画,什么时候用UIView动画
* 核心动画的缺点:都是假象,不能真正改变图层属性的值(不管有没有取消反弹,最后属性值(比如,位置)都没改变)
* 展示和真实的位置不同
* 如果真实地改变位置就用UIView的动画
* 转场动画就用核心动画
* 为什么转场用核心动画?因为UIView的转场动画太少,不能像核心动画那样做出炫酷的效果。
* 演示UIView的转场动画
* touchBegin,切换图片
- (void)touchesBegan:(NSSet *)touches withEvent:(UIEvent *)event
{
    // 过度代码
    _index++;
    if (_index == 4) {
        _index = 1;
    }
    NSString *fileName = [NSString stringWithFormat:@"%d",_index];
    _iamgeView.image = [UIImage imageNamed:fileName];

    // UIView的转场动画,跟核心转场动画不同,它真实地改变了属性
    [UIView transitionWithView:self.view duration:0.5 options:UIViewAnimationOptionTransitionCurlUp animations:nil completion:nil];
}
// 核心动画都是假象,不能改变layer的真实属性的值
// 展示的位置和实际的位置不同。实际位置永远在最开始位置
// 想改变真实的位置,请用UIView animateWithDuration:0.25 animations:^{}
- (void)position
{
    CABasicAnimation *anim = [CABasicAnimation animation];
    anim.keyPath = @"position";
    anim.fromValue = [NSValue valueWithCGPoint:CGPointZero];
    anim.toValue = [NSValue valueWithCGPoint:CGPointMake(200, 200)];

    // 核心动画代理
    anim.delegate = self;

    // 取消反弹
    anim.removedOnCompletion = NO;
    anim.fillMode = kCAFillModeForwards;

    [_redView.layer addAnimation:anim forKey:nil];
}
// 核心动画的代理方法
- (void)animationDidStop:(CAAnimation *)anim finished:(BOOL)flag
{
    // 验证:核心动画都是假象,展示的位置和实际的位置不同。实际位置永远在最开始位置
    NSLog(@"%@",NSStringFromCGPoint(_redView.layer.position));
}
11> -转盘
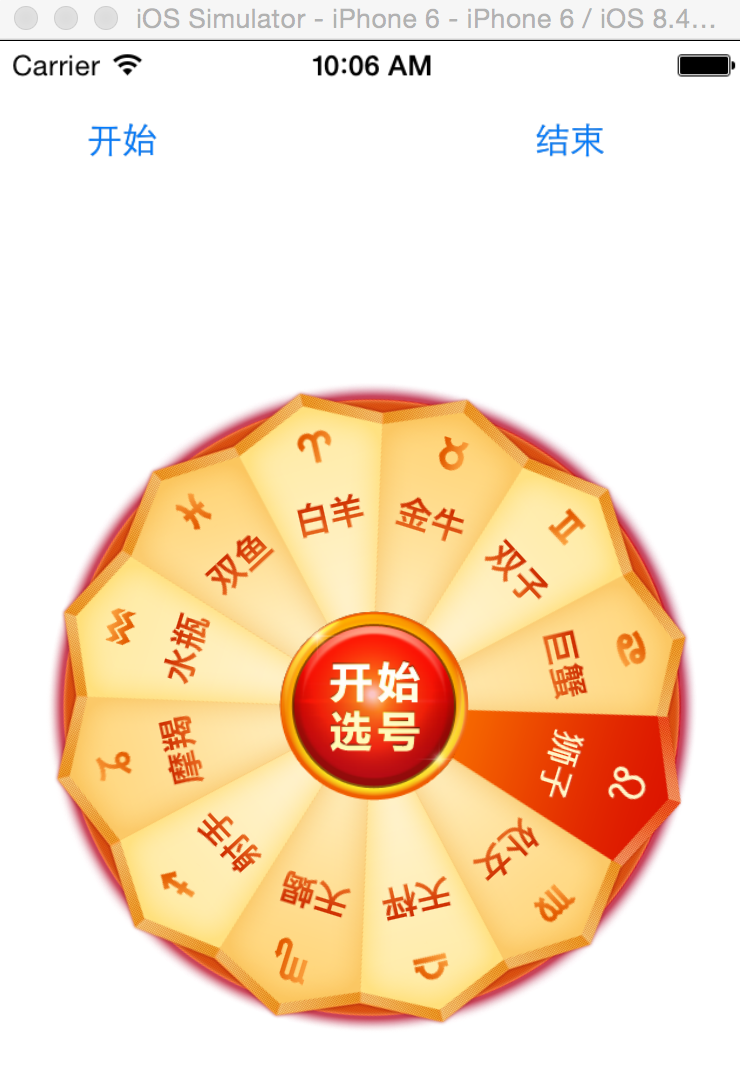
* 看素材分析控件(2个UIImgeView,1个按钮)
* 自定义HMWheelView(处理转盘功能,以后其他项目直接拷贝就好了)
* xib描述(界面固定,按钮有两种状态的图片)
* 添加按钮,父控件是中间的那个UIImgeView,只有他需要旋转。
* 在awakeFormNib添加,initWithCoder还没连线。
// 加载XIB时调用,但是还有没连好线
- (id)initWithCoder:(NSCoder *)aDecoder
{
    if (self = [super initWithCoder:aDecoder]) {
        NSLog(@"initWithCoder----%@",_rotationView);
    }
    return self;
}
// 加载XIB时调用,已经连好线
#warning 添加按钮
- (void)awakeFromNib{
}
* 按钮的位置:PPT分析,所有按钮的frame都一样,但是根据不同的角标,旋转不同的角度,相对上一个都旋转30°。
1> 设置锚点:旋转是绕着锚点旋转的
2> 设置position
3> 设置尺寸
4> 形变,旋转按钮
#warning 添加按钮
- (void)awakeFromNib
{
    _rotationView.userInteractionEnabled = YES;

    // 裁剪的大图片
    UIImage *bigImage = [UIImage imageNamed:@"LuckyAstrology"];
    UIImage *selectedImage = [UIImage imageNamed:@"LuckyAstrologyPressed"];

    // 在裁剪图片时这里需要 转换坐标系
    // 裁剪后的图片的尺寸(bigImage.size.width / 12 == 40,bigImage.size.height == 47)
    // [UIScreen mainScreen].scale判断Retina的倍数(2,或3),非Retina则为1
    CGFloat imageW = 40 * [UIScreen mainScreen].scale;
    CGFloat imageH = 47 * [UIScreen mainScreen].scale;

    for (int i = 0; i < 12; i++) {
        // 创建按钮
        HMWheelButton *button = [HMWheelButton buttonWithType:UIButtonTypeCustom];

        // 锚点
        button.layer.anchorPoint = CGPointMake(0.5, 1);
        // 位置
        button.layer.position = CGPointMake(self.bounds.size.width * 0.5, self.bounds.size.height * 0.5);
        // 旋转按钮
        button.layer.transform = CATransform3DMakeRotation(angle2radian(i * 30), 0, 0, 1);
        // 尺寸
        button.bounds = CGRectMake(0, 0, 68, 143);

        // 设置选中时候的背景图片
        [button setBackgroundImage:[UIImage imageNamed:@"LuckyRototeSelected"] forState:UIControlStateSelected];

        // 设置按钮的图片
        // image:裁剪的图片
        // rect:裁剪的尺寸
        CGRect clipRect = CGRectMake(i * imageW, 0, imageW, imageH);
        // 1.CGImageRef 是 像素(Retina,CGImageRef按像素来裁剪的),而我们传的是点坐标(imagH, imageW都是点的坐标),需要转换坐标系
        // 2.bigImage是UIImage,需要转换成CGImage
        CGImageRef smallImage = CGImageCreateWithImageInRect(bigImage.CGImage, clipRect);
        [button setImage:[UIImage imageWithCGImage:smallImage] forState:UIControlStateNormal];

        // 设置选中的图片
        CGImageRef selectedSmallImage = CGImageCreateWithImageInRect(selectedImage.CGImage, clipRect);
        [button setImage:[UIImage imageWithCGImage:selectedSmallImage] forState:UIControlStateSelected];

        // 监听点击事件
        [button addTarget:self action:@selector(btnClick:) forControlEvents:UIControlEventTouchDown];

        if (i == 0) {
            [self btnClick:button];
        }
        [_rotationView addSubview:button];
    }
}
* 按钮选中的背景
* 监听按钮点击,允许父控件交互。
//@property (nonatomic, weak) UIButton *selectedButton;
#warning 监听按钮点击
- (void)btnClick:(UIButton *)button
{
    // 加一个属性,这样任何时候有且只有一个按钮被选中(显示选中状态)
    _selectedButton.selected = NO;
    button.selected = YES;
    _selectedButton = button;
}
* 裁剪大图片
* CGImageCreateWithImageInRect(CGImageRef image, CGRect rect)
* image:裁剪的图片 rect:裁剪的尺寸
* CGImageRef 是 像素,而我们传的是点坐标,转换坐标系
* [UIScreen mainScreen].scale判断Retina的倍数(2,或3),非Retina则为1;利用此方法转化坐标系
* 修改button的image大小:自定义button,在其里面使用- (CGRect)imageRectForContentRect:(CGRect)contentRect修该,其中contentRect是button的bounds
#import "HMWheelButton.h"
@implementation HMWheelButton
// contentRect是Button的bounds
// 修改button的image大小
- (CGRect)imageRectForContentRect:(CGRect)contentRect
{
    CGFloat imageW = 40;
    CGFloat imageH = 47;
    CGFloat imageX = (contentRect.size.width - imageW) * 0.5;
    CGFloat imageY = 20;
    return CGRectMake(imageX, imageY, imageW, imageH);
}

// 重写高亮方法:取消高亮状态
- (void)setHighlighted:(BOOL)highlighted
{

}
@end
* 旋转转盘:不能用核心动画
* 搞个定时器,每隔一段时间旋转一点角度,一秒旋转45°,每次旋转45/60,因为一秒调用60次,那个方法
* 给外界提供开始旋转和停止旋转两个方法
<pre name="code" class="objc">//@property (nonatomic, strong) CADisplayLink *link;
- (CADisplayLink *)link
{
    if (_link == nil) {
        CADisplayLink *link = [CADisplayLink displayLinkWithTarget:self selector:@selector(update)];
        [link addToRunLoop:[NSRunLoop mainRunLoop] forMode:NSDefaultRunLoopMode];
        _link = link;
    }
    return _link;
}
#warning 开始旋转
- (void)startRotating
{
    self.link.paused = NO;

}
#warning 停止旋转
- (void)stopRotating
{
    _link.paused = YES;
}
* 监听开始旋转按钮
1> 不需要和用户交互,用核心动画
2> 快速旋转的时候,暂停定时器,不需要同时旋转,会有问题
* 旋转完之后,需要处理的业务逻辑
1> 允许用户交互
2> 选中按钮回到最上面中间位置,只要旋转按钮才知道自己旋转了多少,反向旋转这么多角度就好了,用make,把之前的旋转全部清空。
3> 2秒后自动旋转




 415
415

 被折叠的 条评论
为什么被折叠?


