


bro 使用
What’s great about Node.js is the huge economy of useful packages. For example, AdminBro is a package for creating admin interfaces that can be plugged into your application.
Node.js的优点是有用软件包的巨大经济性。 例如, AdminBro是用于创建可插入您的应用程序的管理界面的软件包。
You provide database models or schemas (like blog posts, user comments, etc.) and AdminBro generates the user interface for you.
您提供数据库模型或架构(例如博客文章,用户评论等),并且AdminBro会为您生成用户界面。
You can manage content through this user interface and talk straight to your database. This is great for supporting non-technical teams and delegating mundane work.
您可以通过此用户界面管理内容,然后直接与数据库对话。 这对于支持非技术团队和委派平凡的工作非常有用。
AdminBro软件包解决的问题 (Problems the AdminBro Package Solves)
Let’s say you have a working service built in Node. The service uses Hapi.js for rendering a couple of REST routes and mongoose as the connector to the database.
假设您有一个内置的Node服务。 该服务使用Hapi.js渲染了两条REST路由,并以猫鼬作为数据库的连接器。
Everything works fine, but now you would like to do the following:
一切正常,但现在您要执行以下操作:
- See all the data collections in one user interface for the application. 在一个应用程序的用户界面中查看所有数据收集。
- Try out and test how everything works with the database. 试用并测试一切如何与数据库一起工作。
- Bootstrap and seed the tables with the initial data. 用初始数据引导表并为其播种。
- Build custom report pages based on the data. 根据数据构建自定义报告页面。
- Allow other team members to see what the data for the application looks like. 允许其他团队成员查看应用程序数据的外观。
If that’s the case, this is the right package for you.
如果是这样,这是适合您的软件包。
这是AdminBro软件包包括的内容 (Here’s What the AdminBro Package Includes)
- Create, read, update, delete (CRUD) data in any resource. 在任何资源中创建,读取,更新,删除(CRUD)数据。
- Form validation based on the schema. 基于架构的表单验证。
- Full-featured dashboard with widgets. 具有小部件的全功能仪表板。
- Custom resource decorators. 自定义资源装饰器。
Check out the documentation or try the live demo to discover all the features available.
入门 (Getting Started)
By adding a couple of lines of code, you have a running admin interface. Let’s get started!
通过添加几行代码,您可以运行一个管理界面。 让我们开始吧!
Since AdminBro uses your existing framework to render its routes, you have to use one of our plugins. There are plugins for the following Node.js applications:
由于AdminBro使用您现有的框架来呈现其路由,因此您必须使用我们的插件之一。 以下Node.js应用程序有一些插件:
We’re going to use Express with AdminBro. If you want to use AdminBro with a different framework, see the documentation above for the installation steps.
我们将Express与AdminBro一起使用。 如果要将AdminBro与其他框架一起使用,请参阅上面的文档以获取安装步骤。
快速安装 (Express Installation)
Go ahead and install the express and the express-formidable packages. express-formidable is a peer dependency for AdminBro:
继续安装express和express-formidable软件包。 express-formidable是AdminBro的对等依赖项:
yarn add express 安装AdminBro和AdminBro Express插件 (Install the AdminBro and the AdminBro express plug-in)
yarn add admin-bro @admin-bro/express创建一个将处理所有AdminBro路由的Express路由器 (Create an Express router that will handle all AdminBro routes)
const AdminBro = require('admin-bro')
const AdminBroExpress = require('@admin-bro/express')


const express = require('express')
const app = express()


const adminBro = new AdminBro({
  databases: [],
  rootPath: '/admin',
})


const router = AdminBroExpress.buildRouter(adminBro) 接下来,使用该app的路由器中间件 (Next, consume the router middleware for the app)
app.use(adminBro.options.rootPath, router)


app.listen(8080, () => console.log('AdminBro is under localhost:8080/admin'))
就是这样! 您已成功设置仪表板 (And that’s it! You successfully set up the dashboard)
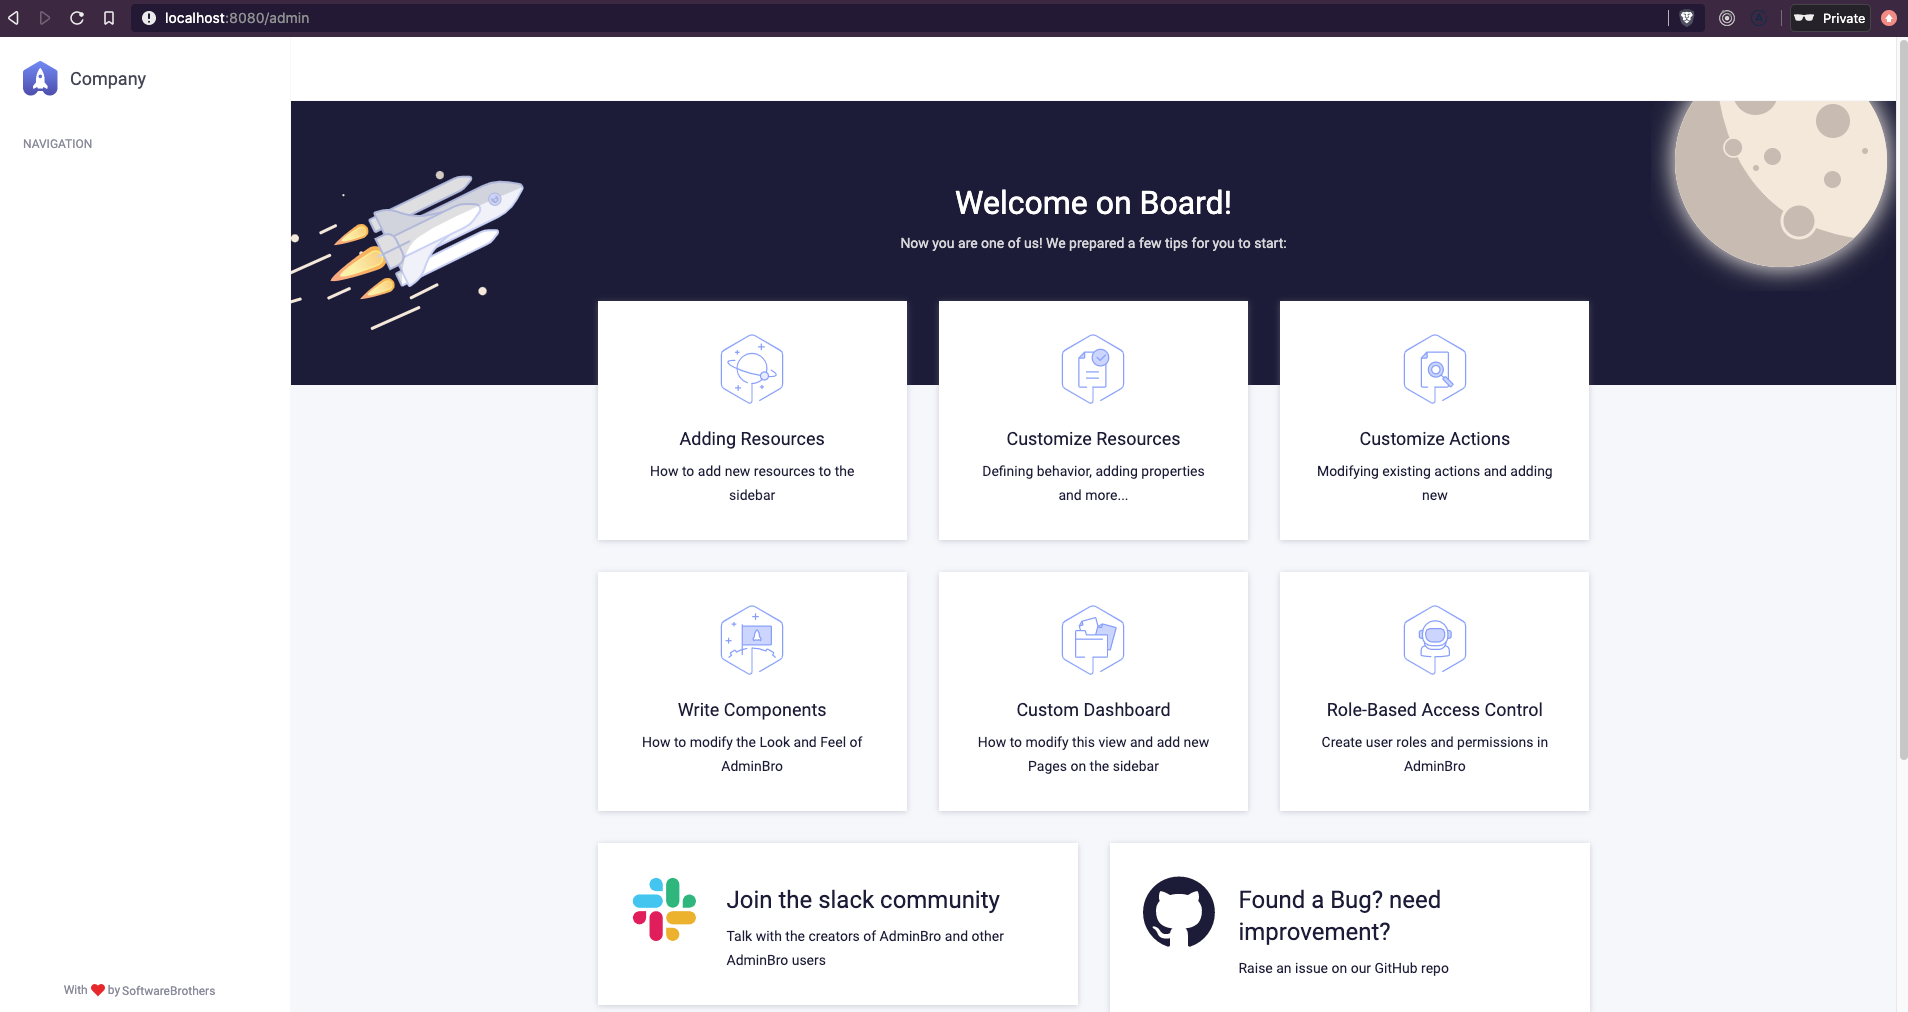
Go ahead and head over to the http://localhost:8080/admin path. The dashboard should be ready and working.
继续并转到http:// localhost:8080 / admin路径。 仪表板应已准备就绪且可以正常工作。
Here’s the full app.js file in case you are curious:
如果您好奇,这是完整的app.js文件:
const AdminBro = require('admin-bro')
const AdminBroExpress = require('@admin-bro/express')


const express = require('express')
const app = express()


const adminBro = new AdminBro({
  databases: [],
  rootPath: '/admin',
})


const router = AdminBroExpress.buildRouter(adminBro)


app.use(adminBro.options.rootPath, router)


app.listen(8080, () => console.log('AdminBro is under localhost:8080/admin'))
You should see the following console log in the terminal if you did everything correctly.
如果您正确执行了所有操作,则应在终端中看到以下控制台日志。

安装数据库适配器和添加资源 (Installing the Database Adapter and Adding Resources)
AdminBro can be connected to many different types of resources. Right now, they support the following options:
AdminBro可以连接到许多不同类型的资源。 目前,它们支持以下选项:
To add resources to AdminBro, you first have to register an adapter for the resource you want to use. Let’s go with the mongoose solution for now.
要将资源添加到AdminBro,首先必须为要使用的资源注册一个适配器。 现在让我们使用猫鼬解决方案。
猫鼬设置 (Mongoose Setup)
yarn add @admin-bro/mongoose适配器注册 (Registration of the adapter)
const AdminBro = require('admin-bro')
const AdminBroMongoose = require('@admin-bro/mongoose')


AdminBro.registerAdapter(AdminBroMongoose)
这是将资源传递给AdminBro的方法 (Here’s how you can pass the resources to AdminBro)
const User = mongoose.model('User', { name: String, email: String, surname: String })


const AdminBroOptions = {
  resources: [User],
}


const AdminBro = new AdminBro(AdminBroOptions)
const router = AdminBroExpress.buildRouter(AdminBro)


// add router to express
Any questions? Head over to the official documentation for an in-depth installation guide.
任何问题? 转至官方文档以获取详细的安装指南。
Thanks for reading. Happy coding!
谢谢阅读。 编码愉快!
翻译自: https://medium.com/better-programming/create-an-admin-panel-with-node-js-and-admin-bro-1dbbbaecfd81
bro 使用


 2839
2839


 被折叠的 条评论
为什么被折叠?
被折叠的 条评论
为什么被折叠?
 到【灌水乐园】发言


