


bro 使用
In this blog, I am explaining how to create a basic role-based authentication with Admin Bro. In my previous blog, I have explained what is Admin Bro and how to set up. Do visit it to know how to configure Admin Bro.
在此博客中,我将解释如何使用Admin Bro创建基于角色的基本身份验证。 在我以前的博客中,我解释了什么是Admin Bro,以及如何设置。 请访问它以了解如何配置Admin Bro。
Table of Content
表中的内容
Introduction
介绍
First of all, create a new Node and express application. After creating it, just install Admin bro to the project.
首先,创建一个新的Node and express应用程序。 创建它之后,只需将Admin bro安装到项目中。
npm install admin-bro @admin-bro/express
npm install express-formidable
npm install @admin-bro/mongoose
npm i mongoose
The above commands install admin bro and other required dependencies to make Admin bro work.
上面的命令将安装admin bro和其他必需的依赖项,以使Admin bro正常工作。
Now let’s start configuring our application with Admin Bro. I have created a simple setup below. Copy and paste it to your workspace.
现在,让我们开始使用Admin Bro配置我们的应用程序。 我在下面创建了一个简单的设置。 复制并将其粘贴到您的工作区。
index.js
index.js
var express = require('express');
const Emp = require('./Models/emp')
const AdminBro = require('admin-bro')
const AdminBroMongoose = require('@admin-bro/mongoose')
const AdminBroExpress = require('@admin-bro/express')
var app = express();
const mongoose = require('mongoose');//Routesapp.get('/', function (req, res) {
    res.send('Hello World!');
});//Database
mongoose.connect('mongodb://localhost/test', {useNewUrlParser: true});
mongoose.connection.once('open',function(){
    console.log('Database connected Successfully');
}).on('error',function(err){
    console.log('Error', err);
})//Admin Bro
AdminBro.registerAdapter(AdminBroMongoose)
const AdminBroOptions = {
  resources: [Emp],
}
const adminBro = new AdminBro(AdminBroOptions)
const router = AdminBroExpress.buildRouter(adminBro)
app.use(adminBro.options.rootPath, router)app.listen(8000, function () {
    console.log('Listening to Port 8000');
});
Models/emp.js
Models/emp.js
const mongoose = require('mongoose');
const empSchema = new mongoose.Schema({
empName: {
type: String,
required: true,
}, empEmail: {
type: String,
required: true,
},
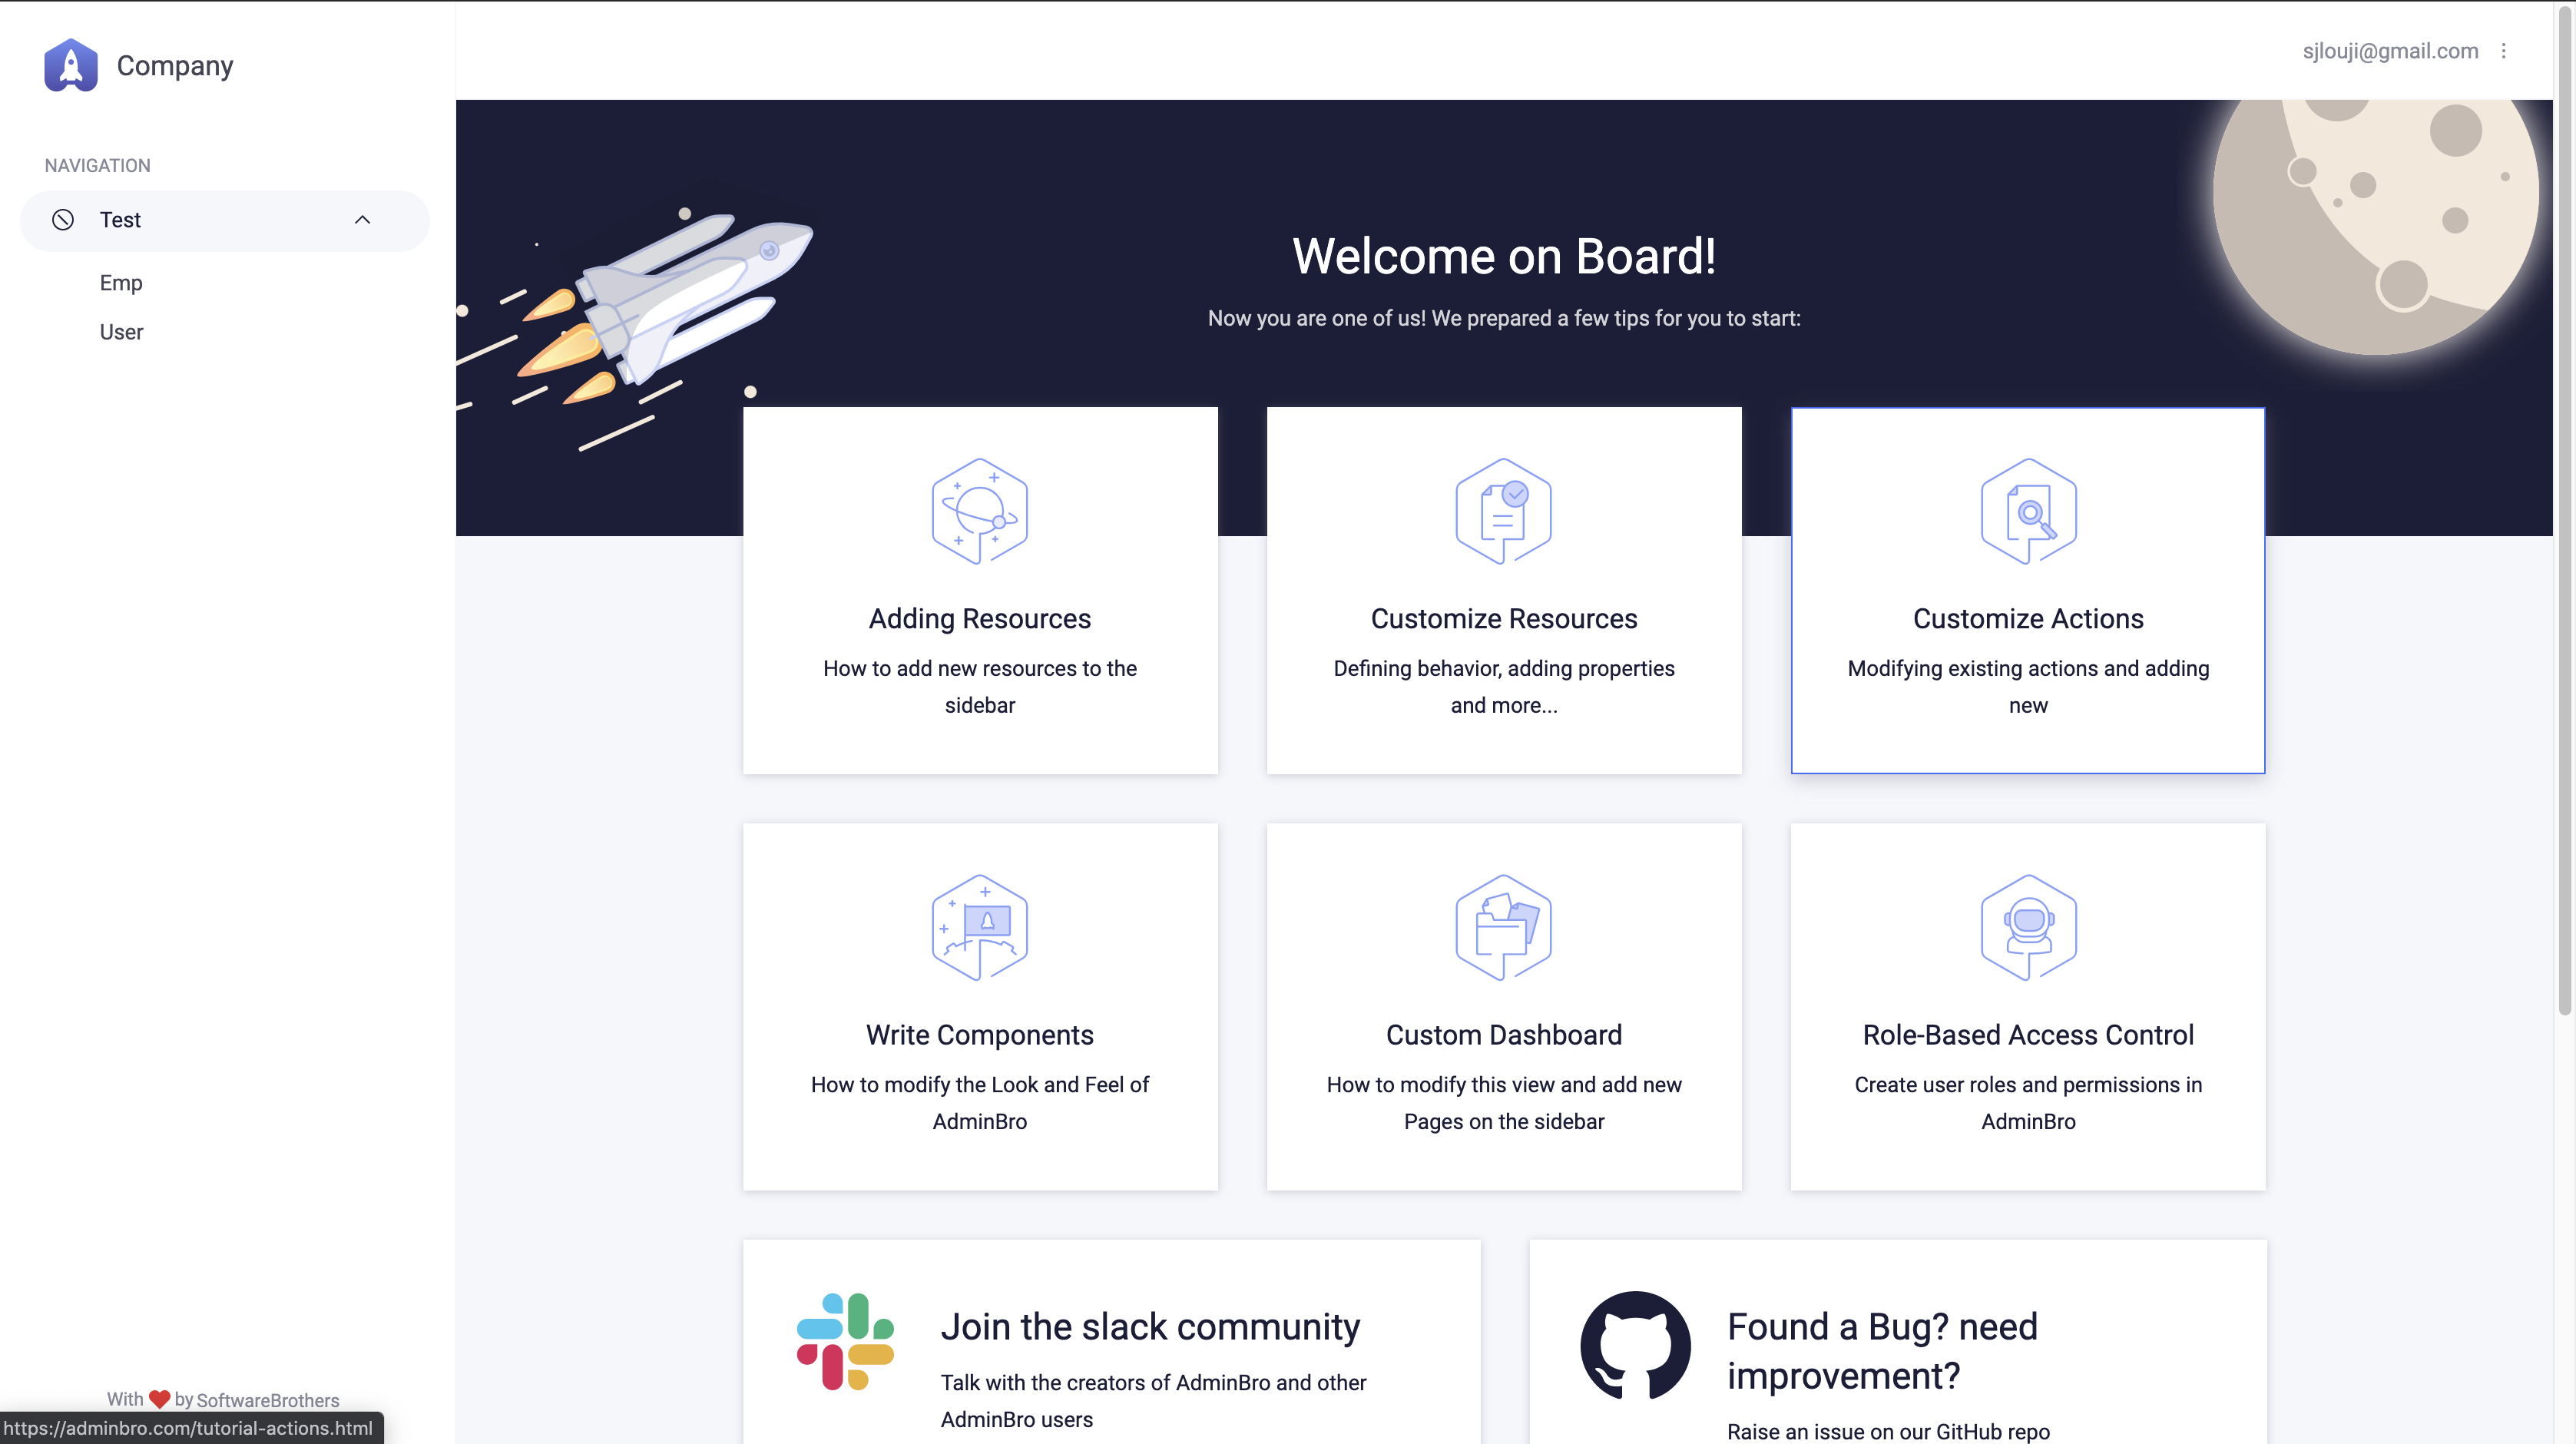
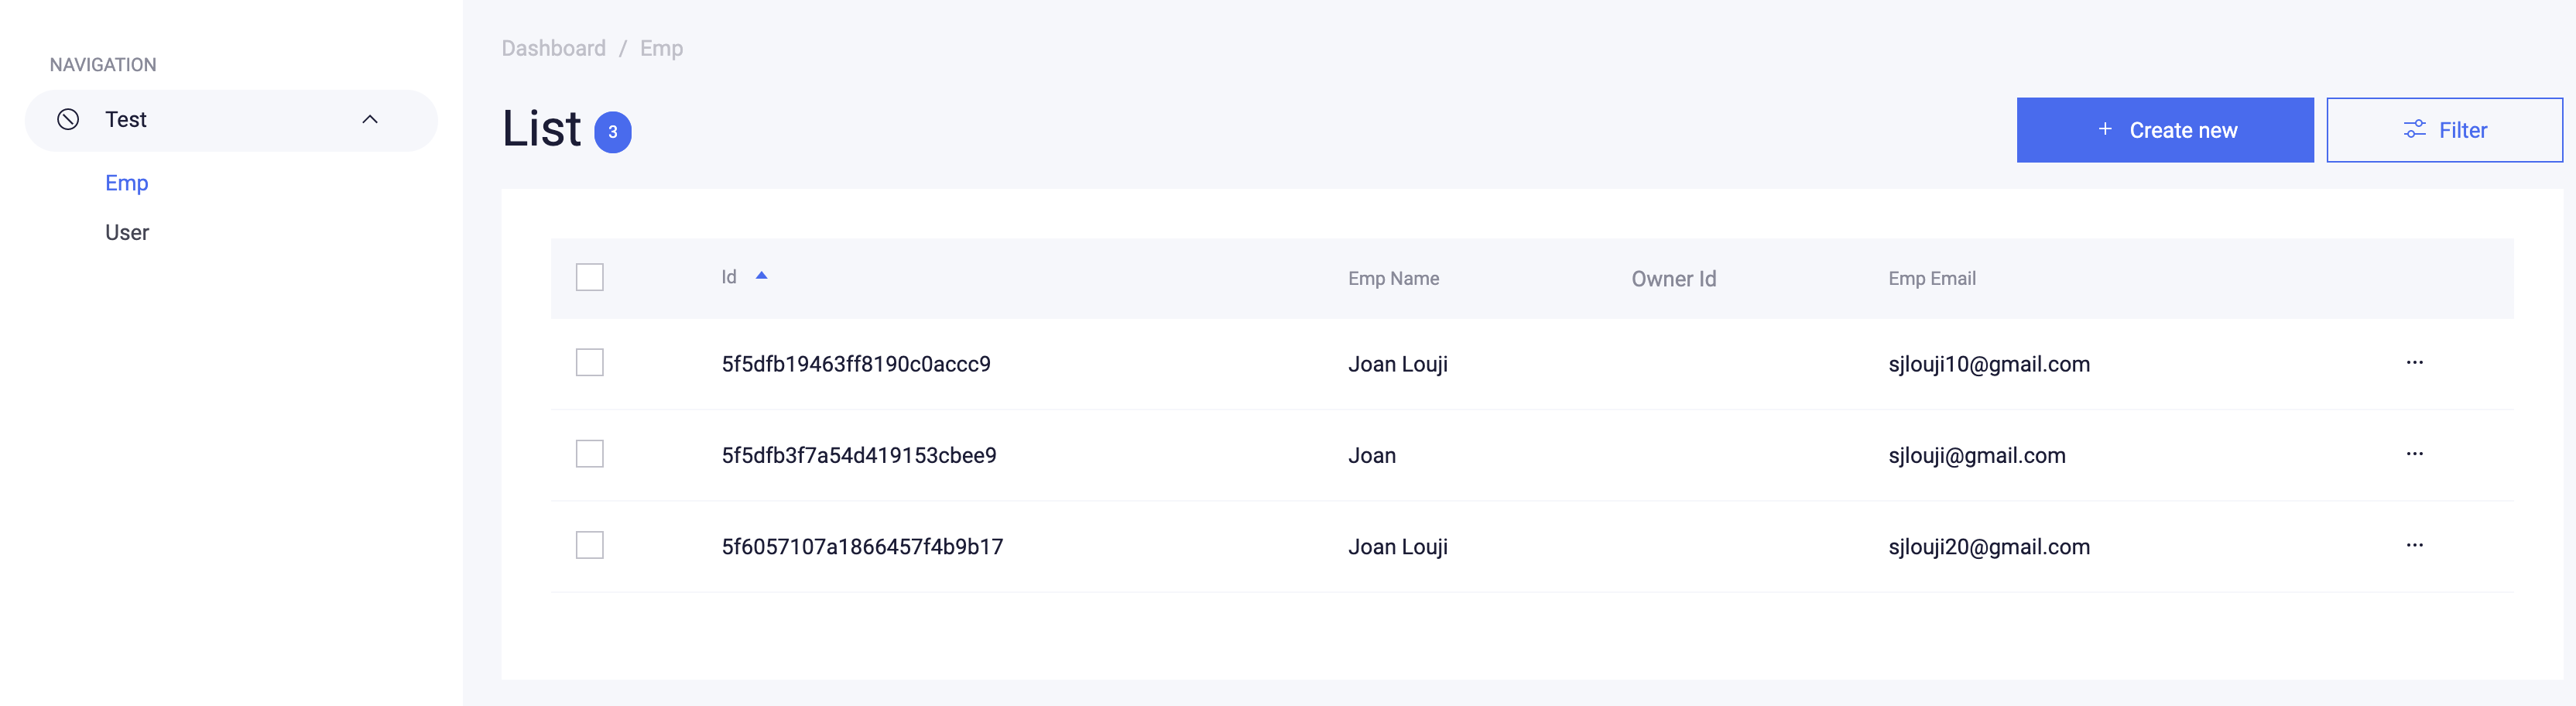
})module.exports = mongoose.model('Emp',empSchema)After configuring, run the server and navigate to http://localhost:8000/admin. You will see an admin panel like the below one.
配置后,运行服务器并导航至http:// localhost:8000 / admin 。 您将看到类似于以下内容的管理面板。
2. Creating a User Model
2.创建用户模型
Now let’s move to the auth section. To do that, let’s first create a new User Model. The user model that I have created has email, password, and role fields where the role field can take only two values either admin or member.
现在,让我们转到auth部分。 为此,我们首先创建一个新的用户模型。 我创建的用户模型具有电子邮件,密码和角色字段,其中角色字段只能采用两个值admin或member。
const mongoose = require('mongoose');const UserSchema = new mongoose.Schema({
  email: {
    type: String,
    required: true,
  },
  encryptedPassword: {
    type: String,
    required: true,
  },
  role: {
    type: String,
    enum: ['admin', 'member'],
    required: true
  }
})module.exports = mongoose.model('User',UserSchema)
After creating the model file, add our User model to Admin Bro.
创建模型文件后,将我们的用户模型添加到Admin Bro。
index.js
index.js
const User = require('../Models/User')//Add Just the User Model to the AdminBroOptions
const AdminBroOptions = {
resources: [User, Emp],
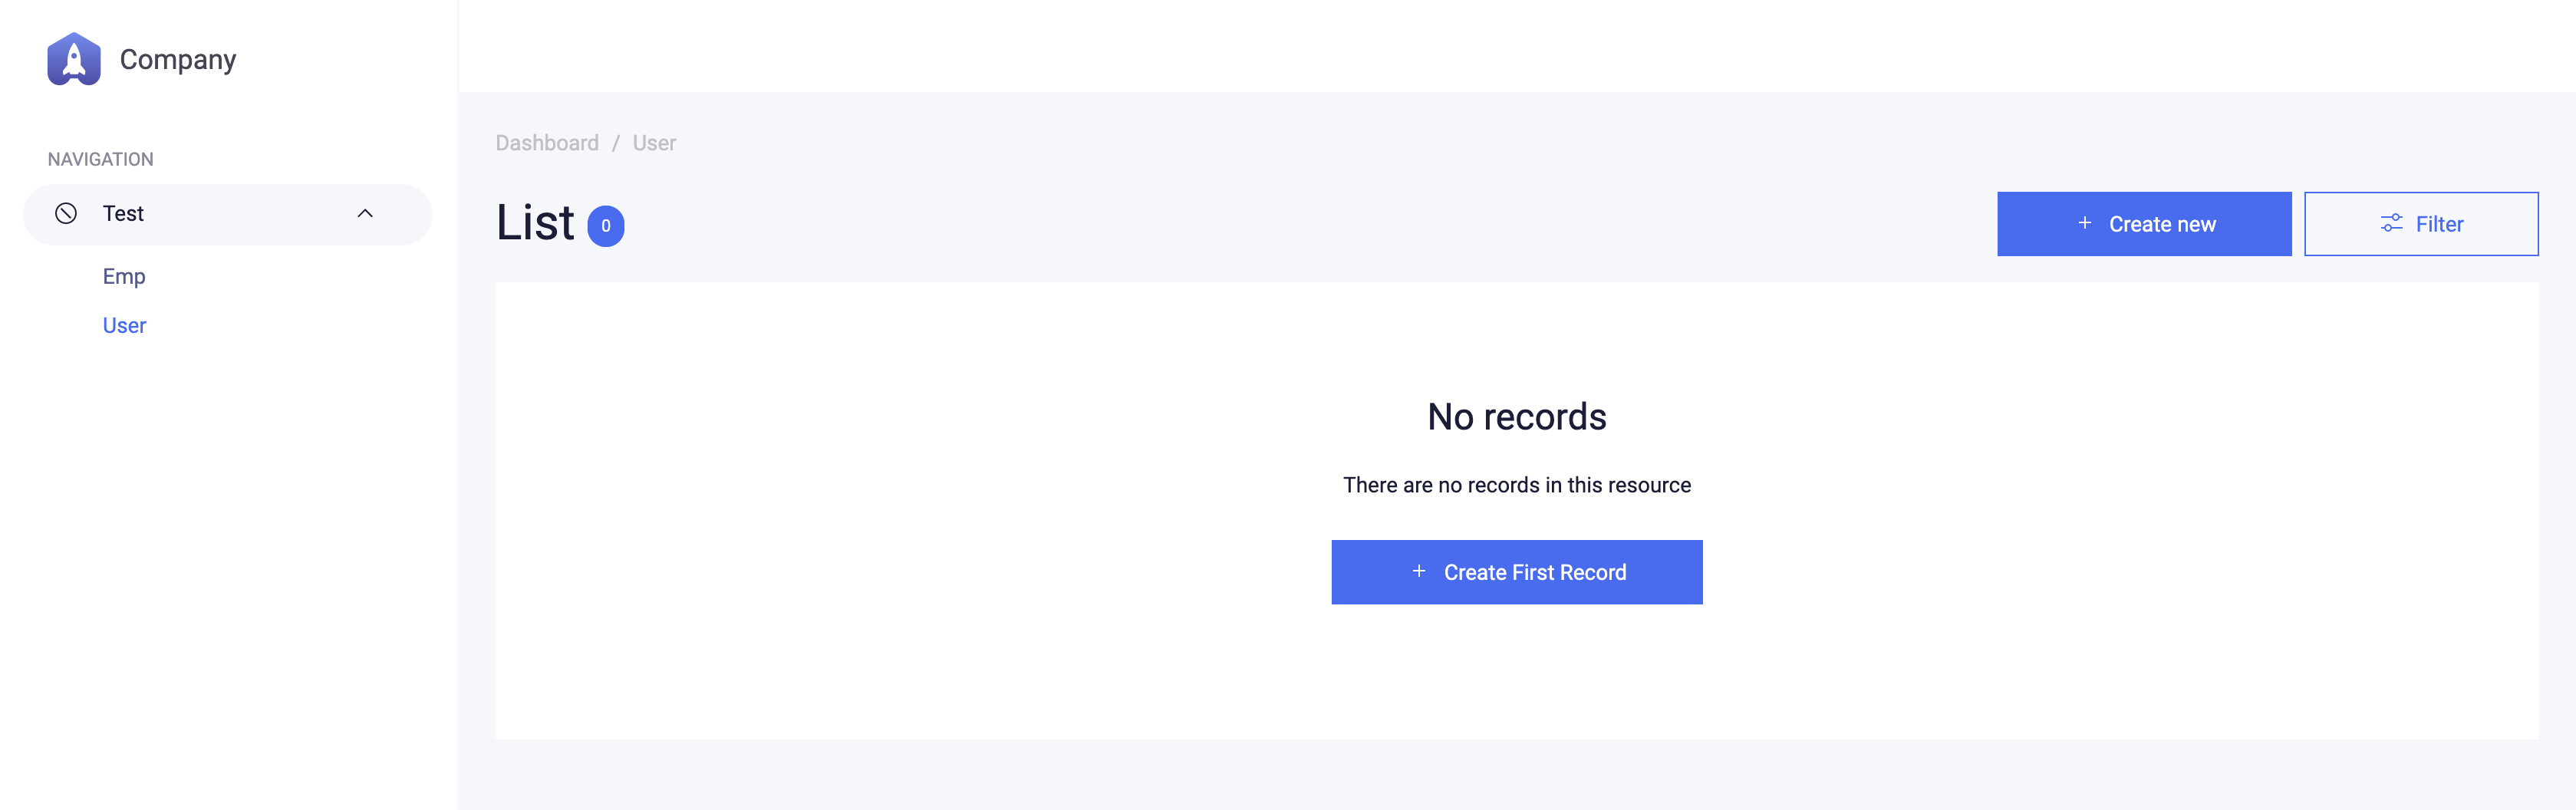
}On navigating to http://localhost:8000/admin, you should see the User model, generated in the left sidebar.
导航到http:// localhost:8000 / admin时,您应该看到在左侧边栏中生成的用户模型。
3. Authenticate Users
3.验证用户
After registering the User model to Admin bro, run the below commands in the terminal which installs admin-bro-express and express-sessions.
将用户模型注册到Admin bro之后,在安装admin-bro-express和express-session的终端中运行以下命令。
npm i admin-bro-expressjs
npm i express-session
a. admin-bro-express — For integrating Admin Bro automatically to express.
一种。 admin-bro-express-用于自动集成Admin Bro来表达。
b. express-session — Creating sessions with Express.
b。 express-session-使用Express创建会话。
Now copy the below code to your file. The below code authenticates and validates the users.
现在,将以下代码复制到您的文件中。 以下代码对用户进行身份验证和验证。
index.js
index.js
const canModifyUsers = ({ currentAdmin }) => currentAdmin && currentAdmin.role === 'admin'AdminBro.registerAdapter(AdminBroMongoose)const AdminBroOptions = {
  resources:
  [Emp,{
    resource: User,
    options: {
      properties: {
        encryptedPassword: { isVisible: false },
        password: {
          type: 'string',
          isVisible: {
            list: false, edit: true, filter: false, show: false,
          },
        },
      },
      actions: {
        new: {
          before: async (request) => {
            if(request.payload.record.password) {
              request.payload.record = {
                ...request.payload.record,
                encryptedPassword: await           bcrypt.hash(request.payload.record.password, 10),
                password: undefined,
              }
            }
            return request
          },
        },
        edit: { isAccessible: canModifyUsers },
        delete: { isAccessible: canModifyUsers },
        new: { isAccessible: canModifyUsers },
      }
    }
  }],
}
const adminBro = new AdminBro(AdminBroOptions)
const router = AdminBroExpressjs.buildAuthenticatedRouter(adminBro, {
  authenticate: async (email, password) => {
    const user = await User.findOne({ email })
      if (user) {
        if (password === user.encryptedPassword) {
          return user
        }
      }
    return false
  },
  cookiePassword: 'session Key',
})
The code has two sections, where the first one checks if the user has permission the make CRUD operations on the particular model. The next one authenticates the user.
该代码分为两部分,第一个部分检查用户是否有权对特定模型进行make CRUD操作。 下一个认证用户。
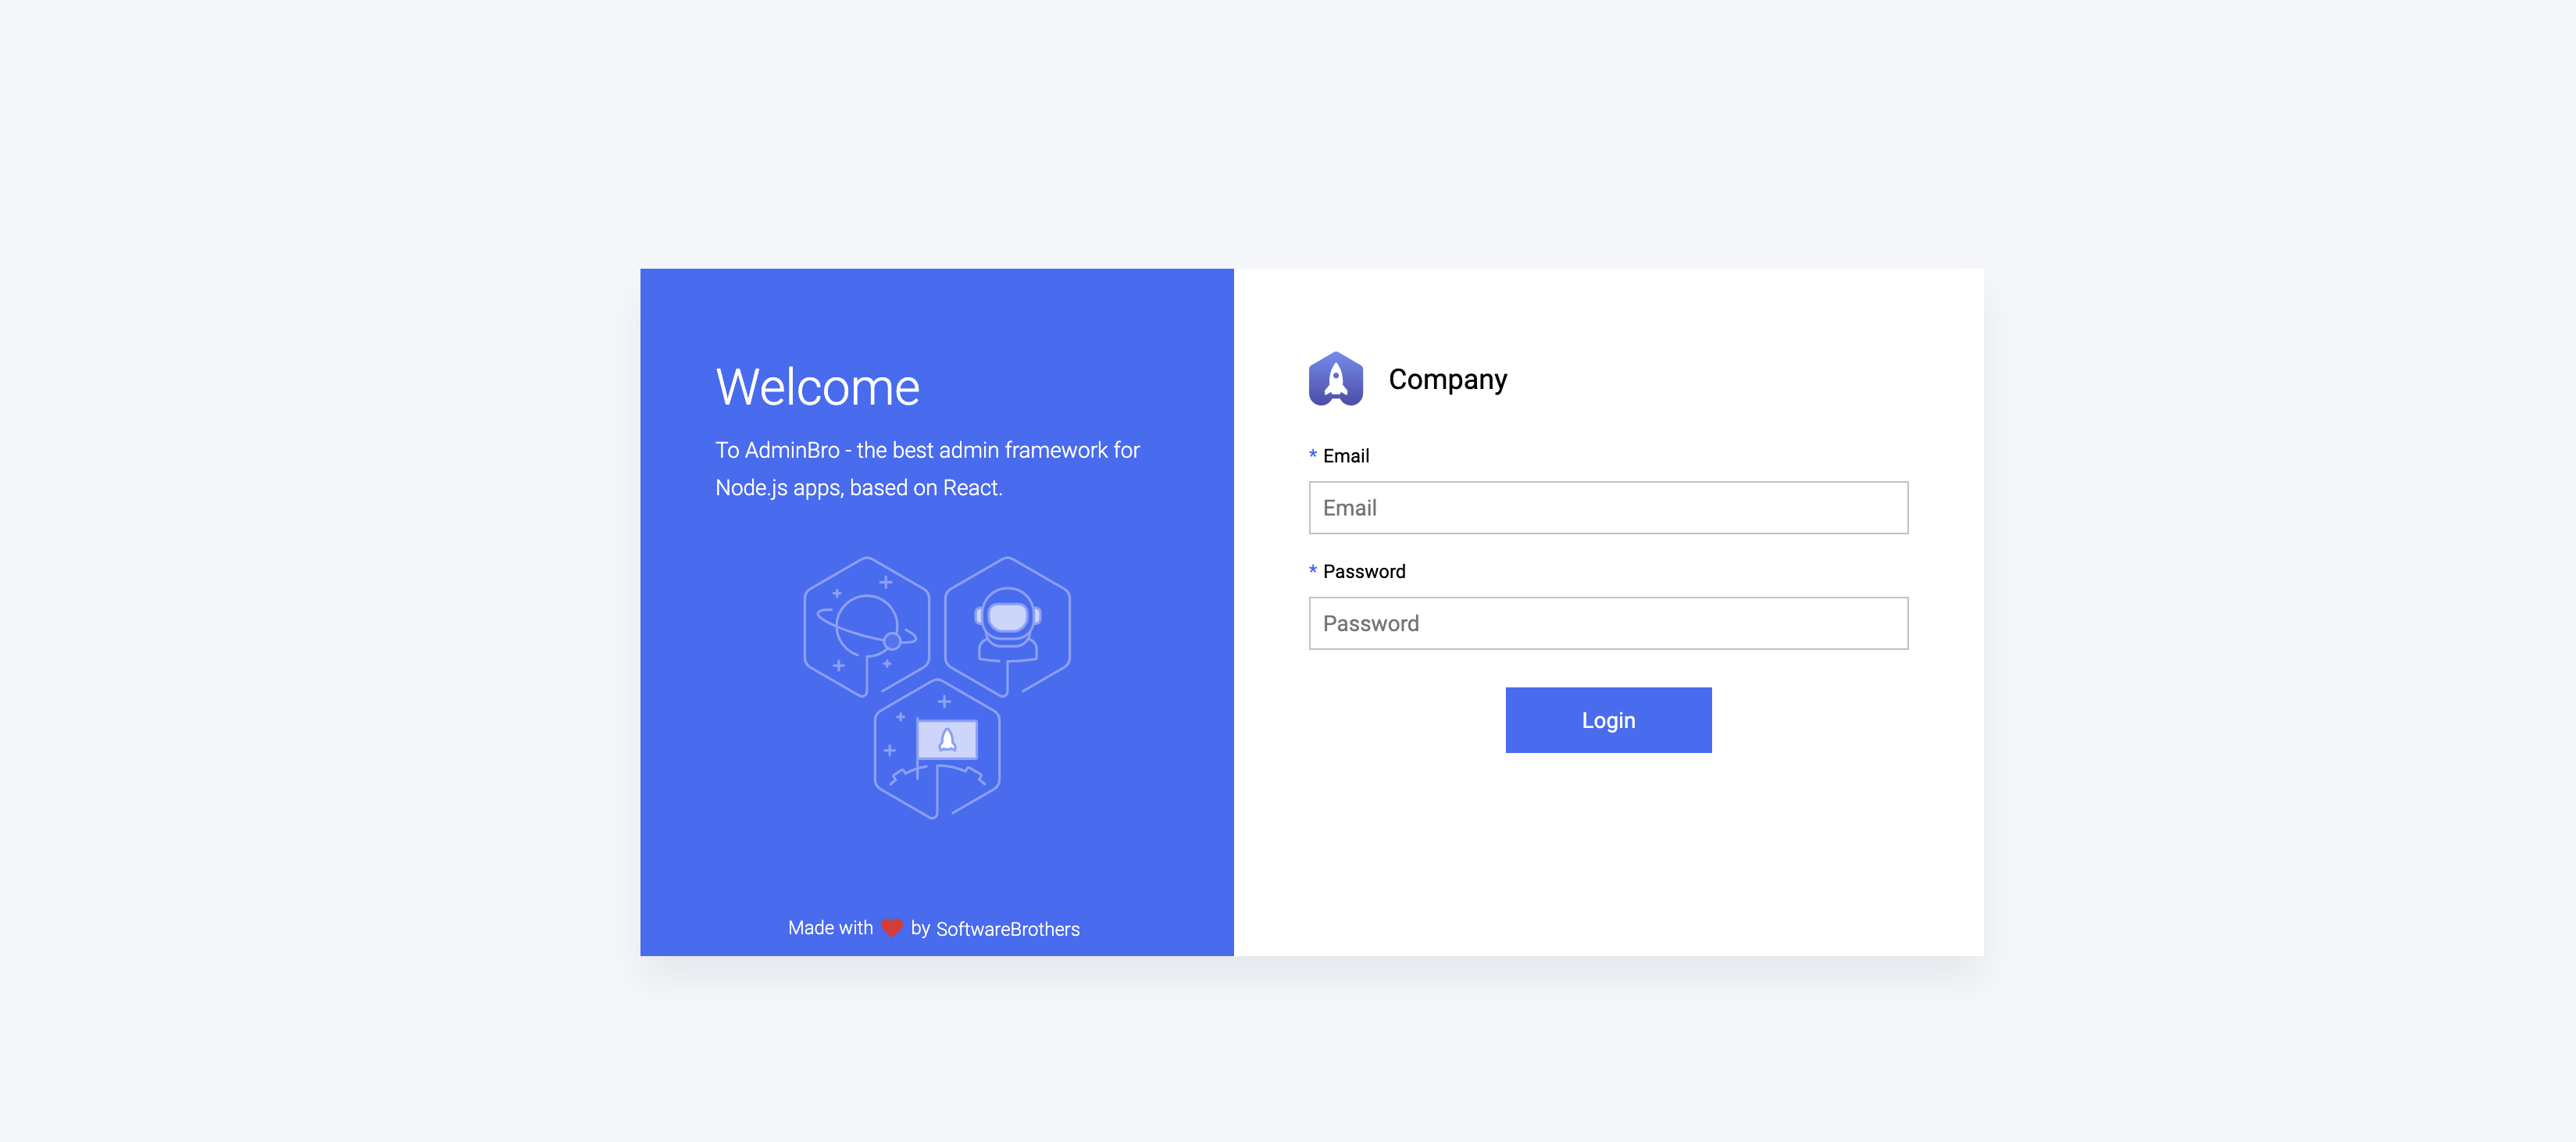
Now navigate to the http://localhost:8000/admin. It will redirect you automatically to http://localhost:8000/admin/login.
现在导航到http:// localhost:8000 / admin 。 它将自动将您重定向到http:// localhost:8000 / admin / login 。
4. Restricting Views
4.限制视图
Restricting views is similar to what we did above. To authenticate if the user is admin, create a new function canEditEmp that checks the role of the user every time when called.
限制视图类似于我们上面所做的。 要验证用户是否为admin,请创建一个新函数canEditEmp ,该函数每次被调用时都会检查用户的角色。
index.js
index.js
const canEditEmp = ({ currentAdmin, record }) => {
  return currentAdmin && (
    currentAdmin.role === 'admin'
  )
}
After creating, copy the below code and paste it to your file.
创建后,复制以下代码并将其粘贴到您的文件中。
index.js
index.js
const AdminBroOptions = {
  resources:
  [{
    resource: Emp,
    options: {
      properties: {
        ownerId: { isVisible: { edit: false, show: true, list: true, filter: true } }
      },
      actions: {
        edit: { isAccessible: canEditEmp },
        delete: { isAccessible: canEditEmp },
        new: { isAccessible: canEditEmp },
      }
   }},
   {
    resource: User,
    options: {
      properties: {
        encryptedPassword: { isVisible: false },
        password: {
          type: 'string',
          isVisible: {
            list: false, edit: true, filter: false, show: false,
          },
        },
      },
      actions: {
        new: {
          before: async (request) => {
            if(request.payload.record.password) {
              request.payload.record = {
                ...request.payload.record,
                encryptedPassword: await           bcrypt.hash(request.payload.record.password, 10),
                password: undefined,
              }
            }
            return request
          },
        },
        edit: { isAccessible: canModifyUsers },
        delete: { isAccessible: canModifyUsers },
        new: { isAccessible: canModifyUsers },
      }
    }
  }],
}
Log in to the Admin panel as a member. Now the Emp model will be displayed but you can't perform any operations on that table.
以成员身份登录到管理面板。 现在将显示Emp模型,但是您无法对该表执行任何操作。
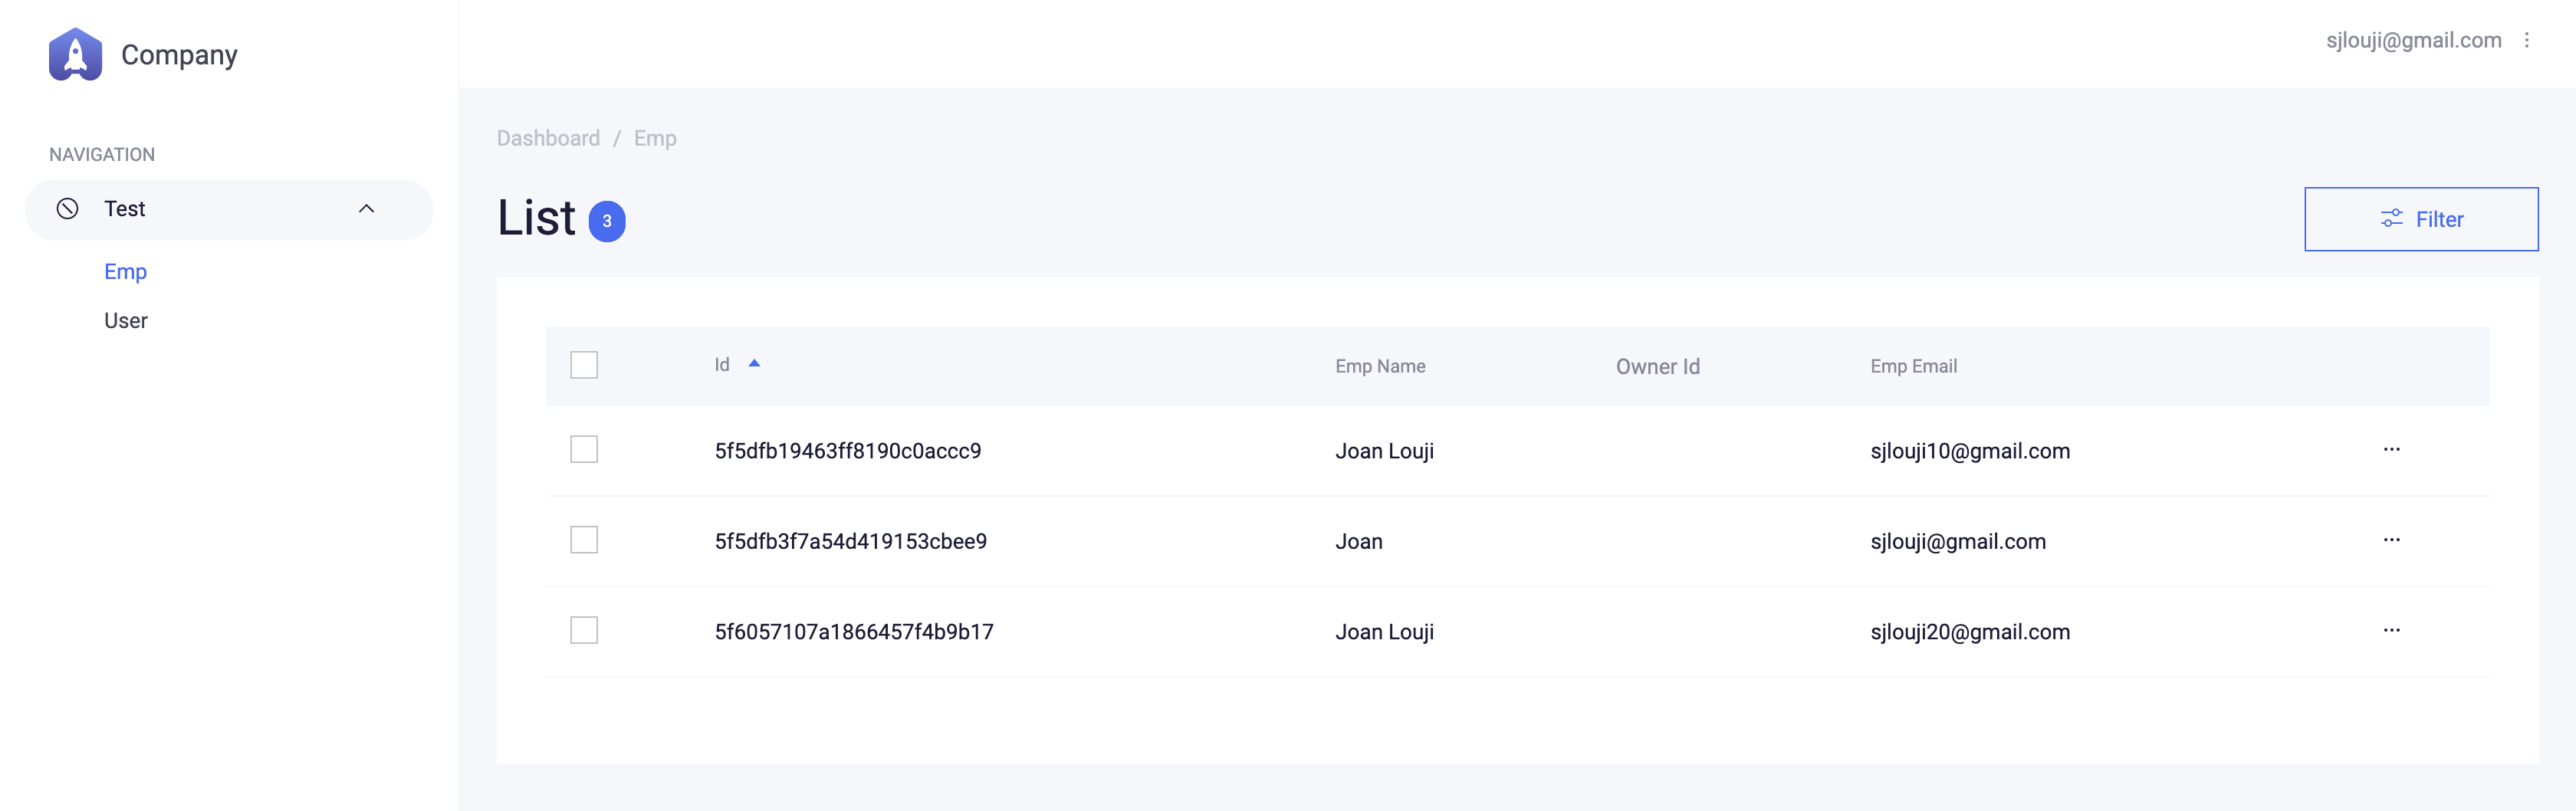
Similarly, login as Admin user. Now you can perform all the CRUD operations.
同样,以管理员用户身份登录。 现在,您可以执行所有CRUD操作。
Also, check my previous blog wherein I have explained how to setup Admin Bro with Node JS.
另外,请查看我以前的博客,其中我已经解释了如何使用Node JS设置Admin Bro。
Feel free to contact me for any queries.
如有任何疑问,请随时与我联系。
Email: sjlouji10@gmail.com
电子邮件:sjlouji10@gmail.com
Linkedin: https://www.linkedin.com/in/sjlouji/
Linkedin: https : //www.linkedin.com/in/sjlouji/
Complete code on my GitHub:
我的GitHub上的完整代码:
Happy coding…
编码愉快!
翻译自: https://medium.com/swlh/node-js-authentication-and-authorization-with-admin-bro-a88c0922cc7d
bro 使用


 2839
2839


 被折叠的 条评论
为什么被折叠?
被折叠的 条评论
为什么被折叠?
 到【灌水乐园】发言


