


django创建应用程序
This article is for readers who want to deploy their Machine Learning model as a Web Application using Python’s Django framework. For many Data Science and Machine Learning enthusiasts, this could be a good reference for converting their simple .py model files into a much more dynamic and powerful web application that can accept inputs from a user and generate a prediction.
本文适用于希望使用Python的Django框架将其机器学习模型部署为Web应用程序的读者。 对于许多数据科学和机器学习爱好者来说,这可能是将其简单的.py模型文件转换为可以接受用户输入并生成预测的更加动态和强大的Web应用程序的很好的参考。
For the sake of simplicity of the article, we will be focusing more on how to create a ML based web application rather than spending the majority of time in solving a tough Machine Learning problem. Also, this is not a complete django tutorial but a step in the direction towards becoming an AI/ML developer.
为了简化本文,我们将重点放在如何创建基于ML的Web应用程序上,而不是花费大量时间来解决棘手的机器学习问题。 另外,这不是完整的django教程,而是朝着成为AI / ML开发人员的方向迈出的一步。
First, we will be creating a simple ML model using the famous titanic dataset and then convert it into a fully functional, dynamic web based application.
首先,我们将使用著名的泰坦尼克号数据集创建一个简单的ML模型,然后将其转换为功能齐全,基于动态Web的应用程序。
开发机器学习模型 (Developing Machine Learning Model)
As mentioned above, we will be working on the famous titanic dataset that is used to predict the survival of the passengers based on their different attributes (Passenger class, Sex, Age, Fare etc.). Since this a binary classification problem, we would be using Logistic Regression algorithm (a powerful yet simple machine learning algorithm) for creating our model.
如上所述,我们将研究著名的泰坦尼克号数据集,该数据集可根据乘客的不同属性(乘客舱位,性别,年龄,票价等)来预测乘客的生存。 由于这是一个二进制分类问题,我们将使用Logistic回归算法(一种功能强大但简单的机器学习算法)来创建模型。
The below code can be referred to create the classification model.
可以参考以下代码来创建分类模型。
Note: Creating a Machine Learning Model is a complete detailed task in itself that contains multiple steps (such as Data Pre-processing, EDA, Feature Engineering, Model Development, Model Validation, Tuning Hyperparameters). Here we are skipping all those steps since we are much more interested in using this model for powering our web based application.
注意:创建机器学习模型本身就是一个完整的详细任务,其中包含多个步骤(例如数据预处理,EDA,特征工程,模型开发,模型验证,调整超参数)。 在这里,我们跳过了所有这些步骤,因为我们对使用此模型为基于Web的应用程序提供动力更加感兴趣。
Once we have created our final model, we are simply storing this model as a model.sav file (using pickle). Also, notice we are storing our scaler object as a scaler.sav file (since we will be using this same scaling object for transforming our user input to the same level as training data before feeding it to the model).
创建最终模型后,我们只需将该模型存储为model.sav文件(使用pickle)即可。 另外,请注意,我们将缩放器对象存储为scaler.sav文件(因为在将其输入模型之前,我们将使用相同的缩放对象将用户输入转换为与训练数据相同的级别)。
创建我们自己的Django项目 (Creating our own Django Project)
Before creating our django project, first we need to install django into our development machine using the below command.
在创建django项目之前,首先我们需要使用以下命令将django安装到我们的开发机器中。
pip install django
pip安装Django
This will automatically install all the dependencies that the django framework required in order to function properly. If this command is not working for you, please refer to the below link-
这将自动安装django框架正常运行所需的所有依赖项。 如果此命令不适合您,请参考以下链接-
Once you have installed the django, you need to open command prompt on your machine (terminal on Ubuntu or Mac) and follow the below steps-
安装完django之后,您需要在计算机(Ubuntu或Mac上的终端)上打开命令提示符,然后按照以下步骤操作:
cd Desktop (you can traverse to whichever location you want to create your project folder)
cd桌面 (您可以遍历要创建项目文件夹的任何位置)
mkdir Titanic_Survial_Prediction (you can choose whatever name you want to use for your web application)
mkdir Titanic_Survial_Prediction (您可以选择要用于Web应用程序的任何名称)
cd Titanic_Survial_Prediction (cd into the folder you just created in the step above)
cd Titanic_Survial_Prediction (cd到您在上述步骤中刚刚创建的文件夹中)
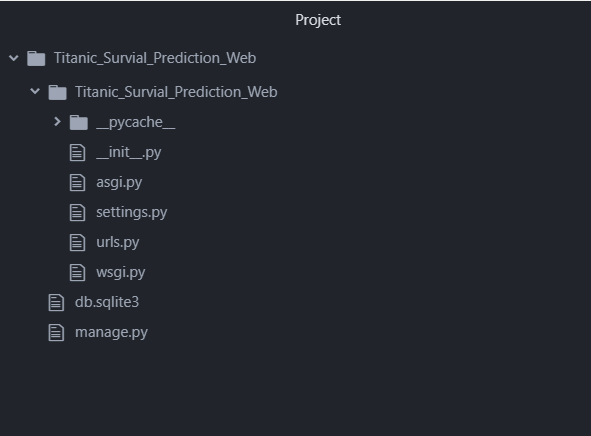
django-admin startproject Titanic_Survial_Prediction_Web (this command will automatically create a django project with name Titanic_Survial_Prediction_Web inside your main project folder)
django-admin startproject Titanic_Survial_Prediction_Web (此命令将在您的主项目文件夹中自动创建一个名为Titanic_Survial_Prediction_Web的Django项目)
cd Titanic_Survial_Prediction_Web (cd into the django project created in the step above)
cd Titanic_Survial_Prediction_Web (cd到在以上步骤中创建的django项目中)
Now if you followed the above steps correctly, just type in python manage.py runserver into your command prompt screen and then copy the link that appear on the command prompt (http://127.0.0.1:8000/) into a web browser. As soon as you hit enter, you would be able to see the below screen
现在,如果您正确执行了上述步骤,只需在命令提示符屏幕中键入python manage.py runserver ,然后将显示在命令提示符下的链接( http://127.0.0.1:8000/ )复制到Web浏览器中。 按下Enter键后,您将可以看到以下屏幕
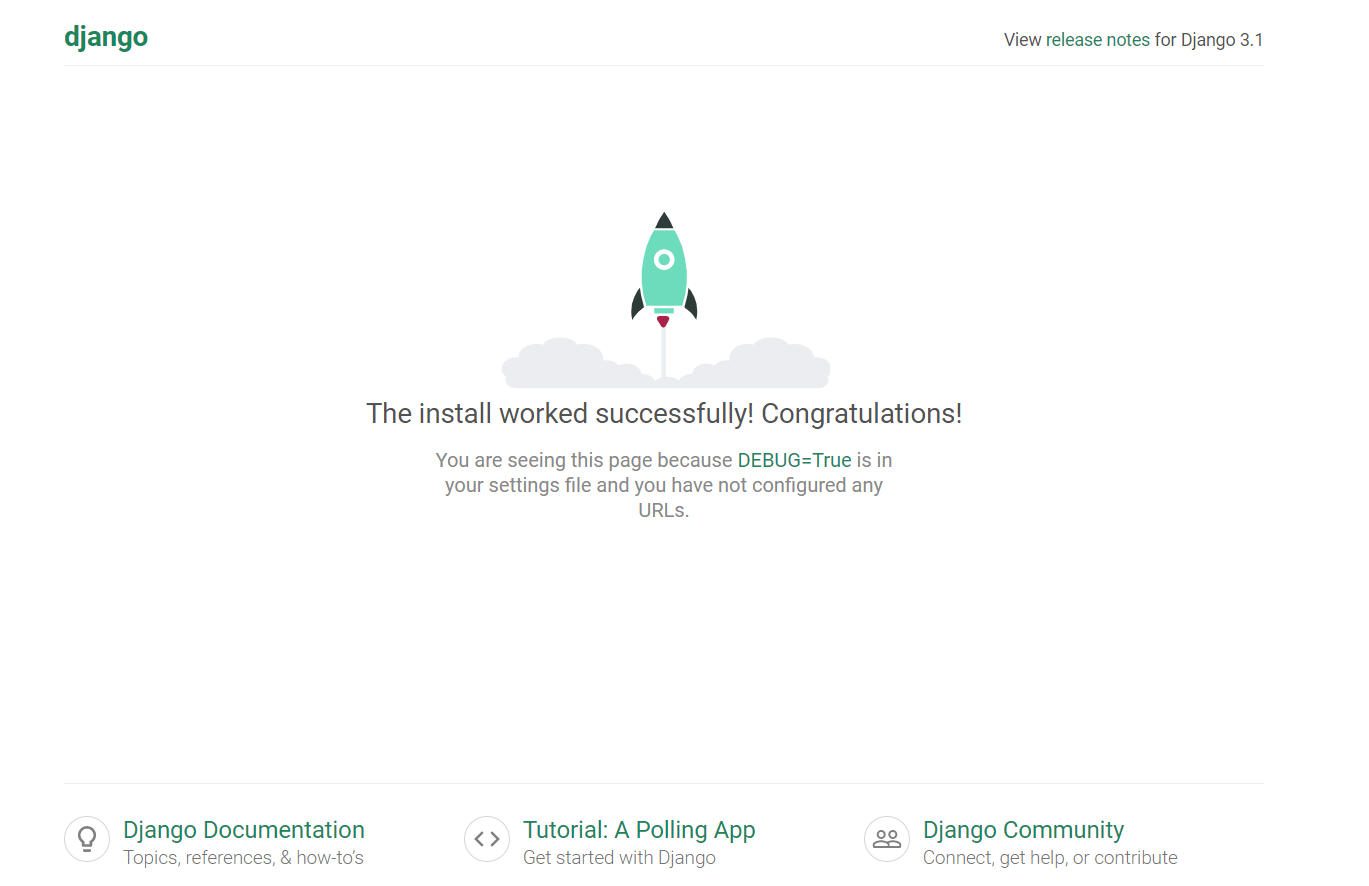
If the above web page also appears for you, then you have successfully completed the first step in creating your own django web application.
如果上述网页也为您显示,则说明您已成功完成创建自己的django Web应用程序的第一步。
If for some people this web page is not appearing, please refer to the above steps once again and see if in case you missed anything.
如果对于某些人来说此网页没有出现,请再次参考上述步骤,以防万一您错过了任何内容。
Now using any IDE (PyCharm, Atom etc.) open your django project (Titanic_Survial_Prediction_Web)
现在使用任何IDE(PyCharm,Atom等)打开django项目( Titanic_Survial_Prediction_Web )
Now inside the same folder where your urls.py is present, create a new python file with name ‘views.py’. This views file would be responsible for getting the input from any user using a web page, using the same input for generating predictions and then showing this prediction back to the user using a web page.
现在,在存在urls.py的同一文件夹内,创建一个名为“ views.py”的新python文件。 该视图文件将负责使用网页从任何用户获取输入,使用相同的输入生成预测,然后使用网页将该预测显示回用户。
Also, we need to move our ‘model.sav’ and ‘scaler.sav’ file inside the same folder as urls.py.
另外,我们需要将“ model.sav”和“ scaler.sav”文件移动到与urls.py相同的文件夹中。
Before moving any further, lets first complete the configuration for our django project. Inside our main project folder, create an empty folder by the name ‘templates’ (you can use any name but its recommended to follow a defined framework naming convention). This folder will be holding all out html files that we would be using in our project.
在继续进行任何操作之前,让我们先完成django项目的配置。 在我们的主项目文件夹中,以“模板”为名称创建一个空文件夹(您可以使用任何名称,但建议遵循已定义的框架命名约定)。 此文件夹将保存我们将在项目中使用的所有html文件。
Now open the setting.py file and add ‘templates’ (or whatever name you have given to your html files folder) to the highlighted ‘DIRS’ list inside the ‘TEMPLATES’ list.
现在打开setting.py文件,并将“模板”(或您给html文件文件夹指定的任何名称)添加到“模板”列表中突出显示的“目录”列表中。

Now inside the urls.py file add the below code for configuring the urls for our website (different urls for different web pages).
现在,在urls.py文件中添加以下代码,用于配置我们网站的url(不同网页的不同url)。
We have first imported our views file inside the urls.py file and then inside the urlpatterns list added path for our home page (the default page whenever we open our web application instead of django default view) and the result page (for displaying the results to user) along with there respective names (using which they can be referred inside our html files).
我们首先将视图文件导入urls.py文件中,然后在urlpatterns列表中添加了首页的路径(每次打开Web应用程序时都是默认页面,而不是django默认视图)和结果页面(用于显示结果)给用户)以及相应的名称(使用它们可以在我们的html文件中引用)。
Now we need to define these two functions inside our views.py file. Along with these two, we will also create a getPredictions function that would be able to generate predictions by loading our pre-trained model.
现在,我们需要在views.py文件中定义这两个函数。 与这两个一起,我们还将创建一个getPredictions函数,该函数将能够通过加载预先训练的模型来生成预测。
The below code can be referred to do this task.
可以参考下面的代码来执行此任务。
the result method is responsible for collecting all the information that the user have entered and then return the result as a key-value pair.
result方法负责收集用户输入的所有信息,然后将结果作为键值对返回。
Note: It is always recommended to create getPredictions method inside a separate python file and then import it inside our views.py file. Here for keeping things simple and straight forward, we have made the function inside the views.py file.
注意:始终建议在单独的python文件中创建getPredictions方法,然后将其导入我们的views.py文件中。 为了使事情简单明了,我们在views.py文件中添加了该函数。
Now that we have worked on the backend logic, lets create our web pages to accept the input from user through forms and display results.
现在我们已经处理了后端逻辑,让我们创建网页以接受用户通过表单输入的输入并显示结果。
Inside the “templates” folder, create an index.html file. This index.html would be our home page and will have our form that we will use for getting input from our user.
在“ templates”文件夹中,创建一个index.html文件。 该index.html将是我们的主页,并将具有我们将用于从用户那里获取输入的表单。
There are couple of things we need to understand here before moving forward.
在继续前进之前,我们需要了解以下几点。
Forms action parameter → View that collects the form data, generate predictions using this data and then redirects to the webpage with result. For django we have a specific way of doing this- action = “{% urls ‘name_of_url’ %}”. In our case the name of our url is result (as we have already provided this in our urls.py file).
表单操作参数→收集表单数据的视图,使用该数据生成预测,然后重定向到包含结果的网页。 对于django,我们有一种执行此操作的特定方法=“ {%urls'name_of_url'%}” 。 在我们的例子中,URL的名称是结果(因为我们已经在urls.py文件中提供了它)。
Also, along with this we need to provide a {% csrf_token %} (i.e. cross site reference forgery token) which makes data handling in django more secure. This part is mandatory and hence it should always be the first line inside your form tags.
此外, 与此同时,我们需要提供{%csrf_token%} (即跨站点引用伪造令牌),这使得在django中进行数据处理更加安全。 这部分是强制性的,因此它应该始终是表单标记内的第一行。
Note: {% .. %} are called scripting tags.
注意: {%..%}被称为脚本标记。
Once we have created our index.html file, we then need to create our result.html that will display the prediction to the user.
创建index.html文件后,我们需要创建result.html,它将向用户显示预测。
Inside the “{{ }}” tags, we specify the name of the key which contains our result (in our case it is result).
在“ {{}} ”标签内,我们指定包含结果的键的名称(在我们的情况下为result)。
Once you have completed all these steps, press CTRL + C in your command prompt to stop the server and then restart it using “python manage.py runserver” command. Now reopen the link in your browser. This time the default page would be the index.html webpage which have our input form.
完成所有这些步骤后,在命令提示符下按CTRL + C停止服务器,然后使用“ python manage.py runserver”命令重新启动服务器。 现在,在浏览器中重新打开链接。 这次,默认页面将是具有我们输入形式的index.html网页。
Once you fill in the respective data and submit the form, you will be redirected to the result.html page which will display the prediction for your input data.
填写相应的数据并提交表格后,您将被重定向到result.html页面,该页面将显示输入数据的预测。
So this is how, we create a simple yet powerful ML based django web application that is dynamic in nature (accepts input from user) and make predictions based on Machine Learning model.
因此,我们就是这样创建一个简单而强大的基于ML的Django Web应用程序,该应用程序本质上是动态的(接受来自用户的输入),并基于机器学习模型进行预测。
If you want to learn more about django, please refer to the django documentation (link below).
如果您想了解有关django的更多信息,请参阅django文档(下面的链接)。
django创建应用程序


 243
243


 被折叠的 条评论
为什么被折叠?
被折叠的 条评论
为什么被折叠?
 到【灌水乐园】发言


