


swiftui入门
Apple announced at WWDC 2019 that they will be providing us a brand-new user interface framework which is SwiftUI.
苹果在WWDC 2019上宣布,他们将为我们提供一个全新的用户界面框架,即SwiftUI。
So what is SwiftUI?
那么什么是SwiftUI?
SwiftUI is the new UI framework developed by Apple. You can build robust and stunning user interfaces with SwiftUI. Using declarative Swift code, SwiftUI offers us newest and easiest way to create user interfaces across all Apple platforms. It is easy to read and natural to write. In another words, no need for storyboards! That’s not all, you can preview the view side by side with the code. When one side is changed, the other side is updated. You can see the changes live.
SwiftUI是Apple开发的新UI框架。 您可以使用SwiftUI构建健壮且令人惊叹的用户界面。 使用声明性的Swift代码,SwiftUI为我们提供了在所有Apple平台上创建用户界面的最新,最简单的方法。 它易于阅读,书写自然。 换句话说,无需情节提要! 不仅如此,您可以与代码并排预览视图。 当一侧改变时,另一侧被更新。 您可以实时看到更改。

先决条件 (Prerequisites)
You should have macOS Catalina in order to see live preview SwiftUI views. In additional to this, you need to download Xcode 11 which includes Xcode previews and all APIs that you need to work with SwiftUI.
您应该具有macOS Catalina才能看到实时预览SwiftUI视图。 除此之外,您还需要下载Xcode 11,其中包括Xcode预览以及使用SwiftUI所需的所有API。
If you have completed the requirements, let’s start 🥳
如果您已完成要求,那么让我们开始🥳
In Xcode, create a new project and choose “Single View App” template for it. There is a point to consider in the next step. Name the project and then select SwiftUI, not Storyboard in the User Interface menu. As a last step, decide where the project will be created.
在Xcode中,创建一个新项目并为其选择“ Single View App”模板。 下一步需要考虑。 命名项目,然后在用户界面菜单中选择SwiftUI,而不是Storyboard。 最后,确定将在何处创建项目。

Before the coding, let’s examine the project navigator. When you open the project group, you will realize that there are no more storyboards or view controllers. If you take a brief look at project group, you will encounter 3 main Swift file which are AppDelegate, SceneDelegate and ContentView.
在编码之前,让我们检查项目导航器。 当您打开项目组时,您将意识到没有更多的故事板或视图控制器。 如果您简要查看项目组,您将遇到3个主要的Swift文件,分别是AppDelegate , SceneDelegate和ContentView 。
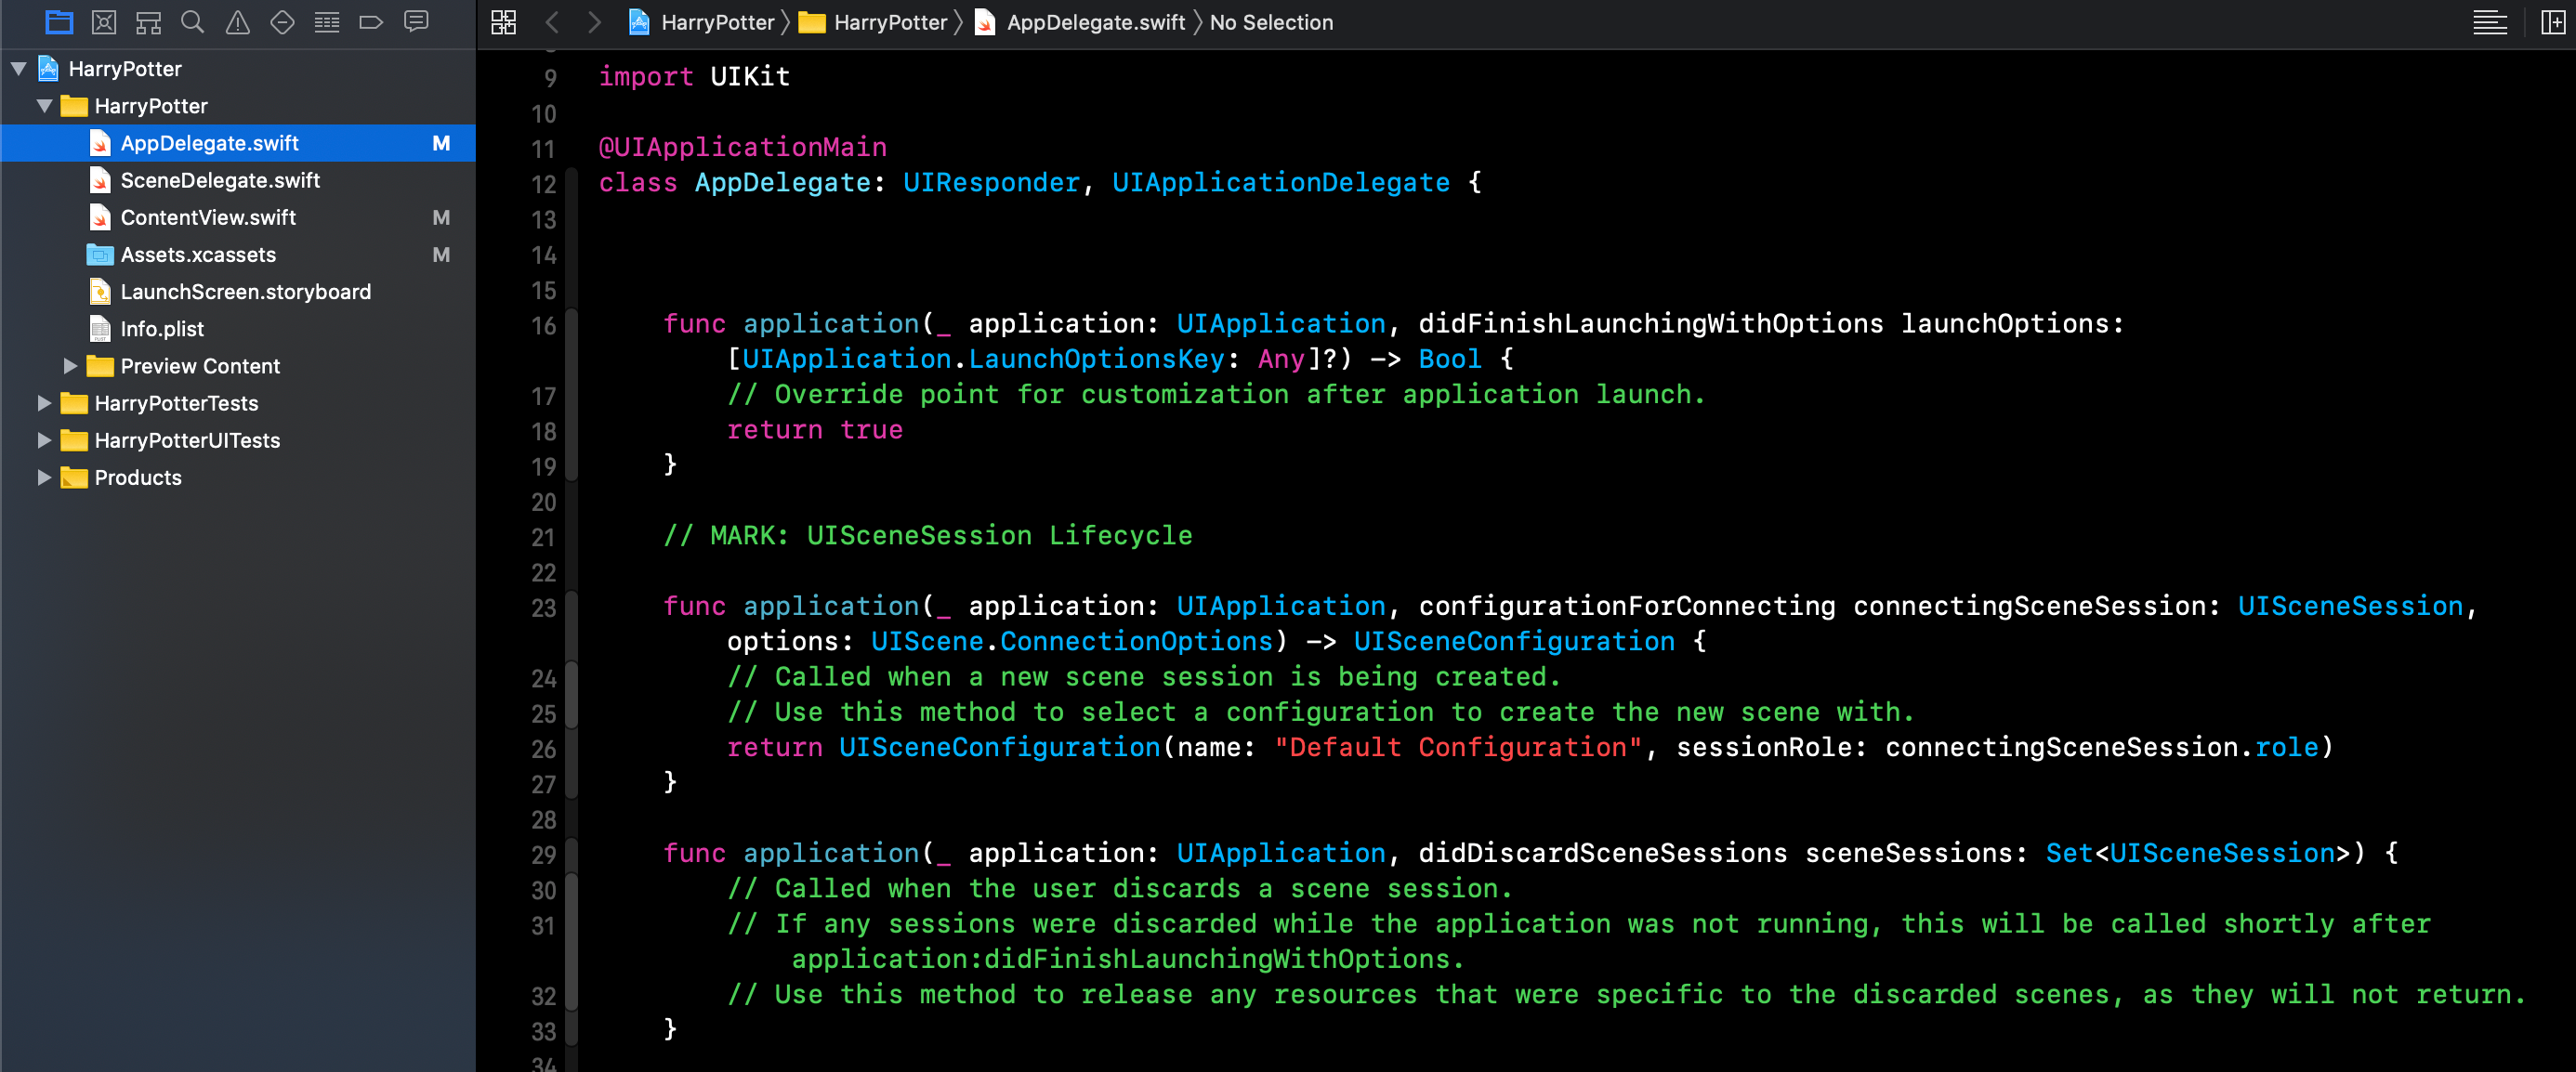
If you were interested in iOS development before, AppDelegate will sound familiar. AppDelegate and SceneDelegate class are created as default when you create an app using one Xcode’s templates.
如果您以前对iOS开发感兴趣,则AppDelegate听起来会很熟悉。 使用一个Xcode的模板创建应用程序时,默认情况下会创建AppDelegate和SceneDelegate类。
Let’s touch briefly AppDelegate and SceneDelegate 🤓
让我们简单地触摸一下AppDelegate和 SceneDelegate🤓
AppDelegate is a heart of an application. Many logics and states are handled from it. It is the place where responding to application lifecycle events happen, such as launching, entering background, resuming or terminating the app. It has too many responsibilities. With iOS 13, the responsibilities of AppDelegate have been split between AppDelegate and SceneDelegate.
AppDelegate是应用程序的心脏。 从中可以处理许多逻辑和状态。 在这里可以对应用程序生命周期事件进行响应,例如启动,进入后台,恢复或终止应用程序。 它有太多的责任。 在iOS 13中,AppDelegate的职责已在AppDelegate和SceneDelegate之间划分。
From iOS 13, AppDelegate is responsible for the application lifecycle and setup. SceneDelegate is responsible for scene lifecycle related events.
从iOS 13开始,AppDelegate负责应用程序的生命周期和设置。 SceneDelegate负责与场景生命周期相关的事件。
Let’s take a closer look at the ContentView 🤓
让我们在内容查看仔细看看🤓
ContentView.swift file contains two struct: ContentView and ContentView_Previews. So what are these?
ContentView.swift文件包含两个结构: ContentView和ContentView_Previews 。 那这些是什么?
The ContentView struct conforms to the View protocol and it is responsible for content and layout of the screen. It also includes a new computed property which is called as “body”. That computed property returns something which conforms to the View protocol. SwiftUI creates a Text view component that initialized with a string which is “Hello, World!”.
ContentView结构符合View协议,它负责屏幕的内容和布局。 它还包括一个新的计算属性,称为“ body”。 该计算出的属性返回符合View协议的内容。 SwiftUI创建一个Text视图组件,该组件使用字符串“ Hello,World!”初始化。
The ContentView_Previews struct conforms to the PreviewProvider protocol and it is responsible for creating the preview in right pane. It creates a view that contains an instance of ContentView. Also you can customize the preview code for selecting different device, setting a custom frame. In addition to these, you can see your design in multiple devices at the same time.
ContentView_Previews结构符合PreviewProvider协议,它负责在右窗格中创建预览。 它创建一个包含ContentView实例的视图。 您还可以自定义预览代码以选择其他设备,并设置自定义框架。 除此之外,您还可以同时在多个设备中查看设计。
Time for coding 😎
编码时间😎
Let’s try to replace the text view that is “Hello, World!”, with an image which is shown Harry Potter ⚡. Drag your image in assets catalog and use it in Image type. You can customize the image as you want.
让我们尝试将显示为“ Hello,World!”的文本视图替换为显示为Harry Potter⚡的图像。 将您的图像拖到资产目录中,然后在“图像类型”中使用它。 您可以根据需要自定义图像。

Alright, how can we add another type in the body? 🤔
好了,我们如何在体内添加另一种类型? 🤔
When you trying to add another type in the body, a compile error can occur. One specific type which conforms to View protocol can return for the body. In such cases, we need to use stack.
当您尝试在主体中添加其他类型时,可能会发生编译错误。 符合View协议的一种特定类型可以返回给主体。 在这种情况下,我们需要使用堆栈。

If you want to return multiple things, you can use VStack for vertical, HStack for horizontal, ZStack for overlapping views.
如果要返回多个内容,可以将VStack用于垂直视图,将HStack用于水平视图,将ZStack用于重叠视图。

In this article, I made a small introduction to the magical world of SwiftUI. Thank you for reading. Keep coding 🤓
在本文中,我简要介绍了SwiftUI的神奇世界。 感谢您的阅读。 继续编码🤓
翻译自: https://medium.com/flawless-app-stories/getting-started-with-swiftui-7fb8e66b98d6
swiftui入门


 1976
1976


 被折叠的 条评论
为什么被折叠?
被折叠的 条评论
为什么被折叠?
 到【灌水乐园】发言


