


swiftui改变图片尺寸
The other day I started messing around with converting 2D designs into isometric views in Figma. I thought it might be neat to create a ViewModifier in SwiftUI that does the same thing. After posting a screenshot of my work on twitter, I decided to write this tutorial.
前几天,我开始忙于将2D设计转换为Figma中的等轴测图。 我认为在SwiftUI中创建执行相同操作的ViewModifier可能很整洁。 在Twitter上发布我的工作的屏幕截图后,我决定编写本教程。
总览 (Overview)
I’ve broken the tutorial into two parts (both below):
我已将本教程分为两部分(均在下面):
- Applying an Isometric Transformation to a View 将等轴测变换应用于视图
- Extruding an Isometric View 拉伸等轴测图
Before getting started, please consider subscribing using this link, and if you aren’t reading this on TrailingClosure.com, please come check us out sometime!
在开始之前,请考虑使用此链接进行订阅,如果您未在TrailingClosure.com上阅读此链接 ,请随时联系我们!
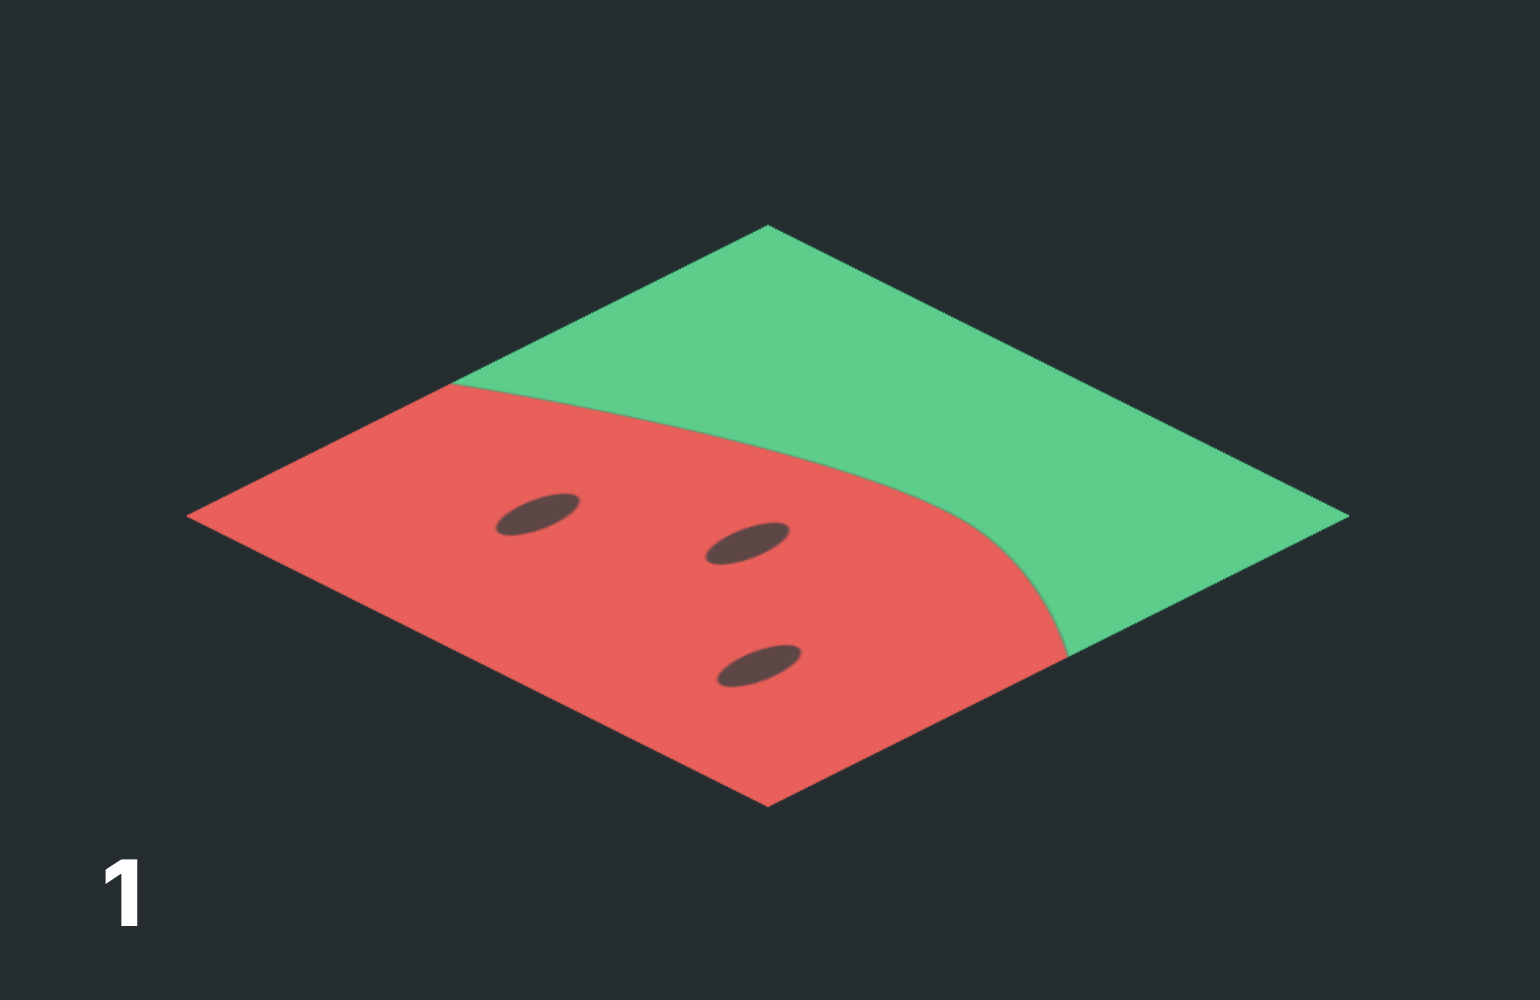
Throughout this tutorial, you’re going to see my best 2D square drawing of a watermelon slice. Yes…I apologize in advance, but there’s one sitting in front of me as I write this tutorial, so that’s the image you’re going to get… 😊
在整个教程中,您将看到我最好的西瓜切片2D方形图。 是的,我事先表示歉意,但是在撰写本教程时,我面前坐着一个人,所以这就是您要得到的图像……😊

将2D视图转换为等轴测视图 (Converting 2D Views to Isometric Views)
One of the simplest ways to transform a 2D view is to rotate it 45° and then scale its height by a factor of 0.5. Simply rotate and shrink!
转换2D视图的最简单方法之一是将其旋转45° ,然后将其缩放比例为0.5 。 只需旋转和收缩!

作为自定义ViewModifier (Written as a custom ViewModifier)
Now we can take the steps from above and convert this to a custom SwiftUI ViewModifier like this:
现在,我们可以按照上面的步骤进行操作,并将其转换为自定义的SwiftUI ViewModifier如下所示:
struct IsometricViewModifier: ViewModifier {
    func body(content: Content) -> some View {
        content
            .rotationEffect(Angle(degrees: 45), anchor: .center)
            .scaleEffect(x: 1.0, y: 0.5, anchor: .center)
    }
}
This same technique is used all over the place for when designers want to mockup their UI design on a real device. Below you can see how it was used on a design from one of my other tutorials. It really is as simple as a rotation and scaling of the height.
当设计师想要在真实设备上模拟其UI设计时,到处都会使用相同的技术。 在下面的内容中,您可以从我的其他教程之一中看到如何在设计中使用它。 实际上,它就像高度的旋转和缩放一样简单。

Reverse Reverse!
反向反向!
And if we reverse the steps above on the mockup image, then we get the original image before the isometric transformation.
并且,如果我们在样机图像上逆转上述步骤,那么我们将在等轴测变换之前得到原始图像。

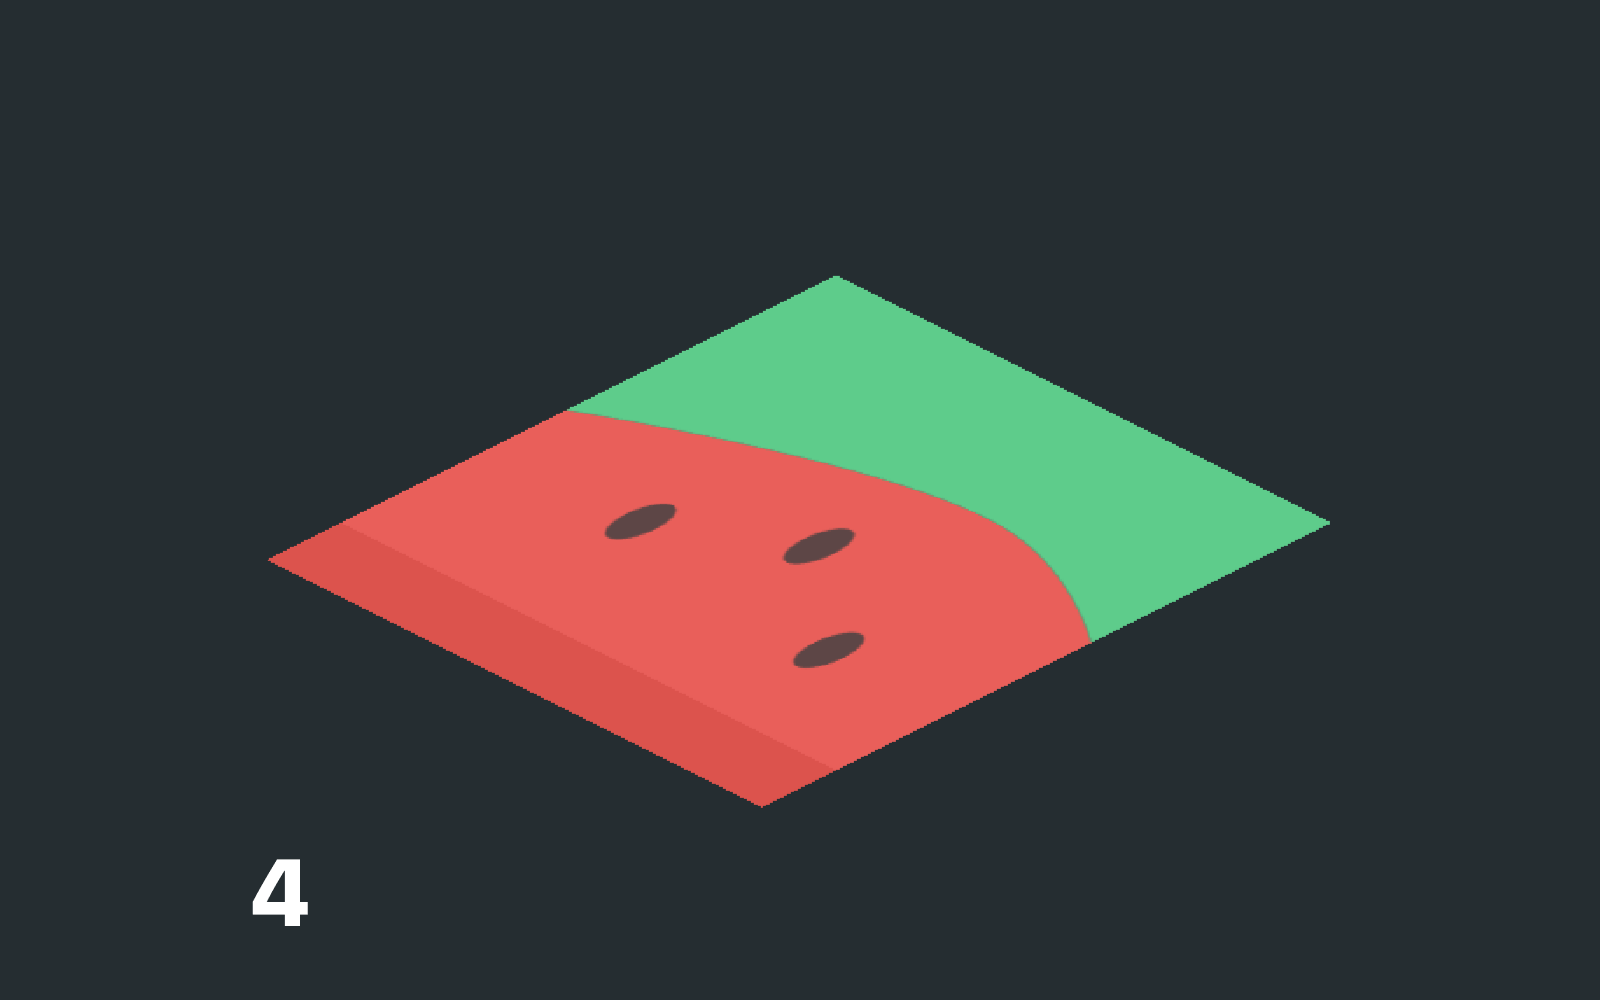
拉伸等轴测视图 (Extruding Isometric Views)
Now for the harder part. What our isometric views are missing is depth. For this next part, we’re going to be creating the extruded base of our isometric view.
现在更困难的部分。 我们等轴测图缺少的是深度 。 在下一部分中,我们将创建等轴测视图的拉伸基础。

Please note, this section provides an extrusion technique for non-rounded rectangular views. I’m still messing around with potential ways to apply an isometric transformation and extrude the view with rounded corners. In design programs like Figma it can be easy, but it has proven difficult transferring the process to code.
请注意,本节为非圆形矩形视图提供了一种拉伸技术。 我仍然在想办法应用等轴测变换并用圆角拉伸视图。 在像Figma这样的设计程序中,这可能很容易,但是事实证明,将过程转换为代码很困难。
模拟挤出 (Simulating Extrusion)
In order to create a perfect extrusion of a view, we need to take the colors from the outside (front two isometric sides) and extend them down along the isometric z-axis. The way I accomplish this is by scaling the provided content along the x or y-axis and then clip it to the correct size and shape. This allows us to retain the exact colors from views such as Images and Gradients.
为了创建视图的完美外观,我们需要从外部(前两个等轴测面)获取颜色,并将其沿等轴测Z轴向下延伸。 我完成此操作的方法是沿x或y轴缩放提供的内容,然后将其裁剪为正确的大小和形状。 这使我们能够从“图像”和“渐变”等视图中保留确切的颜色。
For this technique, I break down the extrusion into two parts: The front left and front right side. In code, they are actually two separate overlays on top of the 2D isometric view.
对于此技术,我将拉伸分为两部分:左前和右前。 在代码中,它们实际上是2D等轴测视图顶部的两个单独的叠加层。
自定义ExtrudeModifier (Custom ExtrudeModifier)
Here is the template for the ExtrudeModifier struct. Below I'm going to walk through extruding the front left side via a set of pictures. Then I will briefly copy the same process to the opposite side to complete the extrusion.
这是ExtrudeModifier结构的模板。 在下面,我将通过一组图片逐步演示挤压左前侧。 然后,我将相同的过程短暂地复制到另一侧以完成挤出。
struct ExtrudeModifier<Texture: View> : ViewModifier {

    var depth: CGFloat // Extrusion Depth
    var texture: Texture

    func body(content: Content) -> some View {
        content
            // Front Left Side
            .overlay(
            	// Content (Texture) here
            , alignment: .center)

            // Front Right Side
            .overlay(
                // Content (Texture) here
            , alignment: .center)
    }
}


Steps reference in code below
以下代码中的步骤参考
Below I’ve commented on the steps I’ve taken to create the first half of the extrusion.
下面,我对创建拉伸前半部分所采取的步骤进行了评论。
Note: The photos above have the
offset(x: 0, geo.size.height)already applied. I did this to help the reader visualize the steps as I went through them in the code.注意:上面的照片已应用
offset(x: 0, geo.size.height)。 我这样做是为了帮助读者直观地观察代码中的步骤。
struct ExtrudeModifier<Texture: View> : ViewModifier {

    var depth: CGFloat
    var texture: Texture

    func body(content: Content) -> some View {
        content
            // Front Left Side
            .overlay(
                GeometryReader { geo in
                    texture // Step 2
                        .brightness(-0.05)
                        .scaleEffect(x: 1, y: geo.size.height * geo.size.height, anchor: .bottom) // Step 3
                        .frame(height: depth, alignment: .top) // Step 4
                        .mask(Rectangle())
                        .rotation3DEffect(
                            Angle(degrees: 180),
                            axis: (x: 1.0, y: 0.0, z: 0.0),
                            anchor: .center,
                            anchorZ: 0.0,
                            perspective: 1.0
                        )
                        .projectionEffect(ProjectionTransform(CGAffineTransform(a: 1, b: 0, c: 1, d: 1, tx: 0, ty: 0))) // Step 5
                        .offset(x: 0, y: geo.size.height)

                }
                , alignment: .center)

            // Front Right Side
            .overlay(
            	// TO DO
            , alignment: .center)

    }
}
Now the Other Side Now I’ll apply the same technique to the other side of the isometric view.
现在,另一侧现在,我将相同的技术应用于等轴测视图的另一侧。
struct ExtrudeModifier<Texture: View> : ViewModifier {
var depth: CGFloat
var texture: Texture
func body(content: Content) -> some View {
content
// Front Left Side
.overlay(
// See code from before...
, alignment: .center)
// Front Right Side
.overlay(
GeometryReader { geo in
texture
.brightness(-0.1)
.scaleEffect(x: geo.size.width * geo.size.width, y: 1.0, anchor: .trailing)
.frame(width: depth, alignment: .leading)
.clipped()
.rotation3DEffect(
Angle(degrees: 180),
axis: (x: 0.0, y: 1.0, z: 0.0),
anchor: .leading,
anchorZ: 0.0,
perspective: 1.0
)
.projectionEffect(ProjectionTransform(CGAffineTransform(a: 1, b: 1, c: 0, d: 1, tx: 0, ty: 0)))
.offset(x: geo.size.width + depth, y: 0 + depth)
}
, alignment: .center)
}
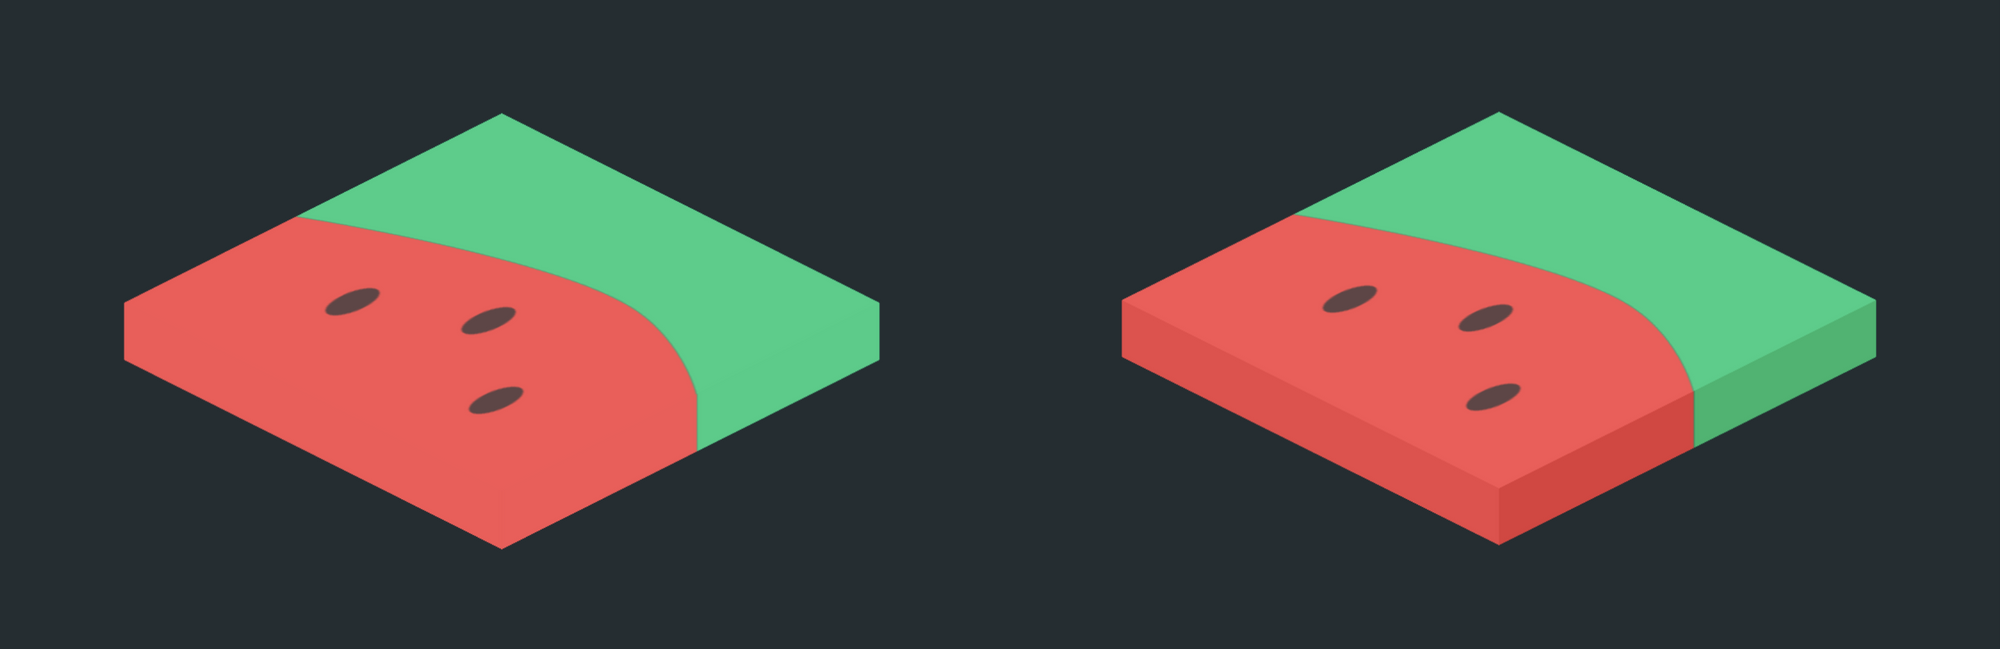
}Why did you change the brightness of the sides?
为什么要改变侧面的亮度?
If you noticed above, I modified the brightness of the two overlays to make them darker. This helps simulate the 3D nature of the isometric view. Without it, the view would look plain, and flat on the screen. Notice how big of a difference it makes in the comparison below.
如果您在上面注意到,我修改了两个叠加层的亮度以使其更暗。 这有助于模拟等轴测图的3D性质。 没有它,视图将看起来很平坦,并且在屏幕上平坦。 请注意,在下面的比较中,它有很大的不同。
放在一起 (Putting It All Together)
If you’d like, you can create a custom IsometricView component which utilizes the ExtrudeModifier and IsometricViewModifier above. This custom component gives the developer the option to dynamically change whether or not the view is isometric as well as the depth of the extrusion.
如果愿意,可以创建一个自定义的IsometricView组件,该组件利用上面的ExtrudeModifier和IsometricViewModifier 。 此自定义组件为开发人员提供了动态更改视图是否等轴测以及拉伸深度的选项。
struct IsometricView<Content: View>: View {

    var active: Bool
    var content: Content
    var extruded: Bool
    var depth: CGFloat

    init(active: Bool, extruded: Bool = false, depth: CGFloat = 20, @ViewBuilder content: ()-> Content) {
        self.active = active
        self.extruded = extruded
        self.depth = depth
        self.content = content()
    }

    @ViewBuilder var body: some View {
        if active {
            if extruded {
                content
                    .modifier(ExtrudeModifier(depth: depth, background: content))
                    .modifier(IsometricViewModifier(active: active))
                    .animation(.easeInOut)
            } else {
                content
                    .modifier(IsometricViewModifier(active: active))
                    .animation(.easeInOut)
            }
        } else {
            content
                .animation(.easeInOut)
        }

    }
}
使用范例 (Example Use)
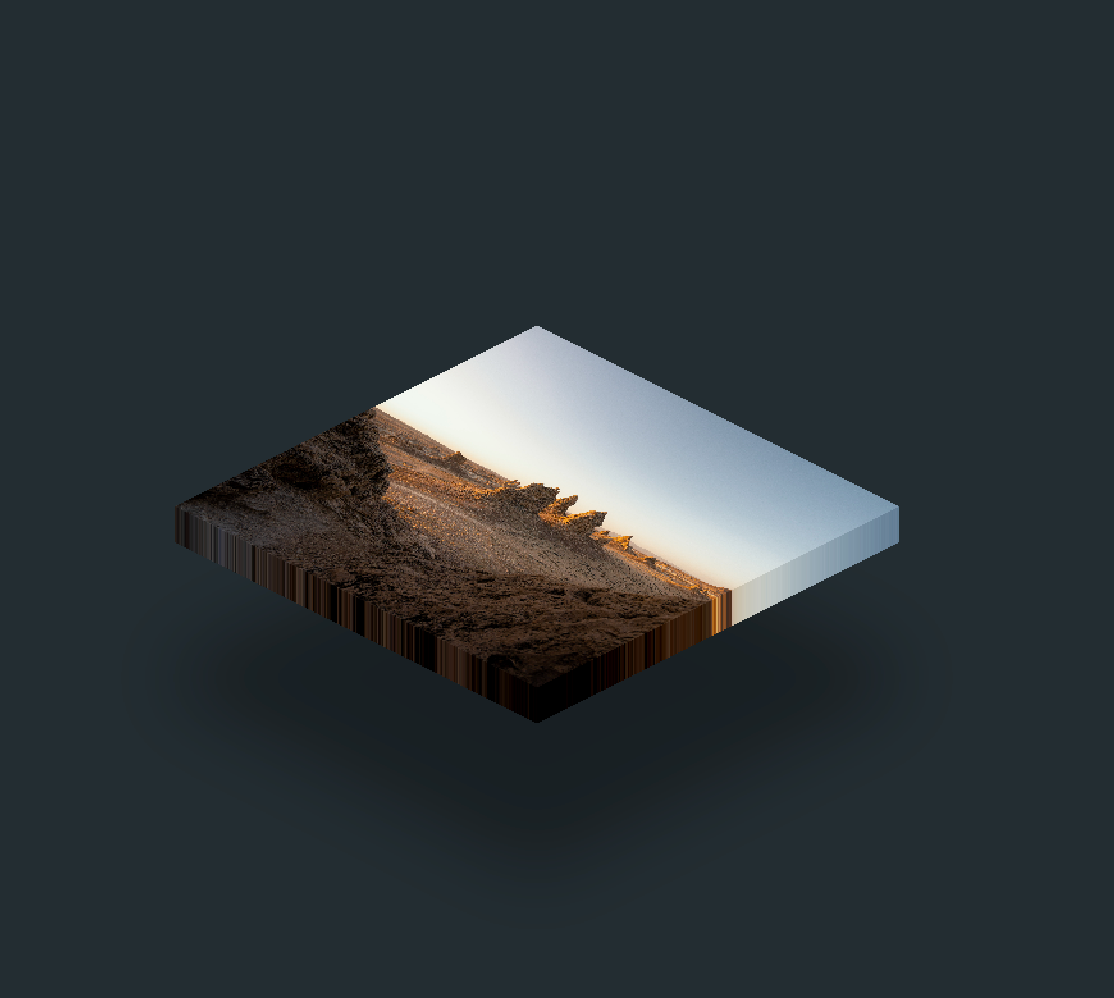
Once you start playing with the IsometricViewModifier and ExtrudeModifier you can make some interesting things. Below I have a floating isometric view, another with two different extruded textures, and also an image.
一旦开始使用IsometricViewModifier和ExtrudeModifier您就可以做一些有趣的事情。 在下面,我有一个浮动的等轴测图,另一个有两个不同的挤压纹理,还有一个图像。

告诉我们你做了什么! (Show us what you’ve made!)
We want to see what you’ve made using this tutorial! Send us pics! Find us on Twitter @TrailingClosure, on Instagram, or email us at
我们想看看您使用本教程所做的工作! 给我们发图片! 在Twitter @TrailingClosure , Instagram或通过以下地址给我们发送电子邮件
翻译自: https://levelup.gitconnected.com/isometric-viewmodifier-aafcaee1c9a
swiftui改变图片尺寸


 321
321

 被折叠的 条评论
为什么被折叠?
被折叠的 条评论
为什么被折叠?
 到【灌水乐园】发言


