


 本文介绍了如何利用SwiftUI来生成应用程序图标,提供了一种在iOS应用开发中使用SwiftUI进行图标设计的方法。
swiftui
SwiftUI is an incredibly powerful UI building tool. It has limitations, but it brings a lot of new and interesting concepts to the table. One of those new concepts is that it not only provides UI primitives like Text, Image and Picker (to name just a few), it also provides drawing primitives like Path, Rectangle, Circle, etc. So now instead of digging down to CoreGraphics, SwiftUI provides an appealing alternative to mix UI and custom drawing together.
SwiftUI是一个功能强大的UI构建工具。 它有局限性,但是却带来了很多新的有趣的概念。 这些新概念之一是,它不仅提供了诸如Text , Image和Picker (仅举几个例子)之类的UI原语,还提供了诸如Path , Rectangle , Circle等绘图原语。因此,现在不再深入研究CoreGraphics, SwiftUI提供了一种将UI和自定义图形混合在一起的吸引人的选择。
We can take advantage of that drawing ability to generate our app Icon and leverage the benefits of the built-in SwiftUI previewing system to get live, updating previews of our code-based icon 🎉
我们可以利用这种绘图功能来生成我们的应用程序图标,并利用内置的SwiftUI预览系统的优势来实时发布,更新基于代码的图标的预览🎉
如何整合到您的项目中 (How to integrate into your project)
Check out the project over on GitHub for the latest instructions, but the basic outline is:
Download and expand the latest release zip and drag the
Iconfolder into the root of your project, copying the files into the project, creating a group and adding the files to your App target.下载并展开最新版本的zip,然后将
Icon文件夹拖到项目的根目录中,将文件复制到项目中,创建一个组并将文件添加到您的App目标中。Un-include the
generate.swiftandIconGenerator.swiftfiles from your App’s target since those are only going to be run from the Run Script build phase and won’t compile as part of your app.从应用程序的目标中
IconGenerator.swift包含generate.swift和IconGenerator.swift文件,因为这些文件将仅在“运行脚本”构建阶段运行,并且不会作为应用程序的一部分进行编译。Add a Run Script build phase before your Copy Resources phase and specify the path to
Icon.swiftas the first Input File:在“复制资源”阶段之前添加一个“运行脚本”构建阶段,并将
Icon.swift的路径指定为第一个输入文件:
Now you should be able to add your drawing code to the Icon struct’s body property and get all the benefits of live-updating from SwiftUI. And every time you build and run, you’ll get your new icon generated for all the appropriate sizes.
现在,您应该能够将绘制代码添加到Icon结构的body属性中,并从SwiftUI获得实时更新的所有好处。 每次构建和运行时,都会为所有适当的大小生成新图标。
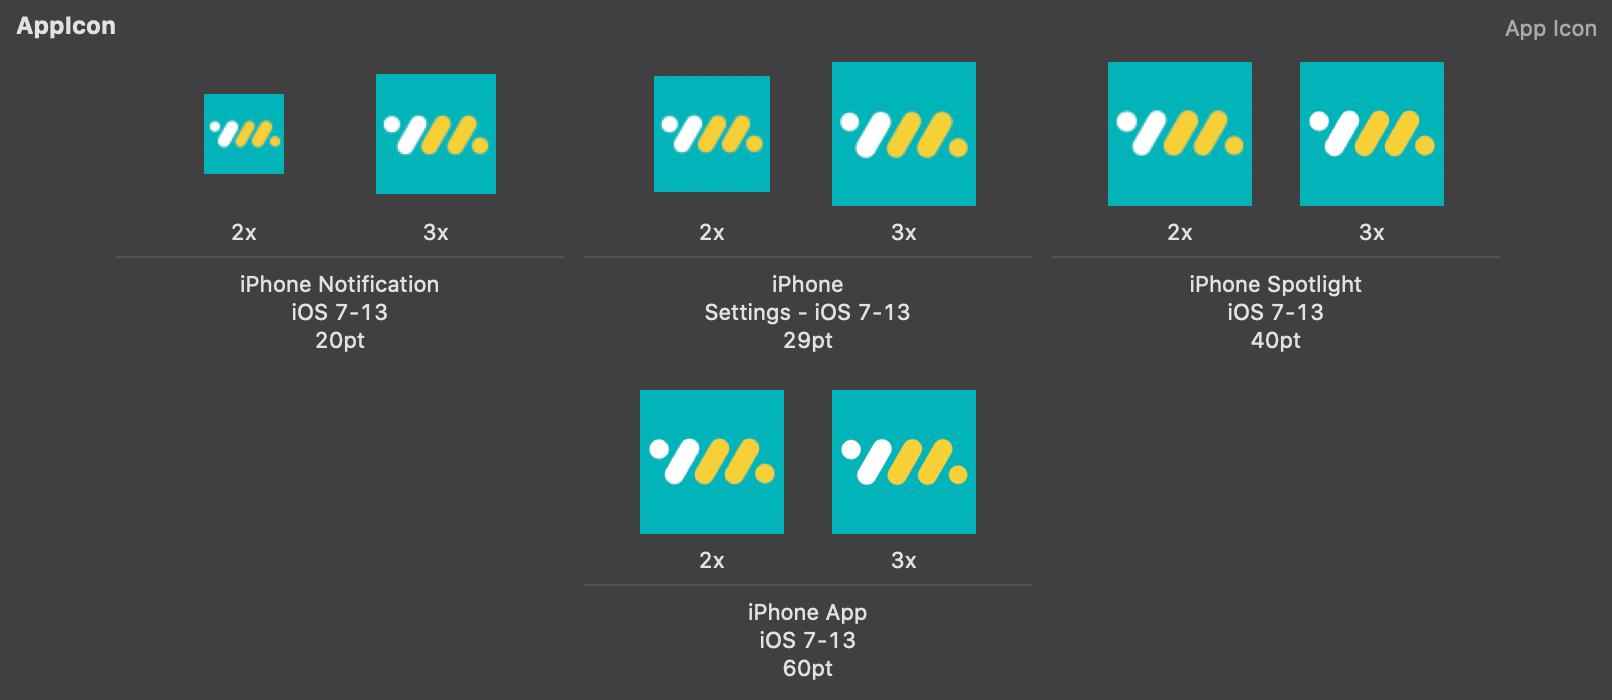
预览您的应用程序图标 (Previewing your App icon)
We can even use some helpers in the included Icon+PreviewHelpers.swift to generate a live preview of the app icon…on a simulated home screen!
我们甚至可以在随附的Icon+PreviewHelpers.swift使用一些帮助程序,以在模拟主屏幕上实时生成应用程序图标的预览!
这是如何运作的? (How does this work?)
In order to generate an icon, we have to essentially render a SwiftUI View into a hosting view, resize the view, create bitmaps for each of those view sizes and insert those into an AppIcon.appiconset inside the app’s Assets.xcassets. One of the benefits of using SwiftUI will be that we can render the View at different sizes first and generate a new bitmap from each of those instead of just scaling a bitmap. Yay, vectors! SwiftUI even does some tricks under-the-hood to pixel fit your shapes or text to whatever pixel size you are representing, so the bitmaps at smaller scales should look as good as possible.
为了生成图标,我们必须从本质上将SwiftUI视图渲染为宿主视图,调整视图的大小,为每种视图大小创建位图,然后将其插入应用程序AppIcon.appiconset内的Assets.xcassets 。 使用SwiftUI的好处之一是,我们可以先渲染不同大小的View,然后从每个视图生成一个新的位图,而不仅仅是缩放位图。 是的,向量! SwiftUI甚至在引擎盖下做了一些技巧,以使您的形状或文本适合您要表示的任何像素大小,因此较小比例的位图应看起来尽可能好。
Then, to render these bitmaps as a build step, we can use AppKit’s implementation of SwiftUI (in Catalina only) to render the Views from the command-line using a Swift script that ‘imports’ your Icon. So in your iOS target, you will have an Icon.swift that is shared between the Run Script phase and the iOS target, but all the other helper code will just be used by the Run Script phase.
然后,要将这些位图作为构建步骤进行渲染,我们可以使用AppKit的SwiftUI实现(仅在Catalina中),使用“导入”图标的Swift脚本从命令行渲染视图。 因此,在iOS目标中,您将拥有在运行脚本阶段和iOS目标之间共享的Icon.swift ,但所有其他帮助程序代码将仅在运行脚本阶段使用。
在构建过程中生成图标 (Generating the Icon during Builds)
The main generate.swift script that will run in your build is fairly simple and can check the build environment for TARGETED_DEVICE_FAMILY in order to generate only the necessary icons:
将在您的构建中运行的主要generate.swift脚本非常简单,可以检查构建环境中的TARGETED_DEVICE_FAMILY以便仅生成必要的图标:
Then you’ll need to actually execute the script as a Build Phase (see Step 3 of Quick Setup above), which is made slightly more complicated by the fact that we need to smush together several swift files in order to run this as one ‘script’.
然后,您实际上需要在构建阶段执行脚本(请参见上面的快速设置的第3步),由于我们需要将多个swift文件作为一个单独的文件来运行,因此使脚本的执行变得有些复杂。脚本'。
Now when you re-build, you get your new icon set automatically generated and based on whatever device families (iPad or iPhone) you have selected in your project. While not currently supported here, it wouldn’t be terribly difficult to add support for macOS, watchOS, tvOS, etc. Reach out if you do!
现在,当您进行重建时,将根据您在项目中选择的任何设备系列(iPad或iPhone)自动生成新图标集。 虽然目前尚不支持,但添加对macOS,watchOS,tvOS等的支持并不是很困难。
The end-result should now be a fully generated icon using SwiftUI drawing primitives. Now you can even embed Icon() into your app’s UI alongside all your other SwiftUI views!
现在,最终结果应该是使用SwiftUI绘制基元完全生成的图标。 现在,您甚至可以将Icon()与所有其他SwiftUI视图一起嵌入到应用程序的UI中!
下一步 (Next Steps)
This is a far from perfect setup. In fact, I’d go as far as to say it’s a bit of a hack. Ideally we’d be able to include this script as easily as a dependency, but because the icon has to be both included in your app and compiled on the build system, we have to jump through some hoops.
这离完美的设置还差得远。 实际上,我什至会说这有点hack。 理想情况下,我们可以像依赖项一样轻松地包含此脚本,但是由于图标既必须包含在您的应用程序中,又必须在构建系统中进行编译,因此我们必须跳过一些麻烦。
We’ve been using this in an upcoming product and are loving the flexibility and ease of expressing your app’s icon as a just another view.
我们已经在即将推出的产品中使用了此功能,并且喜欢将应用程序图标表示为另一种视图的灵活性和便捷性。
We’re always open to feedback, so feel free to reach out if you have some ideas!
我们随时欢迎您提供反馈,因此,如果您有任何想法,请随时与我们联系!
翻译自: https://medium.com/velos/generating-app-icons-with-swiftui-31b14f78bcb0
swiftui


 440
440

 被折叠的 条评论
为什么被折叠?
被折叠的 条评论
为什么被折叠?
 到【灌水乐园】发言


