


 本文指导如何利用Swift和Core Animation创建线性、圆锥形及径向渐变,定制颜色、方向,并实现动画渐变,为iOS应用增添视觉魅力。
快速编程 (Swift Programming)
With CoreAnimation and CAGradientLayer, iOS makes it easy to create custom gradients of any style. It is possible to create linear, conic and radial gradients, and to customize as you want its colors and orientation. It even supports animating gradient changes for smooth and colourful apps.
借助CoreAnimation和CAGradientLayer ,iOS可以轻松创建任何样式的自定义渐变。 可以创建线性,圆锥形和径向渐变,并可以根据需要定制颜色和方向。 它甚至支持动画渐变更改,以实现平滑而丰富多彩的应用程序。
CAGradientLayer is a subclass of CALayer, and has been specially designed to easily and quickly make gradient effects. With literally five lines of code, you can generate a new gradient and add it to your view layers.
CAGradientLayer是CALayer的子类,并且经过专门设计,可以轻松快速地制作渐变效果。 使用字面上的五行代码,您可以生成一个新的渐变并将其添加到您的视图层中。
Here are 5 steps to create beautiful gradients for your apps.
以下是为您的应用创建漂亮的渐变的5个步骤。
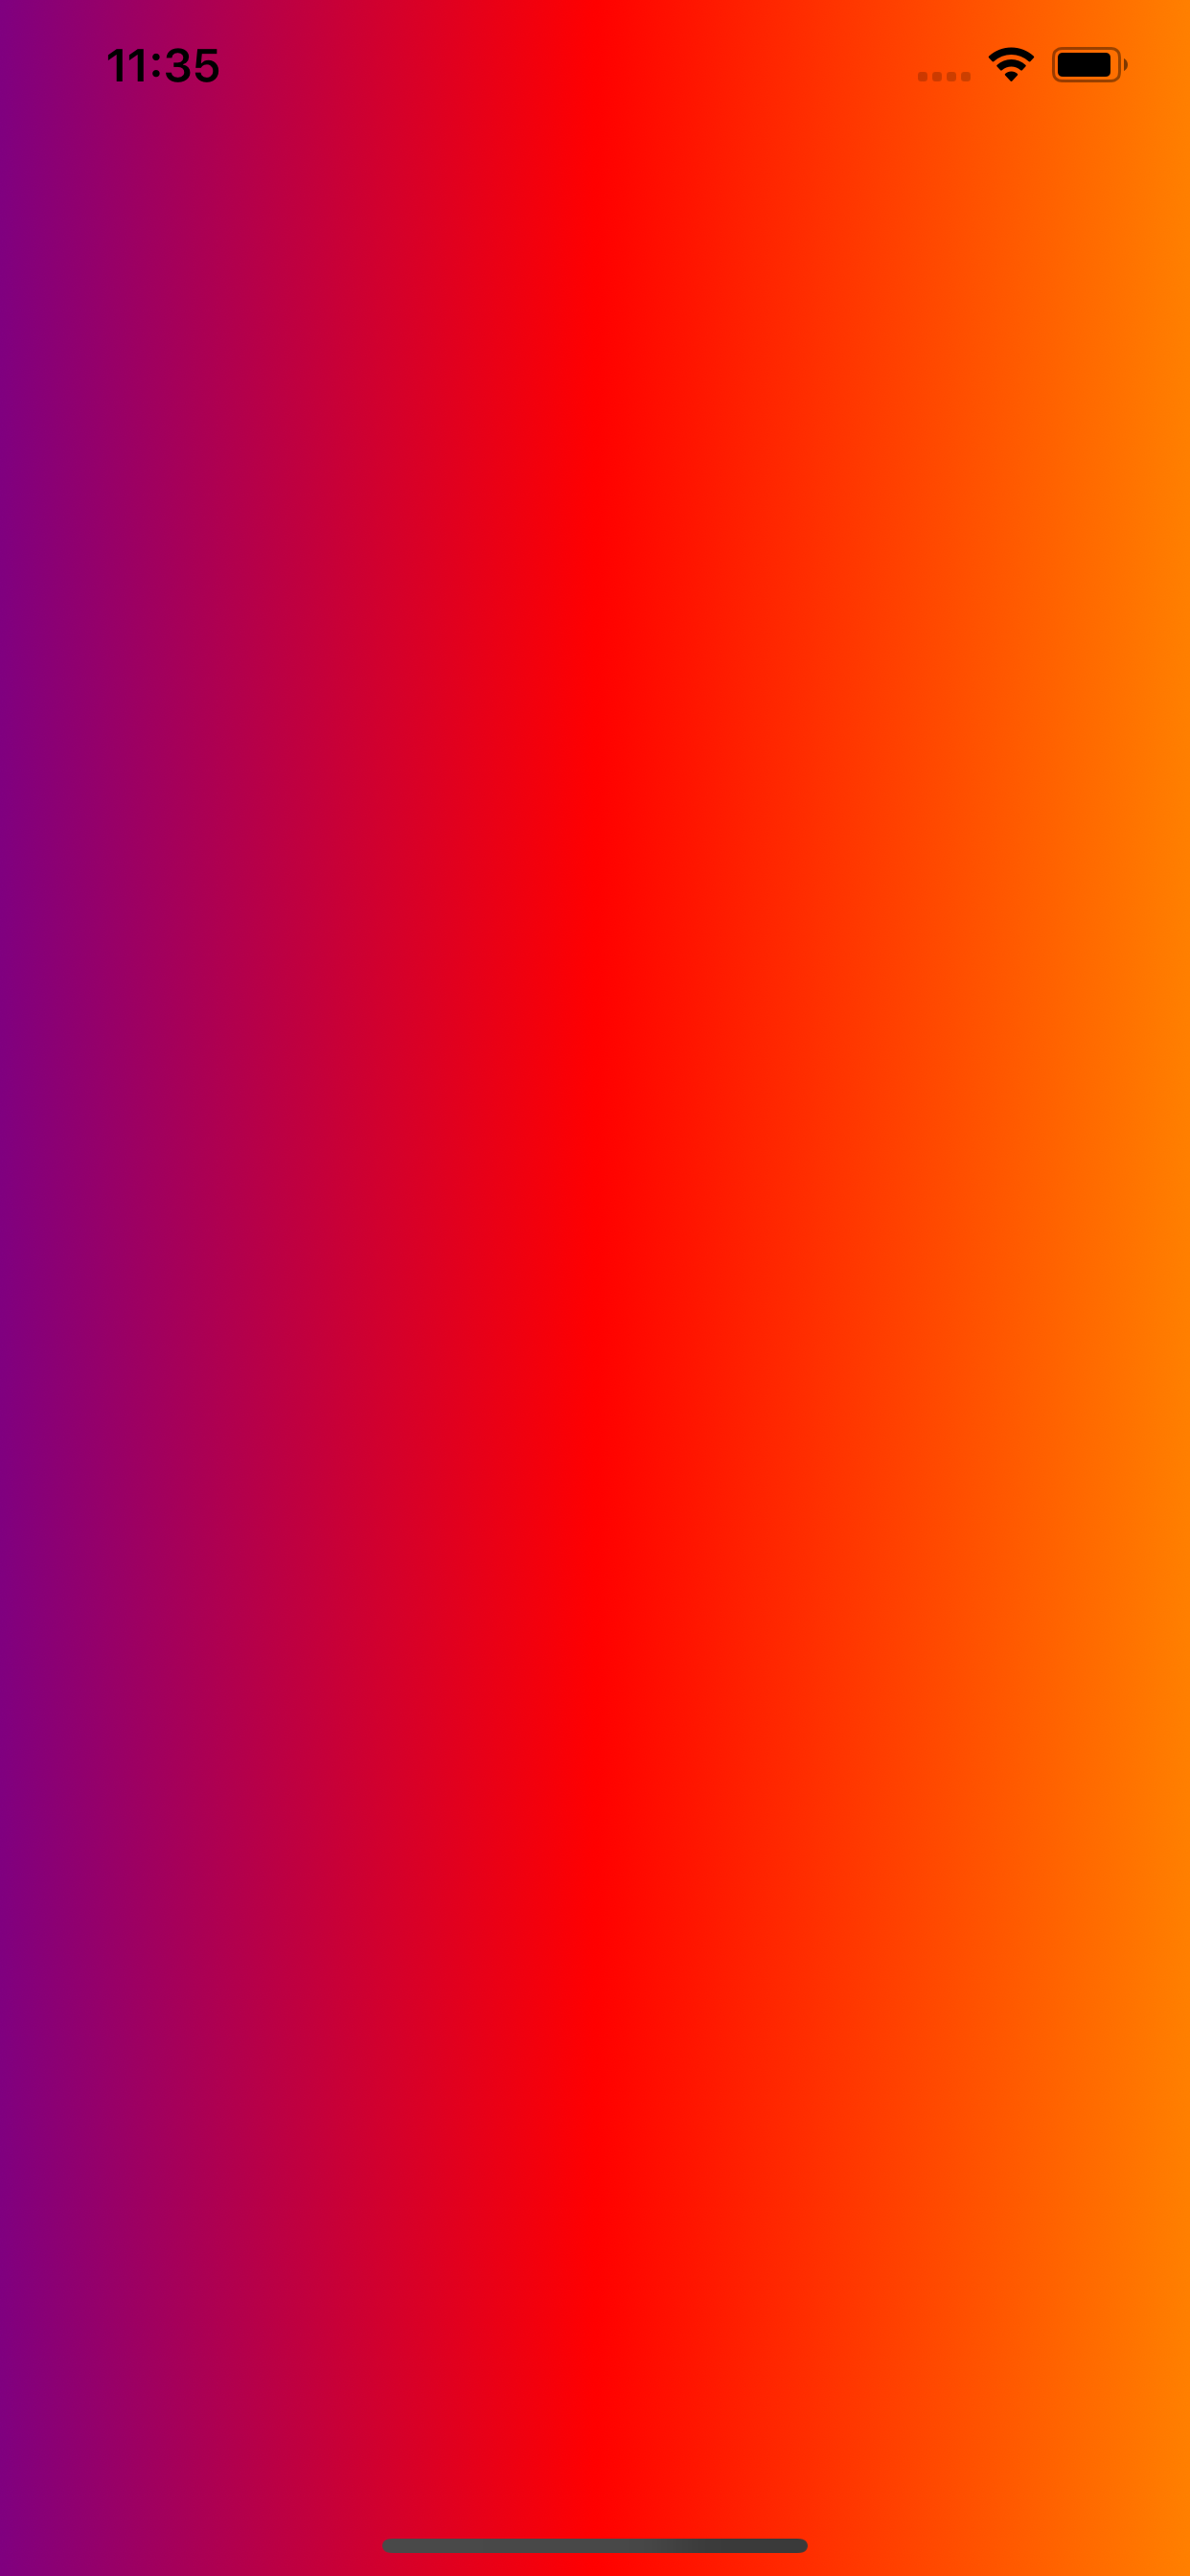
1.线性渐变 (1. Linear Gradient)
Creating a layer with gradient colors is quite simple. For the most basic gradient, it only requires the colors you want to use, and then you can optionally adjust color location. Once you’ve created your gradient, add it simply to your view layer by calling the addSublayer function.
创建具有渐变颜色的图层非常简单。 对于最基本的渐变,它只需要要使用的颜色,然后您可以选择调整颜色位置。 创建渐变后,只需调用addSublayer函数将其简单地添加到视图图层addSublayer 。
The attribute type is optional for this style of gradient, as linear (or axial) gradient is the default type. Also, the location of colors are useful only if you need to adjust how much space you want for each color. Otherwise, it is also optional. If you don’t set this property, each color of the gradient will just show proportionally on the layer.
对于这种类型的渐变,属性type是可选的,因为线性(或轴向)渐变是默认类型。 另外,仅当您需要调整每种颜色所需的空间时,颜色的位置才有用。 否则,它也是可选的。 如果不设置此属性,则渐变的每种颜色将仅按比例显示在图层上。
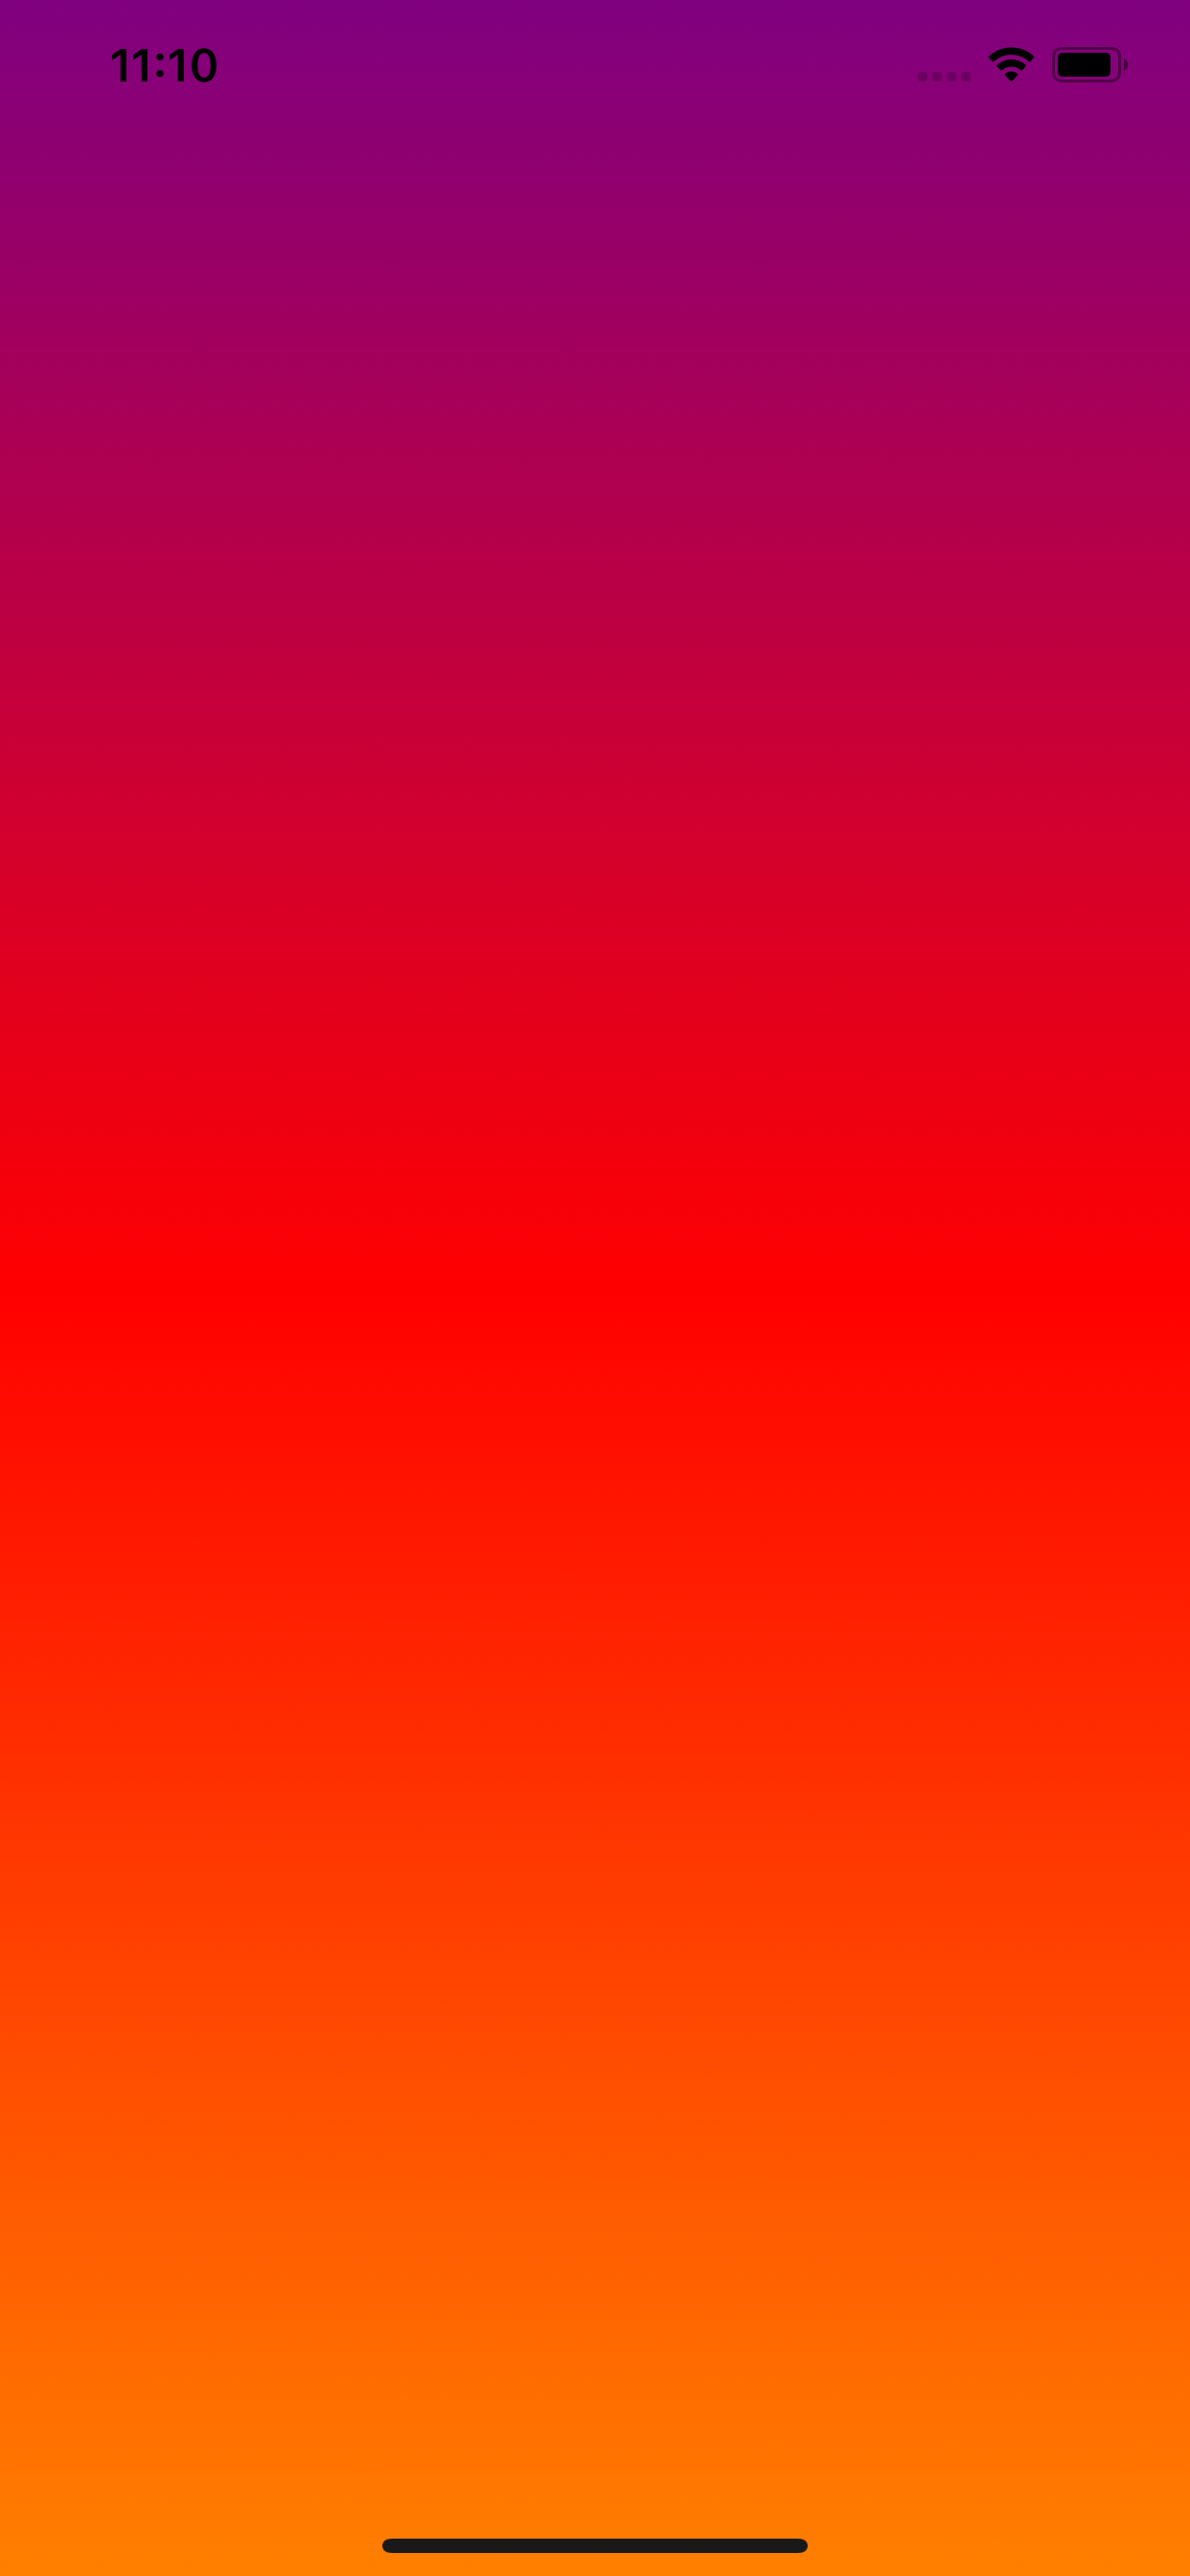
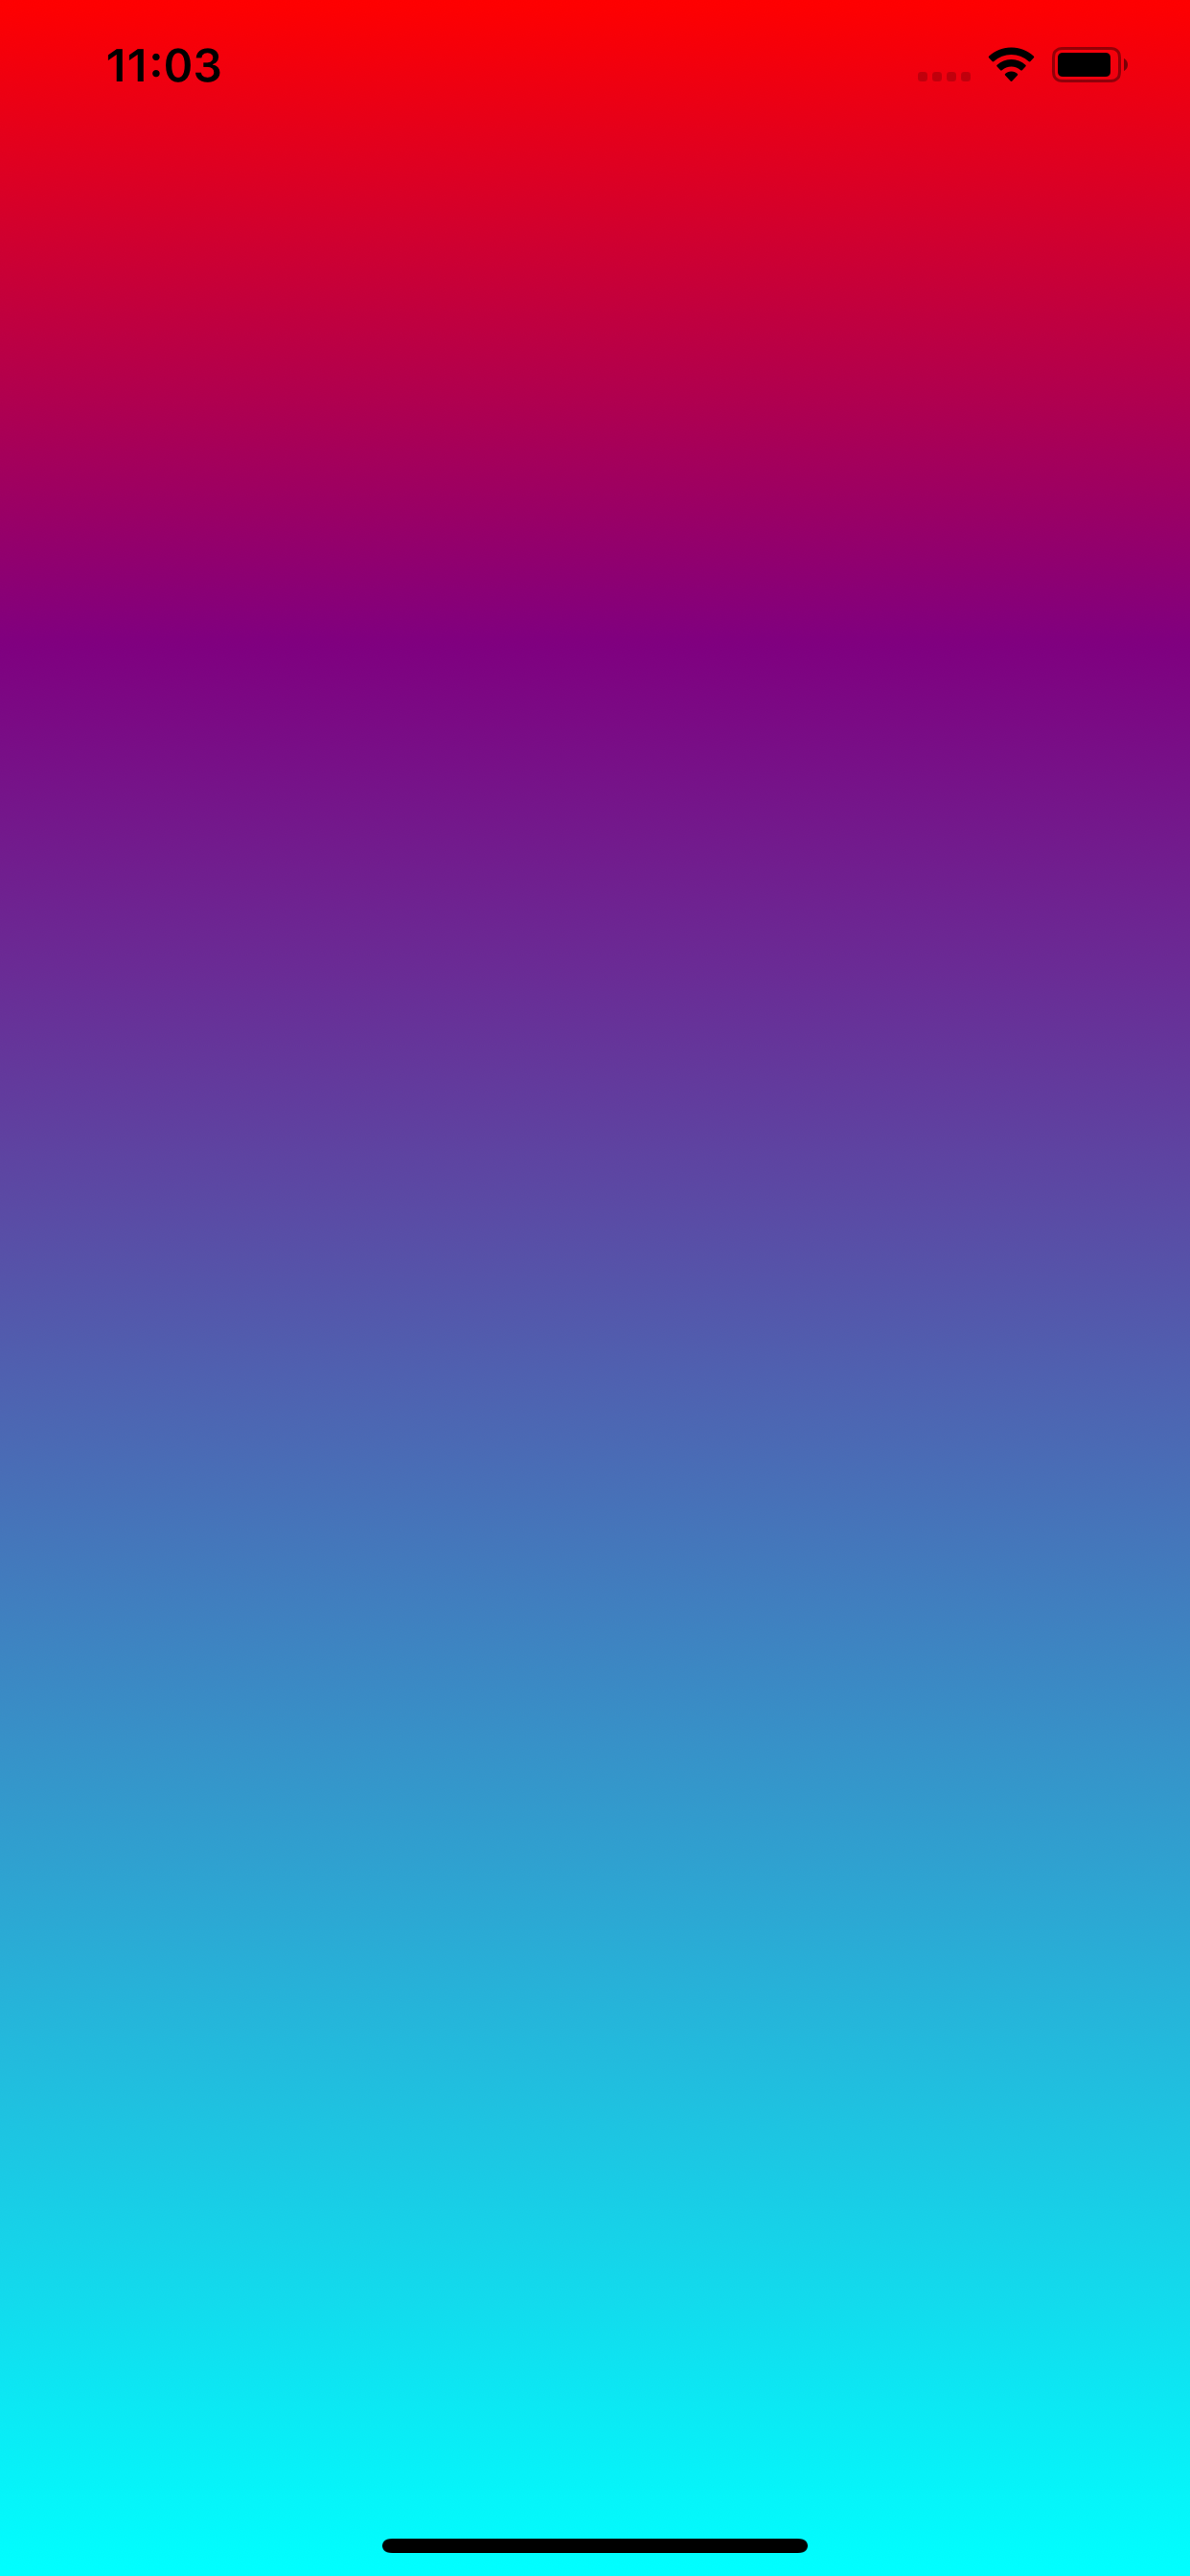
2.自定义渐变方向 (2. Customize Gradient Direction)
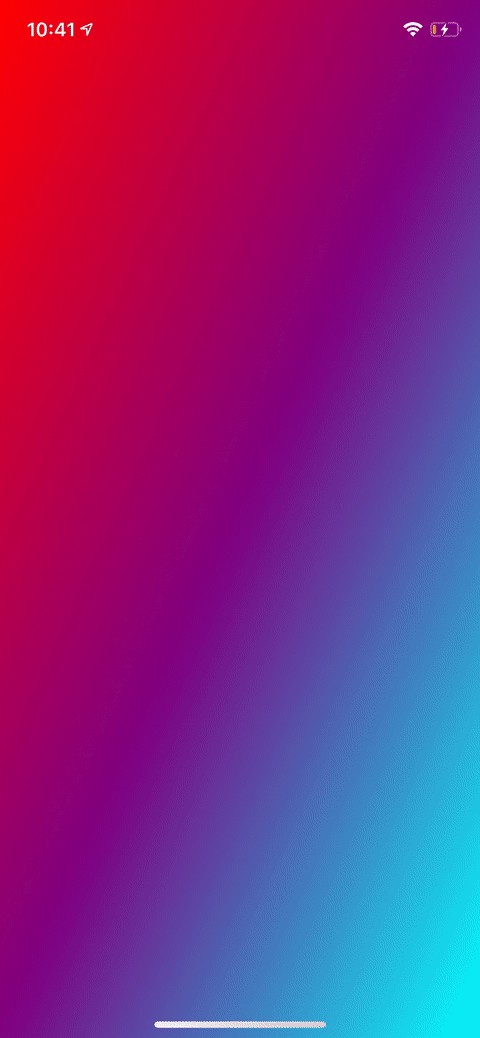
We now have created a new gradient, customized its colors, but it always the same vertical direction. Thanks to CAGradientLayer we can customize direction too! More exactly, we can customize the start point and end point of the gradient. To make it simple to understand, the gradient will follow a line between these two points, so you can choose the direction of the gradient, but also where it will starts, and where it will ends.
现在,我们创建了一个新的渐变色,自定义了其颜色,但始终保持相同的垂直方向。 多亏了CAGradientLayer我们也可以自定义方向! 更确切地说,我们可以自定义渐变的起点和终点。 为了易于理解,渐变将遵循这两点之间的直线,因此您可以选择渐变的方向,也可以选择渐变的起始位置和终止位置。
These two points are expressed in percentage of the layer, between (0, 0) and (1, 1). For example, in the default vertical gradient we have above, the start point is (0, 0), and the end point (0, 1).
这两个点以层的百分比表示,介于(0, 0)和(1, 1) 。 例如,在上面的默认垂直渐变中,起点是(0, 0) ,终点是(0, 0) (0, 1) 。
Let’s see two examples of customized direction: a first one in a perfect diagonal, and another one in the horizontal direction.
让我们看一下自定义方向的两个示例:第一个是完美对角线,另一个是水平方向。
For the diagonal direction, set the two points as in the code below.
对于对角线方向,按照下面的代码设置两个点。
gradient.startPoint = CGPoint(x: 0, y: 0)
gradient.endPoint = CGPoint(x: 1, y: 1)
For the horizontal direction, just keep the same y for both start and end points, and you’ll get an horizontal gradient.
对于水平方向,只需在起点和终点都保持相同的y ,您将获得水平渐变。
gradient.startPoint = CGPoint(x: 0, y: 1)
gradient.endPoint = CGPoint(x: 1, y: 1)
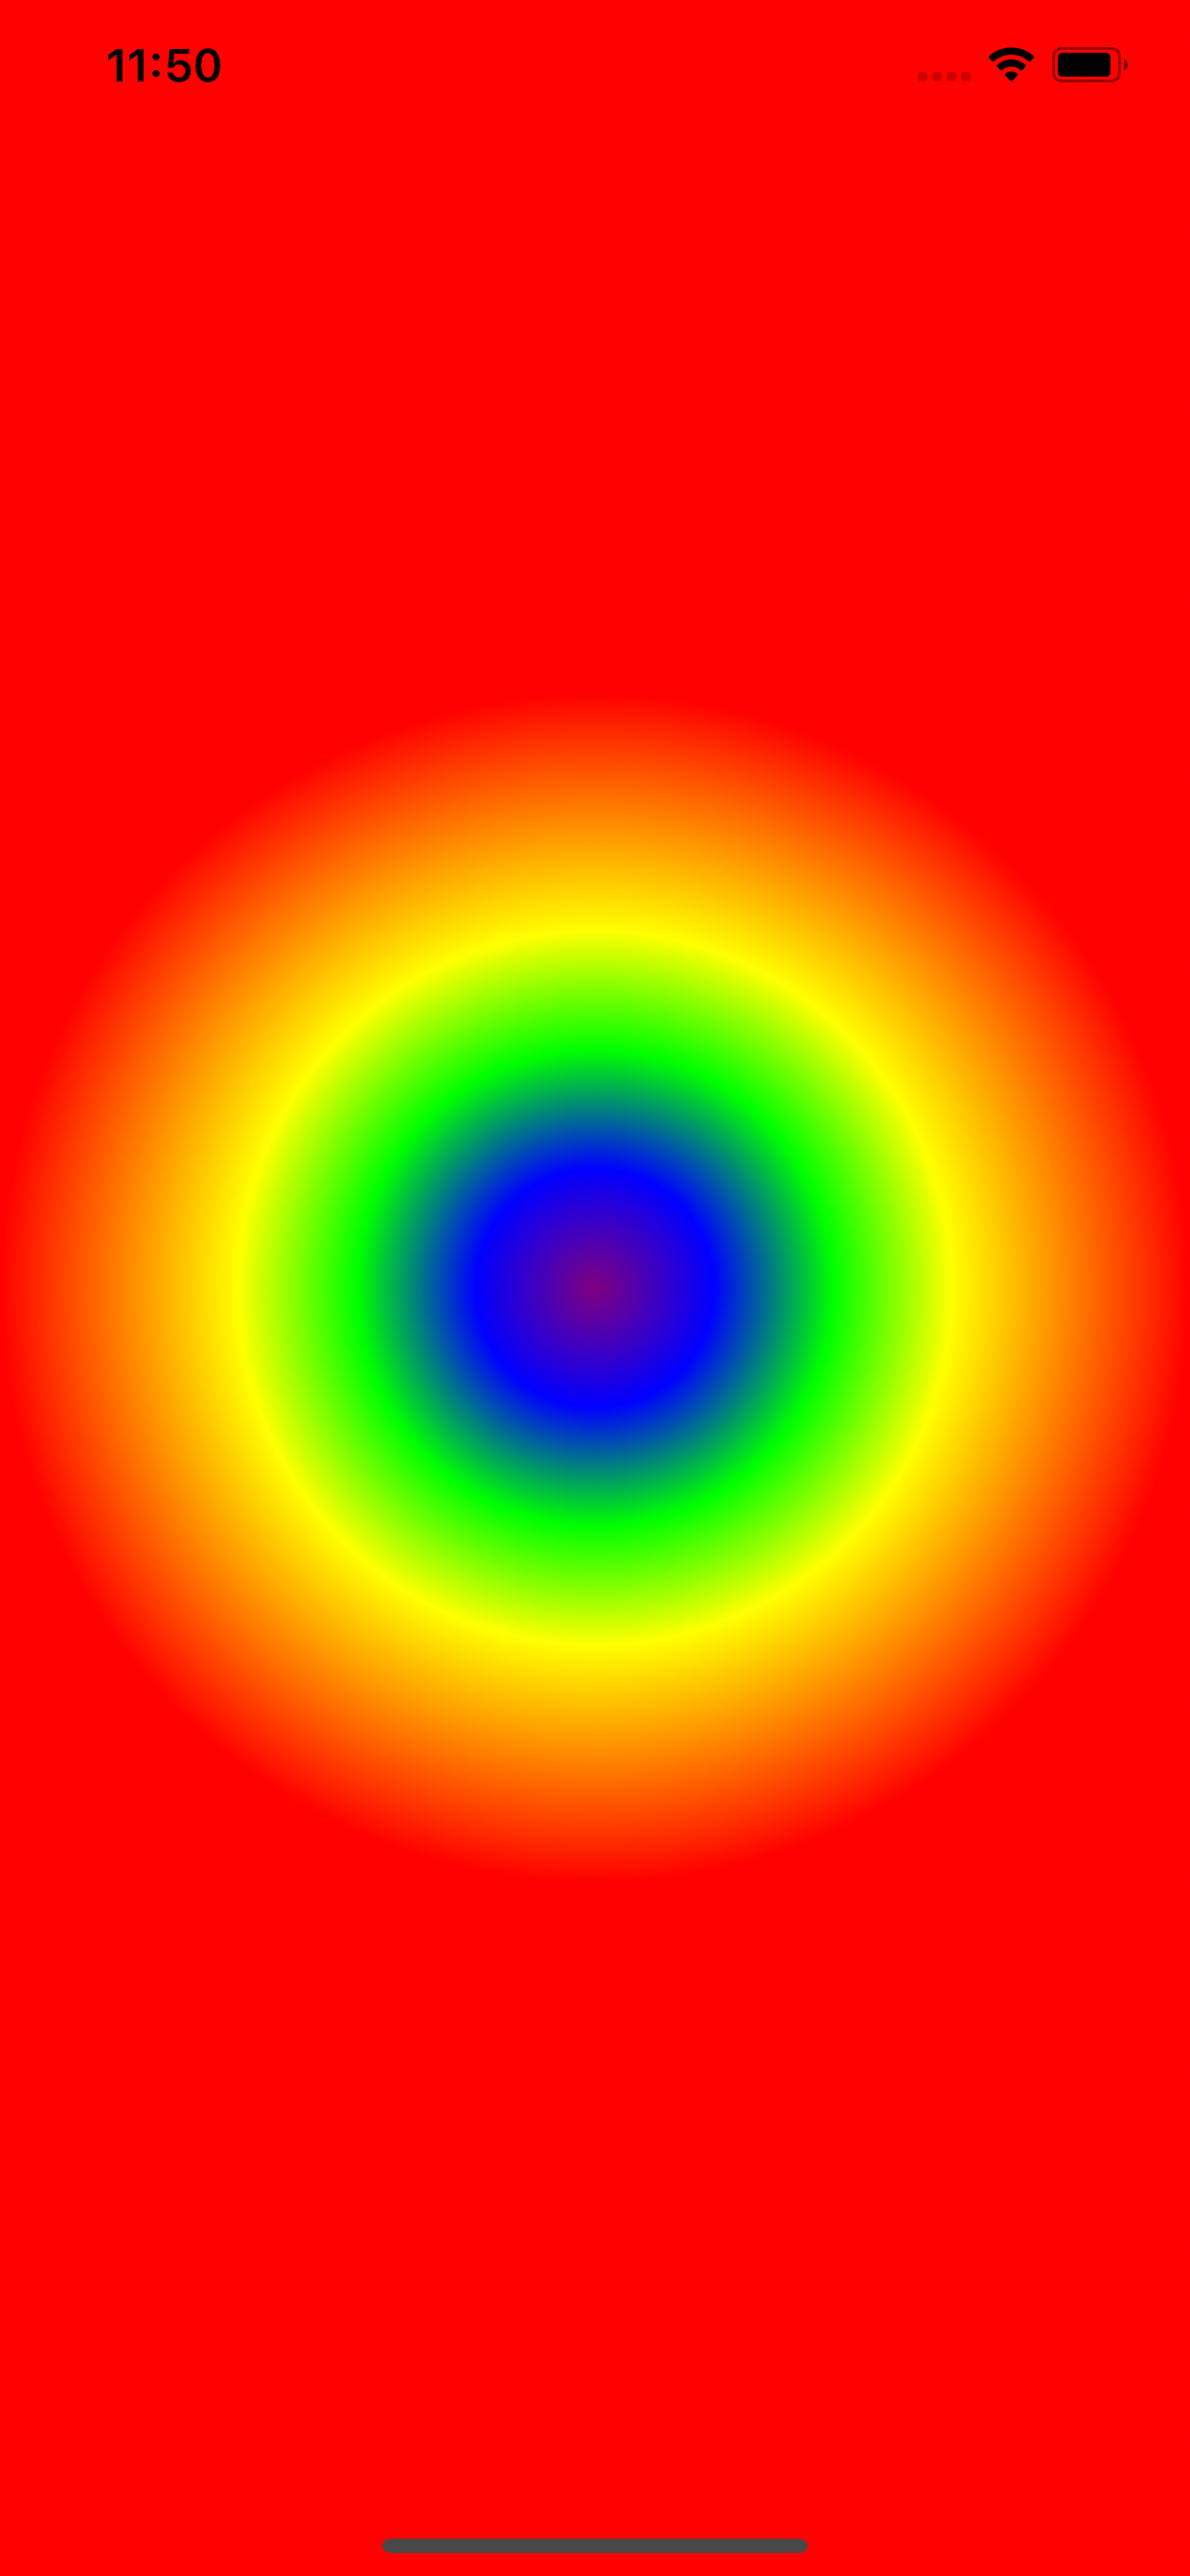
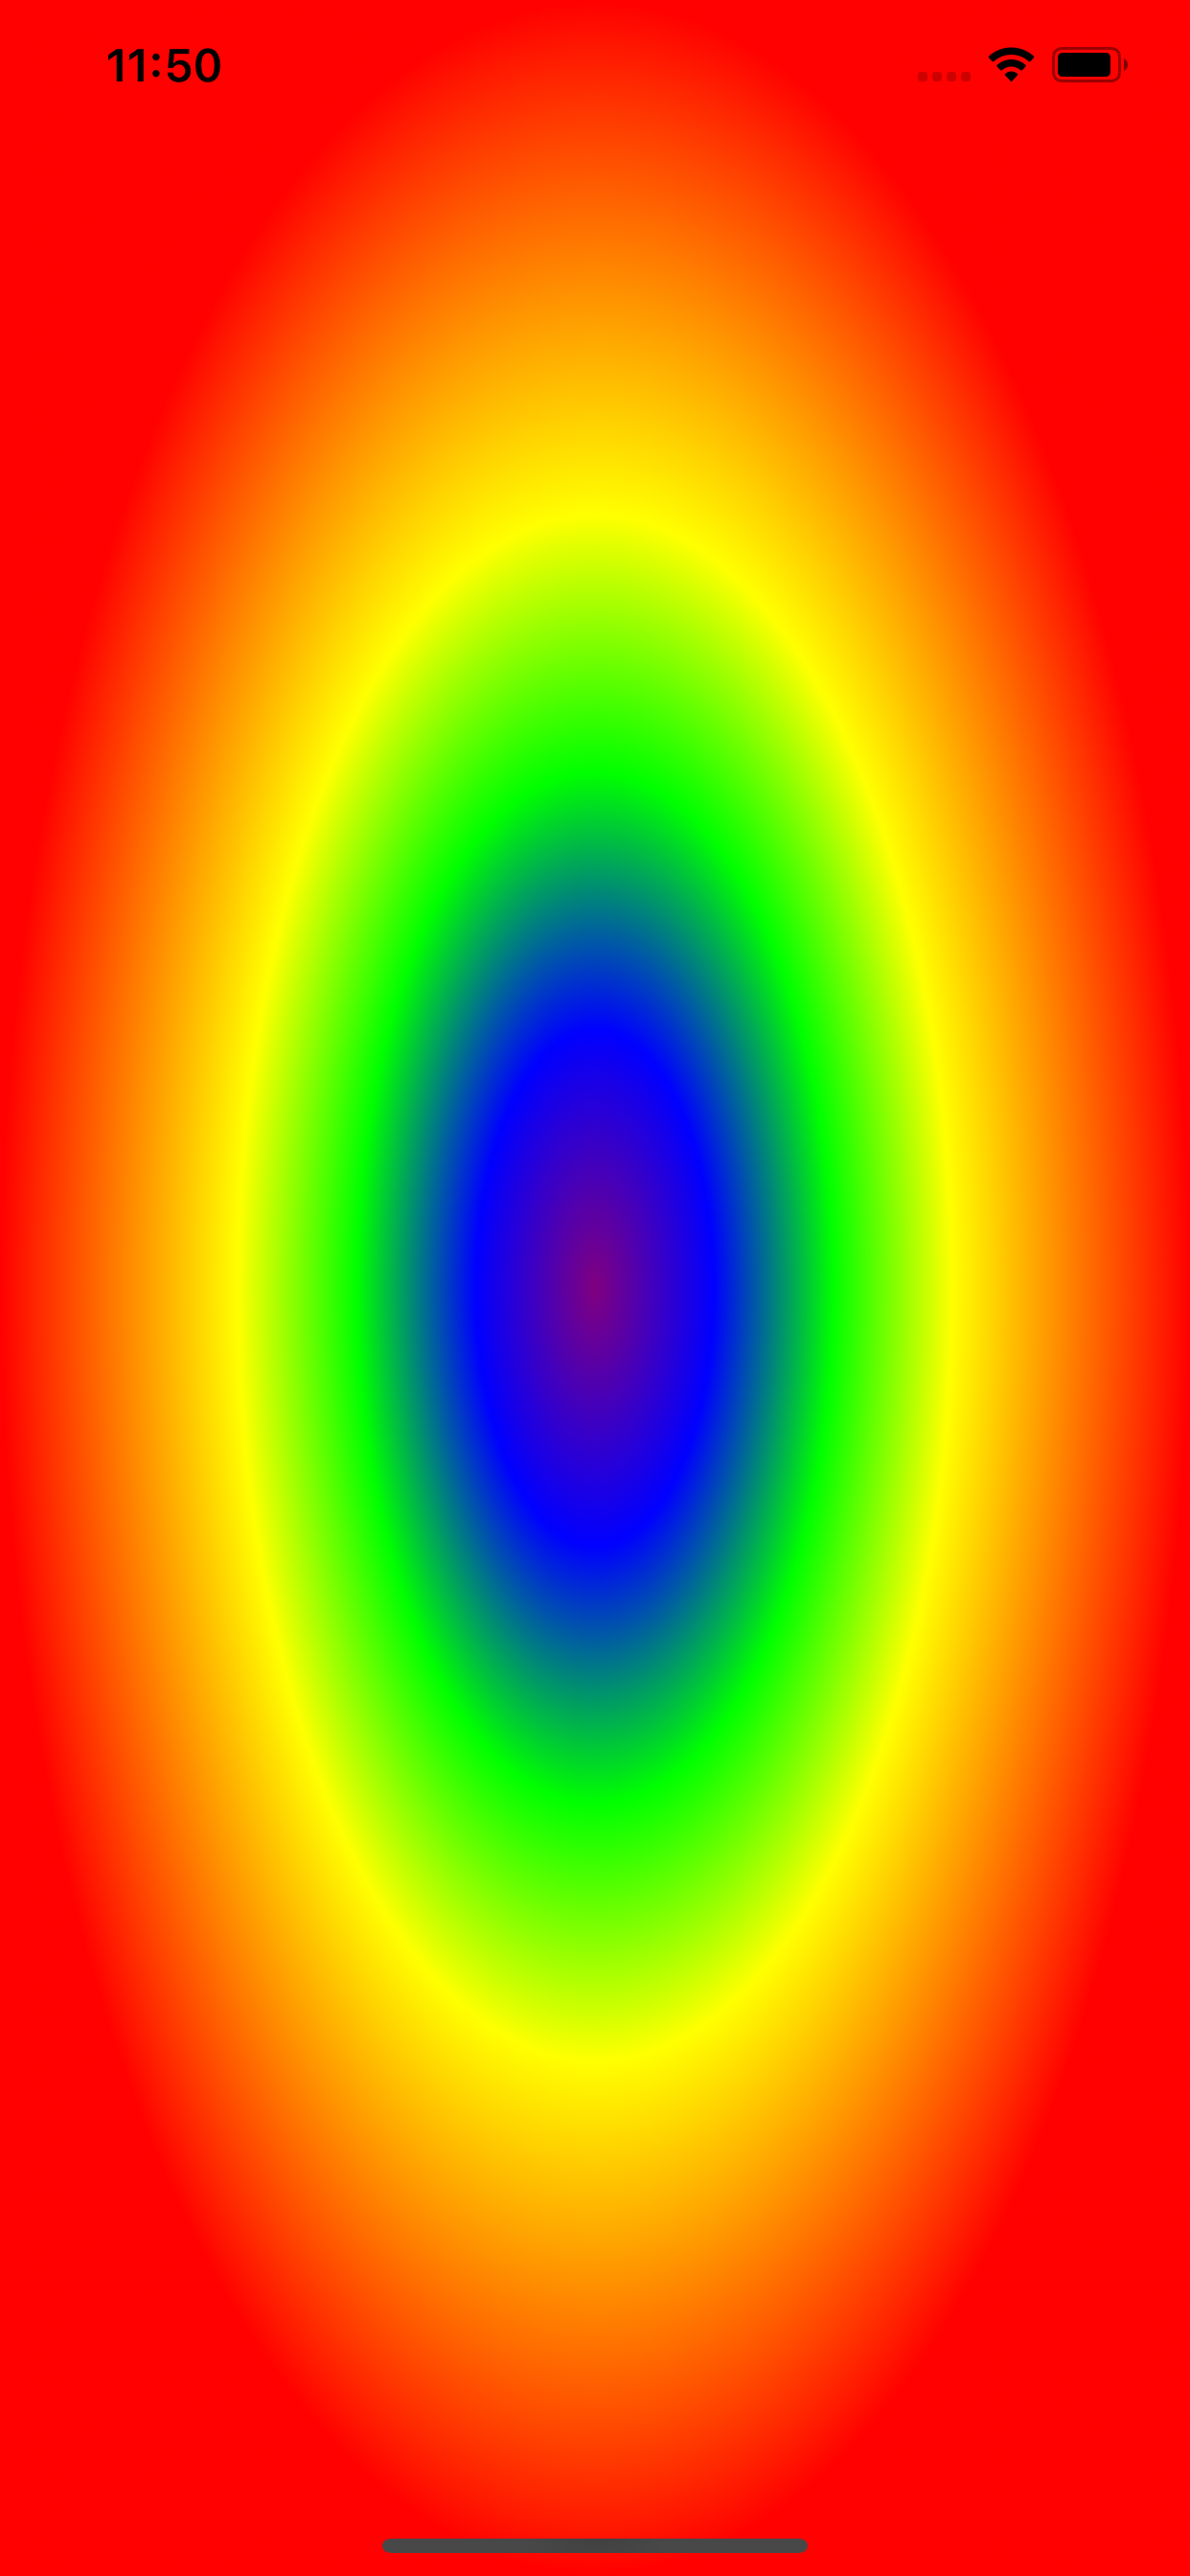
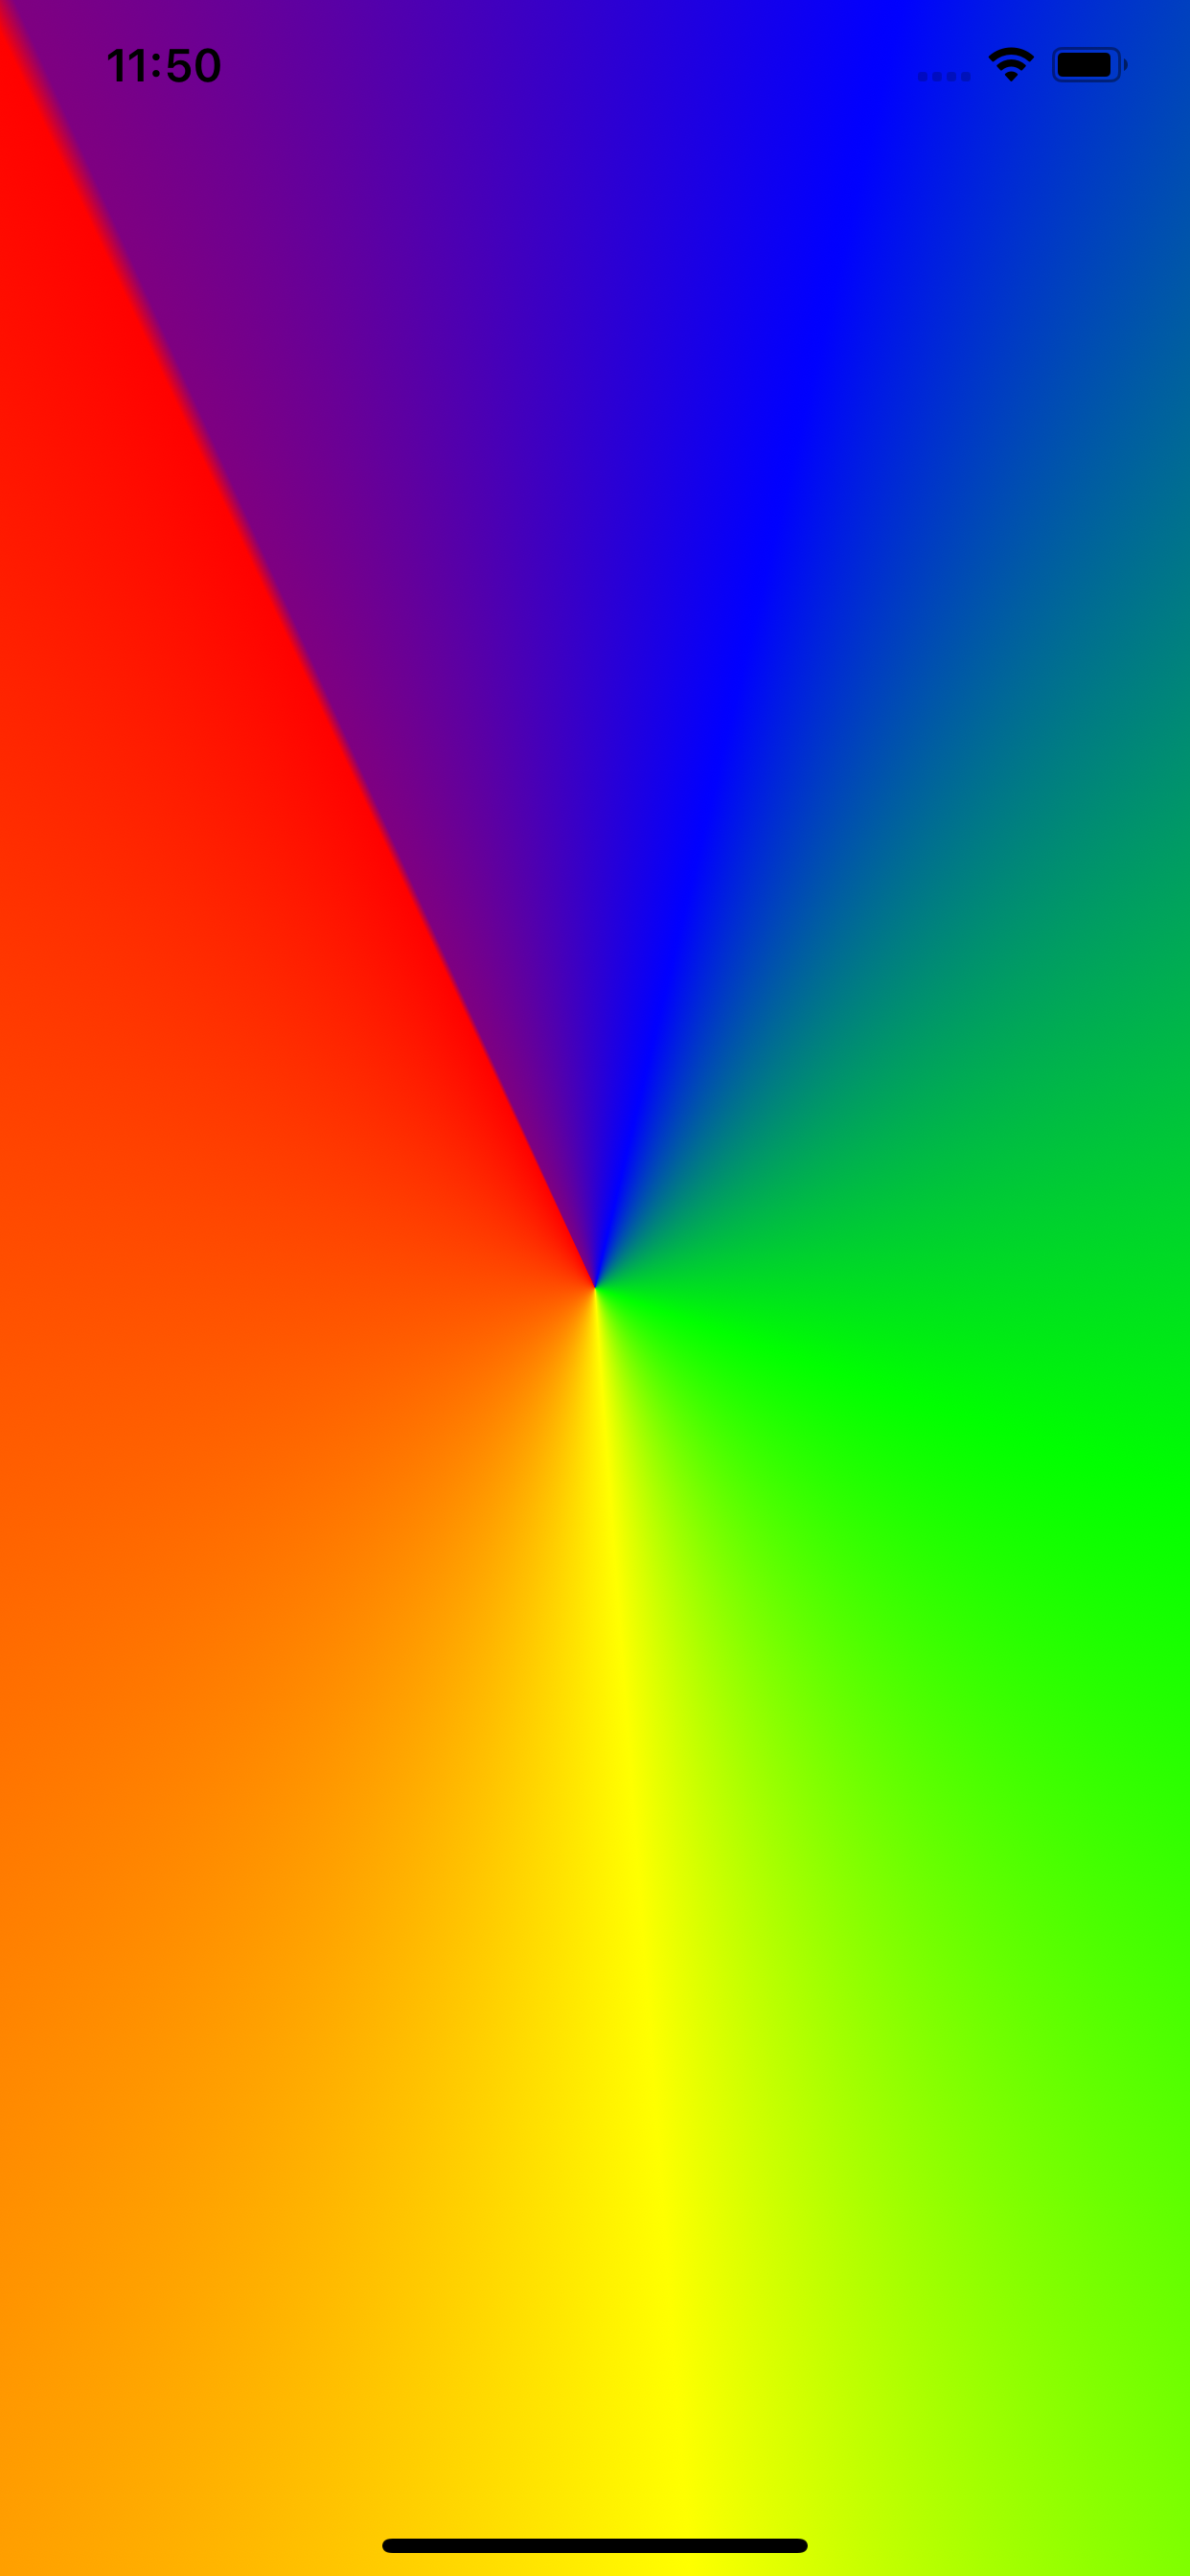
3.径向和圆锥形渐变 (3. Radial and Conic Gradients)
Radial and Conic gradients are pretty similar to the linear gradient to create.
径向和圆锥形渐变与创建的线性渐变非常相似。
As seen in the previous part, gradient layers have a CAGradientLayerType property named type. This property, which is described in the Apple Documentation, allows you to choose which style of gradient you want to use on this layer.
如上一部分所示,渐变层具有一个名为type的CAGradientLayerType属性。 Apple文档中对此属性进行了描述,使您可以选择要在此图层上使用的渐变样式。
Here are the three types available:
这是可用的三种类型:
static let axial: CAGradientLayerTypestatic let conic: CAGradientLayerTypestatic let radial: CAGradientLayerTypeTo change the style of gradient to conic or radial, set either conic or radial to the layer type property.
要将渐变样式更改为圆锥形或径向,请将图层类型属性设置为conic或radial 。
If startPoint and endPoint was optional for the linear gradient, you need to specify these two properties for both radial and conic gradients.
如果startPoint和endPoint对于线性渐变是可选的,则需要为径向渐变和圆锥渐变指定这两个属性。
In radial gradients, startPoint represents the middle of the circle, and endPoint the farthest point of the circle. If your layer is none-square, you may need to do some math to find an endPoint in order to give to your radial gradient a rounded shape.
在径向渐变中,startPoint代表圆的中间,而EndPoint代表圆的最远点。 如果您的图层不是正方形,则可能需要做一些数学运算才能找到一个端点,以便为您的径向渐变提供一个圆形。
For conic gradients, startPoint still represent the middle point of the cone, but the endPoint is the point where your first color and last color will join. In some way, this will allows you to rotate your conic gradient.
对于圆锥渐变,startPoint仍代表圆锥的中间点,而endPoint是您的第一种颜色和最后一种颜色将合并的点。 以某种方式,这将允许您旋转圆锥渐变。
lazy var gradient: CAGradientLayer = {
    let gradient = CAGradientLayer()
    gradient.type = .radial
    gradient.colors = [
        UIColor.purple.cgColor,
        UIColor.blue.cgColor,
        UIColor.green.cgColor,
        UIColor.yellow.cgColor,
        UIColor.orange.cgColor,
        UIColor.red.cgColor
    ]
    gradient.startPoint = CGPoint(x: 0.5, y: 0.5)
    let endY = 0.5 + view.frame.size.width / view.frame.size.height / 2
    gradient.endPoint = CGPoint(x: 1, y: endY)
    return gradient
}()


override func viewDidLoad() {
    super.viewDidLoad()
    // Do any additional setup after loading the view.
    gradient.frame = view.bounds
    view.layer.addSublayer(gradient)
}
4.动画渐变更改 (4. Animate Gradient Changes)
Another cool thing with CAGradientLayer is that most of its properties can be animated! You can easily animate color changes, start points and end points changes for example.
CAGradientLayer另一个很酷的事情是,它的大多数属性都可以设置动画! 例如,您可以轻松地为颜色变化,起点和终点变化设置动画。
Let’s see how to create a custom animation to change the gradient colors, by creating an extension to CAGradientLayer.
让我们看看如何通过创建CAGradientLayer的扩展来创建自定义动画来更改渐变颜色。
extension CAGradientLayer {

    func setColors(_ newColors: [CGColor],
                   animated: Bool = true,
                   withDuration duration: TimeInterval = 0,
                   timingFunctionName name: CAMediaTimingFunctionName? = nil) {

        if !animated {
            self.colors = newColors
            return
        }

        let colorAnimation = CABasicAnimation(keyPath: "colors")
        colorAnimation.fromValue = colors
        colorAnimation.toValue = newColors
        colorAnimation.duration = duration
        colorAnimation.isRemovedOnCompletion = false
        colorAnimation.fillMode = CAMediaTimingFillMode.forwards
        colorAnimation.timingFunction = CAMediaTimingFunction(name: name ?? .linear)


        add(colorAnimation, forKey: "colorsChangeAnimation")
    }
}
It works the same way for animating start point and end point, you just have to replace the keyPath at CABasicAnimation instantiation, by the one you want to animate, “startPoint” for example.
它的动画起点和终点动画方式相同,只需在CABasicAnimation实例化处替换keyPath ,例如,将其动画化为“startPoint” 。
5. UIView中的CAGradientLayer (5. CAGradientLayer in UIView)
Every UIView object has a layer of class CALayer. In some cases, if you are creating a custom gradient view for example, you might want to replace this default layer by a gradient layer. You can replace the layer class of your custom view by overriding the layerClass property of your UIView class.
每个UIView对象都有一层CALayer类。 在某些情况下,例如,如果要创建自定义渐变视图,则可能需要将此默认图层替换为渐变图层。 您可以通过覆盖UIView类的layerClass属性来替换自定义视图的layerClass类。
By doing so, you don’t even need to instantiate a new CAGradientLayer object, as the default layer of the view will be of the returned type. You can set directly colors and points to the layer object of the view by using the layer property: layer as? CAGradientLayer.
这样,您甚至不需要实例化新的CAGradientLayer对象,因为视图的默认层将是返回的类型。 您可以使用layer属性直接设置颜色并指向视图的图层对象: layer as? CAGradientLayer layer as? CAGradientLayer 。
class MyGradientView: UIView {
    override class var layerClass: Swift.AnyClass {
        return CAGradientLayer.self
    }
}
回顾 (Recap)
In this article we’ve seen how to create a fully customized gradient layer, how to choose and configure the style of gradient to apply and how to animate your gradient changes.
在本文中,我们了解了如何创建完全自定义的渐变层,如何选择和配置要应用的渐变样式以及如何为渐变更改设置动画。


 468
468

 被折叠的 条评论
为什么被折叠?
被折叠的 条评论
为什么被折叠?
 到【灌水乐园】发言


