


swiftui
The LongPressGesture is a gesture that is initiated after a user performs a long-press action.
LongPressGesture是在用户执行长按动作后启动的手势。
目标 (Objectives)
Create a
LongPressGestureanimation utilizing@StateandGestureStateproperty wrapper types.使用
@ State和GestureState属性包装器类型创建LongPressGesture动画。
Create a @State variable that declares a scale factor for your destined View.
@State private var scaleFactor: CGFloat = 1Create an object you want to manipulate–e.g., Image, Rectangle, etc. We will use an Image.
创建一个要操作的对象,例如Image,Rectangle等。我们将使用Image。
import SwiftUI
struct ContentView: View {
@State private var scaleFactor: CGFloat = 1
// @GestureState property wrapper returns a completed animation to it's inital state
var body: some View {
VStack {
Image("Profile")
.resizable()
.scaledToFit()
.frame(width: 200, height: 300)
.clipShape(Circle())
.overlay(Circle().stroke(Color.white, lineWidth: 4))
.shadow(radius: 20)
}
}
}
struct ContentView_Previews: PreviewProvider {
static var previews: some View {
ContentView()
}
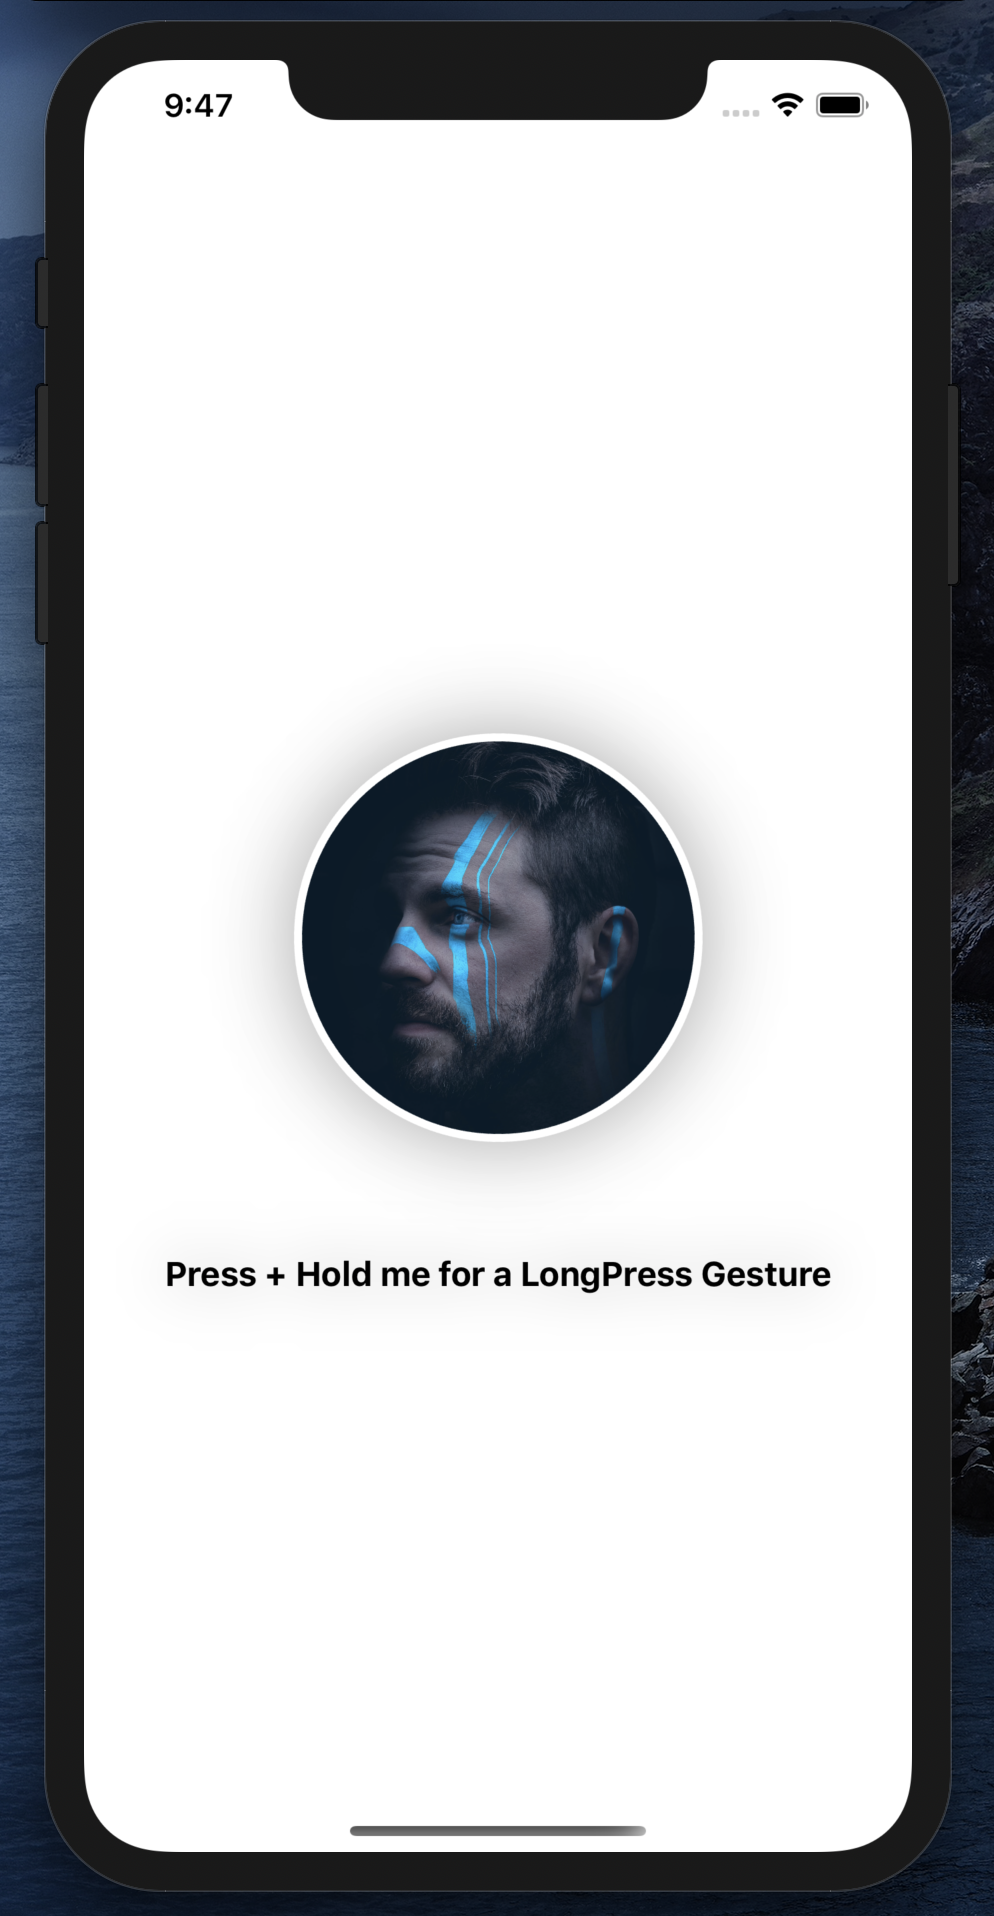
}You should be met with the following. Shoutout to @danny_lincoln for giving our project a much-needed splash of color!
您应该遇到以下问题。 向@danny_lincoln大喊 ,为我们的项目提供了急需的色彩!
Next, we will be adding our gesture. Gestures take the parameters of minimumDuration and maximumDistance . MinimumDuration equates to the elapsed time (seconds) required before a gesture can catalyze, while maximumDistance holds the value of distance a long press can move before reaching an intermittent fault point. After the minimumDuration is executed we need to set up an action to take place. .onEnded will serve the purpose of the action closure’s parameter, we will now pass in an updated value of 1.5 as opposed to our initial value of 1.0.
接下来,我们将添加手势。 手势采用的参数minimumDuration和maximumDistance 。 MinimumDuration等于手势可以催化之前所经过的时间(秒),而maximumDistance保持长按可以到达间歇性故障点之前可以移动的距离值。 在执行minimumDuration之后,我们需要设置一个要执行的动作。 .o nEnded将用作操作闭包参数的目的,我们现在将传递更新值1.5而不是初始值1.0。
import SwiftUI
struct ContentView: View {
@State private var scaleFactor: CGFloat = 1
// @GestureState property wrapper returns a completed animation to it's inital state
var body: some View {
VStack {
Image("Profile")
.resizable()
.scaledToFit()
.frame(width: 200, height: 300)
.scaleEffect(scaleFactor)
.clipShape(Circle())
.overlay(Circle().stroke(Color.white, lineWidth: 4))
.shadow(radius: 20)
.gesture(LongPressGesture(minimumDuration: 1).onEnded({
_ in
self.scaleFactor = 1.5
}))
}
}
}
struct ContentView_Previews: PreviewProvider {
static var previews: some View {
ContentView()
}
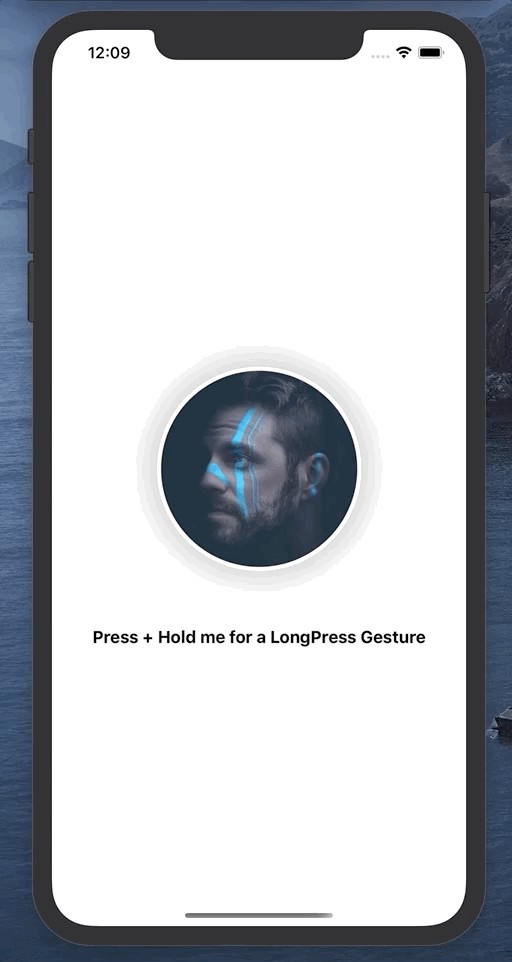
}To counter the abrupt zoom-in effect, we will utilize the animation modifier to tweak the current hasty animation state. We will add this modifier below our gesture action.
为了应对突然的放大效果,我们将使用animation修改器来调整当前的仓促动画状态。 我们将在手势动作下方添加此修饰符。
// Use of .animation modifier and .spring will give our gesture a smooth pulse
.animation(.spring())
You will now notice that our gesture is functional however, the only animation function that can be served is a zoom-in effect. We now want to pan our image back to its original state of 1.0. We will now call the @GestureState property wrapper into question.
现在,您会注意到我们的手势可以正常使用,但是唯一可以提供的动画功能就是放大效果。 现在,我们想将图像平移回其原始状态 1.0。 现在,我们将对@GestureState属性包装器提出疑问。
Create a @GestureState variable. Unlike @State , @GestureState can reset a view (Image) to the initial state provided.
创建一个@GestureState变量。 不像@ State , @GestureState可以重置的图(图像),以所提供的初始状态。
// @GestureState property wrapper returns a completed animation to an inital state
@GestureState private var longPressed = false
Sometimes, we have to go backward, before we go forward. We need to edit the property of .scaleEffect by passing in our new @GestureState var longPressed and if true scale our image to 1.2 otherwise return to 1.0.
有时,我们必须退后,然后才能前进。 我们需要通过传递新的@GestureState var .scaleEffect来编辑.scaleEffect的属性,如果为true,则将图像缩放为1.2,否则返回1.0。
// scaleEffect that will resize to 1.2 and return to 1
.scaleEffect(longPressed ? 1.2 : 1)
Next, we need to refactor our gesture by replacing .onEnded with .updating and binding our longPressed @GestureState property wrapper variable with new actions of value, state, and transaction. To top things off we will circumnavigate our state back to the boolean of value.
接下来,我们需要通过更换重构我们的姿态.o nEnded与.updating并结合我们的longPressed @GestureState与价值,状态和交易的新的行动属性包装变量。 最重要的是,我们将把状态回溯到布尔值。
// LongPressGesture with a minDuration of 1 second that updates to longPressed default state of 1
.gesture(LongPressGesture(minimumDuration: 1).updating($longPressed, body: { (value, state, transaction) in
	// resets to init value
    state = value
}))
结论 (Conclusion)
In this tutorial, we went over declaring an initial scale factor. Subsequently, we created a gesture and passed in a minimumDuration value and set an action via.onEnded and referencing an instance of scaleFactor and vamping the value to 1.5. We then countered a buggy zoom-in effect by using an animation modifier with the type of .spring to ease the gesture’s zoom-in effect. Finally, we reset the initial state of our image by employing a @GestureState property wrapper into our application to turn our gesture on and off, like a light switch thanks to the boolean property of value in our binding action of $longPressed.
在本教程中,我们介绍了初始比例因子。 随后,我们创建了一个手势并传递了minimumDuration值,并通过.o nEnded设置了一个动作,并引用了scaleFactor的一个实例,并将该值.o nEnded为1.5。 然后,我们通过使用带有.spring类型的动画修改器来缓解越野车的放大效果,以减轻手势的放大效果。 最后,我们通过在应用程序中使用@GestureState属性包装器来重置图像的初始状态,以打开和关闭手势,就像电灯开关一样,这归功于$ longPressed绑定操作中value的布尔属性。
Thank you for reading! Check out the source code for this project here.
感谢您的阅读! 在此处查看该项目的源代码。
翻译自: https://medium.com/swlh/swiftui-how-to-implement-a-longpressedgesture-6a24fe42be72
swiftui


 736
736


 被折叠的 条评论
为什么被折叠?
被折叠的 条评论
为什么被折叠?
 到【灌水乐园】发言


