


For me, the first half of 2020 was a start for ZigBee and home automation basics. After the lockdown, I’ve ended up with many temperature, humidity and motion sensors along with smart plugs, smart LED bulbs and water leak detectors.
对我来说,2020年上半年是ZigBee和家庭自动化基础知识的开始。 锁定之后,我得到了许多温度,湿度和运动传感器,以及智能插头,智能LED灯泡和漏水检测器。
入门 (Getting started)
I strongly recommend to start with reading zigbee2mqtt.io. It contains basic tutorials and documentation. Regarding HW - I’ve started with the most crucial components such as:
我强烈建议从阅读zigbee2mqtt.io开始。 它包含基本的教程和文档。 关于硬件-我从最关键的组件开始,例如:
- CC2531 USB sniffer CC2531 USB嗅探器
- CC debugger CC调试器
- CC2531 downloader cable CC2531下载器电缆
some supported Zigbee device(s) (I started out with a pair of temperature & humidity sensors)
一些受支持的Zigbee设备(我从一对温度和湿度传感器开始)
PC with good Docker support (I’ve started out with Raspberry Pi 3B, but ended up with Intel NUC10i3FNH)
具有良好Docker支持的PC(我从Raspberry Pi 3B开始 ,但最终以Intel NUC10i3FNH结束)
After you got the basic HW, you must flash the sniffer. I’ve done that using MS Windows, because I had some troubles with Raspbian (at that time on Raspberry Pi 3B).
掌握基本HW之后,您必须闪烁嗅探器 。 我已经使用MS Windows做到了这一点,因为我在Raspbian上遇到了一些麻烦(当时在Raspberry Pi 3B上)。
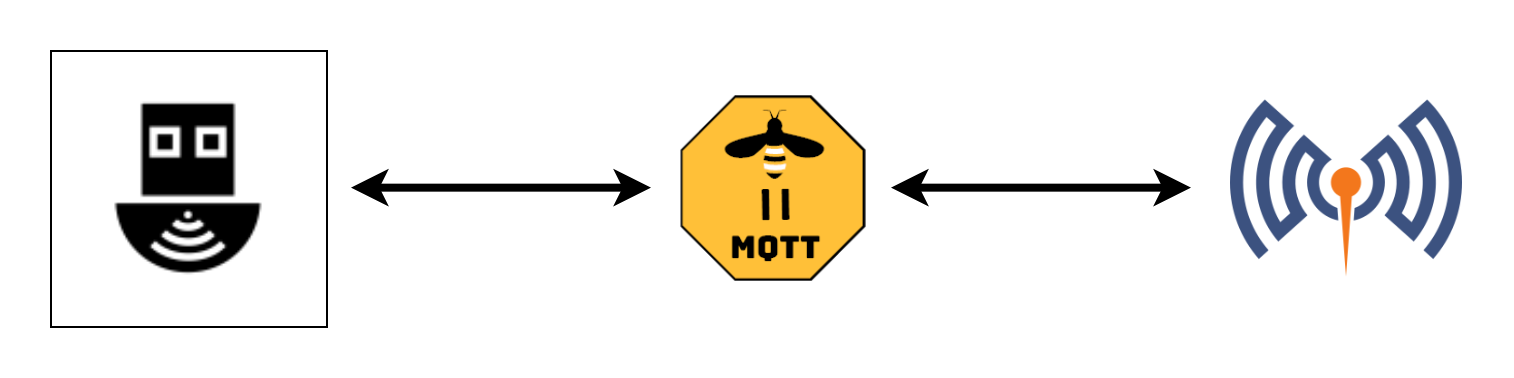
MQTT经纪人 (MQTT Broker)
Before we configure zigbee2mqtt service, we must create MQTT broker. It’s responsible for receiving, filtering and publishing messages to subscribed clients. It serves for receiving information from ZigBee devices and for sending commands to the devices.
在配置zigbee2mqtt服务之前,我们必须创建MQTT代理。 它负责接收,过滤和发布消息到订阅的客户端。 它用于从ZigBee设备接收信息并向设备发送命令。
I’ve chosen Eclipse Mosquitto which is a lightweight open source MQTT broker. First off, let’s create a folder structure:
我选择了Eclipse Mosquitto ,它是轻量级的开源MQTT代理。 首先,让我们创建一个文件夹结构:
.
├── data-mosquitto
│   └── config
│       └──
│   └── data
|   └── log
|       └── mosquitto.log
├── docker-compose.yml
└── restart
For now, let’s use these commands to create the structure:
现在,让我们使用以下命令创建结构:
mkdir data-mosquitto
mkdir data-mosquitto/config
wget "https://github.com/eclipse/mosquitto/blob/master/mosquitto.conf" -P ./data-mosquitto/config
touch docker-compose.yml
touch restart
Initially, I’ve left mosquitto.conf file without any change, but after a while I uncommented parameters regarding persistence and logging:
最初,我保留了mosquitto.conf文件,没有进行任何更改,但是过了一会儿,我对有关持久性和日志记录的参数未加注释:
persistence true
persistence_location /mosquitto/data/
log_dest file /mosquitto/log/mosquitto.log
Due to a problem, I had to create the data and log subfolders manually with a specific user:
由于问题 ,我不得不与特定用户手动创建数据和日志子文件夹:
mkdir data-mosquitto/data
sudo chmod o+w ./data-mosquitto/data
sudo chown 1883:1883 ./data-mosquitto/data -Rmkdir data-mosquitto/log
sudo touch ./data-mosquitto/log/mosquitto.log
sudo chmod o+w ./data-mosquitto/log
sudo chmod o+w ./data-mosquitto/log/mosquitto.log
sudo chown 1883:1883 ./data-mosquitto/log -R
Docker撰写 (Docker Compose)
While writing this article, I was using Docker of version 19.03.12 and Docker Compose 1.26.0. The main OS was Desktop version of Ubuntu 20.04 LTS.
在写这篇文章,我用的是码头工人的12年3月19日的版本和码头工人撰写 1.26.0。 主要操作系统是Ubuntu 20.04 LTS的桌面版本。
Let’s have a look at docker-compose.yml file:
让我们看一下docker-compose.yml文件:
version: '3'
services:
  mosquitto:
    container_name: mosquitto
    image: eclipse-mosquitto:latest
    restart: always
    deploy:
      resources:
        limits:
          memory: 125M
    ports:
       - "1883:1883"
       - "9001:9001"
    volumes:
      - ./data-mosquitto/config/mosquitto.conf:/mosquitto/config/mosquitto.conf
      - ./data-mosquitto/data:/mosquitto/data
      - ./data-mosquitto/log:/mosquitto/log
I also created bash script restart with following content:
我还创建了bash脚本重新启动 ,内容如下:
#!/bin/bashstart=`date +%s`
echo "Running restart..."docker-compose --compatibility down && docker-compose --compatibility up -dend=`date +%s`
echo -e "\nScript has reached its end after: " $((end-start)) " seconds"
Thanks to the compatibility parameter, we may apply a memory limit defined in docker-compose.yml.
多亏了兼容性参数,我们可以应用docker-compose.yml中定义的内存限制。
Now, we let’s start our first service via restart script:
现在,让我们通过重新启动脚本启动我们的第一个服务:
./restartYou should see the docker container running.
您应该看到docker容器正在运行。
Zigbee2mqtt (Zigbee2mqtt)
To create zigbee2mqtt service, let’s append the following service into the docker-compose.yml:
要创建zigbee2mqtt服务,让我们将以下服务添加到docker-compose.yml中 :
zigbee2mqtt:
    container_name: zigbee2mqtt
    depends_on:
      - mosquitto
    image: koenkk/zigbee2mqtt
    volumes:
      - ./data-zigbee2mqtt:/app/data
      - /run/udev:/run/udev:ro
    devices:
      - /dev/ttyACM0:/dev/ttyACM0
    deploy:
      resources:
        limits:
          memory: 100M
    restart: always
    privileged: true
    environment:
      - TZ=Europe/Prague
Important parameters, which might have different values for you, are:
重要参数可能为您提供不同的值,它们是:
Let’s create a folder structure for zigbee2mqtt service along with a configuration file:
让我们为zigbee2mqtt服务创建一个文件夹结构以及一个配置文件:
mkdir data-zigbee2mqtt
touch data-zigbee2mqtt/configuration.yml
At first, I put the following content into the configuration.yml file:
首先,我将以下内容放入configuration.yml文件中:
homeassistant: true
permit_join: true
mqtt:
  base_topic: zigbee2mqtt
  server: 'mqtt://{PC_IP_ADDRESS}:1883'
serial:
  port: /dev/ttyACM0
advanced:
    network_key: GENERATE
Remember, that port value might be different for you. Replace {PC_IP_ADDRESS} for the correct value as well. After this first startup, zigbee2mqtt service replaces GENERATE placeholder for a custom encryption network key. You may read more here.
请记住,该端口值可能对您有所不同。 也将{PC_IP_ADDRESS}替换为正确的值。 首次启动后, zigbee2mqtt服务将GENERATE占位符替换为自定义加密网络密钥。 您可以在此处阅读更多内容。
From now on, we can pair our first device. There is a list with supported devices which contains a description how to pair a device along with configuration options.
从现在开始,我们可以配对第一台设备。 有一个带有受支持设备的列表 ,其中包含有关如何将设备与配置选项配对的说明。
After we pair our first device (docker-compose logs -f command will help you to see what’s going on), we can notice, that configuration.yml file in data-zigbee2mqtt folder has been enriched by devices element:
我们配对我们的第一个设备后( 搬运工,撰写日志-f命令将帮助你看到发生了什么事),我们可以看到,在数据zigbee2mqtt文件夹configuration.yml文件已经被设备元素丰富:
homeassistant: true
permit_join: true
mqtt:
  base_topic: zigbee2mqtt
  server: 'mqtt://{PC_IP_ADDRESS}:1883'
serial:
  port: /dev/ttyACM0
devices:
  '0x00154c0805b8aa4c':
    friendly_name: 0x00154c0805b8aa4c
advanced:
  network_key:
    - 81
...
Consider replacing value of friendly_name parameter for a friendly name like ColorLight_Alpha.
考虑将friendly_name参数的值替换为友好名称,例如ColorLight_Alpha。
At this time, the folder structure should look like this:
此时,文件夹结构应如下所示:
.
├── data-mosquitto
│   └── config
│       └──
│   └── data
│       └──
|   └── log
|       └── mosquitto.log
├── data-zigbee2mqtt
│   └── configuration.yml
├── docker-compose.yml
└── restart
PostgreSQL (PostgreSQL)
We’re almost there! Let’s prepare PostgreSQL database for Home Assistant. By default, Home Assistant uses a simple file-based database. Since I’ve had performance troubles with certain amount of data on Raspberry, I’ve decided to use a proper database and I’ve chosen PostgreSQL. Now, just append postgres service into docker-compose.yml file:
我们快到了! 让我们为Home Assistant准备PostgreSQL数据库。 默认情况下,Home Assistant使用一个简单的基于文件的数据库。 由于我在Raspberry上处理了一定数量的数据时遇到了性能问题,因此我决定使用适当的数据库,并且选择了PostgreSQL。 现在,只需将postgres服务追加到docker-compose.yml文件中:
postgres:
    container_name: postgres-ha
    image: postgres
    ports:
      - "5432:5432"
    volumes:
      - ./data-postgres/:/var/lib/postgresql/data/
    deploy:
      resources:
        limits:
          memory: 250M
Also, create .env file:
另外,创建.env文件:
touch .envAfter that, replace {POSTGRES_PASSWORD} placeholder for some password:
之后,将{POSTGRES_PASSWORD}占位符替换为一些密码:
POSTGRES_USER=postgres-ha
POSTGRES_PASSWORD={POSTGRES_PASSWORD}
POSTGRES_DB=ha
After executing of our restart script, the postgres service will create data-postgres folder with database’s content:
执行完重启脚本后, postgres服务将使用数据库内容创建data-postgres文件夹:
.
├── .env
├── data-mosquitto
│   └── config
│       └──
│   └── data
│       └──
|   └── log
|       └── mosquitto.log
├── data-postgres
├── data-zigbee2mqtt
│   └── configuration.yml
├── docker-compose.yml
└── restart
家庭助理 (Home Assistant)
We are finally at the final step! Our first main client is Home Assistant, where we can manage and control our devices. HA (Home Assistant) detects all devices automatically through its MQTT integration service.
我们终于到了最后一步! 我们的第一个主要客户是家庭助理,我们可以在其中管理和控制设备。 HA(家庭助理)将通过其MQTT集成服务自动检测所有设备。
Let’s add service definition into the docker-compose.yml file:
让我们将服务定义添加到docker-compose.yml文件中:
homeassistant:
    container_name: home-assistant
    depends_on:
      - mosquitto
      - postgres
    image: homeassistant/home-assistant:stable
    volumes:
      - ./data-ha:/config
    environment:
      - TZ=Europe/Prague
    deploy:
      resources:
        limits:
          memory: 250M
    restart: always
    ports:
      - 8123:8123
Before appending HA service definition into the docker-compose.yml file, change TZ parameter for your time zone. You can read about more information here.
在将HA服务定义附加到docker-compose.yml文件之前,请更改您的时区的 TZ参数。 您可以在此处阅读更多信息。
Now, prepare a folder and a configuration file for HA:
现在,为HA准备一个文件夹和一个配置文件:
mkdir data-ha
touch data-ha/configuration.yaml
The configuration file’s content is:
配置文件的内容为:
# Configure a default setup of Home Assistant (frontend, api, etc)
default_config:# Text to speech
tts:
  - platform: google_translategroup: !include groups.yaml
automation: !include automations.yaml
script: !include scripts.yaml
scene: !include scenes.yamlrecorder:
  purge_keep_days: 30
  db_url: "postgresql://postgres-ha:{POSTGRES_PASSWORD}@{PC_IP_ADDRESS}:5432/ha"mqtt:
  discovery: true
  broker: {PC_IP_ADDRESS}
  birth_message:
    topic: 'hass/status'
    payload: 'online'
  will_message:
    topic: 'hass/status'
    payload: 'offline'
Don’t forget to replace {POSTGRES_PASSWORD} and {PC_IP_ADDRESS} placeholder for the relevant value.
不要忘记将{POSTGRES_PASSWORD}和{PC_IP_ADDRESS}占位符替换为相关值。
而已! (That’s it!)
After the final restart, you should have fully functioning Home Assistant integrated with MQTT broker receiving/sending messages from/to your sensors. Continue with logging in to HA (http://{PC_IP_ADDRESS}:8123), find your device in Configuration -> Devices and do your magic :)
最终重新启动后,您应该已将功能齐全的Home Assistant与MQTT Broker集成在一起,可以从传感器接收消息/向传感器发送消息。 继续登录到HA(http:// {PC_IP_ADDRESS} :8123),在“配置”->“设备”中找到您的设备,然后做一下魔术:)
最后的话 (Final words)
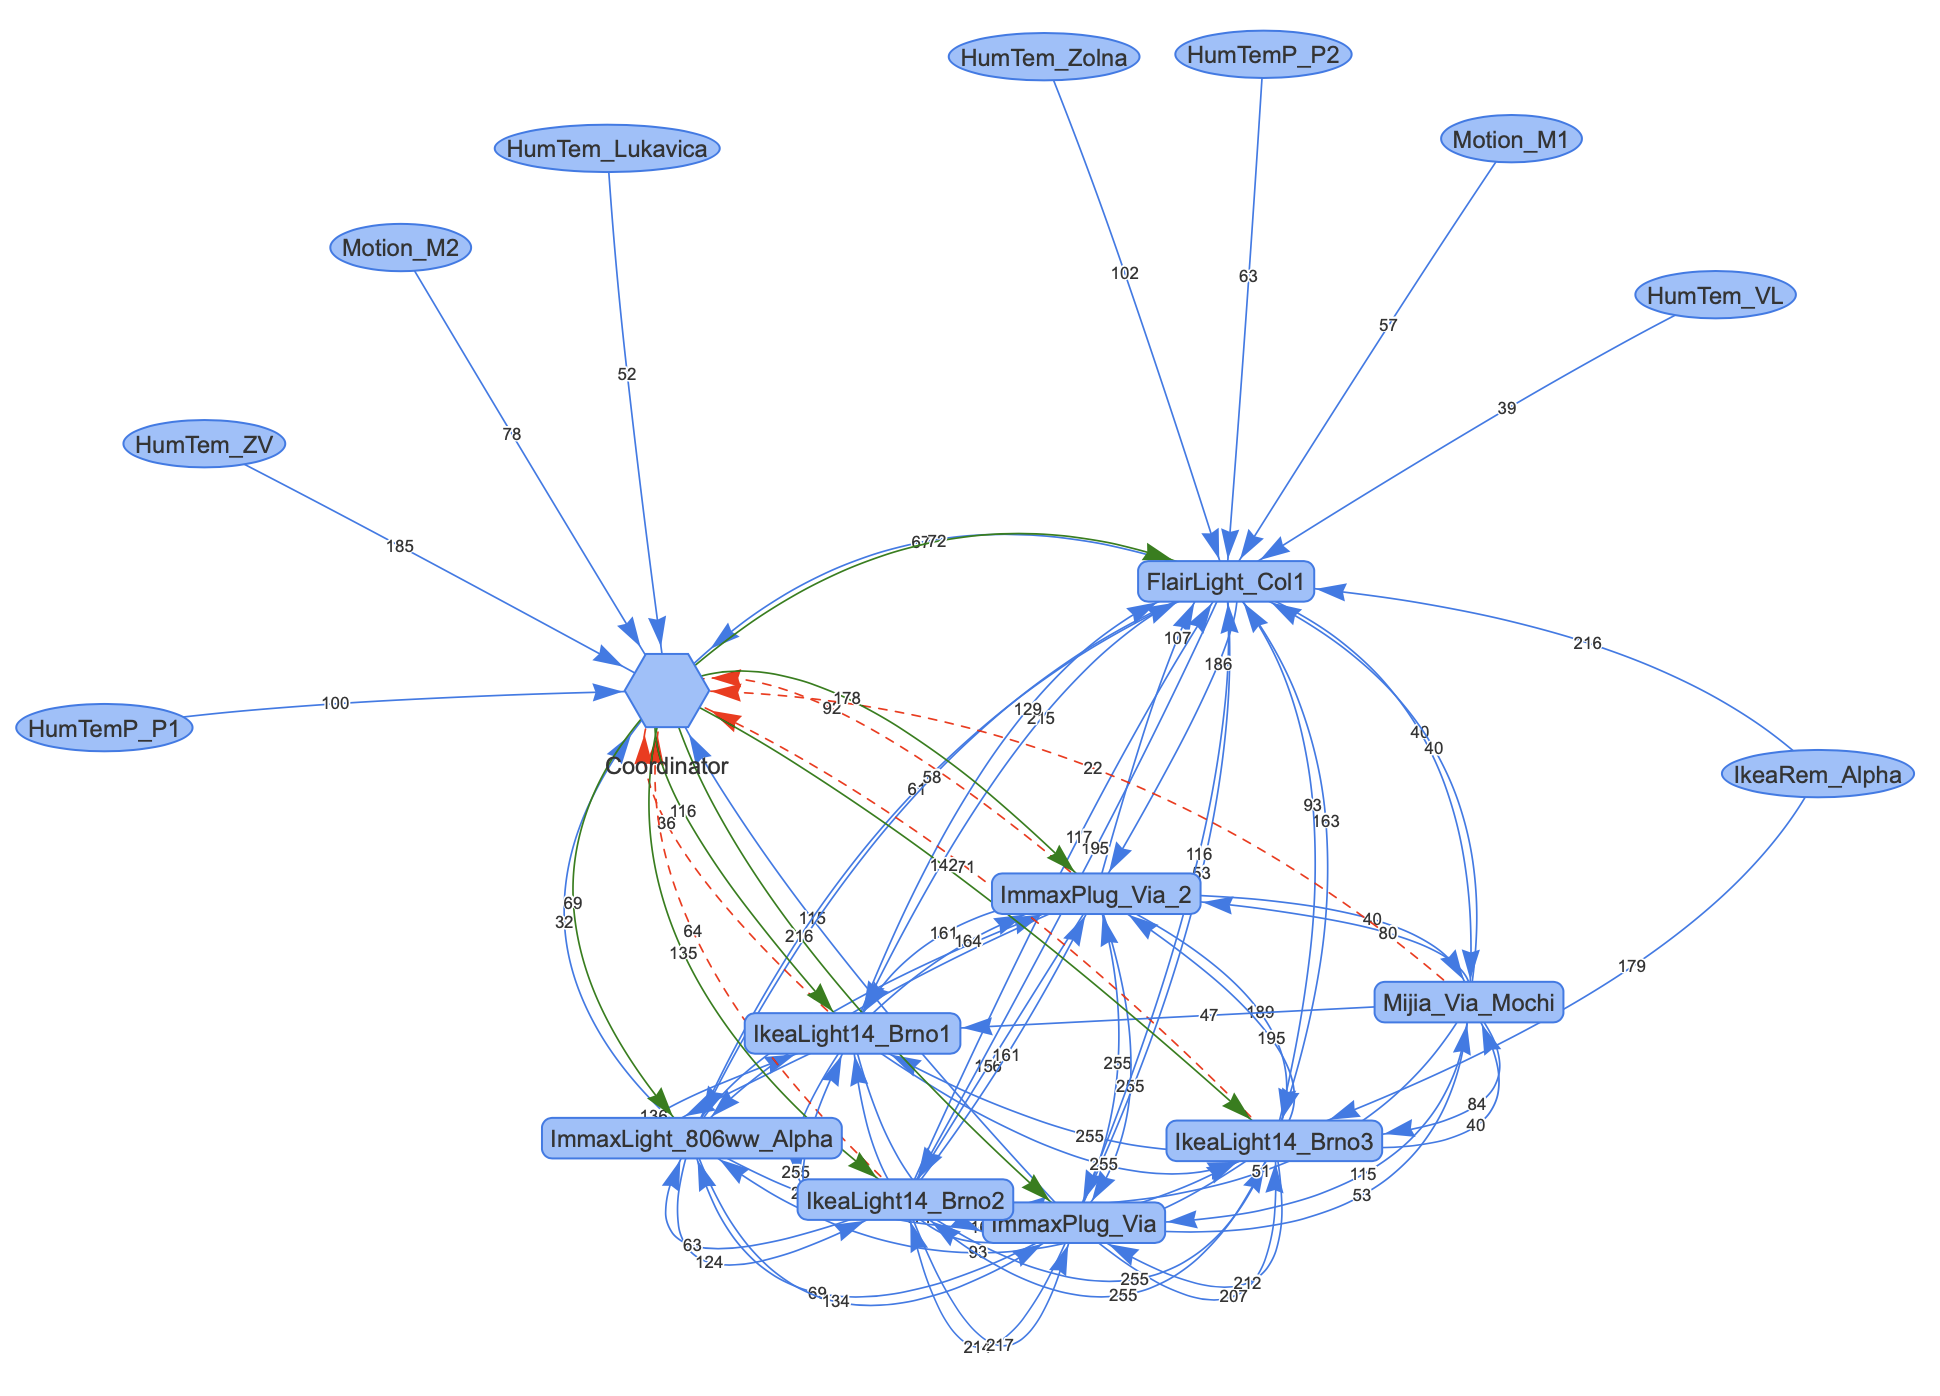
After some time, I’ve added Zigbee2Mqtt Assistant for a basic device management activities such as:
一段时间后,我为基本的设备管理活动添加了Zigbee2Mqtt助手 ,例如:
- allowing to join new devices to the network 允许将新设备加入网络
- upgrading firmware or 升级固件或
- to see and check entire network like this: 以这种方式查看和检查整个网络:
Personally, I don’t use automation scripts in Home Assistant. Instead of those, I’ve started to use Node-RED which is an extremely powerful tool to create all the rules for your own home automation.
就个人而言,我不在Home Assistant中使用自动化脚本。 取而代之的是,我开始使用Node-RED ,它是一种功能强大的工具,可为您自己的家庭自动化创建所有规则。
翻译自: https://medium.com/swlh/using-docker-compose-to-build-zigbee-infrastructure-336983a6ad67


 625
625

 被折叠的 条评论
为什么被折叠?
被折叠的 条评论
为什么被折叠?
 到【灌水乐园】发言


