


django 后端
One of my friends recently called me a “Django-whisperer.” Having wanted to learn Python since I began my software engineering journey, I am honored to have been given this title.
我的一个朋友最近称我为“ Django低语者”。 自从我开始软件工程之旅以来,一直想学习Python,因此很荣幸获得这个头衔。
To help future Django-whisperers, this blog post will be a short tutorial for setting up a basic Django backend. The goal of the app will be to add a review to a website (like Yelp). Therefore we will need a Review model that has a “name” field, a “review” field, and a “date created” field.
为了帮助将来的Django耳语者,此博客文章将是一个简短的教程,用于设置基本的Django后端。 该应用程序的目标是向网站(例如Yelp)添加评论。 因此,我们将需要一个具有“名称”字段,“审阅”字段和“创建日期”字段的审阅模型。
First, make sure you have Python and pip installed on your machine. Python3 and pip3 are the most recent versions, and that’s what I use. So create a project folder, and then inside the folder, you need to create a virtual environment (see my post about the importance of virtual environments here). Python has a built-in mechanism for creating a virtual environment, so just run this command inside your project directory:
首先,请确保您的计算机上安装了Python和pip。 Python3和pip3是最新版本,这就是我使用的版本。 因此,创建一个项目文件夹,然后在该文件夹内,您需要创建一个虚拟环境(请参阅此处有关虚拟环境重要性的文章)。 Python具有用于创建虚拟环境的内置机制,因此只需在项目目录中运行以下命令:
python3 -m venv venvwhere the second venv is the name you want to give your virtual environment. So if I were to name my venv “cool_venv,” the command would be. python3 -m venv cool_venv. Once that’s complete, you want to activate the venv by running:
第二个venv是您要为虚拟环境venv的名称。 因此,如果我将venv命名为“ cool_venv”,则命令将为。 python3 -m venv cool_venv 。 完成后,您要运行以下命令激活venv:
. ./venv/bin/activateand you replace venv with the name of your virtual environment. So my command would be . ./cool_venv/bin/activate. If it activated correctly, you should see an indicator in your command line. Now we can start installing necessary packages (Django, Django Rest Framework, Cors, etc). So you can run:
然后将venv替换为虚拟环境的名称。 所以我的命令是. ./cool_venv/bin/activate . ./cool_venv/bin/activate 。 如果激活正确,您应该在命令行中看到一个指示器。 现在我们可以开始安装必要的软件包(Django, Django Rest Framework , Cors等)。 这样就可以运行:
pip3 install django djangorestframework django-cors-headersTo make sure they installed correctly, you can run pip freeze to see the list of packages and their versions. Now you can start your Django project! Run this command:
为了确保它们安装正确,您可以运行pip freeze查看软件包及其版本的列表。 现在您可以启动Django项目了! 运行以下命令:
django-admin startproject 'project_name'where ‘project_name’ is what you want to name your project (omit the quotation marks). Then CD into that directory, you should see a manage.py file. Wherever you see a manage.py is the root directory, and that’s where you will run all of your main commands (runserver, migrate, etc). From this root directory, open the project in your favorite text editor (in your text editor, make sure you’re using the Python interpreter within the venv). Run this command to create your app directory (for models, views, serializers, etc):
其中“ project_name”是您要为项目命名的名称(省略引号)。 然后将CD插入该目录,您应该看到一个manage.py文件。 无论您在哪里看到manage.py都是根目录,在这里您将运行所有主要命令(runserver,migrate等)。 在此根目录中,在您喜欢的文本编辑器中打开项目(在文本编辑器中,确保您在venv中使用Python解释器)。 运行以下命令以创建您的应用程序目录(用于模型,视图,序列化器等):
python3 manage.py startapp 'app_name'where ‘app_name’ is replaced by what you want to name your app (omit the quotation marks). Keep in mind, a project can contain many apps, so pick a name based on what you want the main function of this app to be. For example, if the primary function of this app is to write reviews, then maybe name it ‘reviews.’
其中,“ app_name”将替换为您要为应用命名的名称(省略引号)。 请记住,一个项目可以包含许多应用程序,因此请根据您希望该应用程序的主要功能选择一个名称。 例如,如果此应用的主要功能是撰写评论,则可以将其命名为“评论”。
You should see two folders in this directory (one is the project name, one is the app name) in addition to the manage.py file. Open your project folder and go into the settings.py file to add the following to your “INSTALLED APPS” list:
除了manage.py文件之外,您还将在此目录中看到两个文件夹(一个是项目名称,一个是应用程序名称)。 打开项目文件夹,然后进入settings.py文件,将以下内容添加到“已安装的应用程序”列表中:
INSTALLED_APPS: [
   ...
   "rest_framework",
   "corsheaders",
   "app_name",
   ...
]
There are other items you need for cors (whitelist, allow-origin, etc). See the link here to figure out which would work best for you, but for now we can just add:
还需要其他其他项(白名单,允许来源等)。 请参阅此处的链接以找出最适合您的方法,但是现在我们可以添加:
CORS_ORIGIN_ALLOW_ALL = Truebut keep in mind this is not secure. You will also need to add special middleware for cors:
但是请记住,这是不安全的。 您还需要为cors添加特殊的中间件:
MIDDLEWARE = [
    ...
    'corsheaders.middleware.CorsMiddleware',
    'django.middleware.common.CommonMiddleware',
    ...
]
The site instructs to give them a specific place, so see the docs for more information.
该网站指示给他们一个特定的位置,因此请参阅文档以获取更多信息。
BONUS: Be aware, your settings.py file also contains a SECRET KEY. Keeping it in this file is not secure, and you should store it in a .env file and then include that in your .gitignore file. You can access variables from your .env file by installing the python-decouple package. Once installed with pip install python-decouple, you can import it into settings as:
奖励:请注意,您的settings.py文件还包含一个SECRET KEY。 将其保存在此文件中并不安全,因此应将其存储在.env文件中,然后将其包含在.gitignore文件中。 您可以通过安装python-decouple软件包从.env文件中访问变量。 使用pip install python-decouple ,您可以将其导入到以下设置中:
from decouple import configand then you can retrieve the secret key with this code:
然后您可以使用以下代码检索密钥:
SECRET_KEY = config('SECRET_KEY')where ‘SECRET_KEY’ is whatever you gave it in the .env file.
您在.env文件中输入的内容是“ SECRET_KEY”。
Now let’s migrate and run the server. Run these commands (and again, make sure you’re running these commands in the root directory that has the manage.py file):
现在,让我们迁移并运行服务器。 运行以下命令(并再次确保您在具有manage.py文件的根目录中运行以下命令):
python3 manage.py migratepython3 manage.py runserverAssuming everything worked correctly, you should be able to go to localhost:8000 (unless you designate another port) and you should see this page:
假设一切正常,您应该可以转到localhost:8000(除非您指定其他端口),并且应该看到以下页面:
Awesome! So one of the best parts about Django is the superuser. This allows you to log in as an admin and manage the data in your database. To set this up, run this command:
太棒了! 因此,关于Django最好的部分之一是超级用户。 这样,您就可以以管理员身份登录并管理数据库中的数据。 要进行设置,请运行以下命令:
python3 manage.py createsuperuserFollow the prompts, and once it’s complete, you can now navigate to localhost:8000/admin and you can login with those credentials and you will see this page:
按照提示进行操作,完成后,您现在可以导航到localhost:8000 / admin,并且可以使用这些凭据登录,您将看到此页面:
Now for the good, classic API stuff. Open your app folder and go into your models.py. Like I mentioned before, our Reviews will have a name (string datatype), a review field (string datatype), and a date_created field (date datatype). So it will look like this:
现在介绍经典的API。 打开您的应用程序文件夹,然后进入您的models.py 。 就像我之前提到的,我们的评论将具有名称(字符串数据类型),评论字段(字符串数据类型)和date_created字段(日期数据类型)。 因此它将如下所示:
class Review(models.Model):
   name = models.CharField(max_length=20)
   review = models.TextField()
   date_created = models.DateTimeField(auto_now_add=True)
CharField requires a max_length. Check the docs to see any other field rules, and for a list of field types. Keep in mind, I used ‘TextField’ for reviews because it doesn’t have a max amount of characters, unlike CharField.
CharField需要一个max_length。 检查文档以查看其他任何字段规则,以及字段类型列表。 请记住,我使用'TextField'进行评论,因为与CharField不同,它没有最多字符数。
Once this is complete, time to make a migration! Run these simple commands:
一旦完成,就该进行迁移了! 运行以下简单命令:
python3 manage.py makemigrationspython3 manage.py migrateBONUS: If you make any mistake and you need to rollback to a previous migration, you can run this command:
奖励:如果您犯任何错误,并且需要回滚到以前的迁移,则可以运行以下命令:
python3 manage.py migrate 'app_name' migration_file_namewhere the file name is usually preceded by a number (e.g. 0001_). You don’t need to file extension type, just the name. And of course, replace ‘app_name’ with the name of your app (omit the quotation marks). Once this is successfully rolled back, you can delete the unwanted migrations.
文件名通常以数字开头(例如0001_)。 您不需要文件扩展名类型,只需名称。 当然,用您的应用程序名称替换“ app_name”(省略引号)。 成功回滚后,您可以删除不需要的迁移。
Next we will create a serializers file. In your app directory (where the models.py file is), add a serializers.py file and open it. You will need to import the serializers feature from the rest_framework package as well as the Review model at the top of this file:
接下来,我们将创建一个序列化器文件。 在您的应用程序目录(models.py文件所在的位置)中,添加一个serializers.py文件并打开它。 您将需要从rest_framework包以及此文件顶部的Review模型导入序列化器功能:
from rest_framework import serializers
from .models import Review
This is just a simple Review API, so we want to be able to view all the fields when looking at an instance of a review (like in JSON format, for example). The Review Serializer will look like this:
这只是一个简单的Review API,因此我们希望能够在查看审阅实例时查看所有字段(例如JSON格式)。 审阅序列化器将如下所示:
class ReviewSerializer(serializers.ModelSerializer):
   class Meta:
      model = Review
      fields = '__all__'
Obviously if you need more customization (only see specific fields, serializer depth, etc) then you can reference the rest framework docs.
显然,如果您需要更多自定义项(仅查看特定字段,序列化程序深度等),则可以引用其余框架文档。
Now we move onto what you can actually do with this model, meaning what HTTP requests you can make. This will be specified in our views.py file. First, you will need to import as follows:
现在,我们转到使用该模型可以实际执行的操作,这意味着可以发出的HTTP请求。 这将在我们的views.py文件中指定。 首先,您需要导入如下:
from django.shortcuts import render
from rest_framework import viewsets, permissions
from .serializers import ReviewSerializer
from .models import Review
And then we can create a viewset! There are a lot of different ways to set up a viewset depending on what specifically you need and if you need permissions or extra actions, but we will stick with the simpler Model viewset:
然后我们可以创建一个视图集! 根据您的具体需求以及是否需要权限或其他操作,可以使用很多不同的方法来设置视图集,但是我们会坚持使用更简单的Model视图集 :
class ReviewViewSet(viewsets.ModelViewSet):
permission_classes = [permissions.AllowAny]
queryset = Review.objects.all()
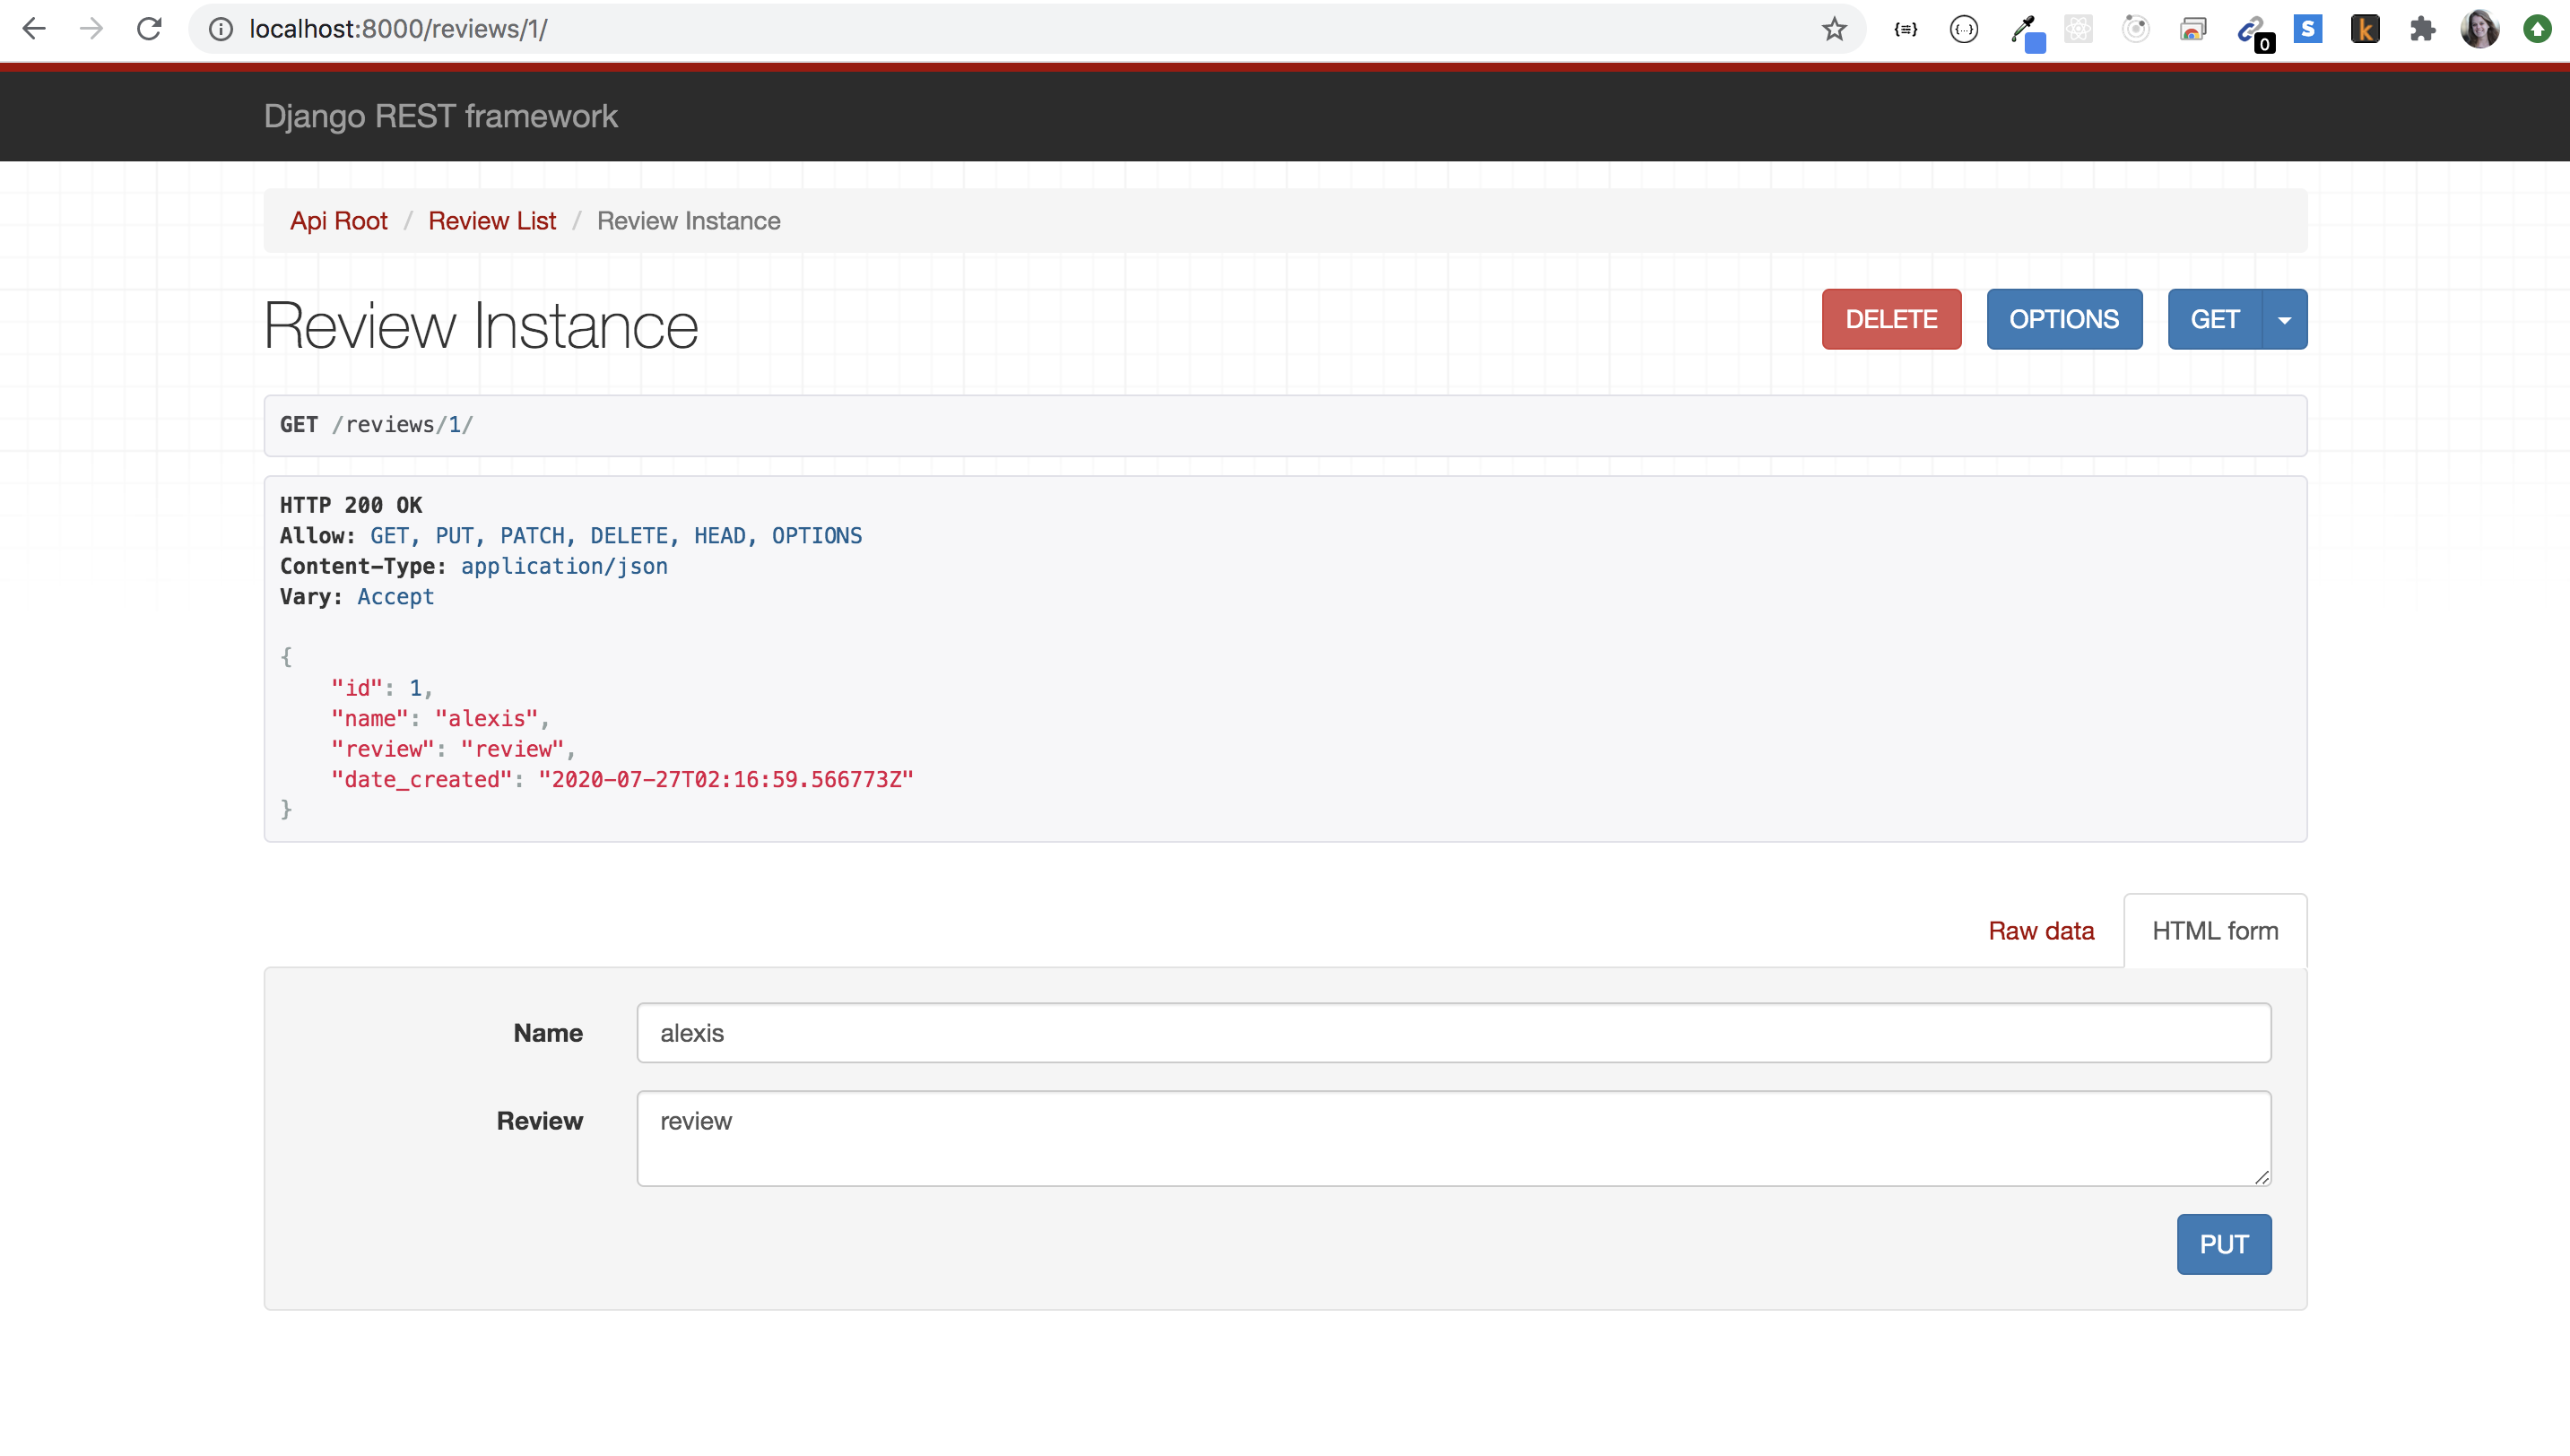
serializer_class = ReviewSerializerThis means that you can sent any HTTP request on this model (GET, POST, PUT, PATCH, DELETE) and anyone can do so (see permissions). The queryset is what the view is based on (this will return all the Review instances/objects). And lastly, it will set them up with the designated serializer.
这意味着您可以在该模型上发送任何HTTP请求(GET,POST,PUT,PATCH,DELETE),任何人都可以发送(请参阅权限)。 查询集是视图的基础(这将返回所有Review实例/对象)。 最后,它将使用指定的序列化程序对其进行设置。
Now we need a way to view this model! This requires an endpoint. So in your app folder, create a urls.py file and open it. You will need to import as follows:
现在我们需要一种查看此模型的方法! 这需要一个端点。 因此,在您的应用文件夹中,创建一个urls.py文件并打开它。 您将需要如下导入:
from rest_framework import routers
from .views import ReviewViewSet
and then to “register” an endpoint, write out this code:
然后要“注册”端点,请写出以下代码:
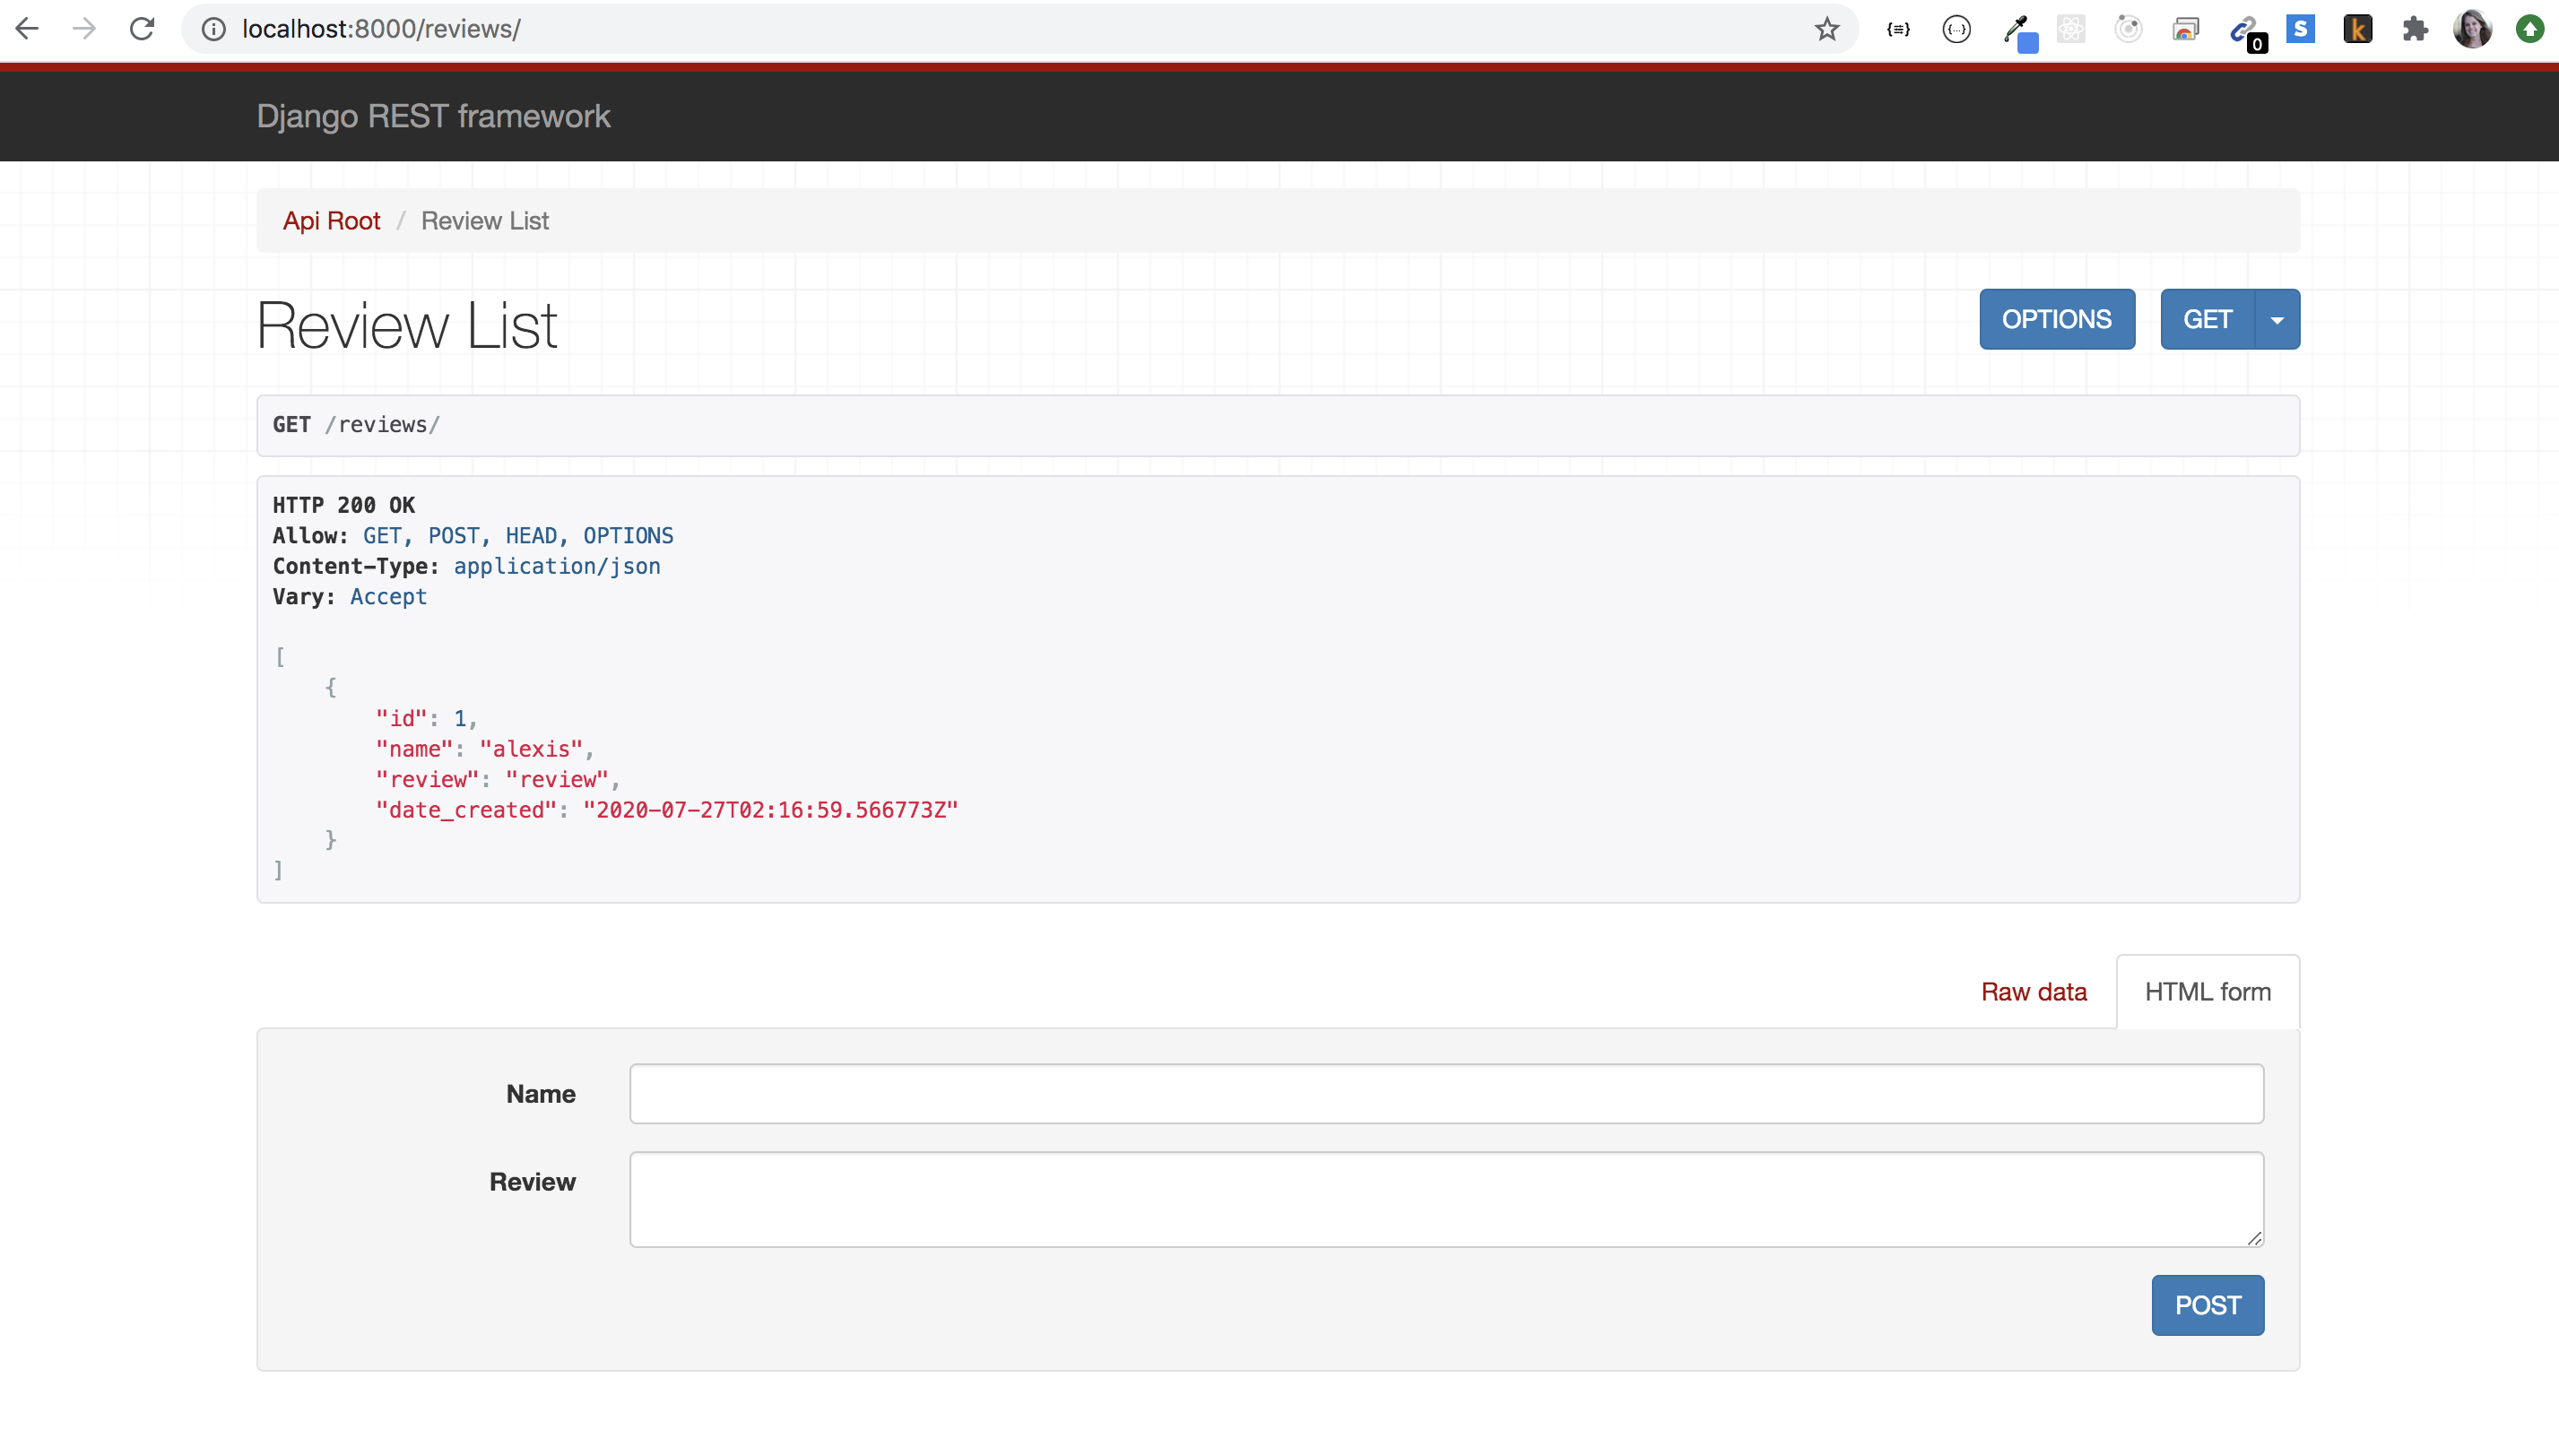
router = routers.DefaultRouter()router.register('reviews', ReviewViewSet, 'reviews')urlpatterns = router.urlsYour main urls.py file (in your project directory) will be looking for that “urlpatterns” so make sure you include it. The first ‘reviews’ will be in the actual url, the second ‘reviews’ is whatever you want to call your endpoint.
您的主要urls.py文件(在您的项目目录中)将在寻找“ urlpatterns”,因此请确保将其包括在内。 第一个“审阅”将出现在实际的URL中,第二个“审阅”将是您要称呼的端点。
Then open up the urls.py file found in your project directory (the directory that has the settings.py file). In here, you should already have an admin url (otherwise you’re localhost:8000/admin wouldn’t have worked). In the importing part, from django.urls you will need to also import include, so your imports will look like this:
然后打开在项目目录(包含settings.py文件的目录)中找到的urls.py文件。 在这里,您应该已经有一个管理网址(否则您将是localhost:8000 / admin不能使用)。 在导入部分,您还需要从django.urls导入包含,因此您的导入将如下所示:
from django.contrib import admin
from django.urls import path, include
Then you can set up another root:
然后,您可以设置另一个根目录:
urlpatterns = [
path('admin/', admin.site.urls),
path('', include('app_name.urls')),
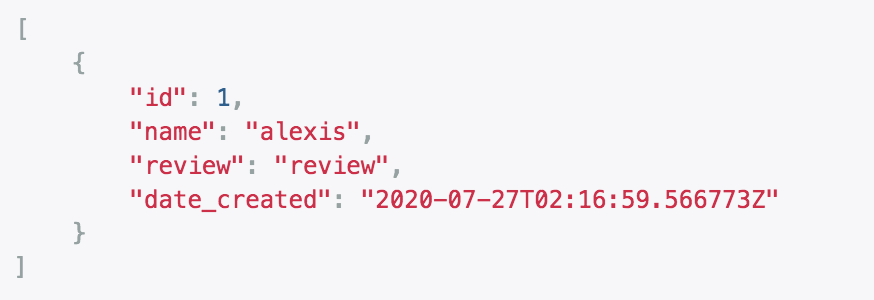
]I usually like to leave an empty string, which means the endpoints will be built off of the root localhost:8000/ . Replace ‘app_name’ with the name of your app folder. As long as this is setup properly, when you run your server, you should be able to navigate to localhost:8000/reviews, which will of course show an empty page since we haven’t created any reviews yet. You of course can test this in Postman or Insomnia or whichever app you prefer to use.
我通常喜欢留下一个空字符串,这意味着端点将基于根localhost:8000 /构建。 将“ app_name”替换为您的应用文件夹的名称。 只要安装正确,在运行服务器时,您就应该能够导航到localhost:8000 / reviews,由于我们尚未创建任何评论,因此它当然会显示一个空白页面。 您当然可以在Postman或Insomnia或您更喜欢使用的任何应用中进行测试。
And of course, as a finishing touch, don’t forget to register it on the admin site. In your admin.py file within your app directory, import as follows:
当然,作为画龙点睛的一点,不要忘记在管理网站上注册它。 在您应用目录下的admin.py文件中,如下导入:
from django.contrib import admin
from .models import Review
and register the model like this:
并像这样注册模型:
admin.site.register(Review)Once this is saved, you should be able to navigate to localhost:8000/admin and it will now look like this:
保存后,您应该可以导航到localhost:8000 / admin,它现在将如下所示:
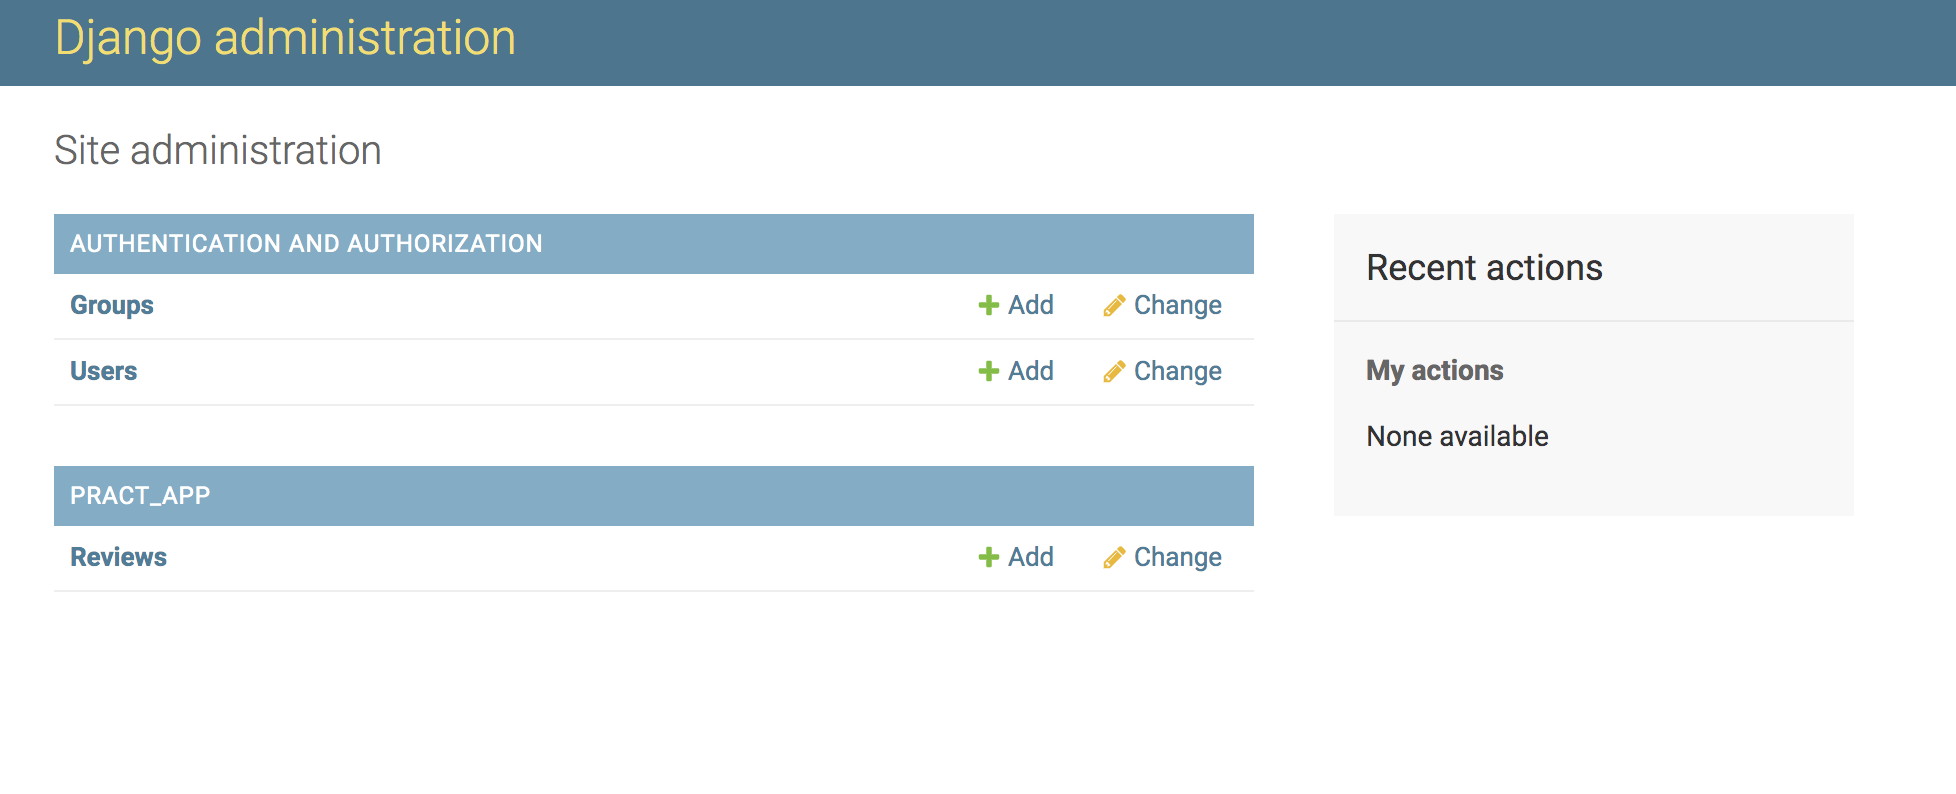
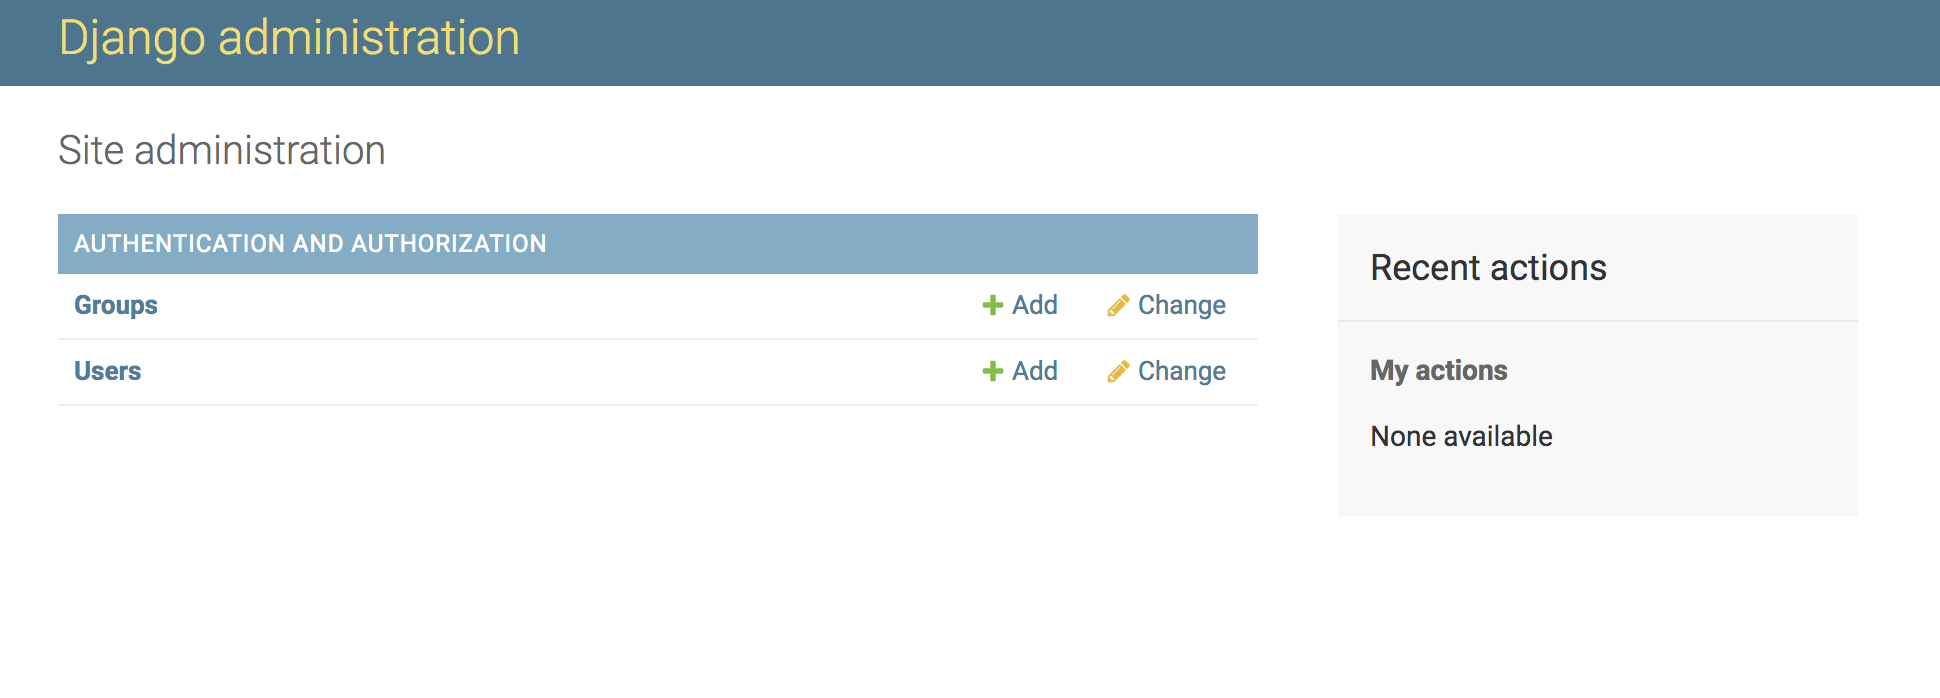
And now you can see the Reviews section! Once you click on it, it will show you all the reviews objects and you can edit/add/delete as admin.
现在您可以看到“评论”部分! 单击它后,它将显示所有评论对象,您可以以管理员身份编辑/添加/删除。
Once again, this is a very basic Django backend, but I hope it helps someone dive into the world of Django APIs.
再一次,这是一个非常基本的Django后端,但是我希望它可以帮助某人深入Django API的世界。
For further reading, feel free to check out a couple of my other Django-based blogposts:
为了进一步阅读,请随时查看我的其他两个基于Django的博客文章:
Here’s the link to my github repo with all of this working code: https://github.com/alexiscait142/basic_django_backend
这是所有工作代码到我的github存储库的链接: https : //github.com/alexiscait142/basic_django_backend
Happy Django-ing!
祝Django-ing快乐!
翻译自: https://medium.com/swlh/setting-up-a-basic-django-backend-5f0b746717e8
django 后端


 1722
1722

 被折叠的 条评论
为什么被折叠?
被折叠的 条评论
为什么被折叠?
 到【灌水乐园】发言


