


安装好CUDA6.5+VS2012,操作系统为Win8.1版本号,首先下个GPU-Z检測了一下:

看出本显卡属于中低端配置。关键看两个:
Shaders=384。也称作SM。或者说core/流处理器数量,数量越大。运行并行线程越多,单位时间计算量也就越大。
BusWidth=64Bit,这个越大,数据的处理速度也就越快
接下来看看CUDA的布局:
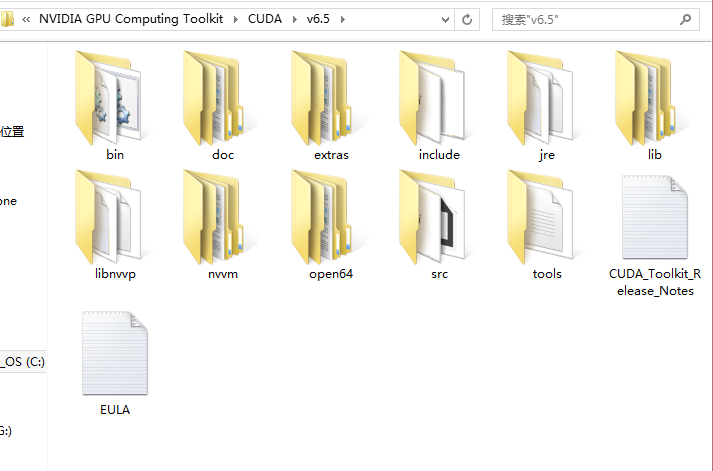
看到这个布局,也就知道了怎样配置到VS2012中去,跟OpenCV差点儿相同,仅仅是中文资料较少,所以须要关注下一个目录里的东东。
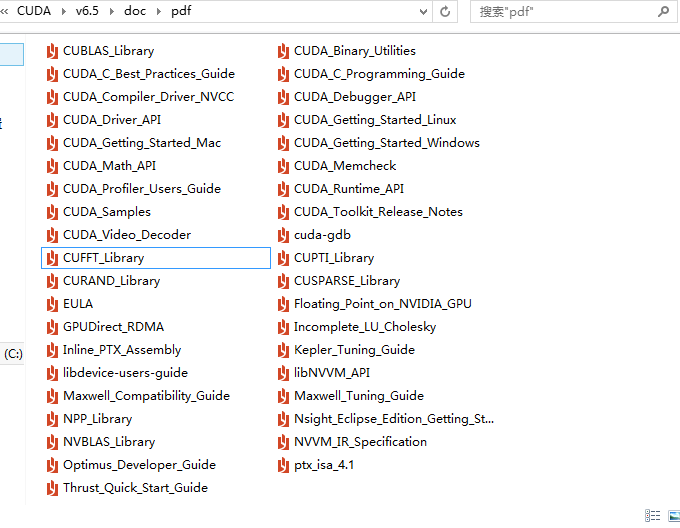
看到这个,就Happy了。
自学靠个人,本人的想法是先学CUDA_Runtime_API,CUDA_Driver_API,CUFFT_Library,Thrust库。
贴一段代码:
#include "stdafx.h"
#include <iostream>
#include <stdio.h>
#include "cuda_runtime.h"
#include "device_launch_parameters.h"
#include "device_functions.h"
#include "cuda.h"

#include "thrust/host_vector.h"
#include "thrust/device_vector.h"
#include "thrust/copy.h"
#include "thrust/fill.h"
#include "thrust/sequence.h"

#define  mask_width  3
#define  mask_height 3
#define width 16


using namespace std;
void test2()
{
//test1/
thrust::host_vector<int> v(4);
v[0]=12;
v[1]=15;
v[2]=34;
v[3]=45;
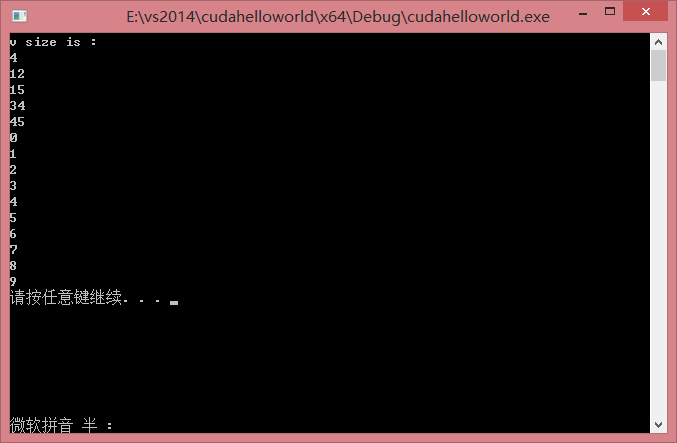
cout<<"v size is :"<<endl;
cout<<v.size()<<endl;
for(int i=0;i<v.size();i++)
cout<<v[i]<<endl;
/test2//
thrust::device_vector<int> D(10,1);
thrust::device_vector<int> E(20,1);
thrust::device_vector<int> H(D.begin(),D.end());
//设置 7个元素的值为9
thrust::fill(D.begin(),D.begin()+7,9);
//设置H中元素分别为0,1,2,3,4,5......
thrust::sequence(H.begin(),H.end());
//将H拷贝到E中
//thrust::copy(H.begin(),H.end(),E.begin);
for(int i=0;i<H.size();i++)
cout<<H[i]<<endl;
}int main()
{
test2();
system("pause");
return 0;
}
CUDA的详细学习在兴许补充。
。
。
。
。。


 1157
1157

 被折叠的 条评论
为什么被折叠?
被折叠的 条评论
为什么被折叠?
 到【灌水乐园】发言


