


手绘图1.
- 移除链表元素
/**
 * Definition for singly-linked list.
 * public class ListNode {
 *     int val;
 *     ListNode next;
 *     ListNode() {}
 *     ListNode(int val) { this.val = val; }
 *     ListNode(int val, ListNode next) { this.val = val; this.next = next; }
 * }
 */
class Solution {
    public ListNode removeElements(ListNode head, int val) {
        // if(head==null){
        //     return head;
        // }
         ListNode dummy=new ListNode(-1,head);
        ListNode pre=dummy;//当前节点(cur)的前一个结点,删除时需要讲下一个链接到上一个 ,所以需要记录上一个节点
        ListNode cur=head;
        while(cur!=null){//链表尾节点指向null
            if(cur.val==val){
                pre.next=cur.next;
            }else{
                pre=pre.next;//pre=cur;
            }
            cur=cur.next;
        }
        return dummy.next;
    }
}
- 设计链表
//双链表
public class ListNode{
int val;
ListNode next;
ListNode pre;
public ListNode(int val){
this.val=val;
}
}
class MyLinkedList {
int size;
ListNode head;
ListNode tail;
public MyLinkedList() {
size=0;
head=new ListNode(0);
tail=new ListNode(0);
head.next=tail;
tail.pre=head;
}
public int get(int index) {
ListNode cur=head;
if(index<0||index>=size){
return -1;
}
if(index<(size-1)/2){///另一种解法看题解
for(int i=0;i<=index;i++){
cur=cur.next;
}
}else{
cur=tail;//
for(int i=size-1;i>=index;i--){
cur=cur.pre;
}
}
return cur.val;
}
public void addAtHead(int val) {
ListNode addnode=new ListNode(val);
addnode.next=head.next;
head.next=addnode;
addnode.pre=head;
addnode.next.pre=addnode;
size++;
}
public void addAtTail(int val) {
ListNode addnode=new ListNode(val);
addnode.pre=tail.pre;
tail.pre=addnode;
addnode.pre.next=addnode;
addnode.next=tail;
size++;
}
public void addAtIndex(int index, int val) {//找到的是要加入节点的后一个(cur)
ListNode node=new ListNode(val);
ListNode cur=head;
if(index > size) return;
if(index<0) index=0;
if(index<(size-1)/2){//对index所在区域进行判断
for(int i=0;i<index;i++){
cur=cur.next;
}
}else{
cur=tail;
for(int i=size;i>=index+1;i--){
cur=cur.pre;
}
}
node.pre=cur.pre;
cur.pre.next=node;
node.next=cur;
cur.pre=node;
size++;
}
public void deleteAtIndex(int index) {
if(index<0||index>=size){
return;
}
ListNode cur=head;
if(index<(size-1)/2){
for(int i=0;i<index;i++){
cur=cur.next;
}
}else{
cur=tail;
for(int i=size-1;i>=index-1;i--){
cur=cur.pre;
}
}
cur.next=cur.next.next;
cur.next.pre=cur;
size--;
}
}
/**
* Your MyLinkedList object will be instantiated and called as such:
* MyLinkedList obj = new MyLinkedList();
* int param_1 = obj.get(index);
* obj.addAtHead(val);
* obj.addAtTail(val);
* obj.addAtIndex(index,val);
* obj.deleteAtIndex(index);
*/
//单链表
public class ListNode{
int val;
ListNode next;
public ListNode(int val,ListNode next){
this.val=val;
this.next=next;
}
public ListNode(int val){
this.val=val;
}
public ListNode(){}
}
class MyLinkedList {
int size=0;
ListNode dummy;//虚拟头节点
public MyLinkedList() {
dummy=new ListNode();
}
public int get(int index) {
if(index<0||index>=size) return -1;
ListNode cur=dummy;
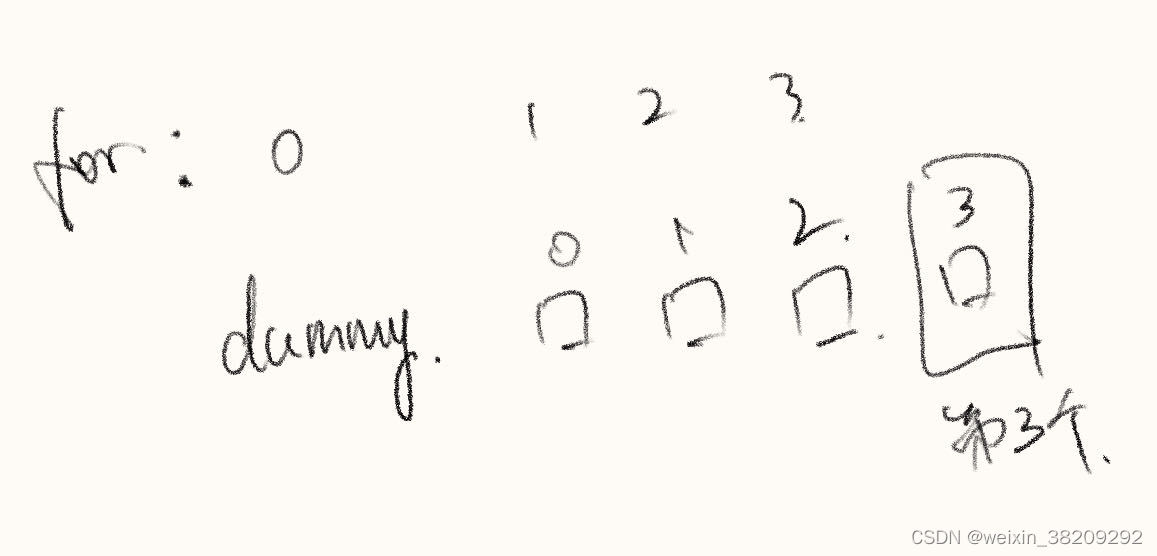
for(int i=0;i<=index;i++){ //看手绘图1
cur=cur.next;
}
return cur.val;
}
public void addAtHead(int val) {
addAtIndex(0,val);
}
public void addAtTail(int val) {
addAtIndex(size,val);
}
public void addAtIndex(int index, int val) {
if(index>size) return;
if(index<0) index=0;
ListNode newnode=new ListNode(val);
ListNode pre=new ListNode();
pre=dummy;
// ListNode cur=new ListNode();//不需要cur
// cur=head;
for(int i=0;i<index;i++){
pre=pre.next;
// pre=cur;
// cur=cur.next;
}
newnode.next=pre.next;
pre.next=newnode;
// pre.next=newnode;
// newnode.next=cur.next;
size++;
}
public void deleteAtIndex(int index) {
if(index<0||index>=size) return;
ListNode pre=new ListNode();
pre=dummy;
for(int i=0;i<index;i++){
pre=pre.next;
}
pre.next=pre.next.next;
size--;
}
}
/**
* Your MyLinkedList object will be instantiated and called as such:
* MyLinkedList obj = new MyLinkedList();
* int param_1 = obj.get(index);
* obj.addAtHead(val);
* obj.addAtTail(val);
* obj.addAtIndex(index,val);
* obj.deleteAtIndex(index);
*/
206.反转链表
/**
 * Definition for singly-linked list.
 * public class ListNode {
 *     int val;
 *     ListNode next;
 *     ListNode() {}
 *     ListNode(int val) { this.val = val; }
 *     ListNode(int val, ListNode next) { this.val = val; this.next = next; }
 * }
 */
class Solution {
    public ListNode reverseList(ListNode head) {
		ListNode pre=new ListNode();
        pre=null;
        ListNode cur=new ListNode();
        cur=head;
        while(cur!=null){
			ListNode temp=cur.next;
            cur.next=pre;
            pre=cur;
            cur=temp;
		}
        return pre;
    }
}


 189
189


 被折叠的 条评论
为什么被折叠?
被折叠的 条评论
为什么被折叠?
 到【灌水乐园】发言


