


有一篇论文介绍了几种展开的方法:
《基于3D全景视觉的智能三维立体摄像设备的设计》
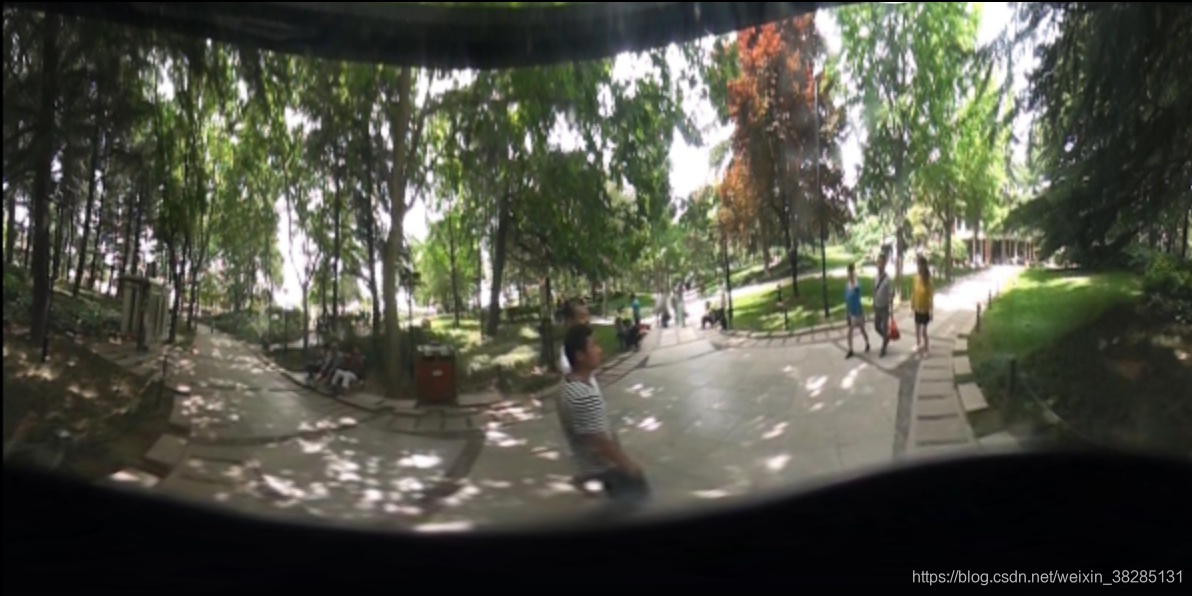
原始全景图像,我从另一篇博客中下载下来的:

展示一下结果:
柱面展开图:
透视展开结果:

一 圆柱展开
cylinderOn
void  cylinderOn(Mat Src)
{
	int nbottom = 0;
	int ntop = 0;
	int nright = 0;
	int nleft = 0;

	//根据边界值来获得直径
    nright = Src.cols;
	nleft = 0;
	nbottom = Src.rows;
	ntop =0;
	int d = min(nright - nleft, nbottom - ntop);

	Mat imgRoi;
	imgRoi = Src(Rect(nleft, ntop, d, d));
	imshow("ROI", imgRoi);
	imwrite("ROI.jpg", imgRoi);

	Mat dst(imgRoi.size(), CV_8UC3, Scalar(255, 255, 255));

	//建立映射表
	Mat map_x, map_y;
	map_x.create(imgRoi.size(), CV_32FC1);
	map_y.create(imgRoi.size(), CV_32FC1);
	for (int j = 0; j < d - 1; j++)
	{
		for (int i = 0; i < d - 1; i++)
		{
			map_x.at<float>(i, j) = static_cast<float>(d / 2.0 + i / 2.0*cos(1.0*j / d * 2 * CV_PI));//计算映射后的坐标
			map_y.at<float>(i, j) = static_cast<float>(d / 2.0 + i / 2.0*sin(1.0*j / d * 2 * CV_PI));
		}
	}
	//opencv自带的重映射函数
	remap(imgRoi, dst, map_x, map_y, CV_INTER_LINEAR, BORDER_CONSTANT, Scalar(0, 0, 0));//用线性插值
	//重设大小
	resize(dst, dst, Size(), 2.0, 1.0);

	rotateImage(dst);//将图像旋转180度 映射之后是倒着的


	imshow("柱面投影结果", dst);
	imwrite("result.jpg", dst);
}
映射完之后旋转180度 rotateImage
void rotateImage(Mat &dst)//旋转图像
{
	Point center(dst.cols / 2, dst.rows / 2);
	double angle = 180;//旋转180度
	double scale = 1.0;//不缩放
	Mat rotMat = getRotationMatrix2D(center, angle, scale);//计算旋转矩阵
	warpAffine(dst, dst, rotMat, dst.size());//生成图像
}
二 透视展开
double GetAngle(int i_ExpandWidth, int i_ExpandHeight,int outR)//获取角度
{
	double dw_Angle = (double)i_ExpandWidth / (double)outR;
	return dw_Angle;
}

int GetRadius(int i_ExpandWidth, int i_ExpandHeight)
{
	return i_ExpandHeight;
}

CvPoint FindPoint(double dw_Angle, int i_Radius, int innerR, int x_dot, int y_dot, IplImage* src)
{
	double x, y;
	i_Radius += innerR;
	x = i_Radius * cos(dw_Angle) + x_dot;//计算新的坐标
	y = i_Radius * sin(dw_Angle) + y_dot;

	if (x < 0)x = 0;//判断是否超过边界 超过左边设置为0  超过右边 设置为右边坐标
	if (x >= src->width)x = src->width - 1;
	if (y < 0)y = 0;
	if (y >= src->height)y = src->width - 1;

	CvPoint pt = { (int)x,(int)y };//将点转化为整数坐标

	return pt;
}


void perspectOn(IplImage* src)
{

	int x_dot = 314;
	int y_dot = 295;
	int innerR = 50;
	int outR = 310;

	int Width = int(2 * PI * outR);   //展开图像的宽
	int Height = outR - innerR; //展开图像的高

	cout << "展开图像宽:" << Width << " 高:" << Height << endl;
	int i, j;
	double dw_Angle;
	int i_Radius;
	CvPoint pt;
	IplImage*dst;

	dst = cvCreateImage(cvSize(Width, Height), 8, 3);
	dst->origin = 0;
	cvZero(dst);

	uchar *dstData = (uchar*)dst->imageData;
	int step = dst->widthStep / sizeof(uchar);
	uchar *data1 = (uchar*)src->imageData;
	int step1 = src->widthStep / sizeof(uchar);
	int channels = src->nChannels;

	for (i = 0; i < Width-1; i++)
	{
		for (j = 0; j < Height-1; j++)
		{
			dw_Angle = GetAngle(i, j, outR);
			i_Radius = GetRadius(i, j);//获取半径
			pt = FindPoint(dw_Angle, i_Radius, innerR, x_dot, y_dot,src);//找转换后的坐标

			dstData[j*step + i * 3 + 0] = data1[pt.y*step1+pt.x*3+0];//重新赋值
			dstData[j*step + i * 3 + 1] = data1[pt.y*step1 + pt.x *3+ 1];
			dstData[j*step + i * 3 + 2] = data1[pt.y*step1 + pt.x *3+ 2];
		}
	}

	cvShowImage("透视", dst);
	cvSaveImage("dst.jpg", dst);
}
main函数调用
int main()
{
	Mat Src = imread("img.png");

	IplImage* src;
	src = cvLoadImage("img.png");

	cylinderOn(Src);
	perspectOn(src);

	waitKey();
	return 0;
}


 513
513

 被折叠的 条评论
为什么被折叠?
被折叠的 条评论
为什么被折叠?
 到【灌水乐园】发言


