


前言
要闯江湖需要练好上乘功法,要练好上乘功法需要日积月累。
要练习SpringCloud,练法有许多,这里先学习Nacos的使用,Nacos是以服务为中心的基础设施平台,它主要包含的特性有:服务发现、配置管理及服务管理。这里参考了官方文档,逐步实现了服务注册发现、简单配置管理,没有涉及到动态配置以及服务管理等内容。相信在工作中肯定会对其有所接触,也会慢慢有了更深入的理解,这里只做简单的入门使用。
Nacos官方文档地址:Nacos Spring Cloud 快速开始
一、 安装Nacos
1. 环境准备
- 选一个喜欢的系统,以linux系统为例
- JDK1.8+,需要配置好环境变量JAVA_HOME
- Maven 3.2.x+ (源码安装需要)
2. 安装nacos
(1). 通过源码安装
git clone https://github.com/alibaba/nacos.git
cd nacos/
mvn -Prelease-nacos -Dmaven.test.skip=true clean install -U
ls -al distribution/target/
// change the $version to your actual path
cd distribution/target/nacos-server-$version/nacos/bin
(2). 直接下载最新稳定版:https://github.com/alibaba/nacos/releases
// 解压
unzip nacos-server-$version.zip  OR tar -xvf nacos-server-$version.tar.gz
cd nacos/bin
独立部署(非集群)命令:
bash startup.sh -m standalone
在本地启动后,直接访问:http://127.0.0.1:8848,默认登录账号密码为:nacos nacos
二、添加Nacos配置管理
1. 添加依赖:
<dependency>
    <groupId>com.alibaba.cloud</groupId>
    <artifactId>spring-cloud-starter-alibaba-nacos-config</artifactId>
    <version>2021.0.1.0</version>
</dependency>
<dependency>
 	<groupId>org.springframework.cloud</groupId>
    <artifactId>spring-cloud-starter-bootstrap</artifactId>
    <version>3.1.1</version>
</dependency>
2. 修改bootstrap.yml配置
spring:
  application:
    name: demo
  profiles:
    active:
      - dev
  cloud:
    nacos:
      config:
        server-addr: 127.0.0.1:8848
        file-extension: yaml
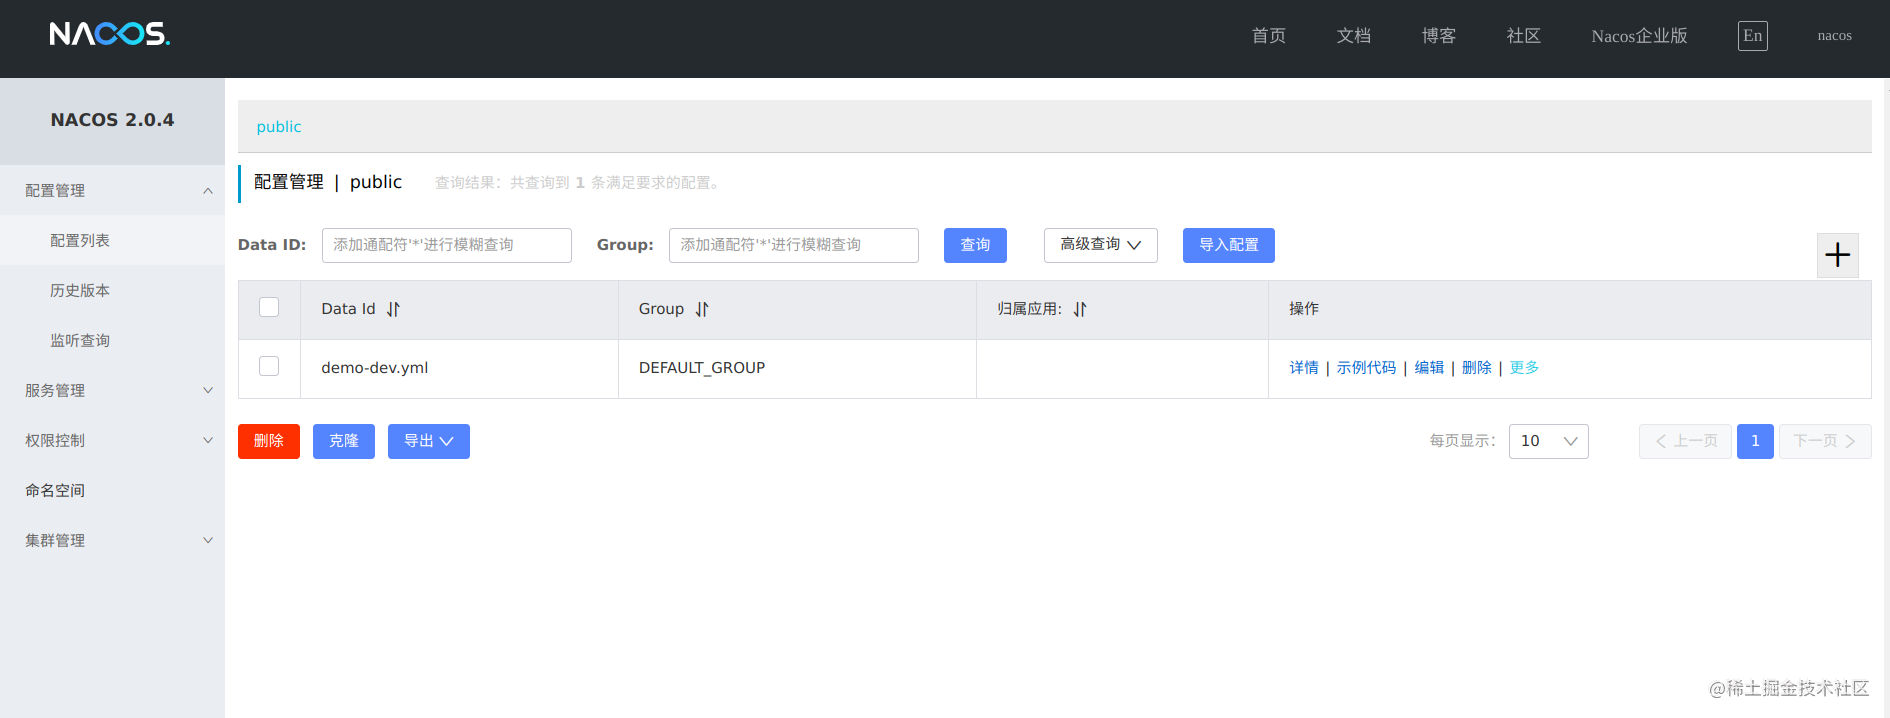
3. 在nacos配置管理添加配置
- Data ID格式为
${prefix}-${profile}.${file-extension} - prefix默认为spring.application.name
- profile当前激活的环境profile
- file-extension根据配置格式决定,目前只支持
properties和yaml类型。
根据上面配置,则Data ID为demo-dev.yml
三、配置服务发现
假设已经存在服务提供者和服务消费者两个项目。
1. 在两个服务中添加依赖:
<dependency>
    <groupId>com.alibaba.cloud</groupId>
    <artifactId>spring-cloud-starter-alibaba-nacos-discovery</artifactId>
    <version>2021.0.1.0</version>
</dependency>
2. 在服务提供者的启动类上添加注解@EnableDiscoveryClient,开启服务注册发现能力。
@EnableDiscoveryClient
@SpringBootApplication
public class DemoProviderApplication {
public static void main(String[] args) {
SpringApplication.run(DemoProviderApplication.class, args);
}
}
3. 修改服务提供者配置文件bootstrap.yml
server:
  port: 8080
spring:
  application:
    name: demo-provider
  profiles:
    active:
      - dev
  cloud:
    nacos:
      config:
        server-addr: 127.0.0.1:8848
        file-extension: yaml
      discovery:
        server-addr: 127.0.0.1:8848
4. 在服务消费者的启动类上添加注解:@EnableDiscoveryClient,开启服务注册发现能力。
@EnableDiscoveryClient
@SpringBootApplication
public class DemoConsumerApplication {
public static void main(String[] args) {
SpringApplication.run(DemoConsumerApplication.class, args);
}
}
5. 修改服务消费者配置: bootstrap.yml
server:
  port: 8081
spring:
  application:
    name: demo-provider
  profiles:
    active:
      - dev
  cloud:
    nacos:
      config:
        server-addr: 127.0.0.1:8848
        file-extension: yaml
      discovery:
        server-addr: 127.0.0.1:8848
启动服务提供者和服务消费者,这时服务消费者可以通过http调用服务提供者服务,例如使用RestTemplate进行调用,具体调用逻辑省略。
结语
后面我会不断学习,不断补充,欢迎指正。


 301
301


 被折叠的 条评论
为什么被折叠?
被折叠的 条评论
为什么被折叠?
 到【灌水乐园】发言


