


单目标定
摄像头的标定是每个计算机视觉初学者绕不过去的坑,相比对数学要求较高的双目标定,单目标定可谓简单许多,这里作者手把手来教你如何利用Matlab标定工具箱来实现摄像头的单目标定。
一、环境准备:
标定工具:MatlabR2019b(这个版本上下也都可以)
运行环境:Xcode(MacOS)+ opencv4.1.1(只要有C++和opencv环境的即可)
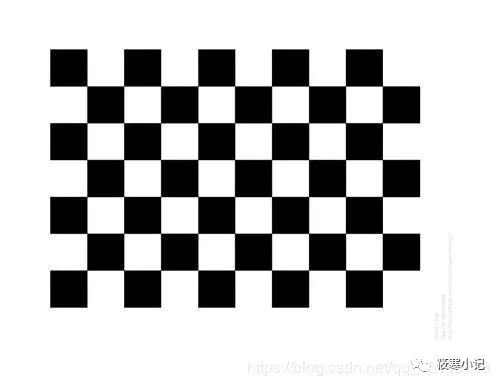
棋盘格一张:测量好每个方格的大小,这个标定的时候会用到。(这步必做哦)
Tips:不要选择正方形,即横竖格子数量相同的棋盘,否则后面标定过程中,Matlab会有一个Warning:“The checkerboard must be asymmetric: one side should be even, and the other should be odd.Otherwise, the orientation of the board may be detected incorrectly.”大体意思就是棋盘必须不对称:一面应为偶数,另一面应为奇数,否则,可能会错误地检测到板的方向。
直接给你一张图吧,知道你懒:
二、操作步骤(附详细代码):
首先用IDE运行以下代码,按下“q”键拍摄一张图片
拍摄约15~20张相片(各个角度和方向)
相片会存放在工程文件夹中,因为matlab将以访问路径的方式添加相片,为了方便,建议先弄清楚相片的路径
#include "opencv2/opencv.hpp"
#include
#include

using namespace cv;
using namespace std;

int main()
{
    VideoCapture inputVideo(0);  //视情况选择预标定摄像头
//inputVideo.set(CAP_PROP_FRAME_WIDTH, 320);  //可选项,调整窗口大小
//inputVideo.set(CAP_PROP_FRAME_HEIGHT, 240);
if (!inputVideo.isOpened())
{
        cout << "Could not open the input video " << endl;
return -1;
}
    Mat frame;
    string imgname;
int f = 1;
while (1) //Show the image captured in the window and repeat
{
        inputVideo >> frame;              // read
if (frame.empty()) break;         // check if at end
imshow("Camera", frame);
char key = waitKey(1);
if (key == 27) break;  //按ESC退出
if (key == 'q' || key == 'Q')
{
            imgname = to_string(f++) + ".jpg"; //输出文件名为 f.jpg, 保留在工程文件夹中
imwrite(imgname, frame);
}
}
    cout << "Finished writing" << endl;
return 0;
}
打开Matlab,在命令行中输入cameraCalibrator命令,回车打开标定程序(如下图)
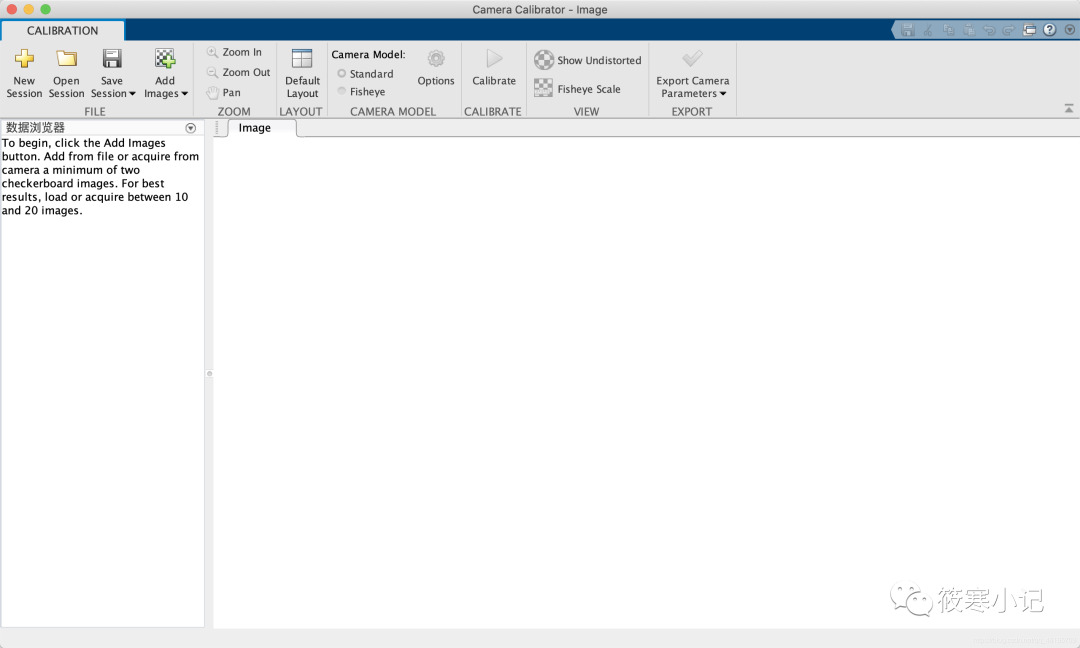
点击Add Images,添加刚刚工程中的相片

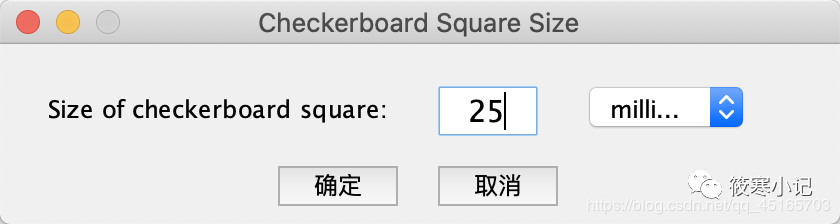
输入每个格子的大小,默认为毫米
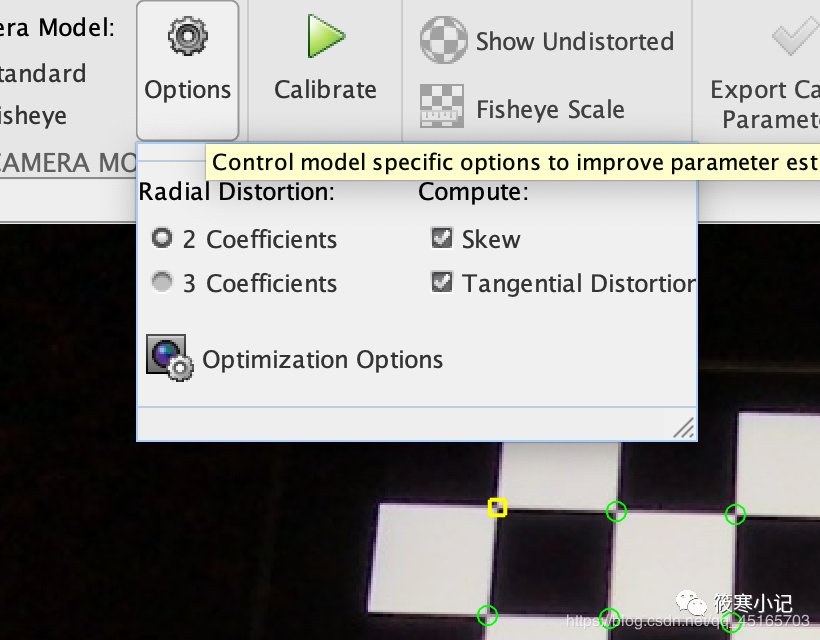
设定参数
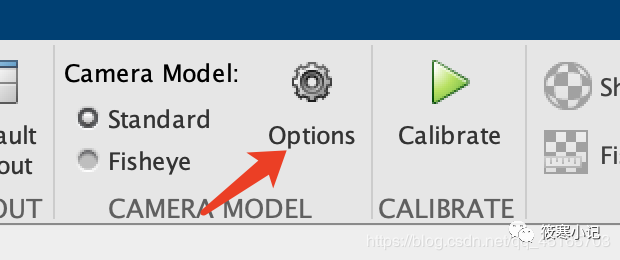
笔者是这样设置的
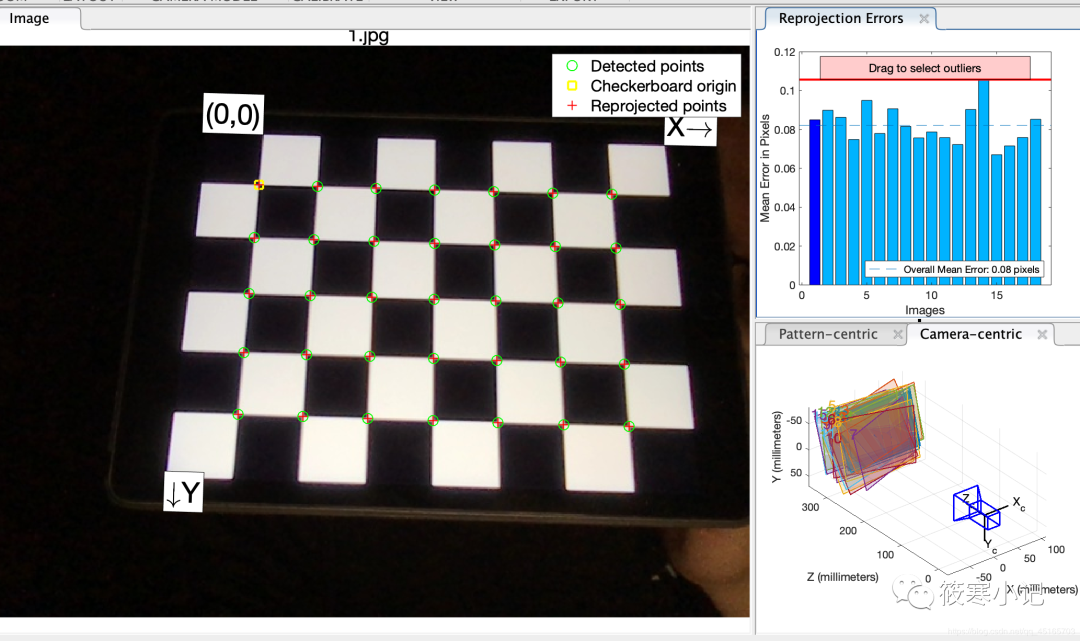
然后点击Calibrate开始标定,结果如下图所示
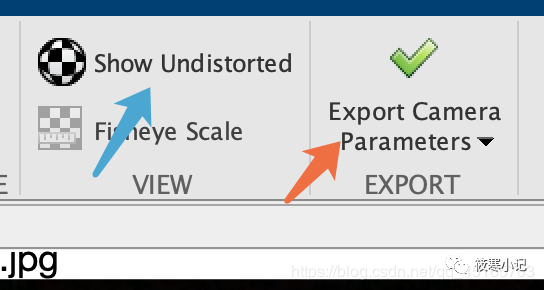
左边箭头所指可以查看矫正后的图像,右边箭头点击保存参数
然后给输出文件一个名字,退出标定程序,会在主界面看到如下图所示

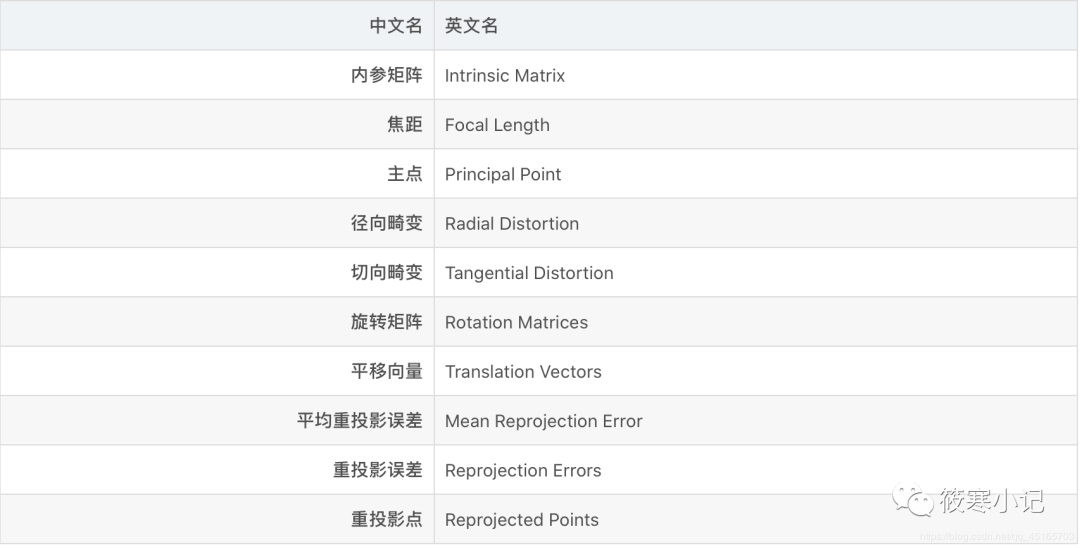
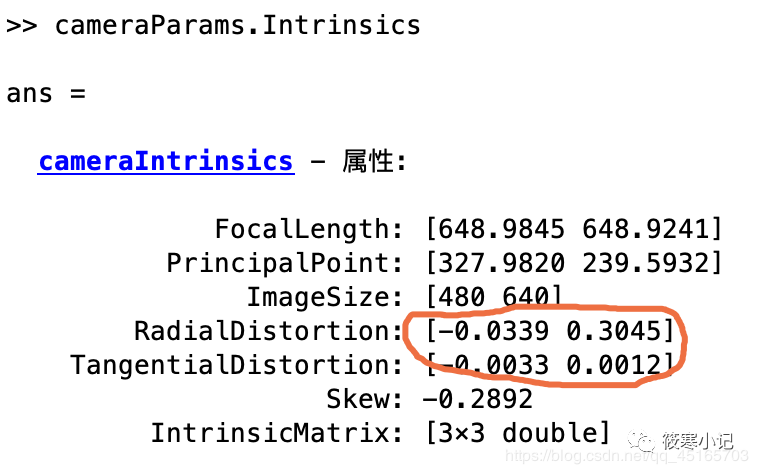
这里我们主要需要的是内参矩阵、径向畸变和切向畸变
然后在主程序中输入cameraParams.Intrinsics以及cameraParams.IntrinsicMatrix我们会得到下图所示的详细参数
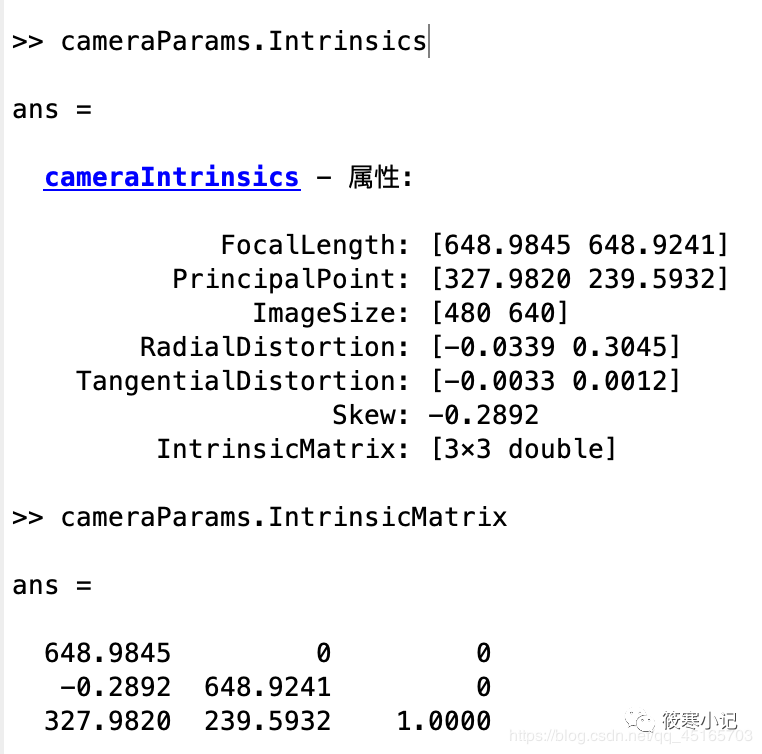
既然得到了参数,那么下一步就是在程序中对摄像头实现矫正啦
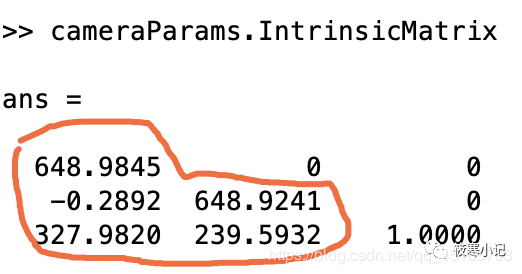
我们需要把参数写到程序中去,我们需要以下这几个参数,可以参考下面代码中笔者对应的参数位置,但其实一细看,就是在opencv中要对矩阵求一次转置,再把矩阵中对应位置赋值。
然后用IDE运行代码
#include "opencv2/opencv.hpp"
#include

using namespace cv;
using namespace std;

int main()
{
    VideoCapture inputVideo(0);
if (!inputVideo.isOpened())
{
        cout << "Could not open the input video: " << endl;
return -1;
}
    Mat frame;
    Mat frameCalibration;

    inputVideo >> frame;
    Mat cameraMatrix = Mat::eye(3, 3, CV_64F);
    cameraMatrix.at<double>(0, 0) = 6.489845e+02; //对应内参矩阵
    cameraMatrix.at<double>(0, 1) = -0.2892;
    cameraMatrix.at<double>(0, 2) = 3.279820e+02;
    cameraMatrix.at<double>(1, 1) = 6.489241e+02;
    cameraMatrix.at<double>(1, 2) = 2.395932e+02;

    Mat distCoeffs = Mat::zeros(5, 1, CV_64F);
    distCoeffs.at<double>(0, 0) = -0.0339; //对应Radial Distortion 径向畸变
    distCoeffs.at<double>(1, 0) = 0.3045;
    distCoeffs.at<double>(2, 0) = -0.0033; //对应Tangential Distortion 切向畸变
    distCoeffs.at<double>(3, 0) = 0.0012;
    distCoeffs.at<double>(4, 0) = 0;

    Mat view, rview, map1, map2;
    Size imageSize;
    imageSize = frame.size();
initUndistortRectifyMap(cameraMatrix, distCoeffs, Mat(),
getOptimalNewCameraMatrix(cameraMatrix, distCoeffs, imageSize, 1, imageSize, 0),
        imageSize, CV_16SC2, map1, map2);


while (1) //Show the image captured in the window and repeat
{
        inputVideo >> frame;              // read
if (frame.empty()) break;         // check if at end
remap(frame, frameCalibration, map1, map2, INTER_LINEAR);
imshow("Origianl", frame);
imshow("Calibration", frameCalibration);
char key = waitKey(1);
if (key == 27 || key == 'q' || key == 'Q')break;
}
return 0;
}
这里由于笔者未能找到合适的场景,所以用纸巾挡了一下镜头,但是效果还是很明显的,下面的处理后的镜头视野畸变被矫正
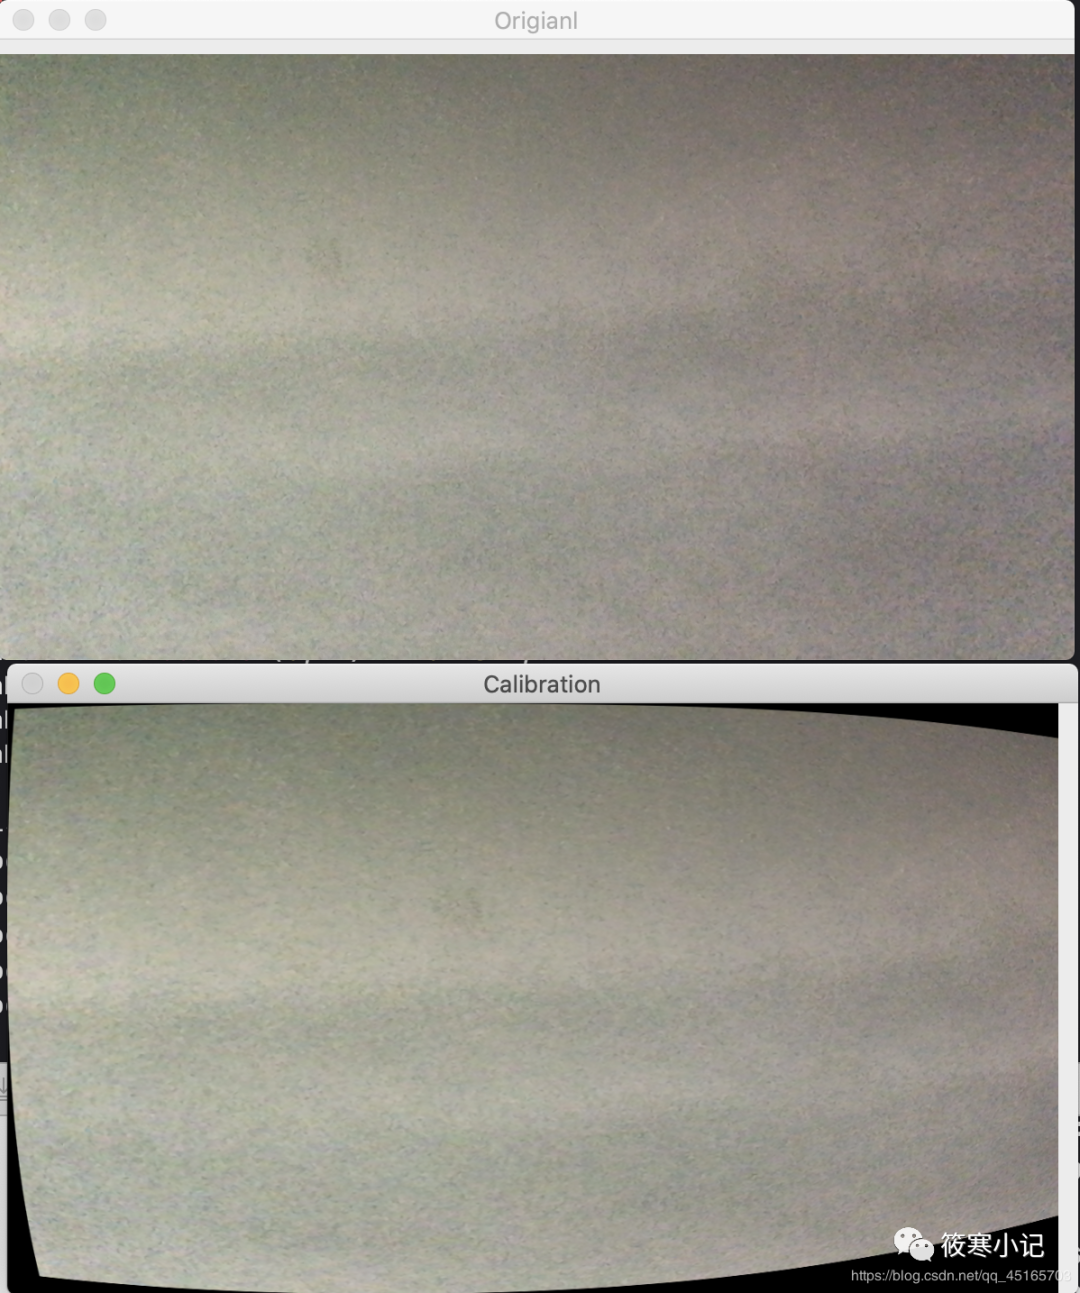
最后如果你也得到了类似效果,那么恭喜你,大功告成!
公众号篇幅有限,有兴趣的小伙伴可以在我的CSDN上查看原文章。CSDN链接:https://blog.csdn.net/qq_45165703/article/details/104304583
参考博文:
https://blog.csdn.net/qq_40855366/article/details/81177201
https://blog.csdn.net/Loser__Wang/article/details/51811347
好了,今天这篇文章就到这里啦,相信你已经搞定了单目标定?,笔者会不定期做一些技术分享和工具使用心得,欢迎大家阅读和转发!


 6940
6940


 被折叠的 条评论
为什么被折叠?
被折叠的 条评论
为什么被折叠?
 到【灌水乐园】发言


