


1.器件库编译
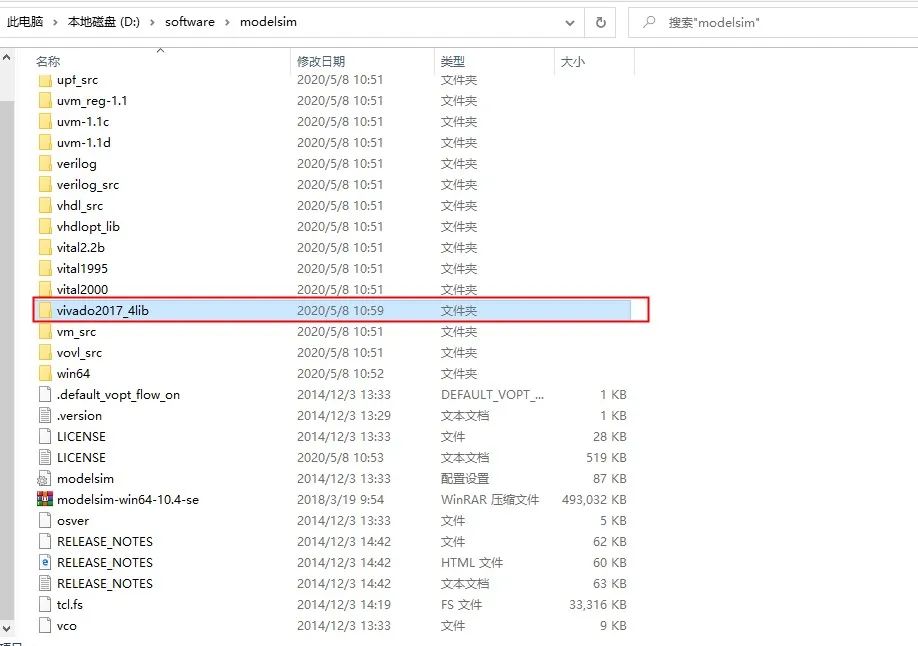
首先,在modelsim安装路径中新建一个名为vivado2017_4lib(根据自己的需要安装的modelsim和vivado版本自己确定)的文件夹
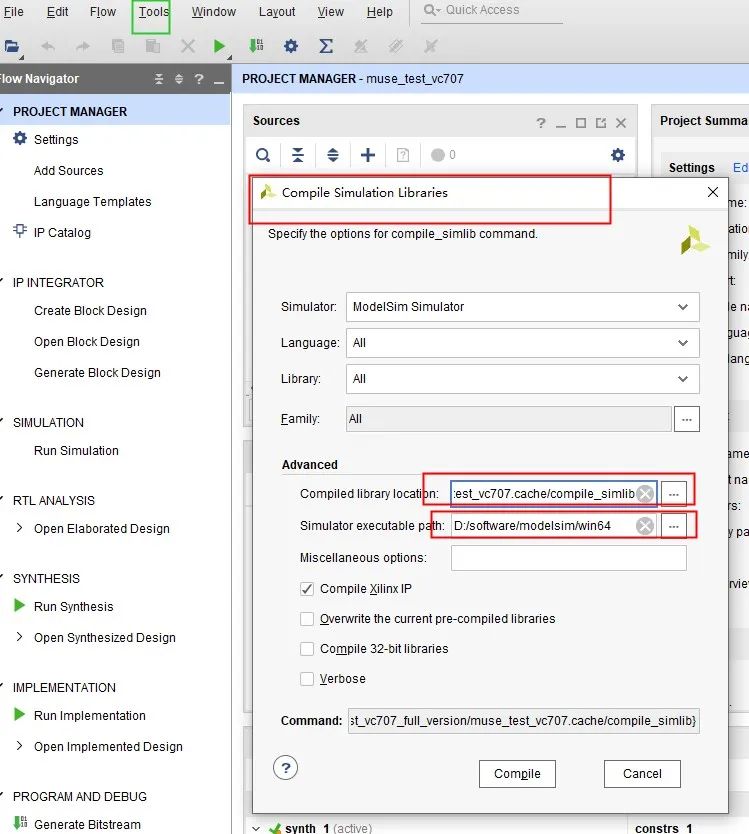
然后在Vivado 2017.4(小编在使用2017版本)的Tool中选择Compile Simulation Libraries,弹出对话框在设置器件库编译参数,仿真工具“Simulator”选为ModelSim Simulator,语言“Language”、库“Library”、器件家族“Family”都为默认设置All(当然也可以根据自己的需求进行设置),然后在“Compiled library location”栏设置编译器件库的路径,这里选前面新建的vivado2017_4lib文件夹,此外在“Simulator executable path”栏设置modelsim执行文件的路径,其他参数默认。
然后就开始漫长的等待过程(具体看电脑配置),这个过程中会将产生Xilinx的IP的仿真库文件在上面仿真路径(vivado2017_4lib)下
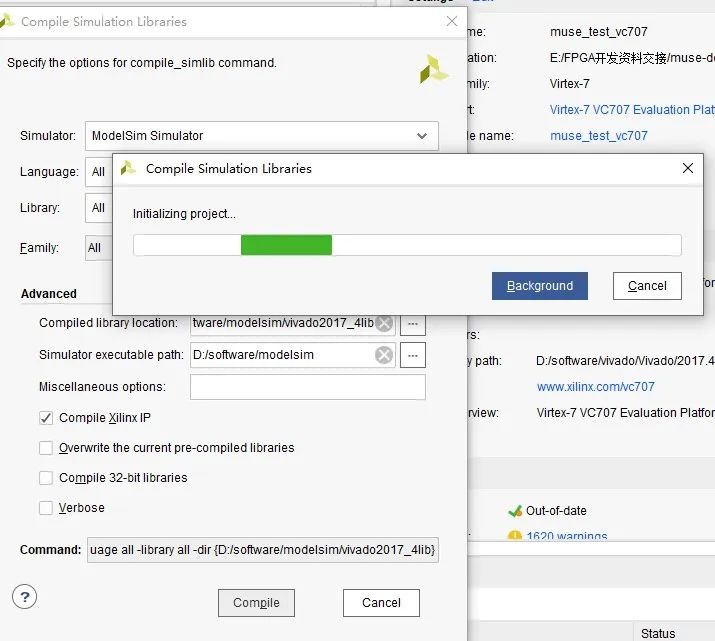
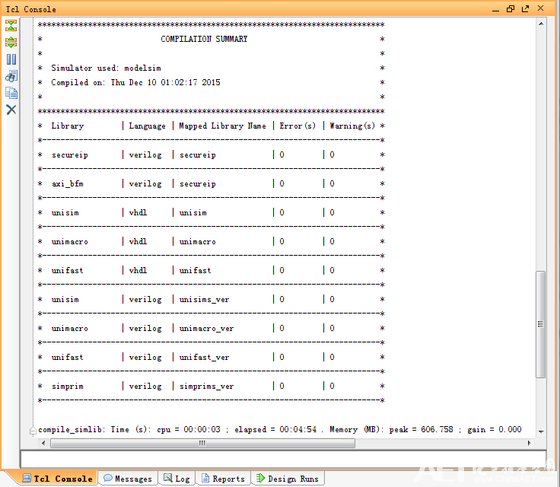
设置好参数后点击“Compile”按钮开始器件库的编译。图5所示为正在编译器件库的过程中。器件库编译结束后给出编译报告,从报告中看出0个警告和0个错误。
2.vivado调用modelsim
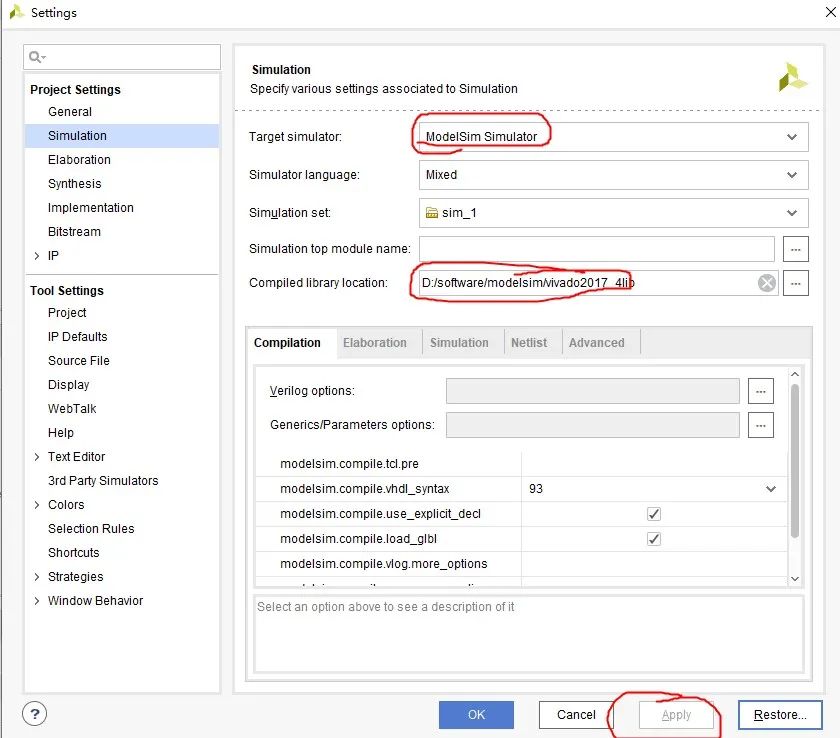
在vivado中关联了modelsim软件和编译器件库之后,就可以在vivado中调用modelsim软件对设计进行仿真了。不过,在对每一个新建的工程设计进行仿真时需要进行一些设置。选择vivado菜单“Project Settings”——>“Simulation Settings”命令Target simulator选择ModelSim Simulator,编译库选择刚才编译的库路径,然后选择Apply。
设置好仿真参数后,如果设计文件和仿真文件也准备好,那么就可以开始对设计的功能进行仿真了。选择菜单“Flow”——>“Run Simulation”——>选相应的仿真类型或点击流程向导中的“Run Simulation”——>选相应的仿真类型进行仿真。
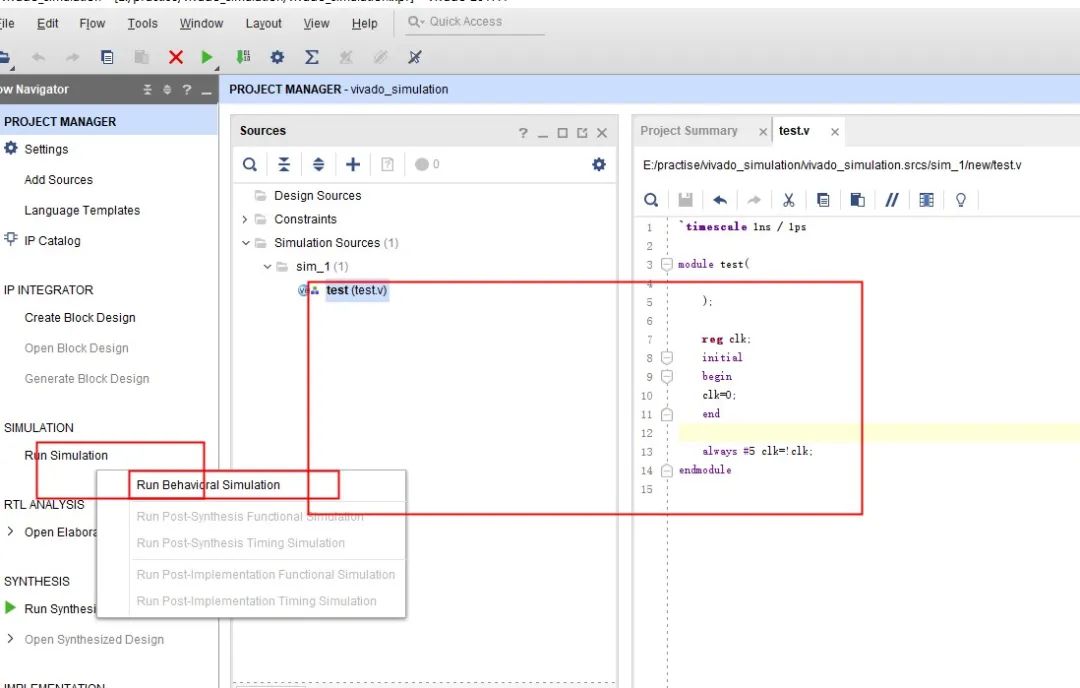
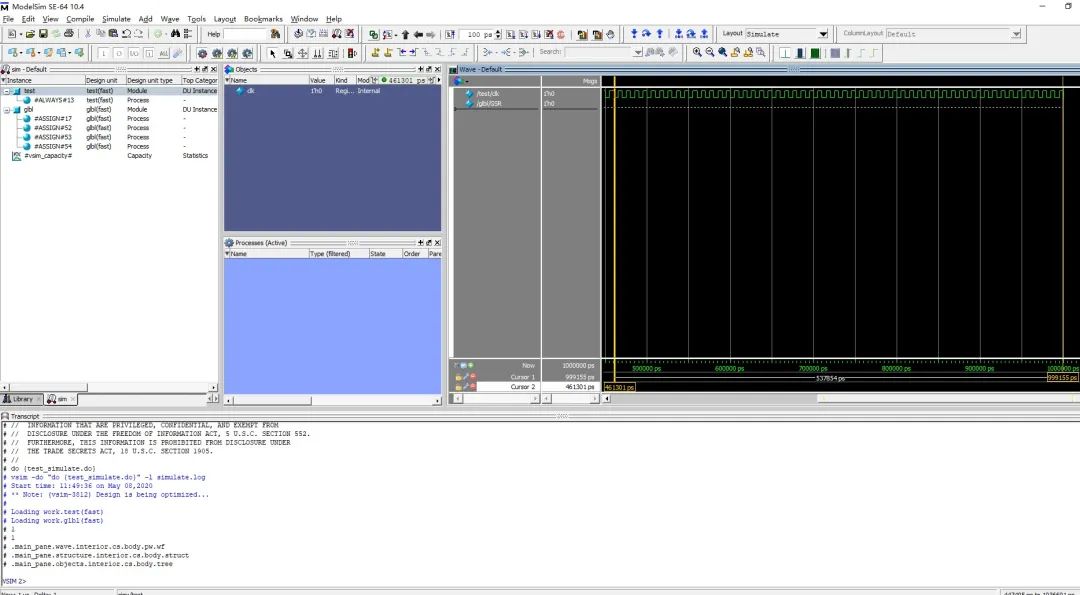
小编写了一个100M的时钟来测试,可以在ModelSim中看到该时钟的仿真结果
`timescale 1ns / 1ps
module test();

    reg clk;
    initial
    begin
    clk=0;
    end

    always #5 clk=!clk;
endmodule
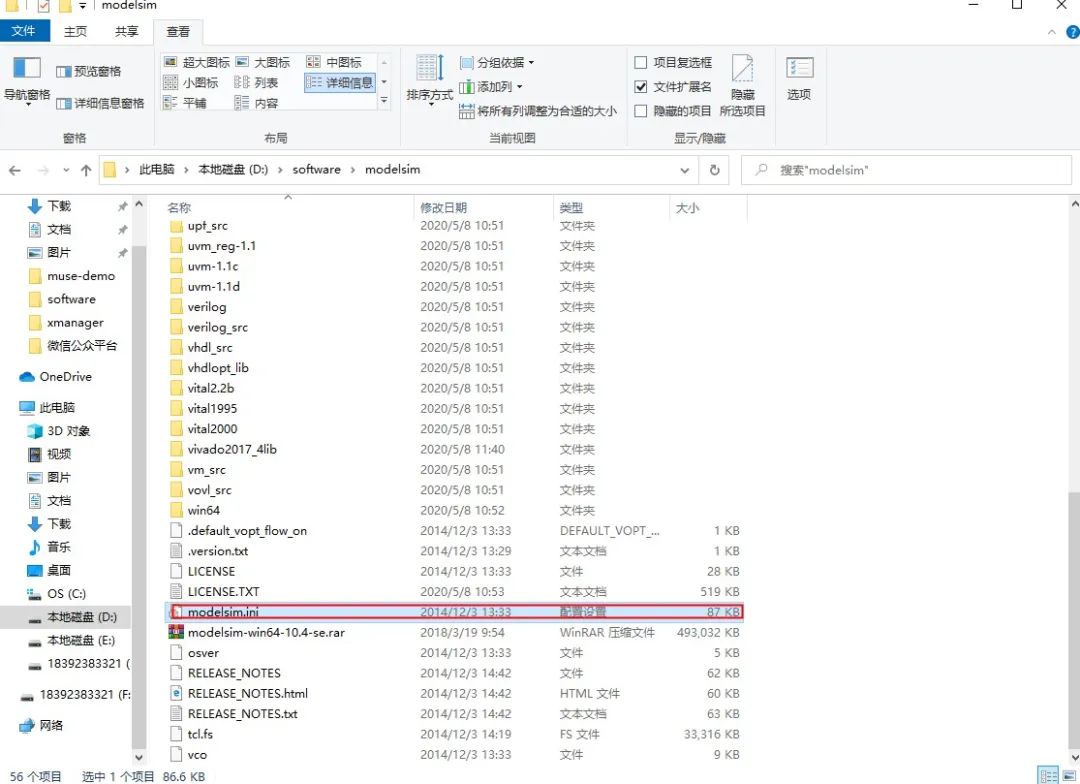
3.仿真Xilinx IP核
在modelsim安装路径下有一个modelsim.ini文件,需要取消其只读属性然后用notepad++打开modelsim.ini
在刚才IP的编译库中的ini文件找到“modelsim_lib = $MODEL_TECH/../modelsim_lib”处准备添加ip库路径。复制IP地址到modelsim.ini文件

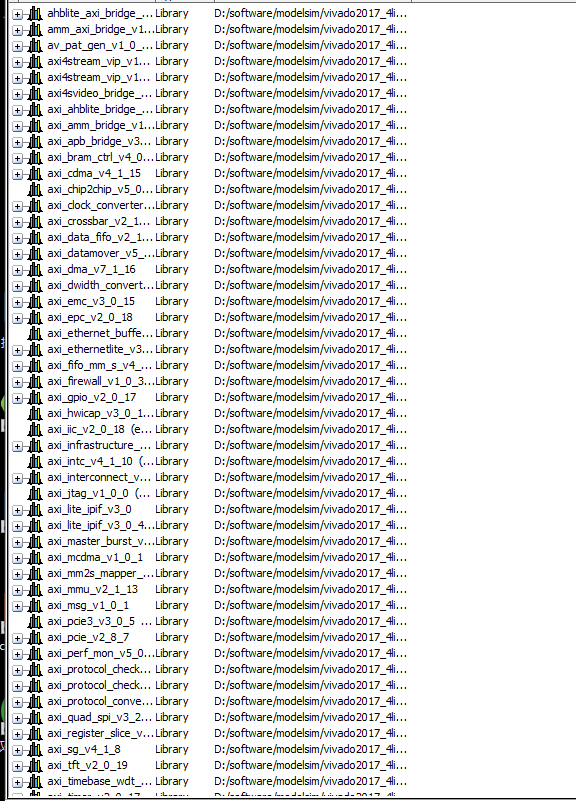
打开ModelSim可以看到IP的仿真库已经在了。
 扫
码
关
注
一
起
畅
聊
扫
码
关
注
一
起
畅
聊
深耕在FPGA 扎根于视频领域
卓越于神经网络


 5722
5722


 被折叠的 条评论
为什么被折叠?
被折叠的 条评论
为什么被折叠?
 到【灌水乐园】发言


