


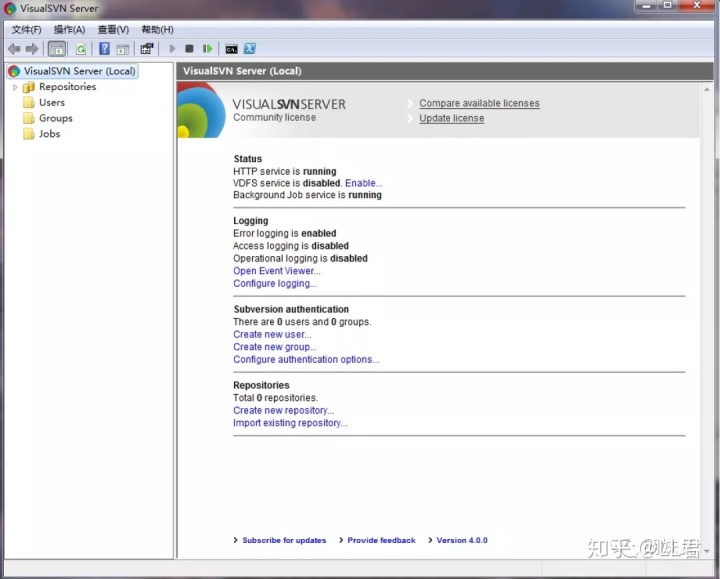
一、VisualSVN-Server 的安装与基本配置
1、VisualSVN-Server 下载地址:https://www.visualsvn.com/
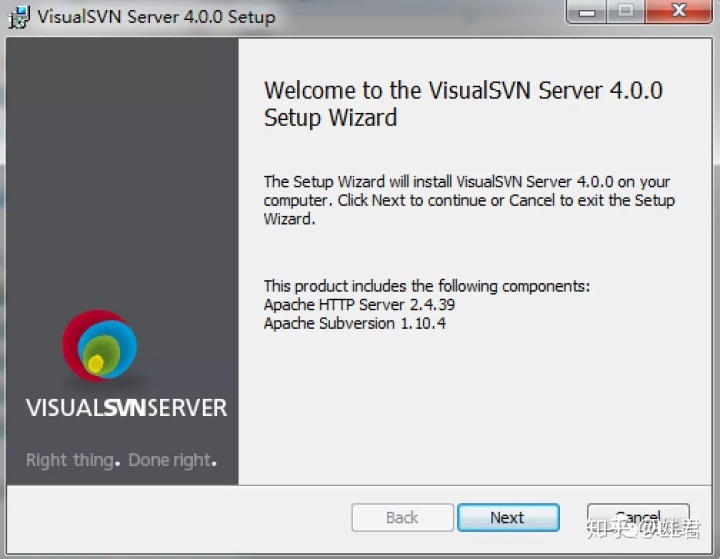
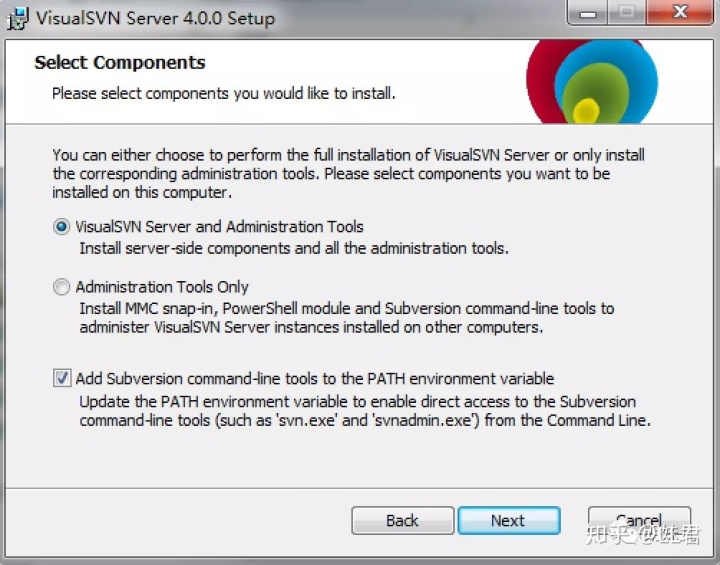
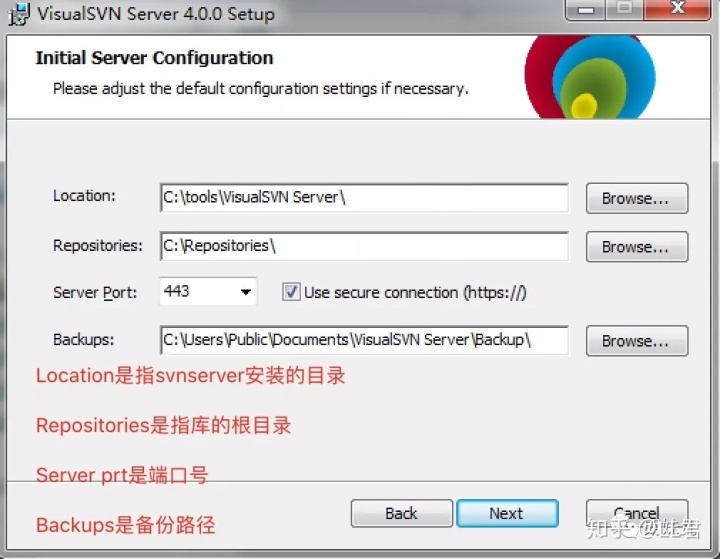
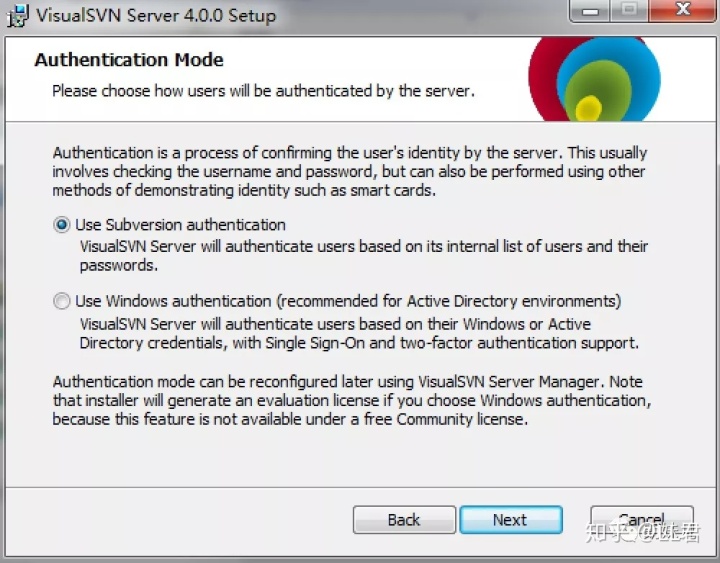
2、安装步骤
3、基本配置
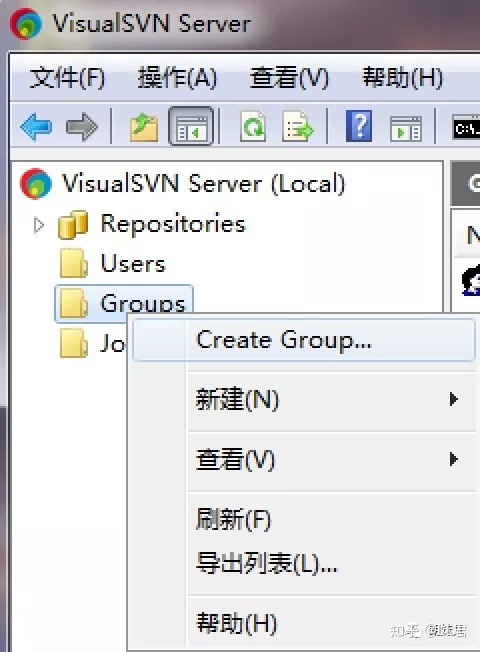
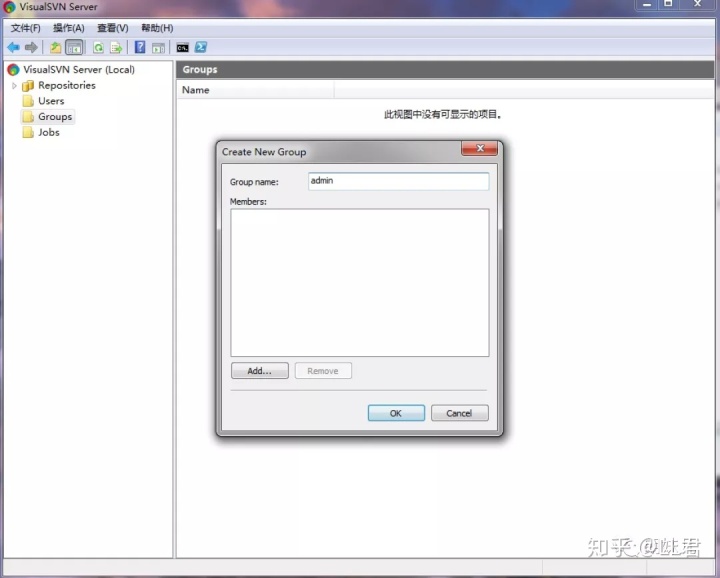
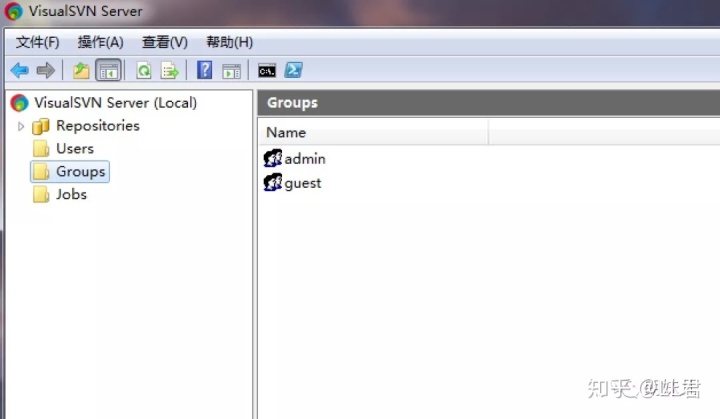
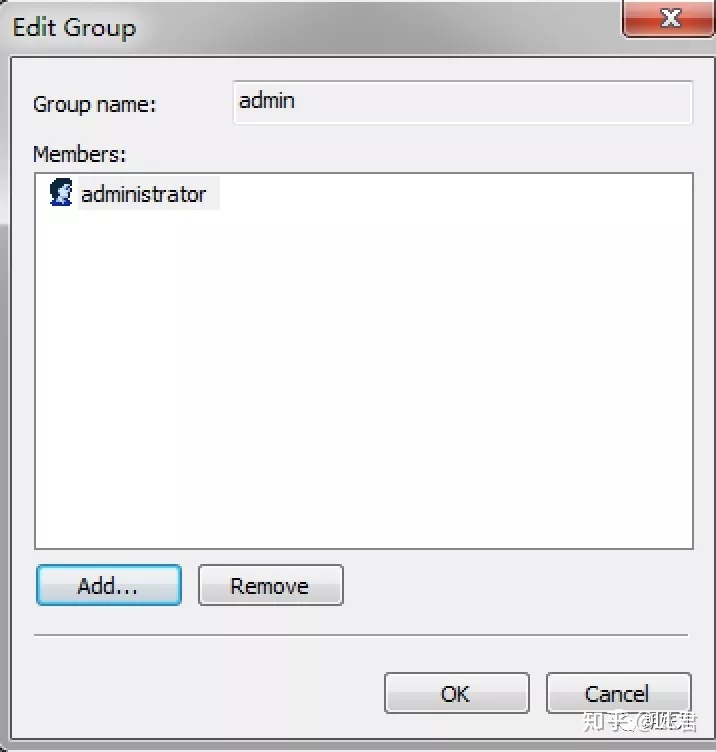
3.1、首先配置groups,添加两个组,一个admin组,一个guest组
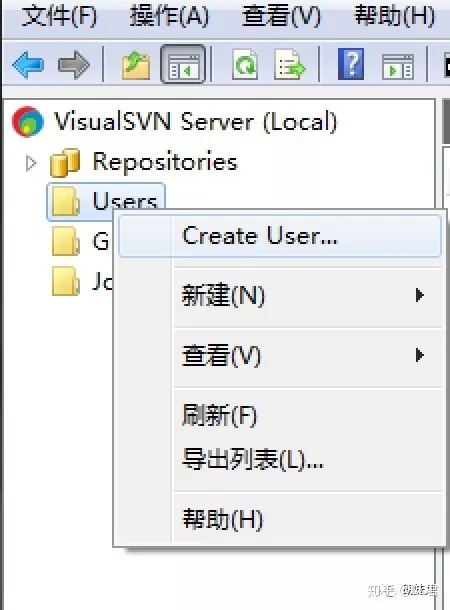
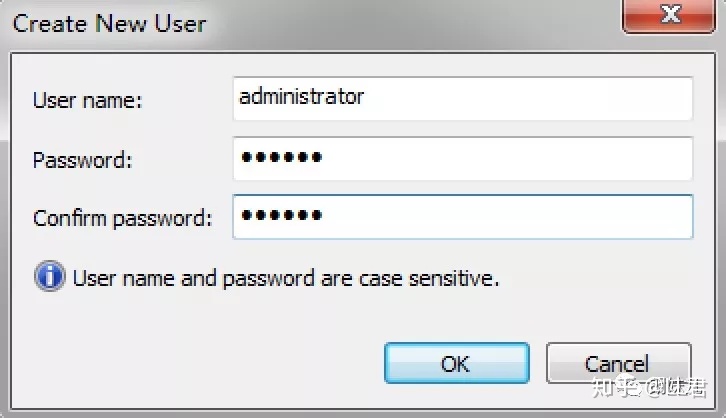
3.2、创建用户
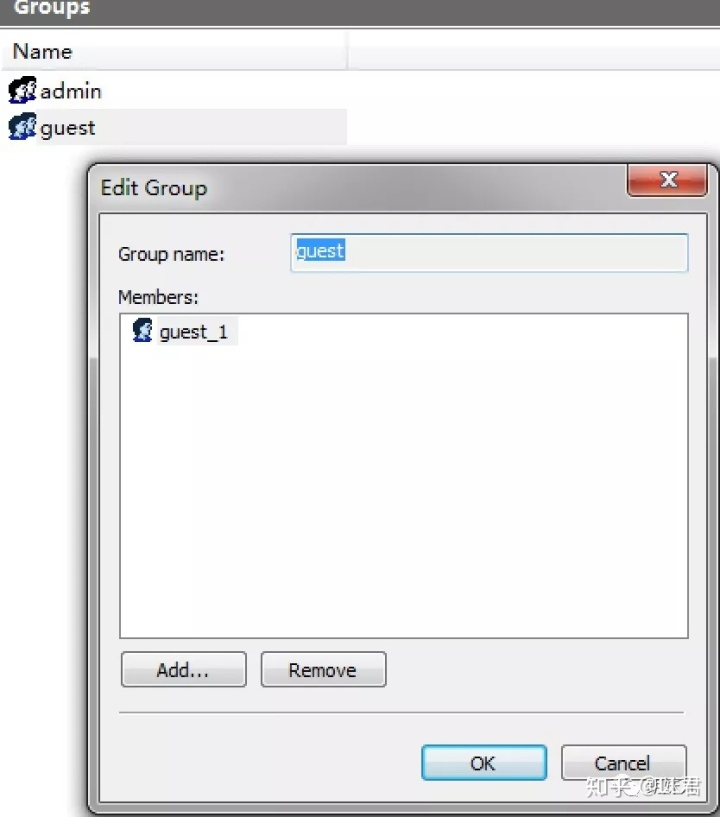
3.3、为用户分配组
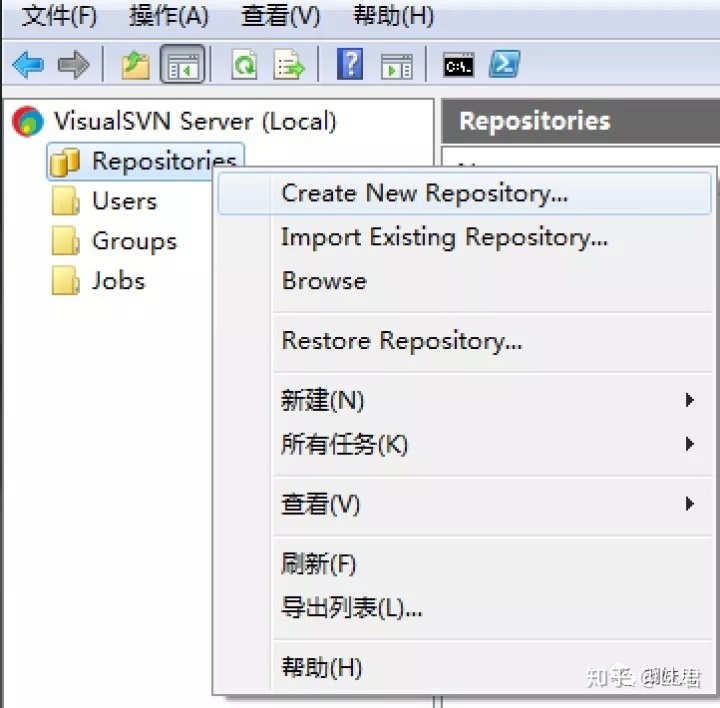
4、创建一个新的库(Repository)
4.1、创建
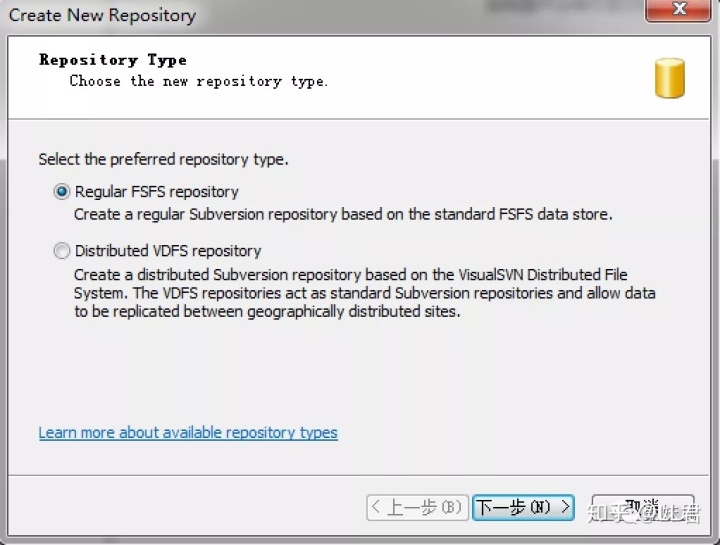
4.2、选择FSFS类型
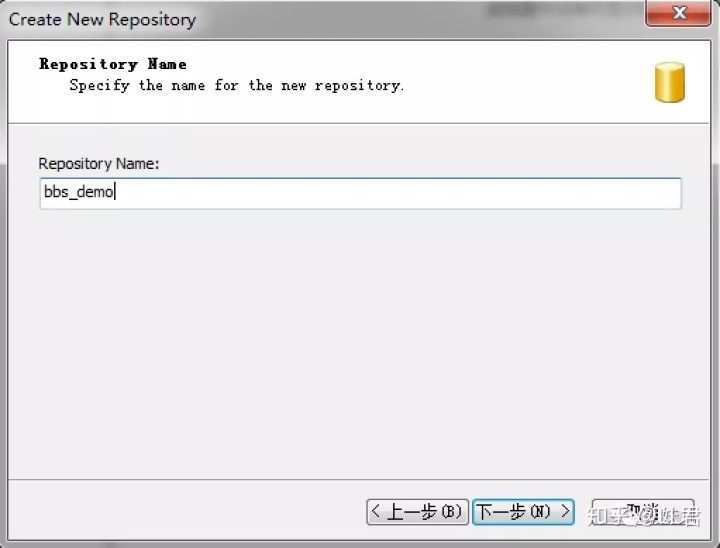
4.3、创建库的名字
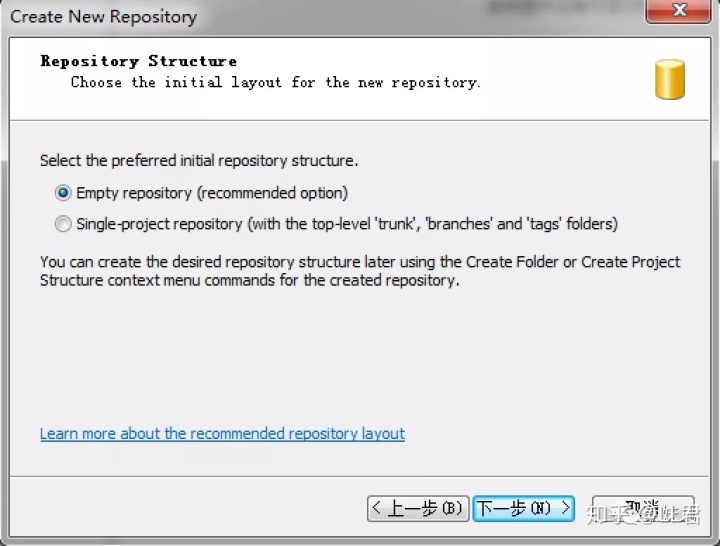
4.4、选择是空库,还是之前库的分支
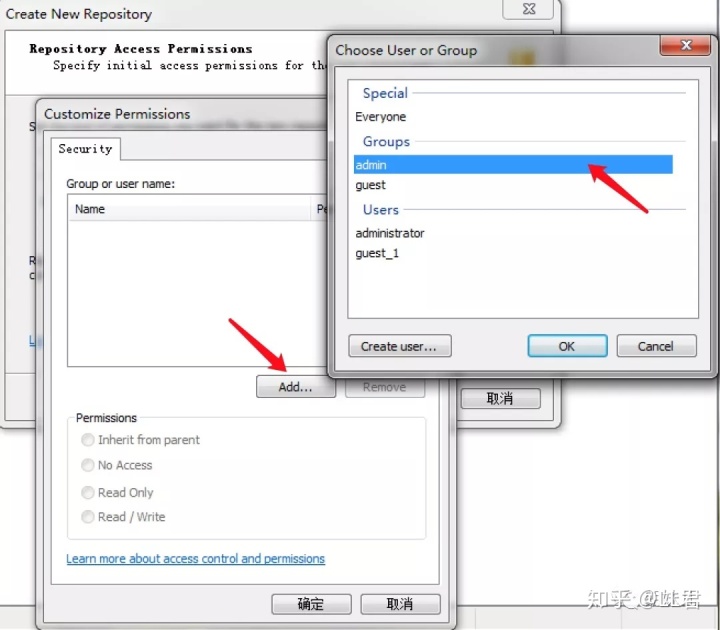
4.5、选择自定义权限
4.6、为不同的组分配权限
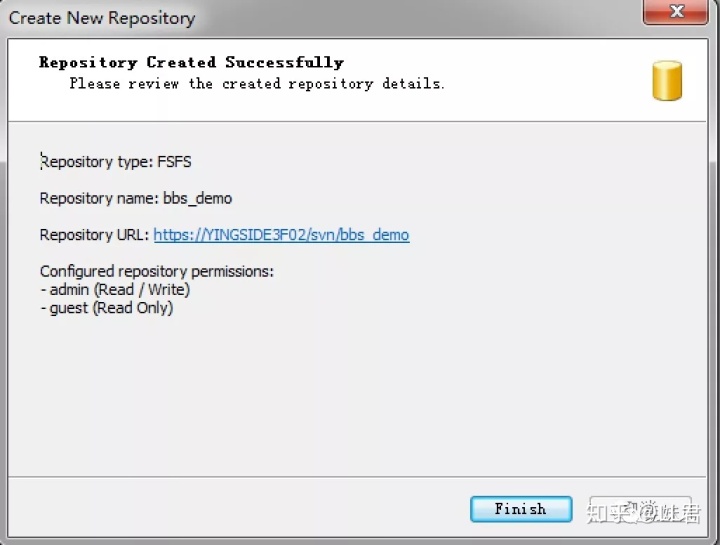
4.7、创建完成,显示库的相关信息
一、VisualSVN-Server 的安装与基本配置
1、VisualSVN-Server 下载地址:https://www.visualsvn.com/
2.安装步骤
三、基本配置
3.1、首先配置groups,添加两个组,一个admin组,一个guest组
3.2、创建用户

3.3、为用户分配组
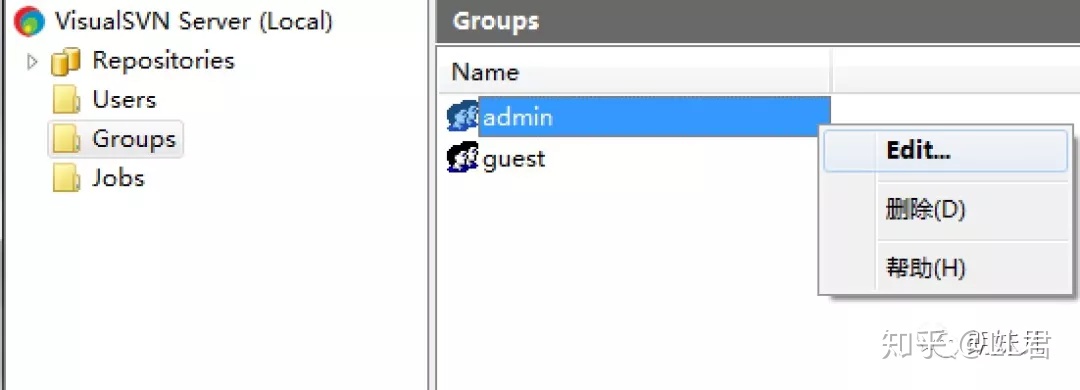
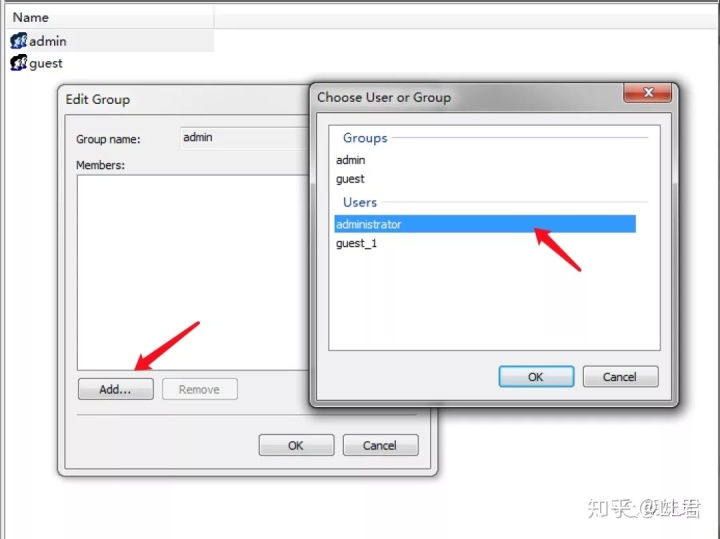
如果你想将guest_1用户分配入guest组,和上面一样的步骤
4、创建一个新的库(Repository)
4.1、创建
4.2、选择FSFS类型
4.3、创建库的名字
4.4、选择是空库,还是之前库的分支
4.5、选择自定义权限

4.6、为不同的组分配权限
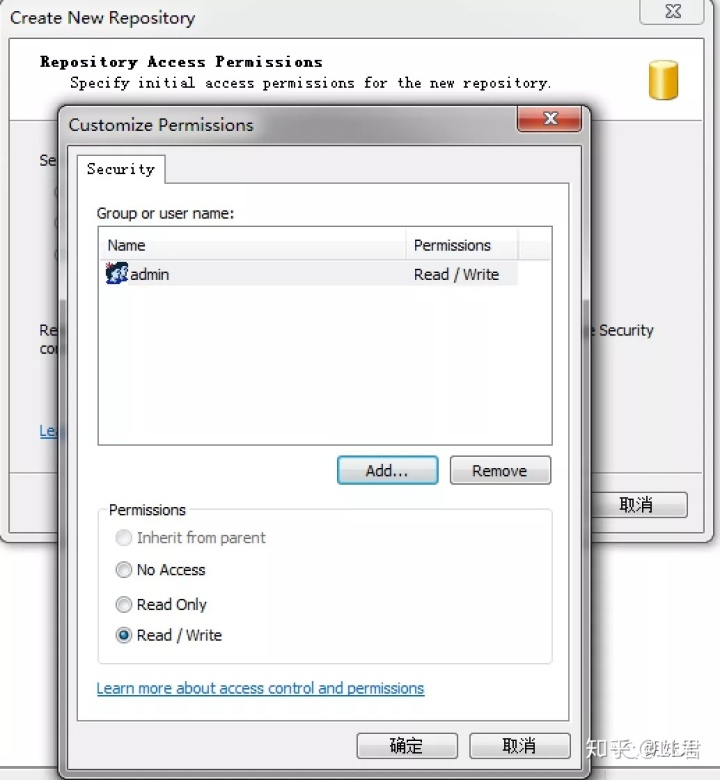
这样admin组的所有用户,都有了 读/写 bbs_demo库中文件的权限
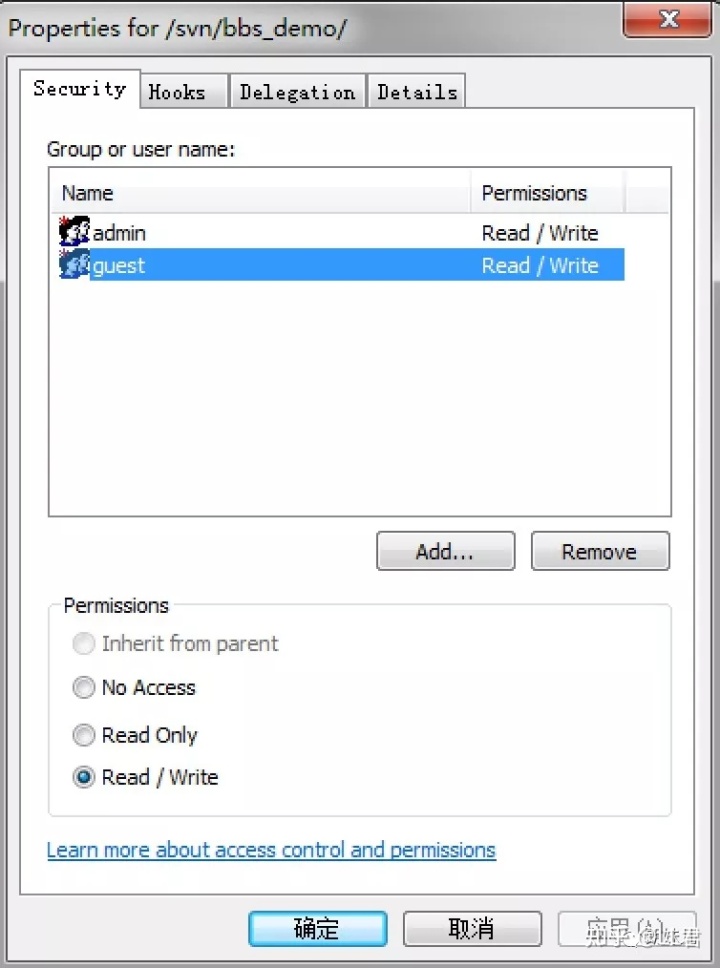
同样,guest组中也给上读/写权限。注意:我这里的分组只是为了后面的测试区分,真正的应用中,guest用户组不应该有写的权限
4.7、创建完成,显示库的相关信息
点击这个URL地址,我们已经可以通过网络访问库了
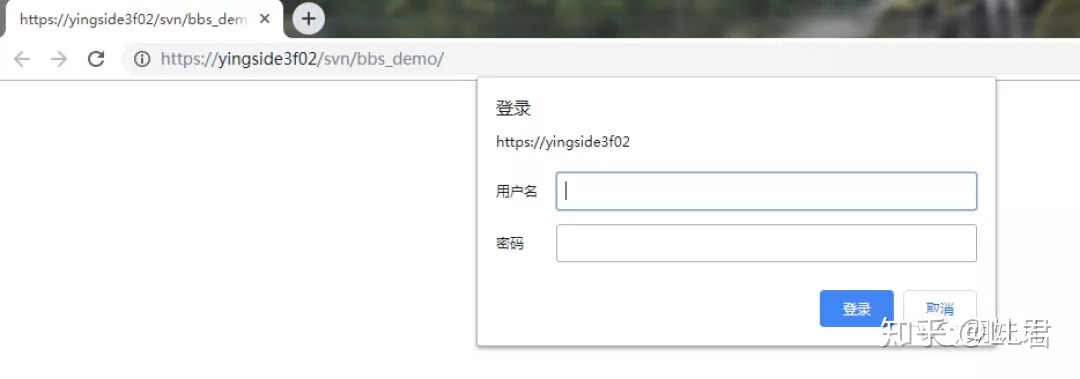
注意:由于这里是在我本机上测试,这里的URL地址中yingside3f02其实就是指本机,所以,这里可以使用IP地址替代,比如可以改为127.0.0.1,或者localhost。由于这里生成的连接是https的,使用chrome浏览器访问可能有警告,无所谓,跳过就可以了

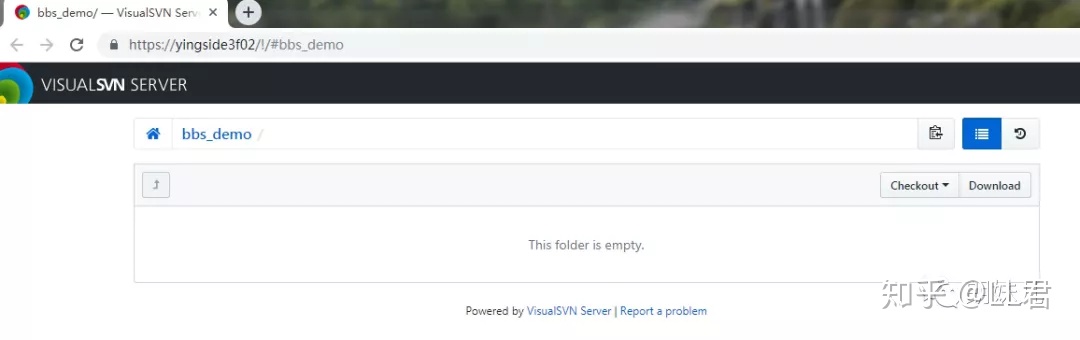
以后,在客户端访问的时候,也就是这个地址了,当然如果是局域网,改成相应的IP地址就ok了 这样,一个空的服务器端目录就建立好了。建议重新启动一下计算机
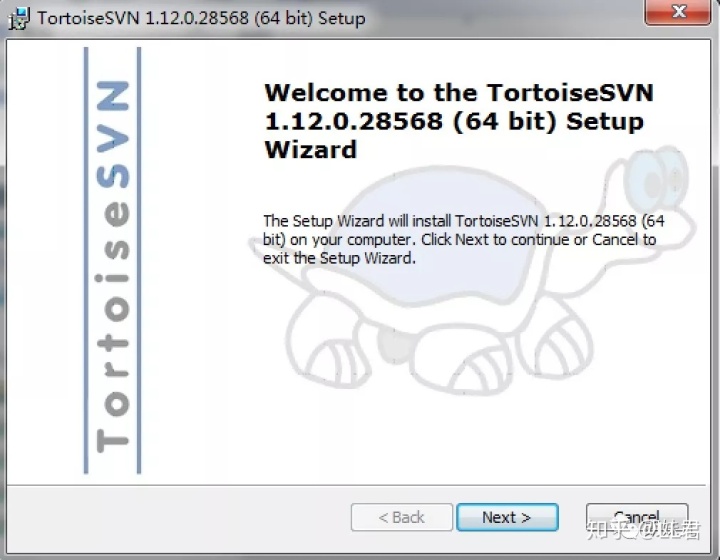
二、TortoiseSVN的安装与配置
1、TortoiseSVN 下载地址:https://tortoisesvn.net/downloads.html
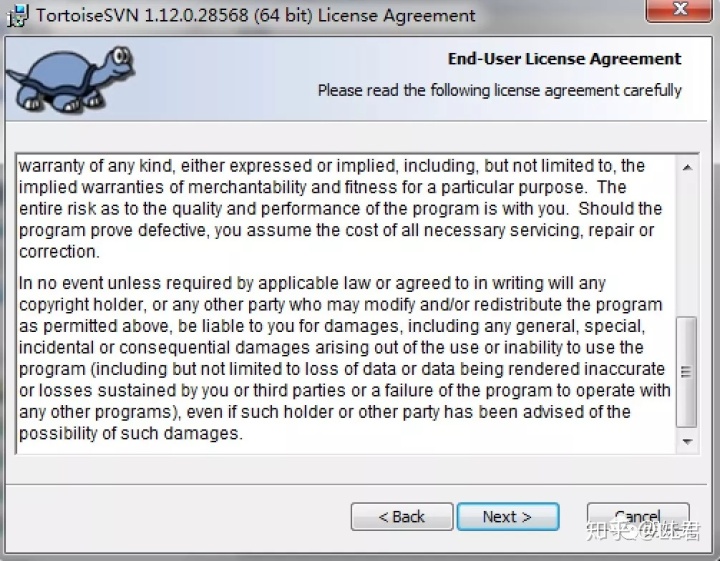
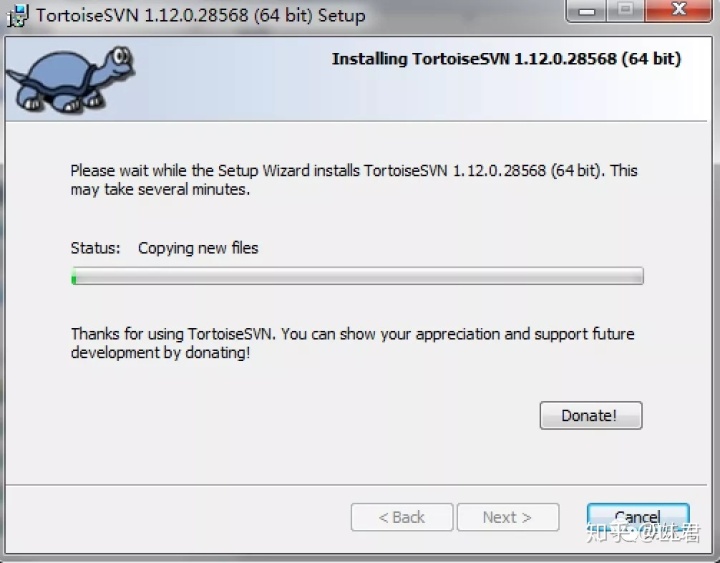
2、TortoiseSVN安装
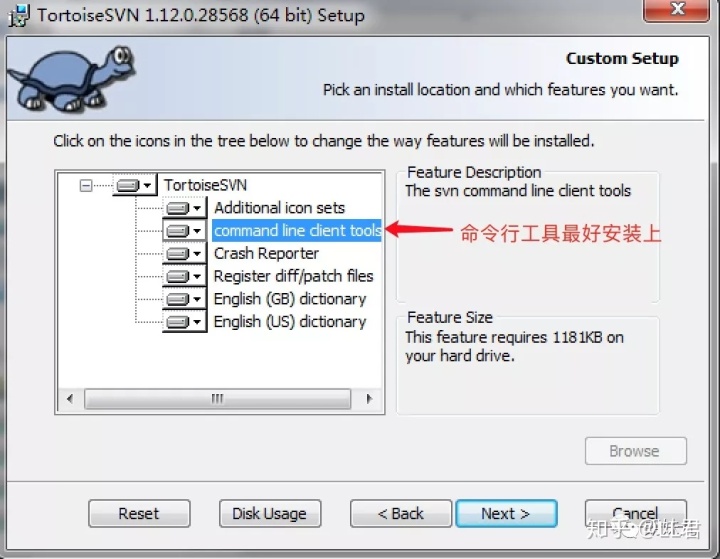
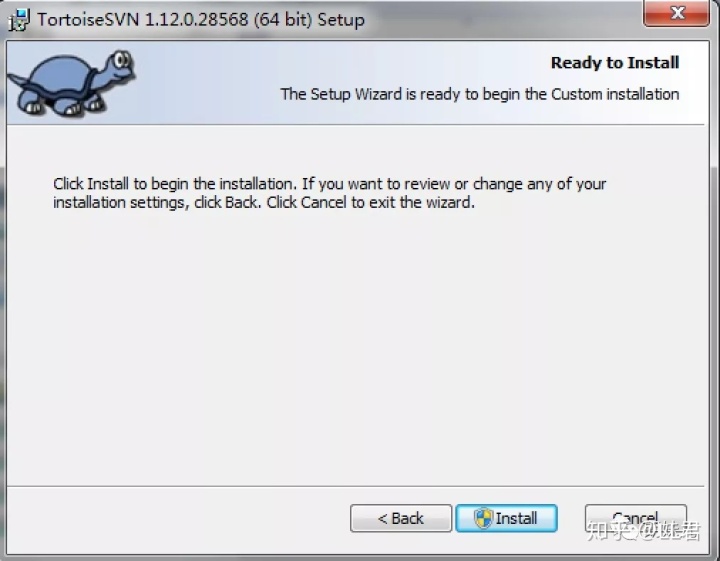
安装完成之后强烈建议重新启动计算机,这样SVN的图标提醒才会起作用


 7799
7799


 被折叠的 条评论
为什么被折叠?
被折叠的 条评论
为什么被折叠?
 到【灌水乐园】发言


