![3103bbeef6181098dce09724bf136854.png](https://i-blog.csdnimg.cn/blog_migrate/212ae80b7b579932f44f754ecbaa07a0.jpeg)
网上那些样机很神奇一替换图片就可以变成自己的LOGO,这种效果样机是如何做的呢?今天我们举个例子!
公众号【赤鹿教育】分享更多视频教程技巧!
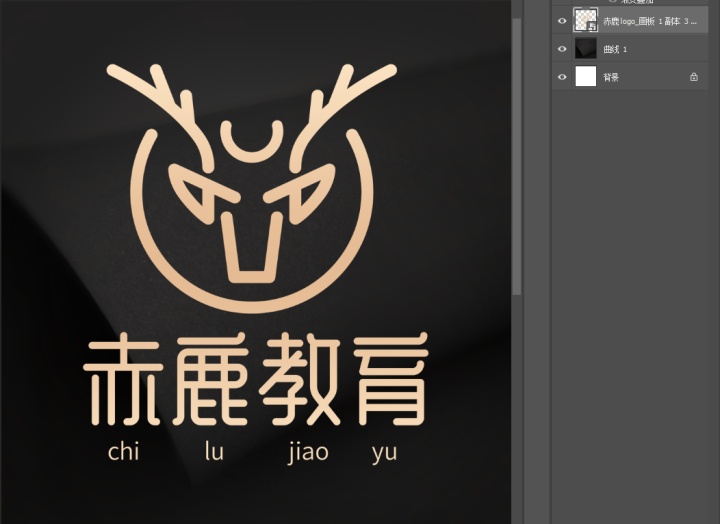
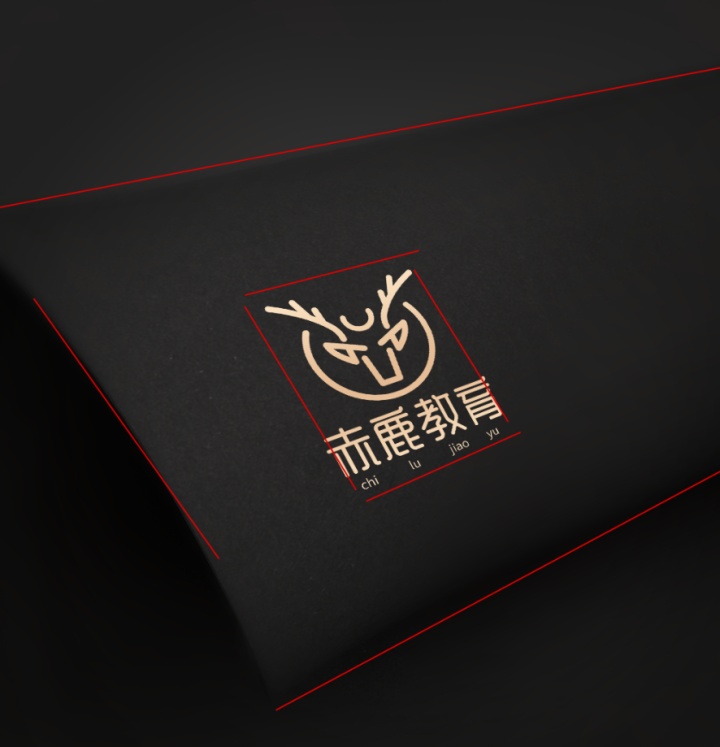
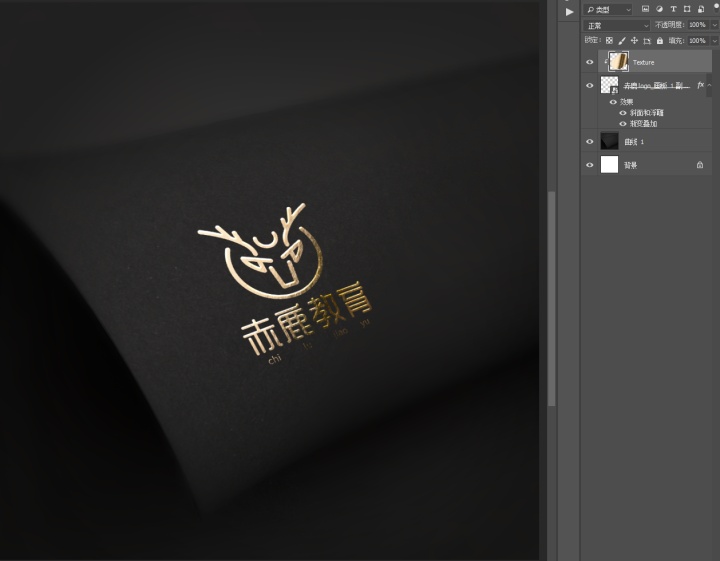
![18b1048b55ee969358878ba0e9b6232f.png](https://i-blog.csdnimg.cn/blog_migrate/b36cb758ac5e97ba516ec74e7e472429.png)
一、找真实张纸张效果的背景。
![dd77ef118779a76971a76e8131929219.png](https://i-blog.csdnimg.cn/blog_migrate/7141d3619bb3259b96f3cd54e46bca21.jpeg)
二、把你的LOGO用鼠标拖拽进背景文件里面
![29439f30f39863d4de95eccbb2bf1857.png](https://i-blog.csdnimg.cn/blog_migrate/fdef12be23a1570e850d4d977a240183.jpeg)
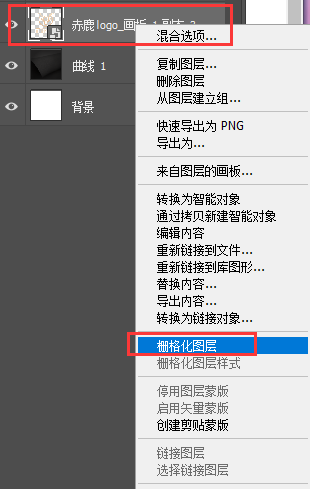
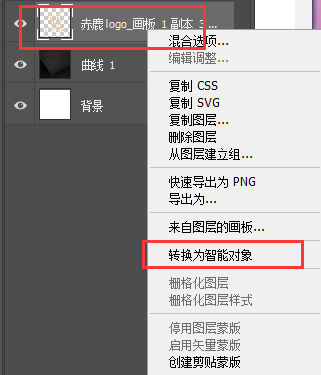
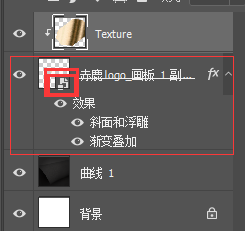
三、把LOGO右键栅-格化先,在右键-转为智能对象。为什么要多此一举呢?为了以后可以直接替换别的logo不出现错误。
![2e3a4ac20ffdfebfce6f1295b5f3a590.png](https://i-blog.csdnimg.cn/blog_migrate/a87fa5f8c012723f11a79985d85c4e9d.png)
![3dca4c30e98b3c2081d02eb3768da477.png](https://i-blog.csdnimg.cn/blog_migrate/cb697a0b450f2d00f6a5477c94837ccd.png)
四、CTRL+T变形LOGO 仔细看我画的红色参考线 LOGO的边要和背景的边平行 这样透视才舒服真实。
![b262bb817dee0af476f91eb4ce6266d4.png](https://i-blog.csdnimg.cn/blog_migrate/a3bf8397335ffbf0168c739fee290b8b.jpeg)
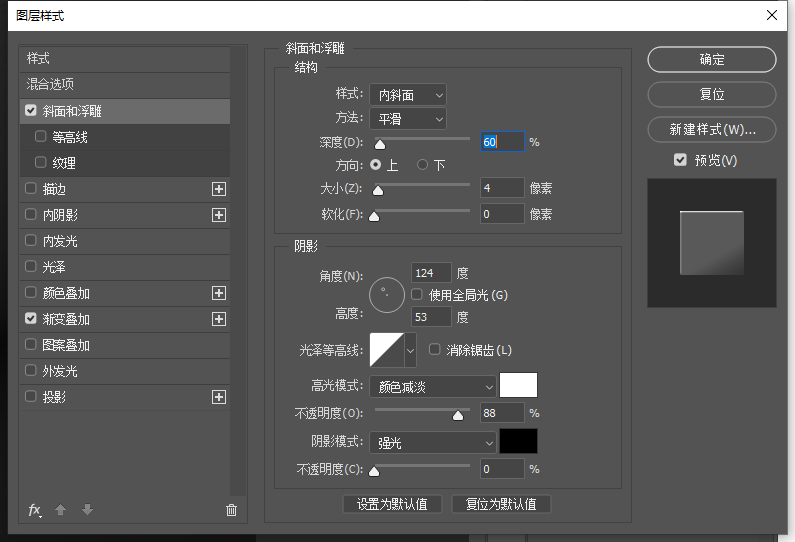
五、右键-混合模式-斜面浮雕 做出高光和影子
![163143e79bbd653a4737fc0a96908883.png](https://i-blog.csdnimg.cn/blog_migrate/037e33febf50fc1eea453ba989582a2d.png)
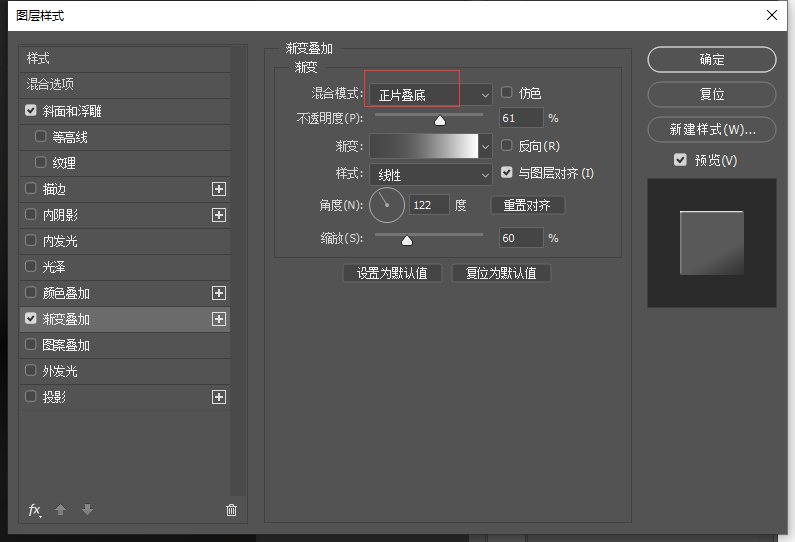
六、右键-混合模式-渐变叠加 做出受光面和背光地方
![83ab1582b206c5af1f1c2fefc2cf492f.png](https://i-blog.csdnimg.cn/blog_migrate/c1ce8647482c2192b631710c58636c5f.png)
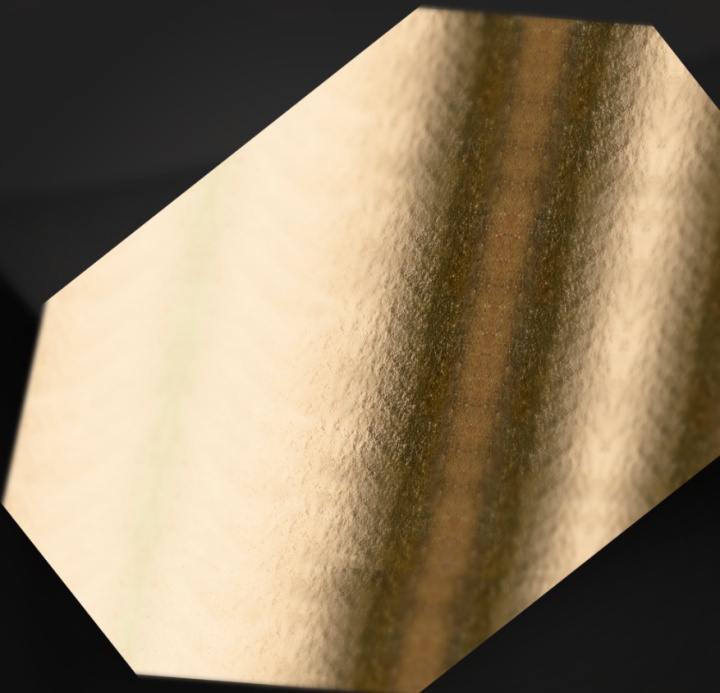
七、在找个金属纹理 放到LOGO上面 CTRL+ALT+T创建剪贴蒙版
![619bcf9d2272c1b9d2d96aac1e386dcf.png](https://i-blog.csdnimg.cn/blog_migrate/a165e3a388c9c5283d07049c92d68149.jpeg)
![9b6587a3594b65c63abad43eafb6d064.png](https://i-blog.csdnimg.cn/blog_migrate/a9b4c7adfe28d660b417027a6021aca9.jpeg)
八、接下来试试换别的LOGO可以吗?是否做成样机。双击这个智能对象图标 替换LOGO并保存关闭神奇就发生了
![7dc0ff5b30bd20080324ba973289a1ce.png](https://i-blog.csdnimg.cn/blog_migrate/f38567c2f117a8d2147e983bffcc5e42.png)