仅需10行代码,用Python创建语音模拟器

用Python逐步创建语音模拟器。

微信搜索关注《Python学研大本营》,加入读者群,分享更多精彩

图片

1、简介

使用Python、pyttsx3SpeechRecognition库能快速创建语音模拟器。

图片

用Python逐步创建语音模拟器

2、项目要求

首先,在机器上安装Python,如果设备上已经安装了Python,请跳过这一步骤。

要安装Python,请访问Python官方网站:https://www.python.org/downloads/并下载它。

接下来,安装SpeechRecognition和pyttsx3库。在命令提示符或终端中输入以下命令:

pip install SpeechRecognition
pip install pyttsx3

SpeechRecognition:用于录制声音并将其转换为文本。

pyttsx3:将文本转换为声音。

3、编码步骤

步骤1

导入库。示例代码如下:

import speech_recognition as sr
import  pyttsx3

为什么要使用“as sr”:简化代码。例如,可以使用sr.Recognizer()来代替speech_recognition.Recognizer()

步骤2

rec = sr.Recognizer()

rec = sr.Recognizer()这行代码创建了一个名为rec的新的Recognizer对象。

步骤3

with sr.Microphone() as src:
    print("Say something...")
    audio = rec.listen(src)
    text = rec.recognize_google(audio)

with sr.Microphone() as src:这行代码指示计算机监听麦克风。麦克风现在被称为src

print("Say something..."):这行代码指示计算机打印一条消息,内容是“Say something...(说点什么...)”。这是对使用者说话的提醒。

audio = rec.listen(src):这行代码告诉计算机听一段时间麦克风的声音,并将录制的声音存储为audio

text = rec.recognize_google(audio):这行代码告诉计算机使用Google语音识别技术将录制的声音(audio)转换为文本。文本将以text形式存储。

步骤4

engine = pyttsx3.init()

这行代码指示计算机激活语音合成器,用于将文本转换为声音。

步骤5

engine.say(text)

这行代码指示计算机使用语音生成器(engine)朗读刚刚说过的文本(text)。这就像按下录音设备上的“播放”按钮,就能听到刚刚录制的内容。

步骤6

engine.runAndWait()

这行代码指示计算机在继续下一步之前等待语音生成器(engine)朗读完文本(text)。这就像等待录音播放完毕后再关闭设备。

步骤7

运行程序并说些什么。

注意:

如果程序无法运行,请尝试执行以下操作:

pip install setuptools

4、完整代码

import speech_recognition as sr
import  pyttsx3

rec = sr.Recognizer()

with sr.Microphone() as src:
    print("Say something...")
    audio = rec.listen(src)
    text = rec.recognize_google(audio)

engine = pyttsx3.init()

engine.say(text)

engine.runAndWait()

推荐书单

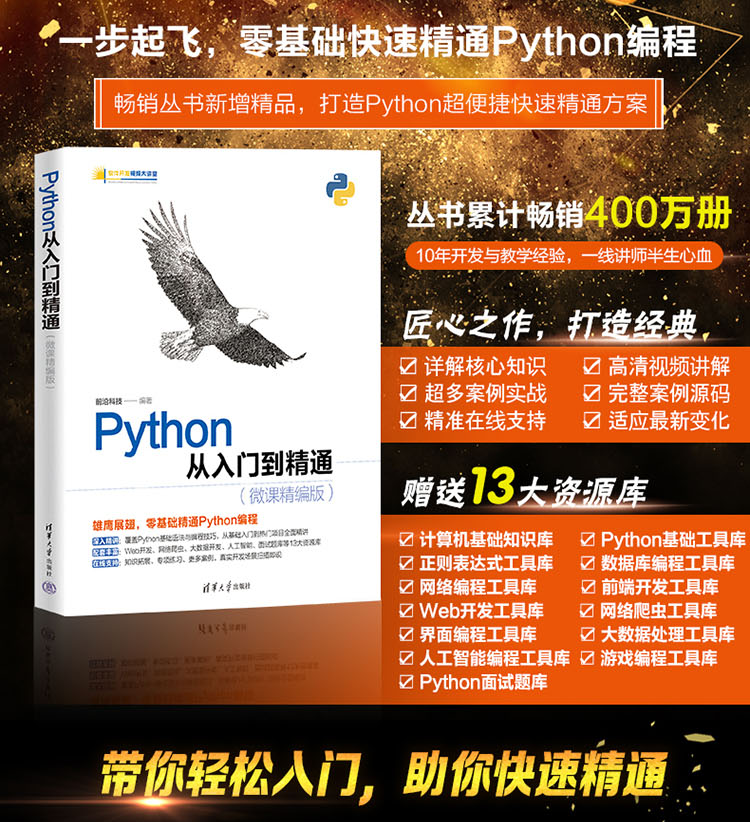
《Python从入门到精通(微课精编版)》

《Python从入门到精通(微课精编版)》使用通俗易懂的语言、丰富的案例,详细介绍了Python语言的编程知识和应用技巧。全书共24章,内容包括Python开发环境、变量和数据类型、表达式、程序结构、序列、字典和集合、字符串、正则表达式、函数、类、模块、异常处理和程序调试、进程和线程、文件操作、数据库操作、图形界面编程、网络编程、Web编程、网络爬虫、数据处理等,还详细介绍了多个综合实战项目。其中,第24章为扩展项目在线开发,是一章纯线上内容。全书结构完整,知识点与示例相结合,并配有案例实战,可操作性强,示例源代码大都给出详细注释,读者可轻松学习,快速上手。本书采用O2O教学模式,线下与线上协同,以纸质内容为基础,同时拓展更多超值的线上内容,读者使用手机微信扫一扫即可快速阅读,拓展知识,开阔视野,获取超额实战体验。

《Python从入门到精通(微课精编版)》icon-default.png?t=N7T8https://item.jd.com/13524355.html

图片

精彩回顾

《Python GUI初学者教程,轻松构建用户界面》

《编程必备,解析5种常用的Python设计模式》

《简洁编程之道,10个Python Itertools方法助你事半功倍》

《4个杀手级Pycharm高效插件》

《一文掌握在PyCharm中正确设置Python项目》

《5个不能错过的PyCharm插件》

微信搜索关注《Python学研大本营》,加入读者群,分享更多精彩

访问【IT今日热榜】,发现每日技术热点

  • 11
    点赞
  • 9
    收藏
    觉得还不错? 一键收藏
  • 0
    评论
ReadMe Release Version beta_1.0 index.py imageMatlab.py This is more or less a wrapper for Matplotlib imaging functions such that their behavior is equivalent, in terms of colormap, aspect and so forth, to the expected behavior of Matlab's functions. sepVocal.py This script can be used to execute the desired separation. See below for an example of use of this file. SIMM.py This script implements the actual algorithm for parameter estimation. It is mainly used by sepVocal.py. tracking.py The Viterbi decoding algorithm is implemented in this script. Requirements: These scripts have been tested with Python 2.7, The packages that are required to run the scripts are pydub,ffmepg, Numpy, Spicy, Matplotlib. One can respectively find the latest versions at the following addresses: http://pydub.com/ https://ffmpeg.org http://numpy.org/ http://scipy.org/ http://matplotlib.sourceforge.net/ Notes: Prefer recent versions of the above packages, in order to avoid compatibility issues, notably for Matplotlib. Note that this latter package is not necessary for the program to run, although you might want to watch a bit what is happening! Spicy should be version 0.8+, since we use its io.wavefile module to read the wave files. We once used the audio lab module, but it would seem that it is a bit more complicated to install (with the benefit that many more file formats are allowed). Usage: The easy way to use these scripts is to run the exec package of our release version: http://www.github.com/beata_1.0 for more develop: you can run the index.py on pycharm directly. note: the output files will create under you source wav file. ContactMe Email:xlzhang14@fudan.edu.cn
### 回答1: 好的,我可以帮助你写一个简单的烟花模拟器。 首先,我们要导入一些库,这些库可以帮助我们在 Python 中进绘图。 ```python import turtle import random ``` 接下来,我们可以创建一个类来表示烟花。烟花类应该包含一些属性,例如颜色和位置。 ```python class Firework: def __init__(self, x, y, color): self.x = x self.y = y self.color = color ``` 接下来,我们可以编写一个函数来在屏幕上绘制烟花。我们将使用 Python 的 turtle 库来绘制线条。 ```python def draw_firework(firework): turtle.penup() turtle.goto(firework.x, firework.y) turtle.pendown() turtle.color(firework.color) turtle.dot(10) ``` 最后,我们可以编写一个主函数来创建一些随机的烟花并在屏幕上绘制它们。 ```python def main(): turtle.speed('fastest') turtle.bgcolor('black') turtle.hideturtle() while True: x = random.randint(-200, 200) y = random.randint(-200, 200) color = (random.random(), random.random(), random.random()) firework = Firework(x, y, color) draw_firework(firework) ``` 这是一个简单的烟花模拟器代码。希望这对你有所帮助! ### 回答2: 烟花模拟器是一种模拟烟花燃放的程序,可以通过编写Python代码来实现。以下是一个简单的烟花模拟器代码示例: ```python import random import time def launch_firework(): colors = ['red', 'blue', 'green', 'yellow', 'purple', 'orange'] shapes = ['circle', 'star', 'heart', 'smiley', 'diamond'] color = random.choice(colors) shape = random.choice(shapes) print(f"Launching a {color} {shape} firework!") time.sleep(2) print("Boom!") time.sleep(1) def simulate_fireworks(num_fireworks): for _ in range(num_fireworks): launch_firework() time.sleep(1) if __name__ == "__main__": num_fireworks = 5 simulate_fireworks(num_fireworks) ``` 在这个代码中,首先定义了两个列表分别存储烟花的颜色和形状。然后通过`random.choice()`函数从列表中随机选择一个颜色和一个形状。接着在`launch_firework()`函数中,打印出选取的颜色和形状,并使用`time.sleep()`函数来模拟烟花的发射和爆炸过程。 在`simulate_fireworks()`函数中,通过循环调用`launch_firework()`函数来模拟指定数量的烟花燃放。 在`if __name__ == "__main__":`部分,设置了一个变量`num_fireworks`来指定要模拟的烟花数量。然后调用`simulate_fireworks()`函数进模拟。 运这个代码,将会输出指定数量的烟花发射的颜色和形状,并模拟烟花的爆炸过程,每个烟花之间有一秒的间隔。 ### 回答3: 下面是一个简单的Python烟花模拟器代码: ```python import random import time class Firework: def __init__(self, color, bursts): self.color = color self.bursts = bursts def launch(self): print("烟花升空!") time.sleep(1) for i in range(self.bursts): print("烟花爆炸中...") time.sleep(1) print("烟花消失了。") def simulate_firework(): colors = ["红色", "蓝色", "绿色", "黄色", "橙色"] bursts = random.randint(3, 10) color = random.choice(colors) firework = Firework(color, bursts) firework.launch() simulate_firework() ``` 这个烟花模拟器代码定义了一个`Firework`类,每个烟花对象由颜色和爆炸次数组成。`Firework`类有一个`launch`方法,模拟烟花升空和爆炸的过程。`simulate_firework`函数用来随机生成颜色和爆炸次数,并创建一个烟花对象,然后调用`launch`方法来模拟烟花的升空和爆炸过程。 运这段代码,你会看到随机生成的烟花升空并爆炸,然后消失。每个烟花的爆炸次数和颜色都是随机的,所以每次运结果都会有所不同。

“相关推荐”对你有帮助么?

  • 非常没帮助
  • 没帮助
  • 一般
  • 有帮助
  • 非常有帮助
提交
评论
添加红包

请填写红包祝福语或标题

红包个数最小为10个

红包金额最低5元

当前余额3.43前往充值 >
需支付:10.00
成就一亿技术人!
领取后你会自动成为博主和红包主的粉丝 规则
hope_wisdom
发出的红包
实付
使用余额支付
点击重新获取
扫码支付
钱包余额 0

抵扣说明:

1.余额是钱包充值的虚拟货币,按照1:1的比例进行支付金额的抵扣。
2.余额无法直接购买下载,可以购买VIP、付费专栏及课程。

余额充值