1 说明:
=====
1.1 如果不会web前端的html、JavaScript、CSS的知识怎么办?无所不能的python可以做到。
1.2 Remi是一个用于Python应用程序的GUI库,它将应用程序的界面转换为HTML,以便在Web浏览器中呈现。
1.3 这将删除特定于平台的依赖项,并允许您使用Python轻松开发跨平台应用程序!

2 准备:
=====
2.1 官网地址:
https://github.com/dddomodossola/remihttps://remi.readthedocs.io/en/latest/2.2 环境:
华为笔记本电脑、深度deepin-linux操作系统、谷歌浏览器、python3.8和微软vscode编辑器。
2.3 安装:
pip install remi#本机安装sudo pip3.8 install remisudo pip3.8 install -i https://mirrors.aliyun.com/pypi/simple remi3 Hello world:
==========
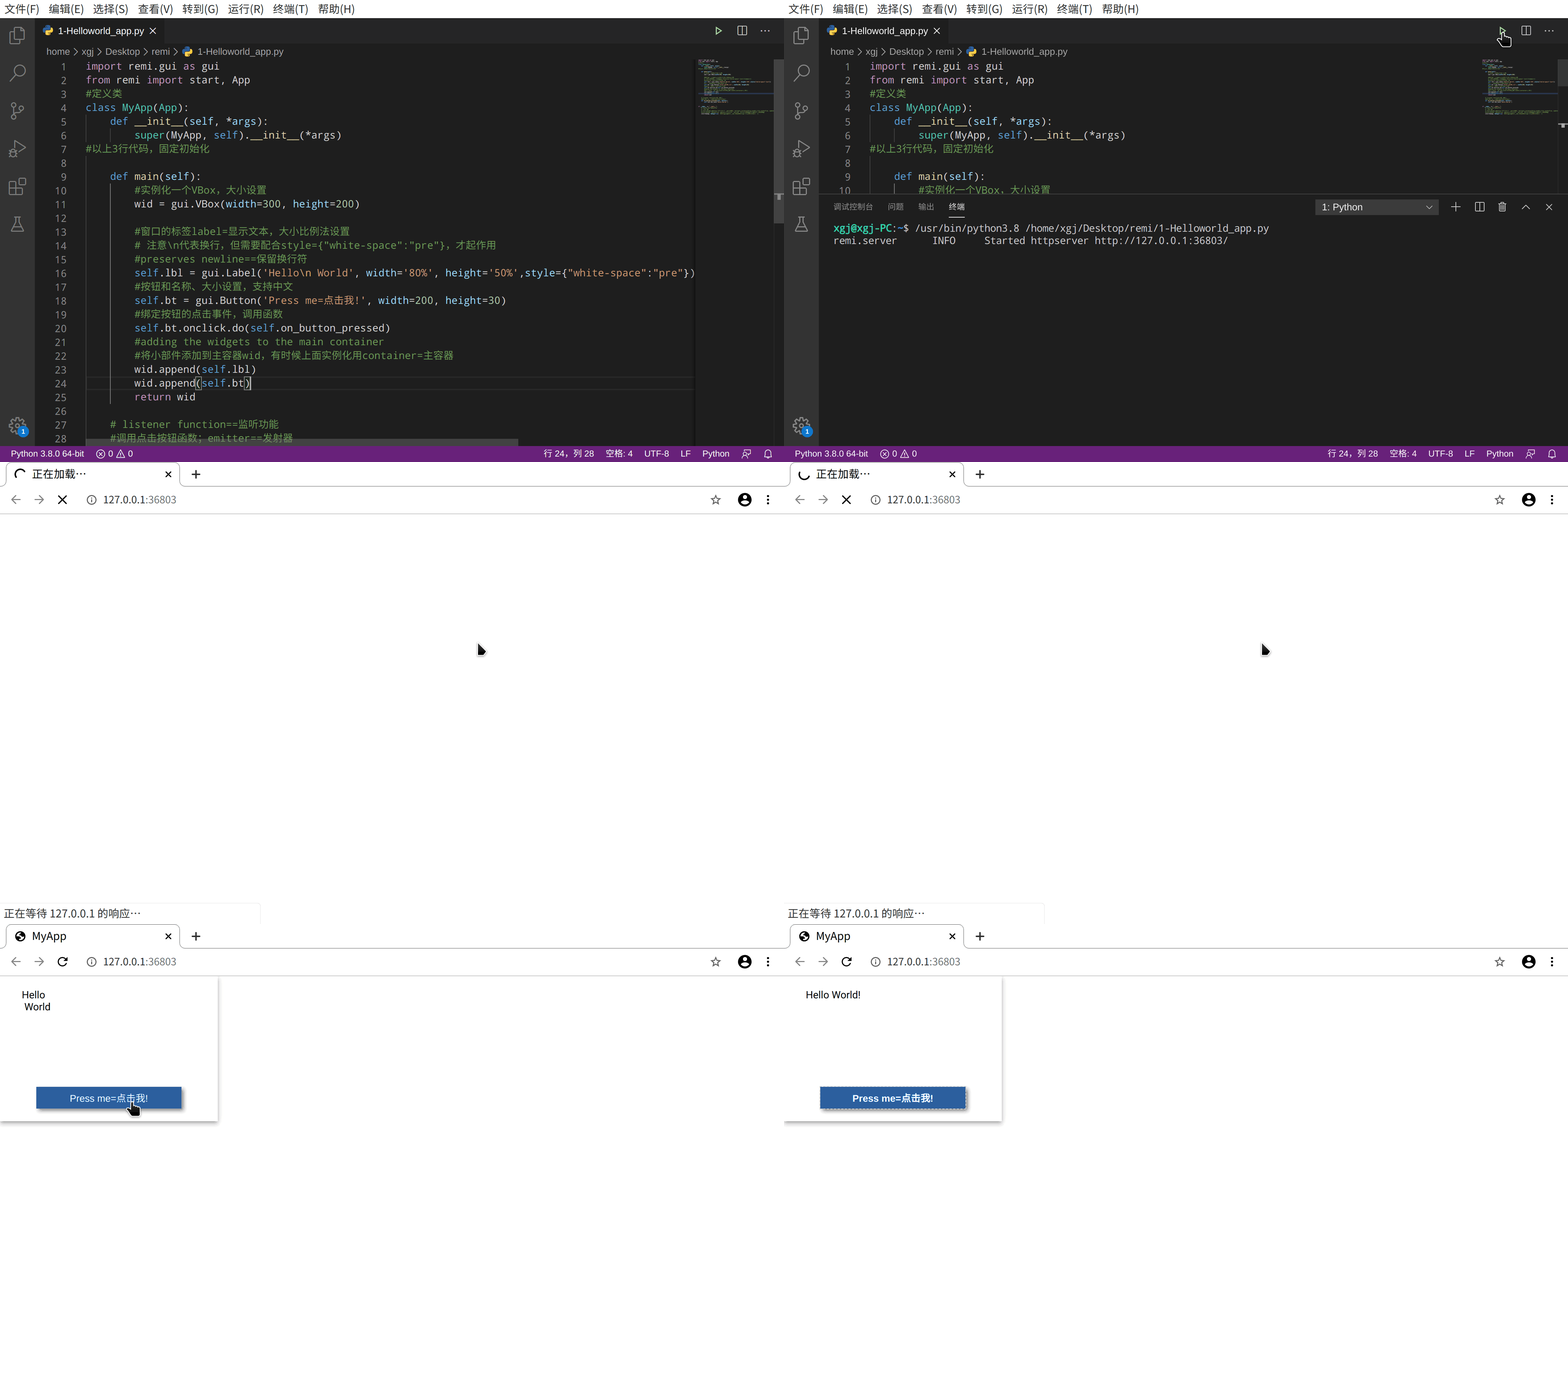
3.1 代码:注释版
import remi.gui as guifrom remi import start, App#定义类class MyApp(App): def __init__(self, *args): super(MyApp, self).__init__(*args)#以上3行代码,固定初始化 def main(self): #实例化一个VBox,大小设置 wid = gui.VBox(width=300, height=200) #窗口的标签label=显示文本,大小比例法设置 # 注意代表换行,但需要配合style={"white-space":"pre"},才起作用 #preserves newline==保留换行符 self.lbl = gui.Label('Hello World', width='80%', height='50%',style={"white-space":"pre"}) #按钮和名称、大小设置,支持中文 self.bt = gui.Button('Press me=点击我!', width=200, height=30) #绑定按钮的点击事件,调用函数 self.bt.onclick.do(self.on_button_pressed) #adding the widgets to the main container #将小部件添加到主容器wid,有时候上面实例化用container=主容器 wid.append(self.lbl) wid.append(self.bt) return wid # listener function==监听功能 #调用点击按钮函数;emitter==发射器 def on_button_pressed(self, emitter): self.lbl.set_text('Hello World!') if __name__ == "__main__": # starts the webserver # 主要参数 # start(MyApp,address='127.0.0.1', port=8081, multiple_instance=False,enable_file_cache=True, update_interval=0.1, start_browser=True) #start(MyApp, debug=True, address='0.0.0.0', port=0) #本机测试地址改动无效,为默认地址 start(MyApp, debug=True) #端口指定无效,也不是默认8081,估计本机端口已经被占用3.2 操作和效果:
4 Bootstrap:
=========
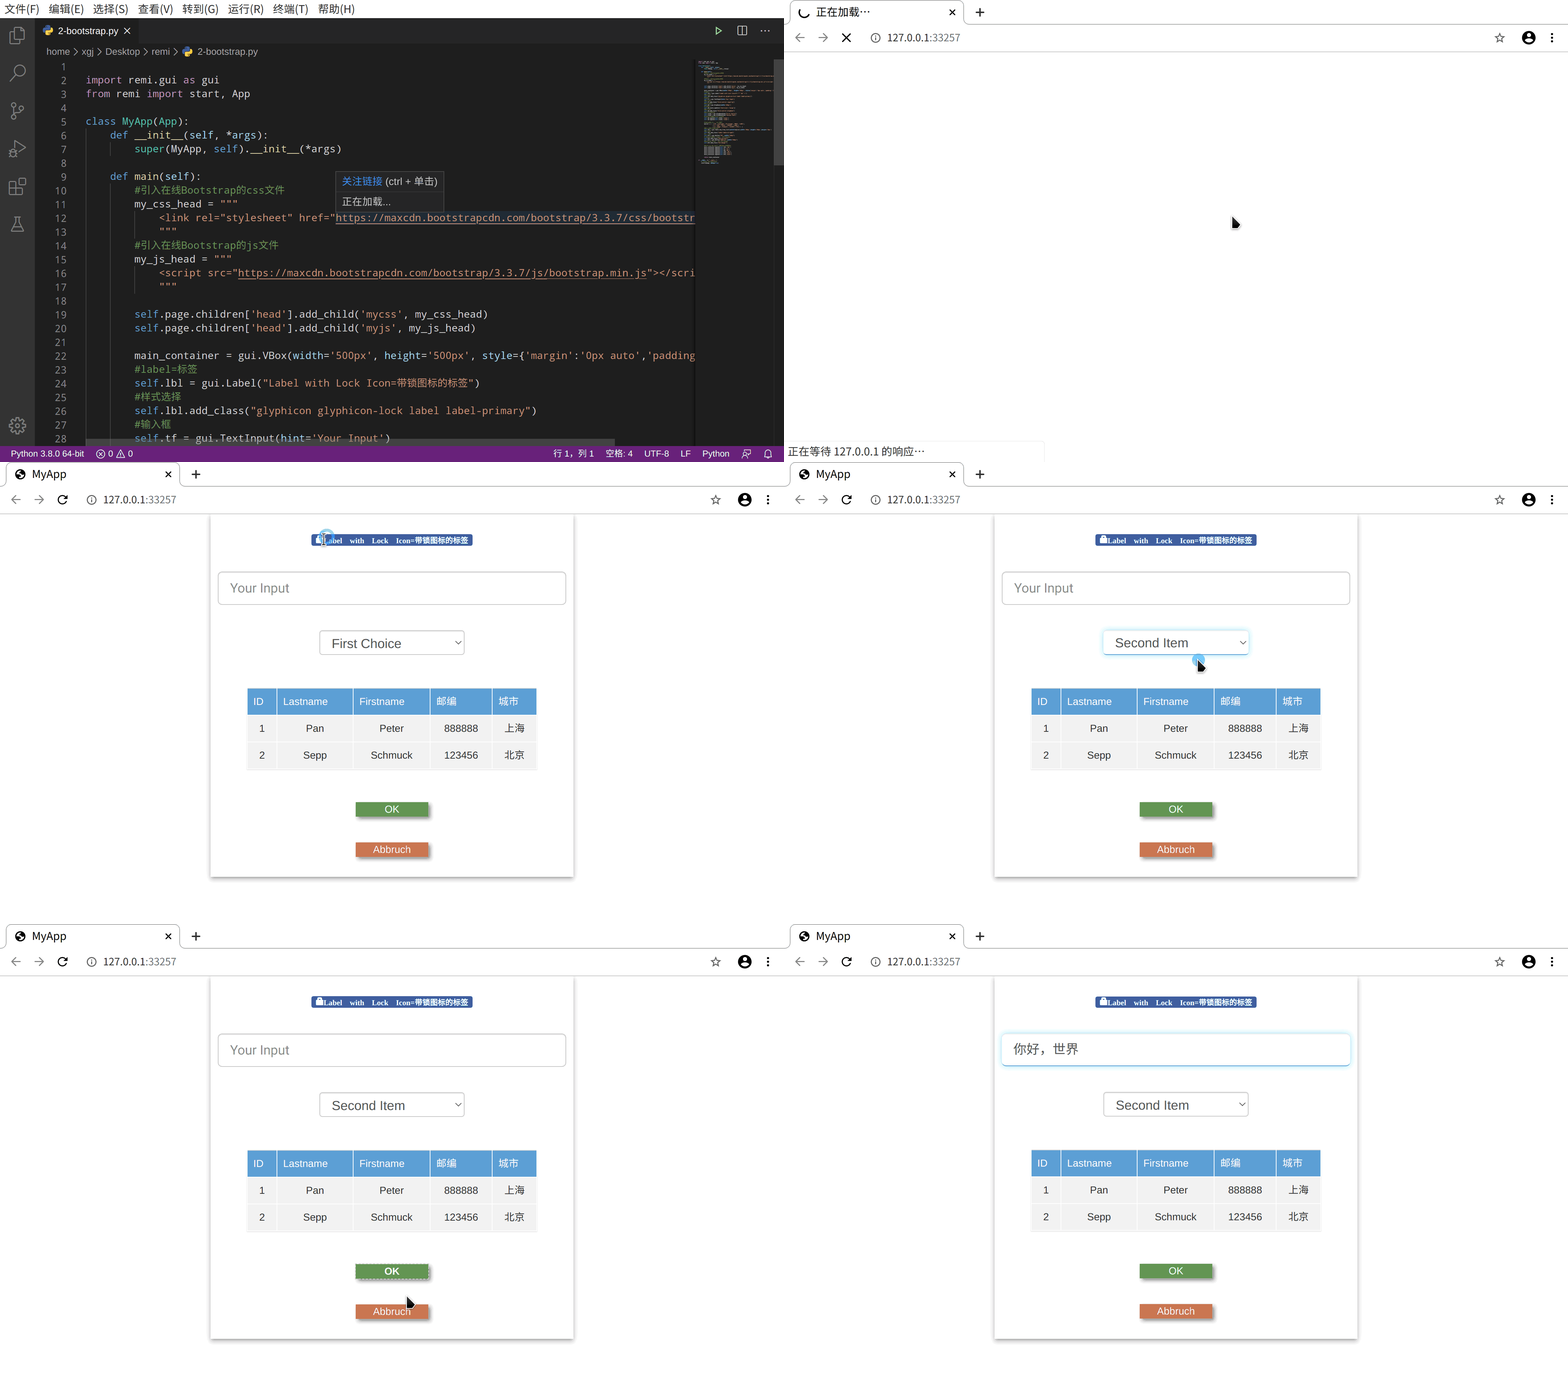
4.1 代码:bootstrap.py
import remi.gui as guifrom remi import start, Appclass MyApp(App): def __init__(self, *args): super(MyApp, self).__init__(*args) def main(self): #引入在线Bootstrap的css文件 my_css_head = """ """ #引入在线Bootstrap的js文件 my_js_head = """ """ self.page.children['head'].add_child('mycss', my_css_head) self.page.children['head'].add_child('myjs', my_js_head) #主窗口实例化,定义大小和样式 main_container = gui.VBox(width='500px', height='500px', style={'margin':'0px auto','padding':'10px'}) #label=标签 self.lbl = gui.Label("Label with Lock Icon=带锁图标的标签") #样式选择 self.lbl.add_class("glyphicon glyphicon-lock label label-primary") #输入框 self.tf = gui.TextInput(hint='Your Input') #样式选择 self.tf.add_class("form-control input-lg") #下拉选择框 self.dd = gui.DropDown(width='200px') #字体大小 self.dd.style.update({'font-size':'large'}) #样式选择 self.dd.add_class("form-control dropdown") #下拉框内容选择 self.item1 = gui.DropDownItem("First Choice") self.item2 = gui.DropDownItem("Second Item") #定义self的功能,目前未定义 self.dd.append(self.item1,'item1') self.dd.append(self.item2,'item2') #Table=表格,第一个是表头 myList = [ ('ID','Lastname','Firstname','邮编','城市'), ('1','Pan','Peter','888888','上海'), ('2','Sepp','Schmuck','123456','北京') ] #表格设置,内容,大小 self.tbl = gui.Table.new_from_list(content=myList,width='400px',height='100px',margin='10px') #样式选择 self.tbl.add_class("table table-striped") #按钮设置 self.bt1 = gui.Button("OK", ) #是Bootstrap样式 Class: btn-success self.bt1.add_class("btn-success") self.bt2 = gui.Button("Abbruch",) #Bootstrap Class: btn btn-danger self.bt2.add_class("btn-danger") #Build up the gui,主窗口挂载下面项目 main_container.append(self.lbl,'lbl') main_container.append(self.tf,'tf') main_container.append(self.dd,'dd') main_container.append(self.tbl,'tbl') main_container.append(self.bt1,'btn1') main_container.append(self.bt2,'btn2') return main_container if __name__ == "__main__": # starts the webserver start(MyApp, debug=True)4.2 操作和效果图:
5 tabbox:
=======
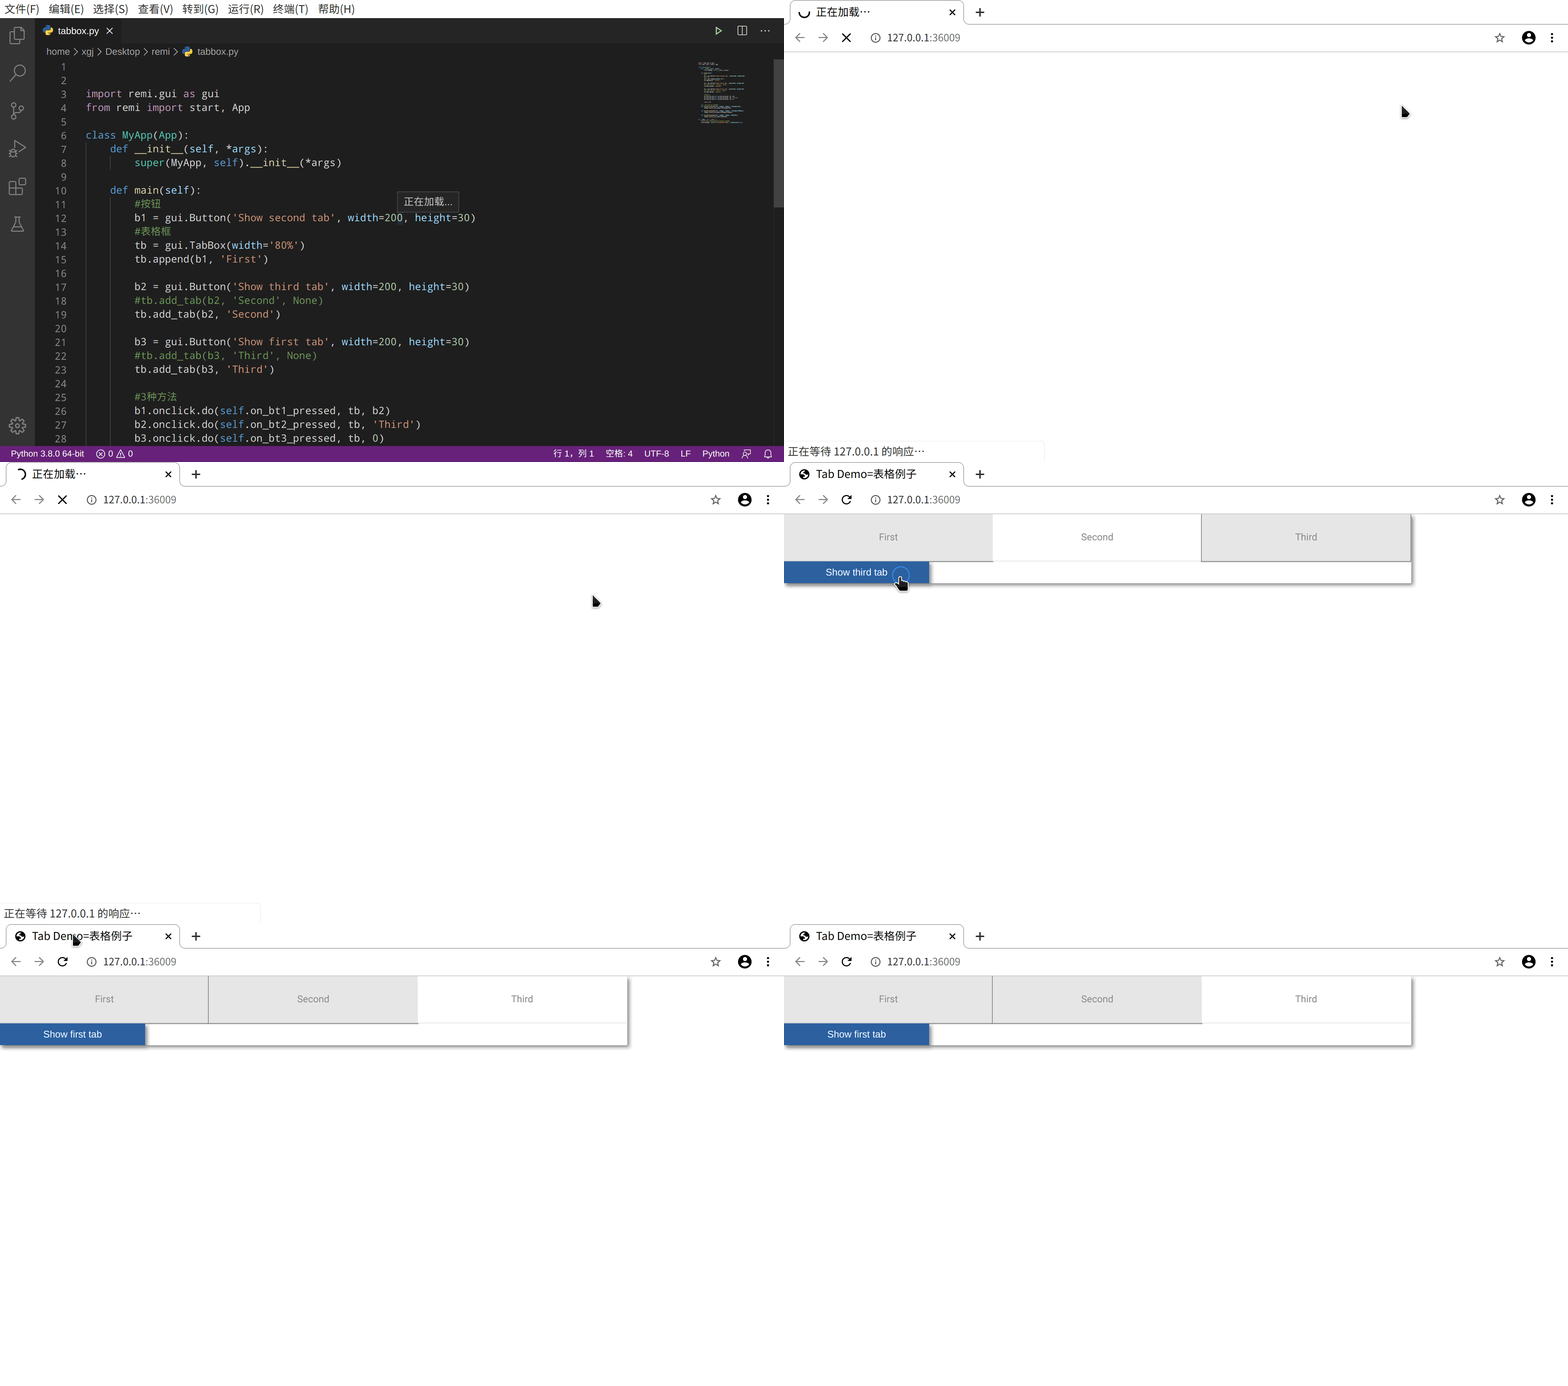
5.1 代码:
import remi.gui as guifrom remi import start, Appclass MyApp(App): def __init__(self, *args): super(MyApp, self).__init__(*args) def main(self): #按钮 b1 = gui.Button('Show second tab', width=200, height=30) #表格框 tb = gui.TabBox(width='80%') tb.append(b1, 'First') b2 = gui.Button('Show third tab', width=200, height=30) #tb.add_tab(b2, 'Second', None) tb.add_tab(b2, 'Second') b3 = gui.Button('Show first tab', width=200, height=30) #tb.add_tab(b3, 'Third', None) tb.add_tab(b3, 'Third') #3种方法 b1.onclick.do(self.on_bt1_pressed, tb, b2) b2.onclick.do(self.on_bt2_pressed, tb, 'Third') b3.onclick.do(self.on_bt3_pressed, tb, 0) return tb #按钮功能的定义,3种功能 def on_bt1_pressed(self, widget, tabbox, refWidgetTab): tabbox.select_by_widget(refWidgetTab) def on_bt2_pressed(self, widget, tabbox, refWidgetTabName): tabbox.select_by_name(refWidgetTabName) def on_bt3_pressed(self, widget, tabbox, tabIndex): tabbox.select_by_index(tabIndex)if __name__ == "__main__": #网页标题,standalone=False默认是不允许 start(MyApp, , standalone=False)5.2 操作和效果图:
6standalone:
======
6.1 代码: mian.py
from remi import start, App#将 bootstrap.py脚本放在本代码mian.py同一个目录下from bootstrap import MyAppif __name__ == "__main__": start(MyApp, standalone=True)6.2 代码:bootstrap.py=4.1所指定代码:
6.3 注意启动网页服务器默认为不启动(false),需要启动则为standalone=True。
6.4 操作和效果图:
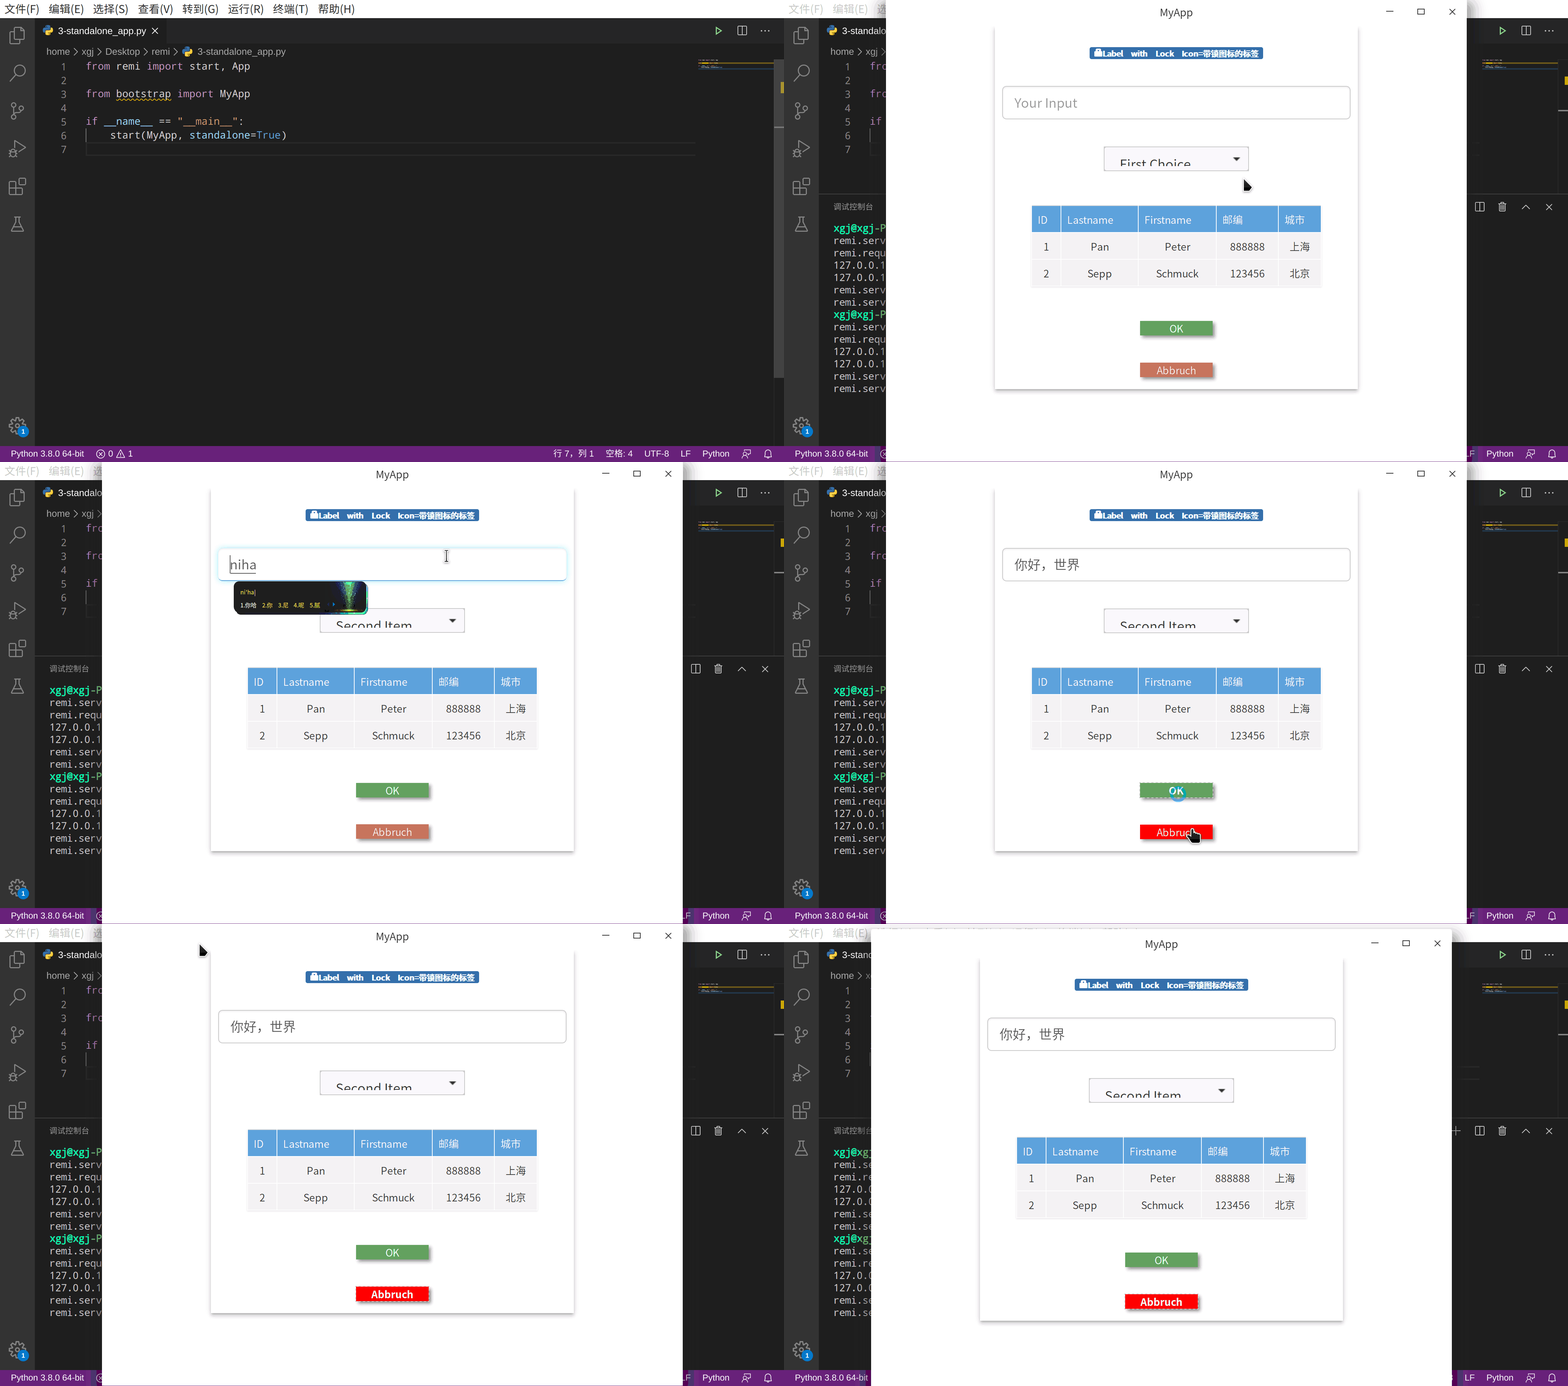
把web网页变成一个app的GUI
7 附一张gif:
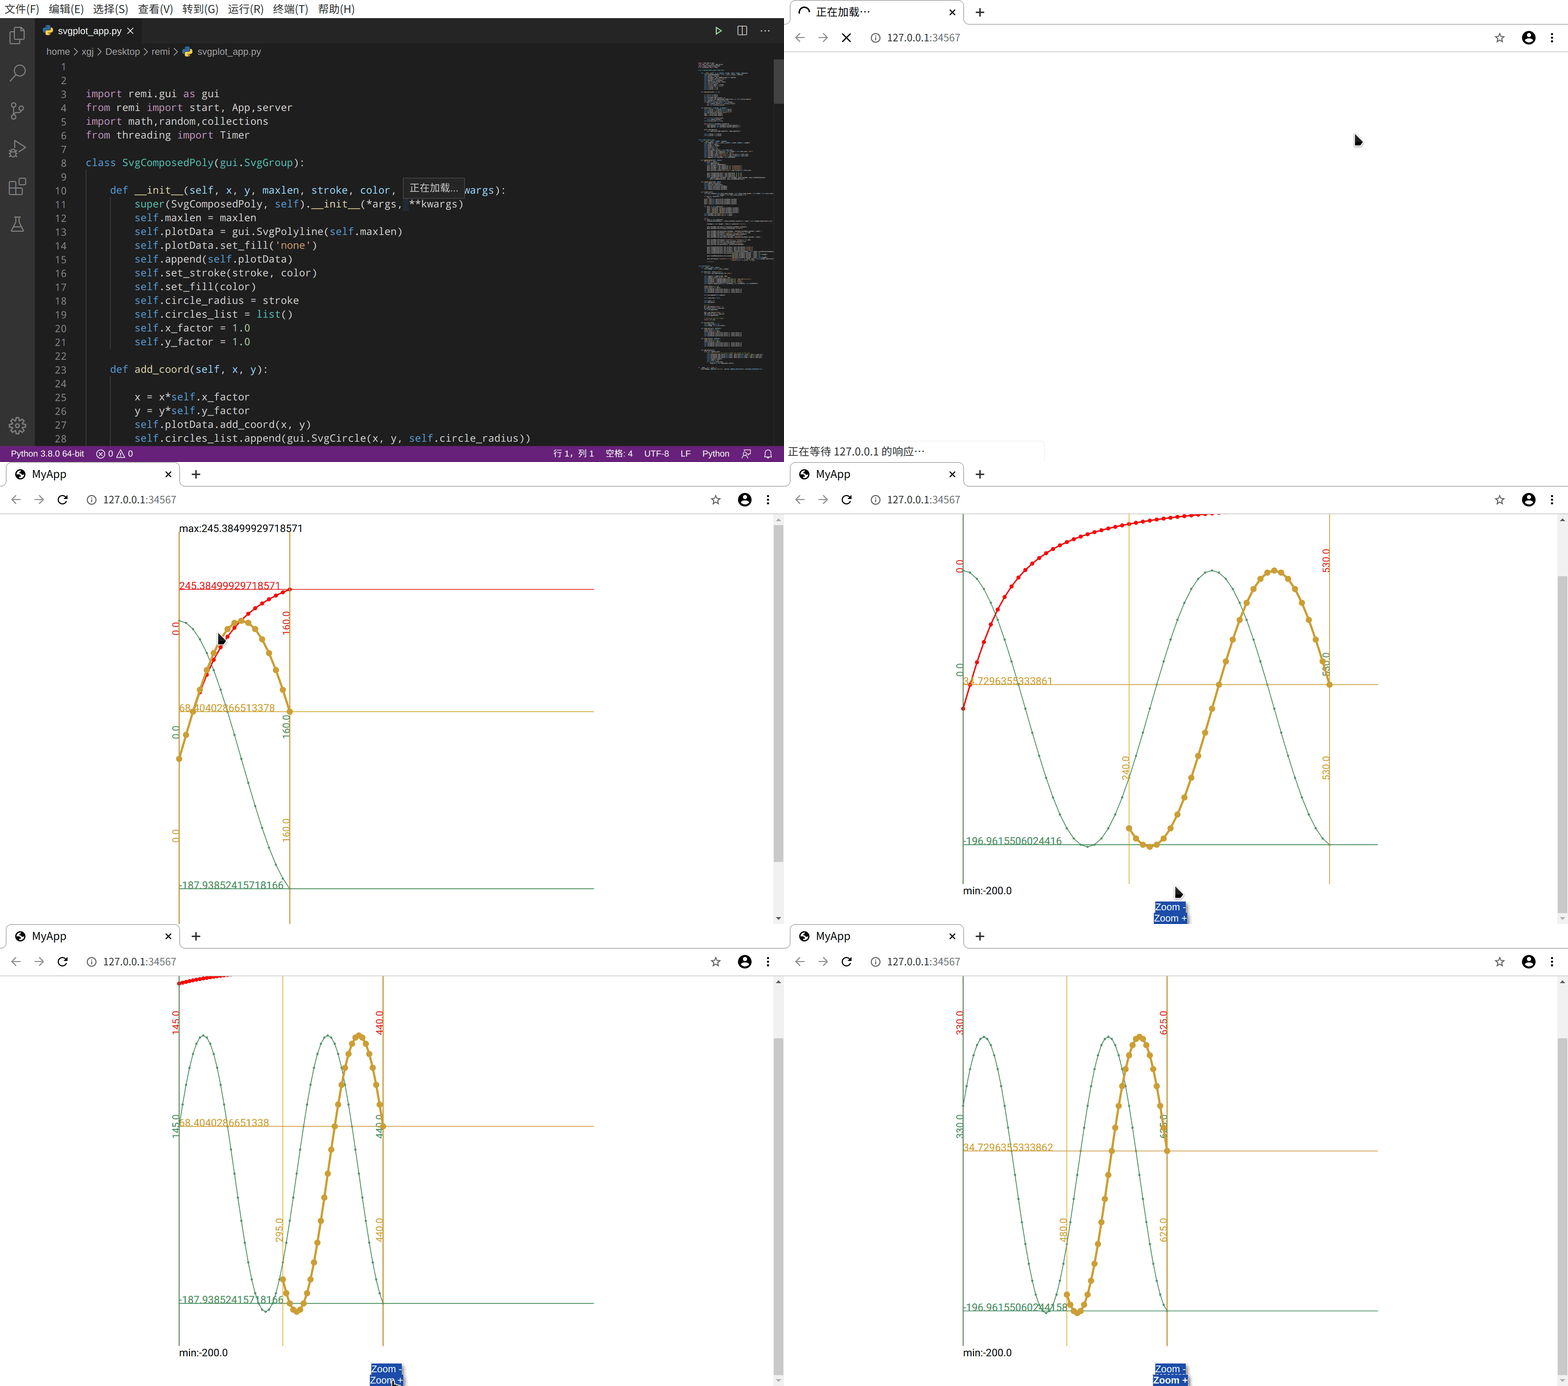
代码省略
===自己整理并分享===
喜欢的人,可以点赞、关注、评论、转发和收藏。


 2359
2359

 被折叠的 条评论
为什么被折叠?


