


 本文详细介绍了如何在服务器上安装和配置Jupyter Notebook,包括通过conda和pip命令安装,设置允许远程访问的配置,并指定端口。接着,展示了在本地PyCharm专业版中配置连接远程Jupyter Notebook的步骤,确保能正常运行代码。此外,还提供了直接通过浏览器访问Jupyter Notebook的方法,以及所需输入的IP地址和密码。
本地pycharm professional版本
服务器: 安装jupyter notebook(conda命令,pip命令)pip install -U jupyter
pycharm 已经远程连接服务器
1.服务器jupyter 配置:
 jupyter notebook --generate-config
 jupyter notebook password
 vim ~/.jupyter/jupyter_notebook_config.py
修改配置文件:找到下面的代码并取消注释,修改成以下格式(实在找不到可以直接添加)
c.NotebookApp.allow_root = True
c.NotebookApp.ip = '0.0.0.0'
c.NotebookApp.open_browser = False
c.NotebookApp.port = 8888
或者用这个配置也可以
c.NotebookApp.port = 8888 +
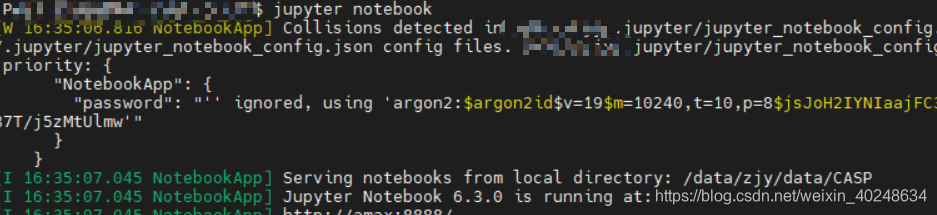
服务器端口启动jupyter notebook
jupyter notebook
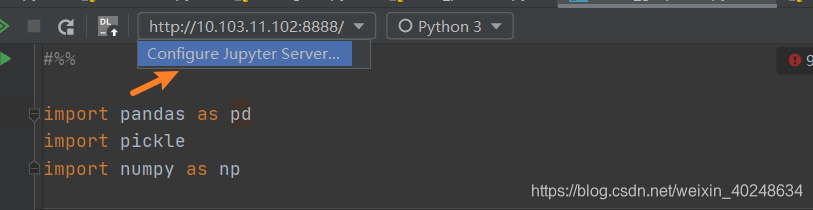
2.本地pycharm配置jupyter notebook
新建jupyter notebook文件
点击下图的位置进行配置
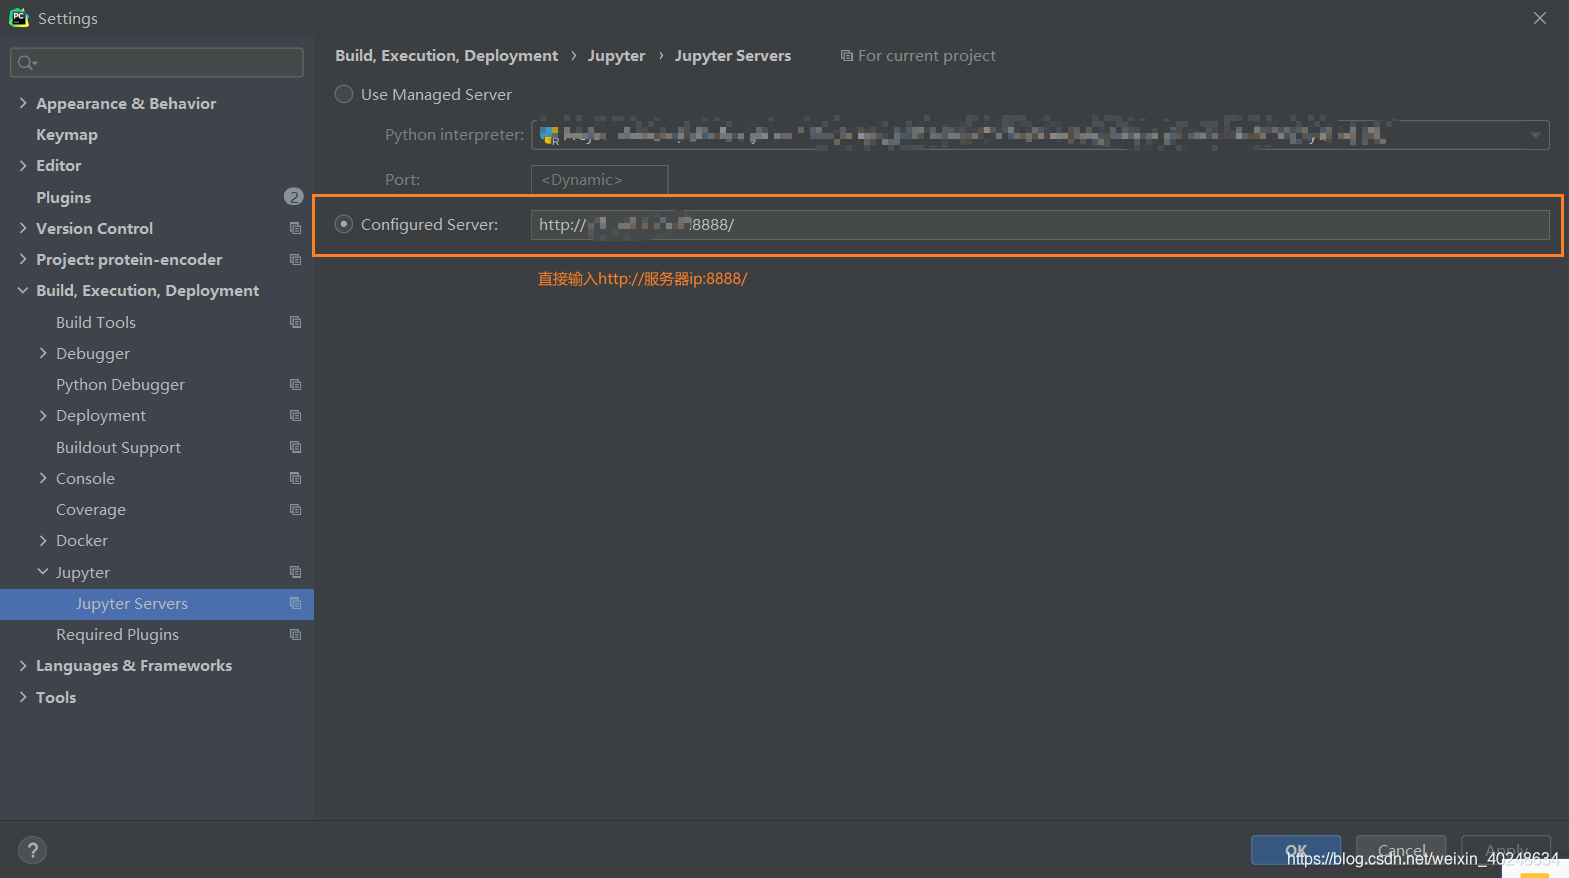
按下图配置,方框里填的是第1步中查看的jupyter notebook的IP地址。把用户名换成服务器的IP地址。
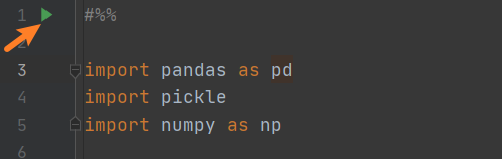
3.写代码测试运行
点击run cell,显示运行成功!
3. 如果不想用pycharm ,可以直接使用浏览器
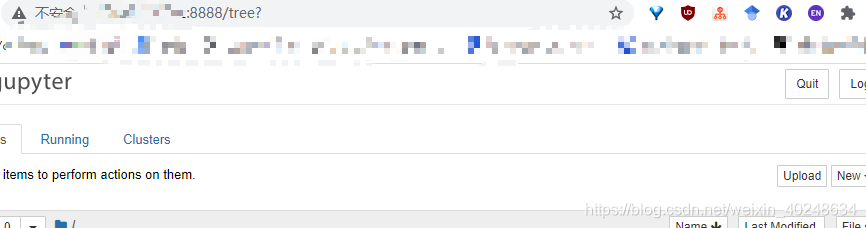
在浏览器中输入http://服务器ip:8888
然后输入上面设置的jupyter 的密码就可以。
参考:https://blog.csdn.net/Void_worker/article/details/101199850
https://blog.csdn.net/MrR1ght/article/details/98227629


 1830
1830


 到【灌水乐园】发言


