


提示:文章写完后,目录可以自动生成,如何生成可参考右边的帮助文档
前言
three.js的文档和官网链接
由于公司要求,所有接触three.js,初次学习,希望有所收获!
一、学习视频
二、一些基础知识
0. 准备工作
我们需要用webpack,vite等搭建项目,还有要用node,以及安装的依赖

{
  "name": "threejs-journey-exercise",
  "private": true,
  "version": "0.0.0",
  "type": "module",
  "scripts": {
    "dev": "vite",
    "build": "vite build"
  },
  "devDependencies": {
    "vite": "^4.0.4"
  },
  "dependencies": {
    "three": "^0.148.0"
  }
}
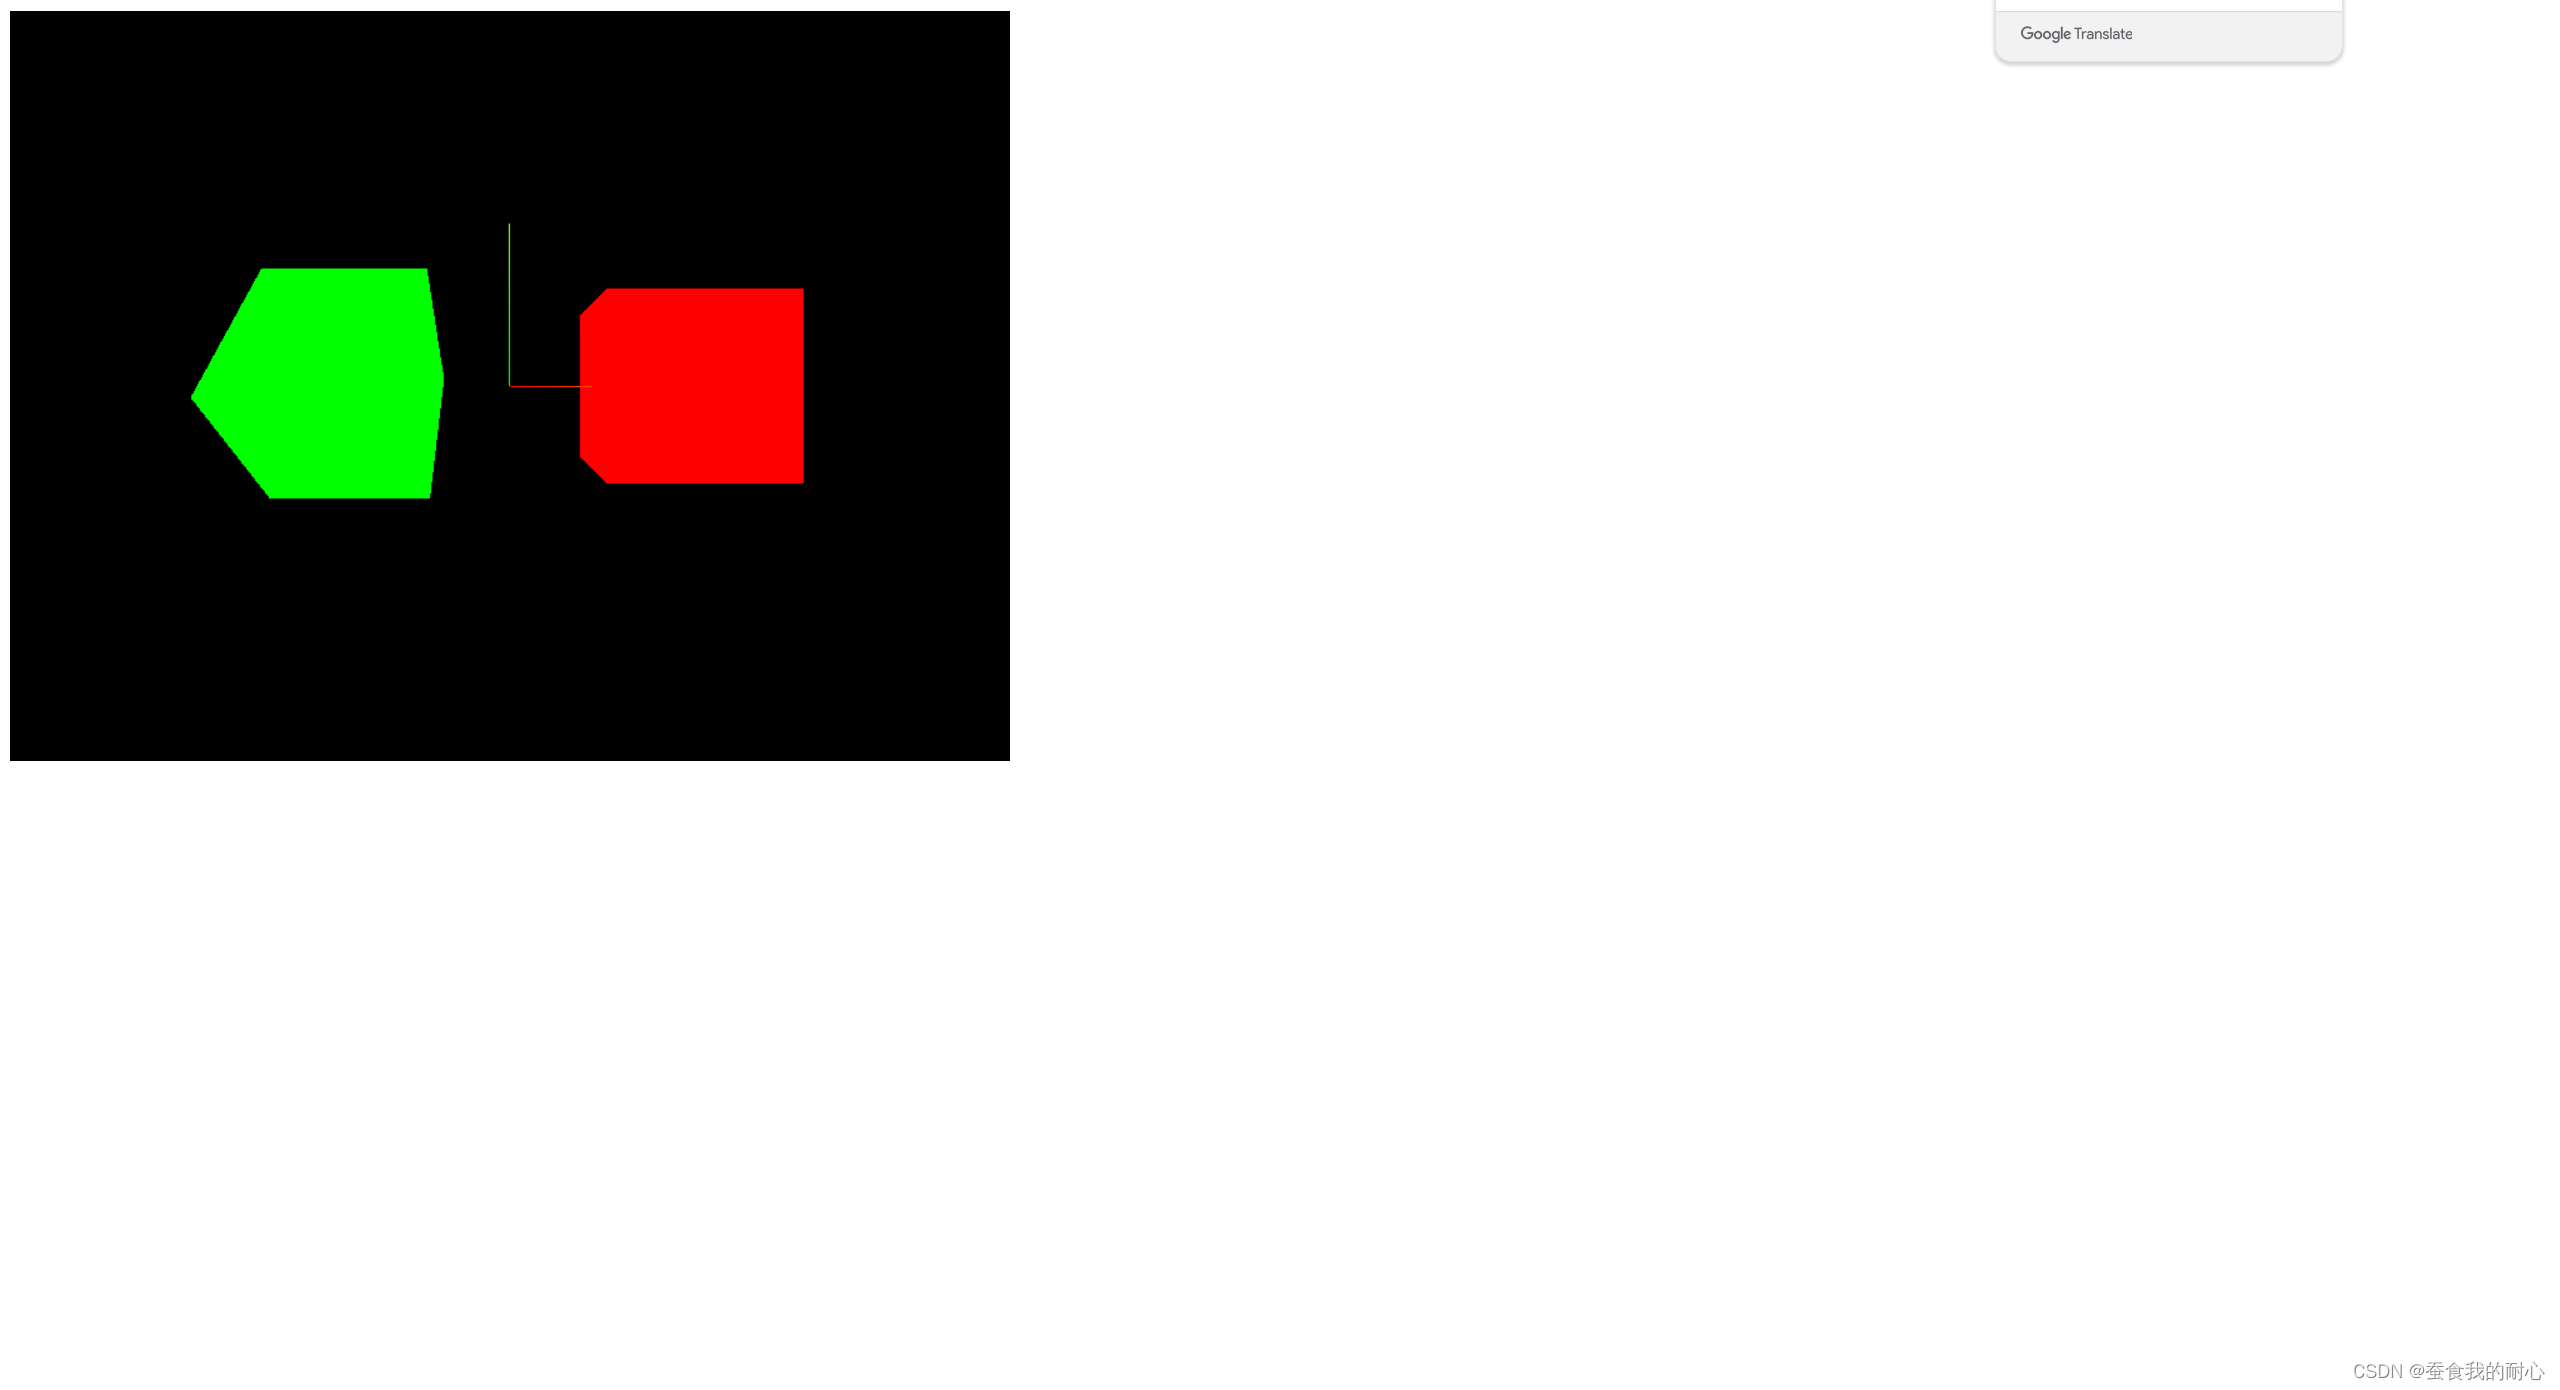
1. 案例 红色立方体
关于红色立方体所引出的概念,场景,中心轴等
script部分
// import
import * as THREE from 'three'
// Scene
const scene = new THREE.Scene()

// Axes Helper  参数 是数值
const axesHelper = new THREE.AxesHelper()
scene.add(axesHelper)

/*
    Object 组
*/
const group = new THREE.Group()
scene.add(group)

const cube1 = new THREE.Mesh(
    new THREE.BoxGeometry(),
    new THREE.MeshBasicMaterial({color:'#ff0000'})
)
cube1.position.x = 1
group.add(cube1)

const cube2 = new THREE.Mesh(
    new THREE.BoxGeometry(),
    new THREE.MeshBasicMaterial({color:'#00ff00'})
)
cube2.position.x = -1
cube2.rotateX(15)
group.add(cube2)


// const cube2 = new THREE.Mesh(
//     new THREE.BoxGeometry(),
//     new THREE.MeshBasicMaterial({color:'#00ff00'})
// )
// cube2.position.x = -1
// group.add(cube2)

/* ----------mesh网格-------------- */

// // cube
// const geometry = new THREE.BoxGeometry(1,1,1)
// const material = new THREE.MeshBasicMaterial({color:'#ff0000'})
// const mesh = new THREE.Mesh(geometry,material)
// scene.add(mesh)

// /*
//     Position
// */
// // mesh.position.x = 0.7
// // mesh.position.y = -0.6
// // mesh.position.z = 1
// // mesh.position.normalize();
// // console.log(mesh.position.length())  // 物体距离网格的距离 // normalize设置时将会得到控制台网格距离 且是1
// // console.log(mesh.position.distanceTo(new THREE.Vector3(0,1,2))) // 物体距离相机距离
// mesh.position.set(0.7,0,1)


// /*
//     Scale 刻度
// */
// // mesh.scale.x = 0.1
// // mesh.scale.y = 0.1
// // mesh.scale.z = 0.1
// mesh.scale.set(1,0.5,0.1)

// /*
//     ratation 旋转 x 向我旋转 y 逆时针旋转
//     Math.PI = Π = 3.14159.. 旋转半圆
//     注意旋转的顺序,若x转Π,则y轴线会变换,不是垂直向上
// */
// mesh.rotation.reorder('XYZ') // reorder 定义旋转的顺序
// mesh.rotation.x = Math.PI * 0.25
// mesh.rotation.y = Math.PI * 0.25


/* ------------------- */


// camera
const sizes = {
    width:'800',
    height:'600'
}
const camera = new THREE.PerspectiveCamera(75,sizes.width/sizes.height)
// camera.position.y = 1
// camera.position.y = 1
camera.position.z = 3

scene.add(camera)
// 摄像机视角
// camera.lookAt(new THREE.Vector3(3,0,0)) // 直面网格中间 (重点)
// camera.lookAt(mesh.position) // 直面立方体,

// renderer
const canvas = document.querySelector('.webgl')
const renderer = new THREE.WebGLRenderer({
    canvas:canvas
})

renderer.setSize(sizes.width,sizes.height)
renderer.render(scene,camera)
html部分
<!DOCTYPE html>
<html lang="en">
<head>
    <meta charset="UTF-8">
    <meta http-equiv="X-UA-Compatible" content="IE=edge">
    <meta name="viewport" content="width=device-width, initial-scale=1.0">
    <title>05-Transform Objects</title>
</head>
<body>
    <canvas class="webgl"></canvas>
    <script type="module" src="./script.js"></script>
    <script type="module" src="./style.css"></script>
</body>
</html>
css部分,目前无代码
效果
总结
three.js引入了很多的概念和新的方法,需要有一个收悉的过程!


 1100
1100


 被折叠的 条评论
为什么被折叠?
被折叠的 条评论
为什么被折叠?
 到【灌水乐园】发言


