


环境说明
Java JDK 1.8、Spring boot 2.1.6、Apache CXF 3.1.6
POM依赖
<dependencies>
    <dependency>
        <groupId>org.springframework.boot</groupId>
        <artifactId>spring-boot-starter-web</artifactId>
        <version>2.1.6</version>
    </dependency>
    <dependency>
        <groupId>org.apache.cxf</groupId>
        <artifactId>cxf-rt-frontend-jaxws</artifactId>
        <version>3.1.6</version>
    </dependency>
    <dependency>
        <groupId>org.apache.cxf</groupId>
        <artifactId>cxf-rt-transports-http</artifactId>
        <version>3.1.6</version>
    </dependency>
</dependencies>
服务端
webService接口
使用@WebService声明式注解声明这是一个webService接口,并设置:
- name:服务名称
- targetNamespace:命名空间,通常是接口的包名倒序
注解@WebMethod是声明接口方法,可以通过operationName为接口方法设置别名,默认是方法名。
此外他还有一个参数exclude,为true时则忽略该方法作为webService接口方法,默认为false。
import javax.jws.WebMethod;
import javax.jws.WebParam;
import javax.jws.WebResult;
import javax.jws.WebService;

@WebService(name = "TestService",
            targetNamespace = "http://server.dandelion.com")
public interface TestService {
    @WebMethod(operationName="getData")
    @WebResult(targetNamespace = "http://server.dandelion.com")
    String execute(@WebParam(name = "action") String action, @WebParam(name = "msg") String msg);
}
创建了webService接口TestService,其中方法execute有两个参数分别为action和msg,用注解@WebParam进行声明。
接口实现
创建接口实现类TestServiceImpl实现TestService接口,其中endpointInterface为webService接口的路径。
import javax.jws.WebService;

@WebService(serviceName = "TestService"
        targetNamespace = "http://server.dandelion.com",
        endpointInterface = "com.dandelion.server.TestService")
public class TestServiceImpl implements TestService{

    @Override
    public String execute(String action, String msg) {
        System.out.println(String.format("action: %s", action));
        System.out.println(String.format("msg: %s", msg));
        return "<root><code>1</code><msg>同步成功</msg></root>";
    }
}
注册接口
创建webService的配置类WebServiceConfig,将接口服务注入容器并进行发布。
import com.dandelion.server.TestServiceImpl;
import org.apache.cxf.Bus;
import org.apache.cxf.bus.spring.SpringBus;
import org.apache.cxf.jaxws.EndpointImpl;
import org.apache.cxf.transport.servlet.CXFServlet;
import org.springframework.boot.web.servlet.ServletRegistrationBean;
import org.springframework.context.annotation.Bean;
import org.springframework.context.annotation.Configuration;
import javax.xml.ws.Endpoint;
@Configuration
public class WebServiceConfig {
@Bean
public ServletRegistrationBean<CXFServlet> disServlet() {
ServletRegistrationBean<CXFServlet> servletRegistrationBean = new ServletRegistrationBean<>();
servletRegistrationBean.setServlet(new CXFServlet());
servletRegistrationBean.addUrlMappings("/webService/*");
return servletRegistrationBean;
}
@Bean(name = Bus.DEFAULT_BUS_ID)
public SpringBus springBus() {
return new SpringBus();
}
@Bean
public Endpoint endpoint(SpringBus springBus) {
EndpointImpl endpoint = new EndpointImpl(springBus, new TestServiceImpl());
endpoint.publish("/testService");
return endpoint;
}
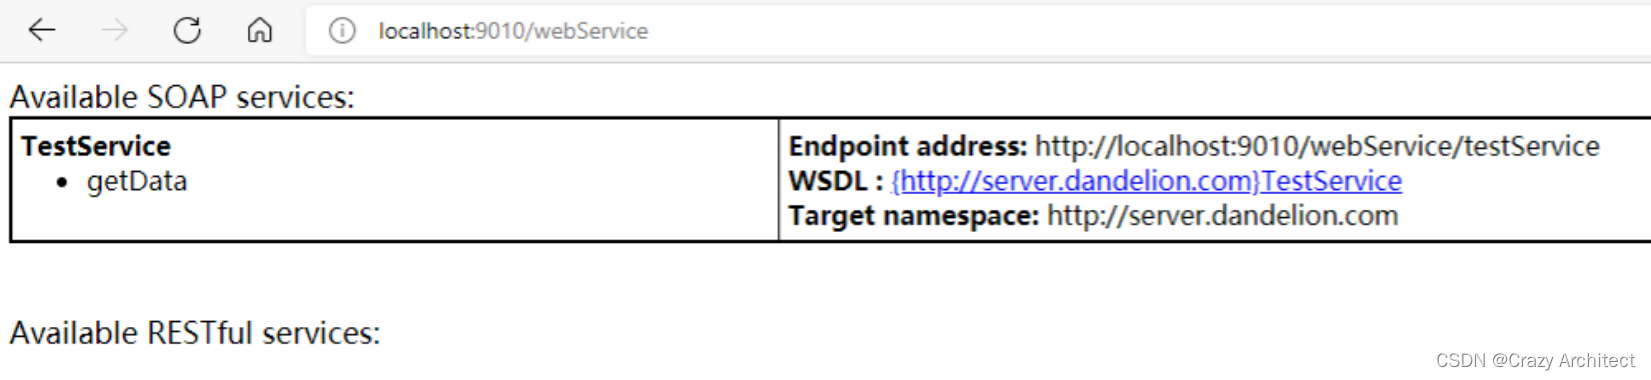
}项目启动效果:
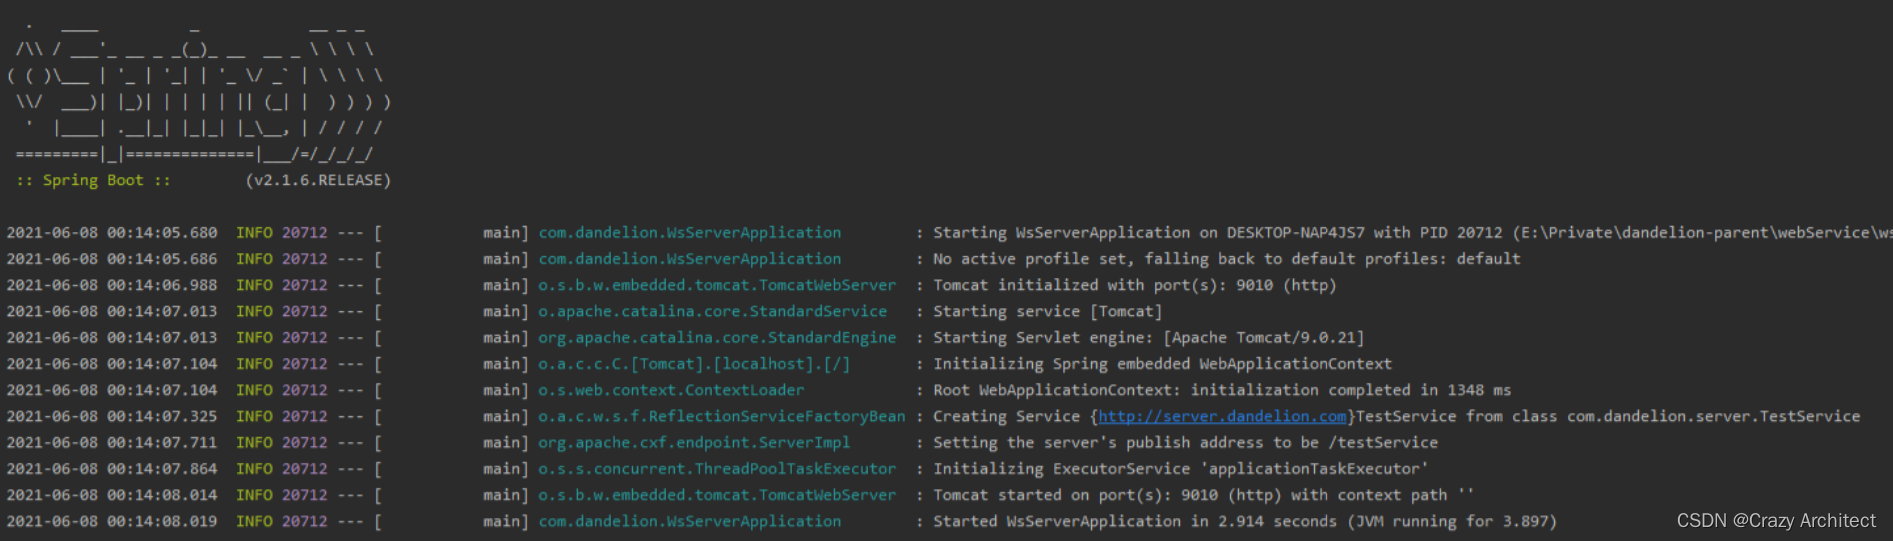
配置完成后启动项目,访问http://localhost:服务端口/webService,如下图所示说明创建webService服务成功。
WSDL文件:访问http://localhost:服务端口/webService/testService?wsdl

SoapUI测试

客户端
JAX动态调用WebService工具类
import org.apache.cxf.endpoint.Client;
import org.apache.cxf.jaxws.endpoint.dynamic.JaxWsDynamicClientFactory;

public class WsClientUtil {

    /**
     * 调用webservice服务
     * @param wsdUrl 服务地址
     * @param operationName 方法名称
     * @param params 参数
     * @return 服务响应结果
     */
    public static String callWebService(String wsdUrl, String operationName, Object... params){
        JaxWsDynamicClientFactory dcf = JaxWsDynamicClientFactory.newInstance();
        Client client = dcf.createClient(wsdUrl);
        try {
            Object[] objects = client.invoke(operationName, params);
            return objects[0].toString();
        } catch (Exception e) {
            e.printStackTrace();
        }
        return "";
    }
}
API测试
@RestController
@RequestMapping(value = "/client")
public class TestClientController {

    ClassLoader classLoader = Thread.currentThread().getContextClassLoader();

    @RequestMapping(value = "test")
    public String test(){
        //在获取连接之前 还原上下文
        Thread.currentThread().setContextClassLoader(classLoader);
        // 服务地址
        String url = "http://localhost:9010/webService/testService?wsdl";
        // 方法名称
        String methodName = "getData";
        // 参数1
        String action = "同步用户信息";
        // 参数2
        String msg = "<user><id>10012334223</id><name>蒲公英不是梦</name><sex>1</sex></user>";
        try {
            // 发起请求
            return WsClientUtil.callWebService(url, methodName, action, msg);
        } catch (Exception e) {
            return String.format("webService调用异常:%s", e.getMessage());
        }
    }
}
效果


 753
753


 被折叠的 条评论
为什么被折叠?
被折叠的 条评论
为什么被折叠?
 到【灌水乐园】发言


