


由于网上的教程大多数都比较古早,本人照着网上的教程配置安装环境遇到了许多版本问题,故作如下总结,希望后人可以少踩一些坑
本机环境:Ubuntu18.06LTS,Python3.7.5,VMWare Workstation 16Pro,XSHELL全家桶
Tips:从windows拷贝文件到ubuntu服务器上后需要对文件夹进行权限修改否则没办法对文件进行修改。
sudo chmod a+rwx -R 需要加权限的文件夹
(权限不够报错:PermissionError: [Errno 13] Permission denied)
①安装库
sudo apt-get update
sudo apt-get install libprotobuf-dev libleveldb-dev libsnappy-dev libopencv-dev libhdf5-serial-dev protobuf-compiler
sudo apt-get install --no-install-recommends libboost-all-dev
sudo apt-get install python-dev
sudo apt-get install libatlas-base-dev
sudo apt-get install libgflags-dev libgoogle-glog-dev liblmdb-dev
sudo apt-get install python-opencv
在命令窗输入python,假如打开的不是python3.6,
需要软连接python3.6到python
sudo ln -s /usr/bin/python3.6 /usr/bin/python
安装python的onnx库
pip install onnx
②安装caffe的源码
我曾经为了简单直接安装了caffe的python库(sudo apt install caffe-cpu)但是最后要改源码我找不到库在哪,最后卸了python的caffe库又安装了caffe的源码。如果不会git,或者使用git无法下载,可以自行去Github输入如下网址下载(毕竟Git代理和HTTP代理还是不一样的)
git clone git://github.com/BVLC/caffe.git
③修改caffe/Makefile.config这个文件
1.去掉CPU_ONLY :=1的注释
2.注释掉CUDA有关的行:
#CUDA_DIR := /usr/local/cuda
#CUDA_DIR := /usr
#CUDA_ARCH := ....
#TEST_GPUID := 0
3.去掉WITH_PYTHON_LAYER := 1的注释
4.修改有关Python配置(本机Python的一些路径):
PYTHON_LIBRARIES := boost_python3 python3.7m
PYTHON_INCLUDE := /usr/local/python3.7.5/include/python3.7m \
                 /usr/lib/python3/dist-packages/numpy/core/include
PYTHON_LIB := /usr/local/python3.7.5/lib
5.INCLUDE_DIRS和LIBRARY_DIRS 改成如下所示(别问,就这么写就行)
# Whatever else you find you need goes here.
INCLUDE_DIRS := $(PYTHON_INCLUDE) /usr/local/include /usr/include/hdf5/serial
LIBRARY_DIRS := $(PYTHON_LIB) /usr/local/lib /usr/lib usr/lib/x86_64-linux-gnu /usr/lib/x86_64-linux-gnu/hdf5/serial
④修改caffe/Makefile文件
1.opencv_core opencv_highgui opencv_imgproc opencv_imgcodecs
后面加入 opencv_imgcodecs
2. 找到LIBRARIES +=glog gflags protobuf boost_system boost_filesystem m hdf5_hl hdf5
更改最后两项为:
LIBRARIES +=glog gflags protobuf boost_system boost_filesystem m hdf5_serial_hl hdf5_serial
3.修改python版本
将
PYTHON_LIBRARIES := boost_python python2.7
改成
PYTHON_LIBRARIES := boost_python-py37
⑤添加Upsample层和permute层
caffe源码不支持这两个层所以需要添加。
如果不添加会报这个错
Traceback (most recent call last):
  File "convertCaffe.py", line 122, in <module>
    convertToCaffe(graph, opset_version, prototxt_path, caffemodel_path)
  File "convertCaffe.py", line 79, in convertToCaffe
    layers[id] = layer._to_proto()
  File "/home/ubuntu/ONNXToCaffe-master/MyCaffe.py", line 100, in _to_proto
    assign_proto(layer, k, v)
  File "/home/ubuntu/ONNXToCaffe-master/MyCaffe.py", line 29, in assign_proto
    is_repeated_field = hasattr(getattr(proto, name), 'extend')
AttributeError: permute_param
下载caffe_plus源码
git clone https://github.com/jnulzl/caffe_plus.git

#将caffe_plus/include/caffe/layers/upsample_layer.hpp
   caffe_plus/include/caffe/layers/permute_layer.hpp
#复制到caffe/include/caffe/layers/

#将caffe_plus/src/caffe/layers/upsample_layer.cpp
   caffe_plus/src/caffe/layers/upsample_layer.cu
   caffe_plus/src/caffe/layers/permute_layer.cpp
   caffe_plus/src/caffe/layers/permute_layer.cu
#复制到caffe/src/caffe/layers/
上述复制粘贴动作很简单,但一定要注意别整错了文件,命令行操作可以但是由于文件较多建议不要这样,最好是用图形化界面操作(如XFTP)
⑥ 修改caffe.proto文件
vim caffe/src/caffe/proto/caffe.proto
在optional WindowDataParameter window_data_param = 129;(约第423行)后增加代码:
optional PermuteParameter permute_param = 150;
optional UpsampleParameter upsample_param = 151;

在末尾增加代码:
message PermuteParameter {
  // The new orders of the axes of data. Notice it should be with
  // in the same range as the input data, and it starts from 0.
  // Do not provide repeated order.
  repeated uint32 order = 1;
}
message UpsampleParameter {
	optional int32 height = 1 [default = 32];
	optional int32 width = 2 [default = 32];
	optional int32 height_scale = 3 [default = 2];
	optional int32 width_scale = 4 [default = 2];
	enum UpsampleOp {
		NEAREST = 0;
		BILINEAR = 1;
	}
	optional UpsampleOp mode = 5 [default = BILINEAR];
}
⑥编译caffe源码
cd caffe
sudo make all -j16
sudo make test -j16
sudo make runtest -j16
坑1:只要能编译成功all就可以了,题主在编译test和runtest的时候也是报错,但不影响使用
⑦pycaffe安装
安装依赖库
cd caffe/python
for req in $(cat requirements.txt); do pip3 install $req; done
添加 PYTHONPATH环境变量
vim /etc/profile
export PYTHONPATH=/home/XXX/caffe/python   # xxx为用户名
$ source /etc/profile
编译
在caffe目录下
sudo make pycaffe -j16
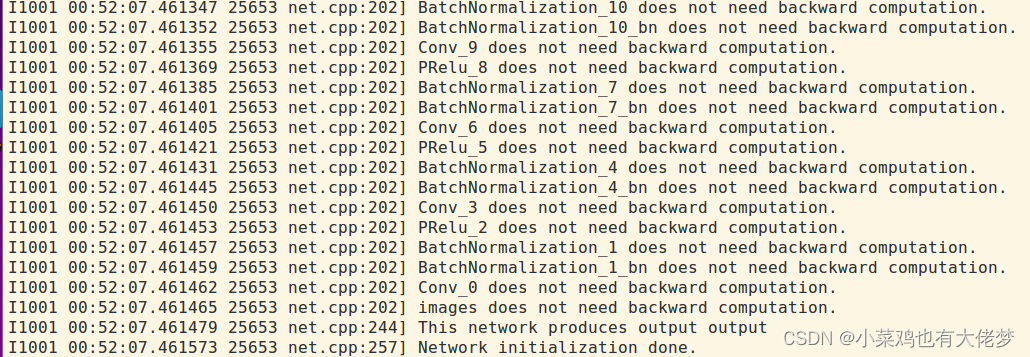
⑧caffe环境测试
admin@iZbp1j0uggzced8qupgb5rZ:~$ python
Python 3.6.9 (default, Jan 26 2021, 15:33:00)
[GCC 8.4.0] on linux
Type "help", "copyright", "credits" or "license" for more information.
>>> import caffe
>>>
坑2:报错如下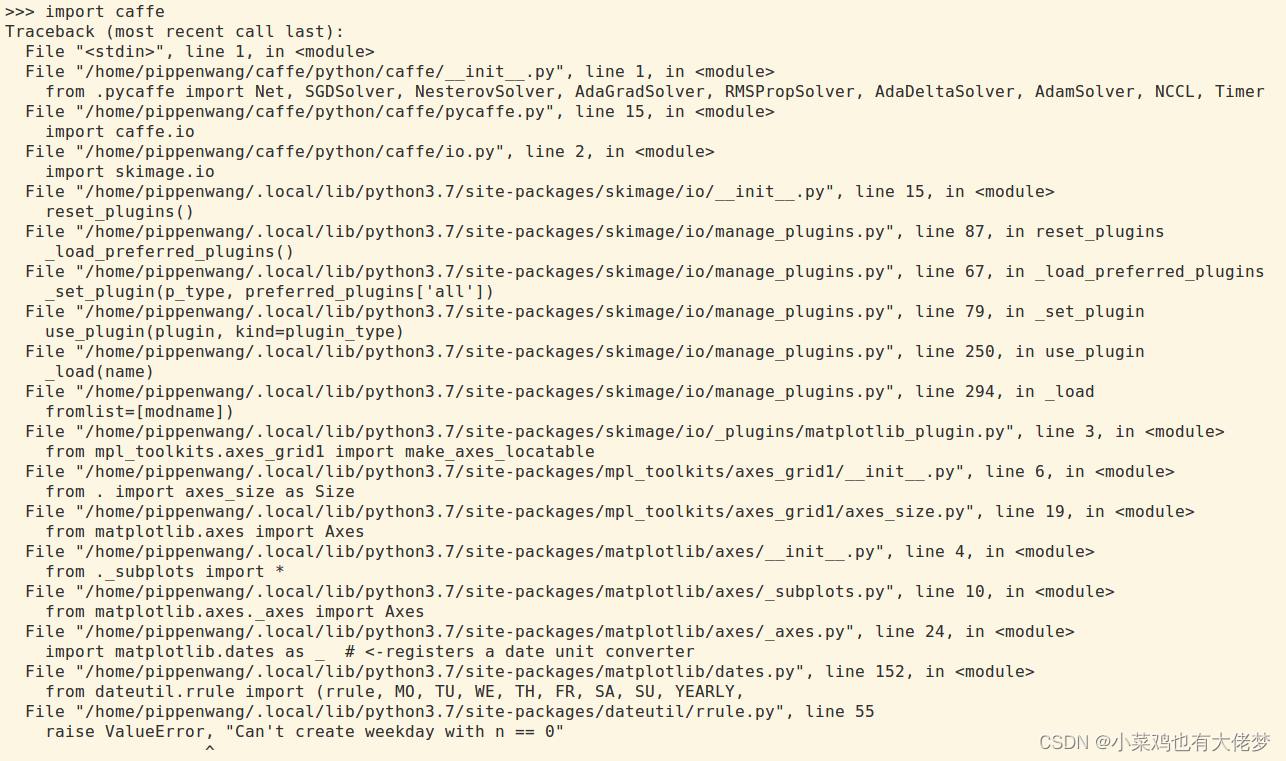
原因:python-dateutil版本过低导致的,千万别信网上说export这个那个的,这里踩大坑了。
解决方案:执行如下指令即可
pip3 install python-dateutil --upgrade

⑨onnx转caffe
这里我用到的onnx转caffe代码是: https://github.com/Wulingtian/yolov5_onnx2caffe
更改yolov5_onnx2caffe/convertCaffe.py
设置onnx_path(已有的onnx模型的路径,这里是用的自带测试模型)
prototxt_path(caffe的prototxt保存路径,这个是输出路径)
caffemodel_path(caffe的caffemodel保存路径,这个也是输出路径)
onnx_path = "/home/admin/code/yolov5_onnx2caffe/weights/yolov5s_sim.onnx"
prototxt_path = "/home/admin/code/yolov5_onnx2caffe/weights/yolov5s_sim.prototxt"
caffemodel_path = "/home/admin/code/yolov5_onnx2caffe/weights/yolov5s_sim.caffemodel"
运行python convertCaffe.py完成转换


 26万+
26万+

 被折叠的 条评论
为什么被折叠?
被折叠的 条评论
为什么被折叠?
 到【灌水乐园】发言


