


Vue Router 是Vue.js的官方路由器。它与 Vue.js 核心深度集成,使用 Vue.js 构建单页应用程序变得轻而易举
文章目录
前言
官方文档:https://router.vuejs.org/introduction.html
一、安装和创建router文件
首先我们先安装依赖:
npm install vue-router@4
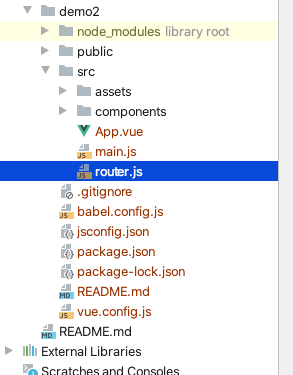
安装完成后在main.js文件同级创建router.js文件
图片如下(示例):
二、文件配置
1.main文件配置
代码如下(示例):
import {createApp} from 'vue'
import App from './App.vue'

// 引入 router
import router from './router'

// 使用
const app = createApp(App)
app.use(router).mount('#app')
2.router文件配置
import {createRouter, createWebHistory} from 'vue-router'

const routerHistory = createWebHistory()

import Vindex from './views/index/Vindex.vue'
import Vlogin from './views/login/Vlogin.vue'
// 定义路由
const routes = [
    {
        path: '/index',
        name: 'Vindex',
        component: Vindex
    },
    {
        path: '/login',
        name: 'Vlogin',
        component: Vlogin
    },
]

// 创建路由器
const router = createRouter({
    history: routerHistory,
    routes: routes
})


export default router;
3.vue文件创建
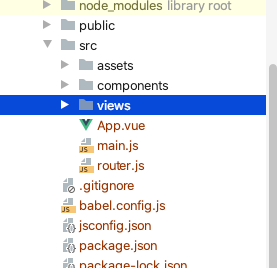
1.在src目录下创建 views 文件:
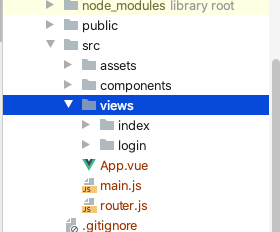
2.在views目录下创建 login、index 文件:
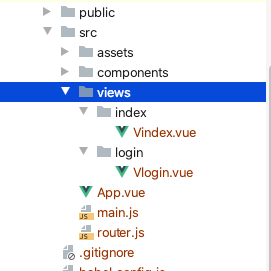
3.在 login、index 目录下创建 Vindex.vue、Vlogin.vue 文件:
Vindex.vue内容:
<template>
  <div>index</div>
</template>

<script>
export default {
name: "Vindex"
}
</script>

<style scoped>

</style>
Vlogin.vue内容:
<template>
  <div>login</div>
</template>

<script>
export default {
name: "Vlogin"
}
</script>

<style scoped>

</style>
4.vue.config.js 文件配置
lintOnSave: false
图片如下(示例):

5.App.vue 文件配置
<router-view></router-view>
图片如下(示例):

三、启动访问
1.直接访问域名无路由
url: http://192.168.4.223:8080/
图片如下(示例):

2.直接访问index路由
url: http://192.168.4.223:8080/index

3.直接访问login路由
url: http://192.168.4.223:8080/login

基础路由配置完成
我的小程序二维码


 3111
3111


 被折叠的 条评论
为什么被折叠?
被折叠的 条评论
为什么被折叠?
 到【灌水乐园】发言


