


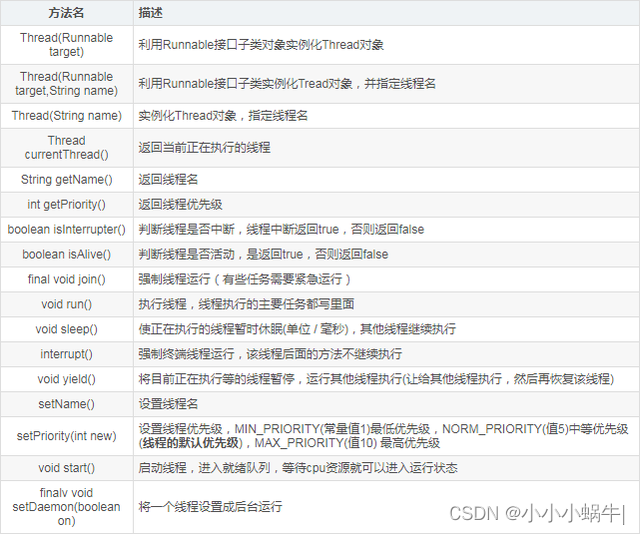
多线程的简介
Java多线程实现方式主要有四种:继承Thread类、实现Runnable接口、实现Callable接口通过FutureTask包装器来创建Thread线程、使用ExecutorService、Callable、Future实现有返回结果的多线程。
方式一:继承Thread类
1.定义子类继承Thread类。
2.子类中重写Thread类中的run方法。
3.创建Thread子类对象,即创建了线程对象。
4.调用线程对象start方法:启动线程,调用run方法
//1.定义子类继承Thread类
class HThread extends Thread {
    //2.子类中重写Thread类中的run方法。
    @Override
    public void run() {
        for (int i = 0; i < 100; i++) {
        //编写自己的线程代码
        System.out.println(Thread.currentThread().getName() + ":" + i);
        }
    }
}

public class ThreadTest {
    public static void main(String[] args) {
        //3.创建Thread子类对象,即创建了线程对象。
        HThread h1 = new HThread();
        HThread h2 = new HThread();
        //4.调用线程对象start方法:启动线程,调用run方法
        h1.start();
        h2.start();
    }
}
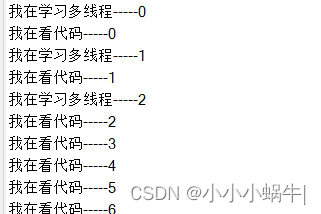
方式二:实现Runnable接口
	// 创建线程2: 实现Runnable接口,重写run()方法,执行线程需要丢入的runnable接口实现类,调用start()方法。
	public static class TestThread3 implements Runnable {
	    @Override
	    public void run() {
			for (int i = 0; i < 100; i++) {
				// run方法线程体
				System.out.println("我在看代码-----" + i);
	        }
	    }

	    public static void main(String[] args) {
			// 创建Runnable接口的实现类对象
			TestThread3 testThread3 = new TestThread3();
			// 创建线程,对象通过线程对象开启线程
			// Thread thread = new Thread(testThread3);
			// thread.start();

			new Thread(testThread3).start();

			for (int i = 0; i < 1000; i++) {
				System.out.println("我在学习多线程-----" + i);
	        }
	    }
	}
方式三:实现Callable接口 重写call()方法
 步骤:
    实现 Callable接口
    重写call方法,需要抛出异常
    创建目标对象
    创建执行服务
    提交执行
    获取结果
    关闭服务


public class Thread03  implements Callable<String> {

    //   重写call方法,需要抛出异常
    @Override
    public String call() throws InterruptedException {
        for(int i = 0;i<10;i++){
            Thread.sleep(200);
        }
        System.out.println( "线程名是"+Thread.currentThread().getName());
        return "线程名是"+Thread.currentThread().getName();
    }

    public static void main(String[] args) throws ExecutionException, InterruptedException {

        //创建目标对象
        Thread03 thread03 = new Thread03();

        //创建3个线程服务
        ExecutorService executorService = Executors.newFixedThreadPool(3);

//        提交执行
        Future<String> f1 = executorService.submit(thread03);
        Future<String> f2 = executorService.submit(thread03);
        Future<String> f3 = executorService.submit(thread03);

//        获取返回结果
        String r1 = f1.get();
        String r2 = f2.get();
        String r3 = f3.get();
//        关闭服务
        executorService.shutdown();

    }
}
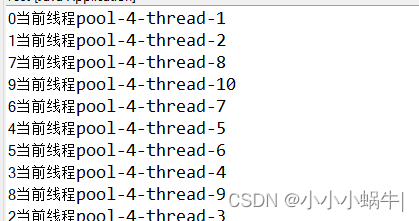
方式四:创建线程池
//1.创建线程线程池(全局)
//单一的线程池
public static ExecutorService singleThread = Executors.newSingleThreadExecutor();
//定长线程池
public static ExecutorService fixedThread = Executors.newFixedThreadPool(100);

public static void main(String[] args) {
		for (int i = 0; i < 10; i++) {
			// System.out.println(i);
			final int index = i;
			AppCfg.fixedThread.execute(new Runnable() {
				@Override
				public void run() {
					System.out.println(index + "当前线程" + Thread.currentThread().getName());
				}
			});

		}

	}
运行结果:


 9971
9971


 被折叠的 条评论
为什么被折叠?
被折叠的 条评论
为什么被折叠?
 到【灌水乐园】发言


