


介绍:
实现了在android上使用opencv运行yolo。
平台:
android studio:3.5
android sdk:28
gradle plugin:3.5.0
gradle version:5.4.1
opencv android sdk:3.4.5
yolo:yolov2-tiny
运行于:android9
语言:java
创建项目并配置opencv:
需要注意的是:
OpenCV在3.3.1版本中开始支持Darknet的YOLO2,在3.4.2开始支持YOLO3。所以一定要选择好对应的版本。
OpenCV可以用c++的接口和java的接口。这里我们简单一些,直接使用java。
参考:
https://blog.csdn.net/babytiger/article/details/86614572
作者说:“如果没出来module name就说明你路径不对,但我尝试opencv4.0.1时就没有,退而求其次安了3.4.5”

其实,这是因为opencv工程的gradle是以apply plugin: 'com.android.application'配置的。
需要apply plugin: 'com.android.library'才能以module导入。


准备yolo模型:
yolo模型、参数等是在这里下载的:
https://github.com/AlexeyAB/darknet
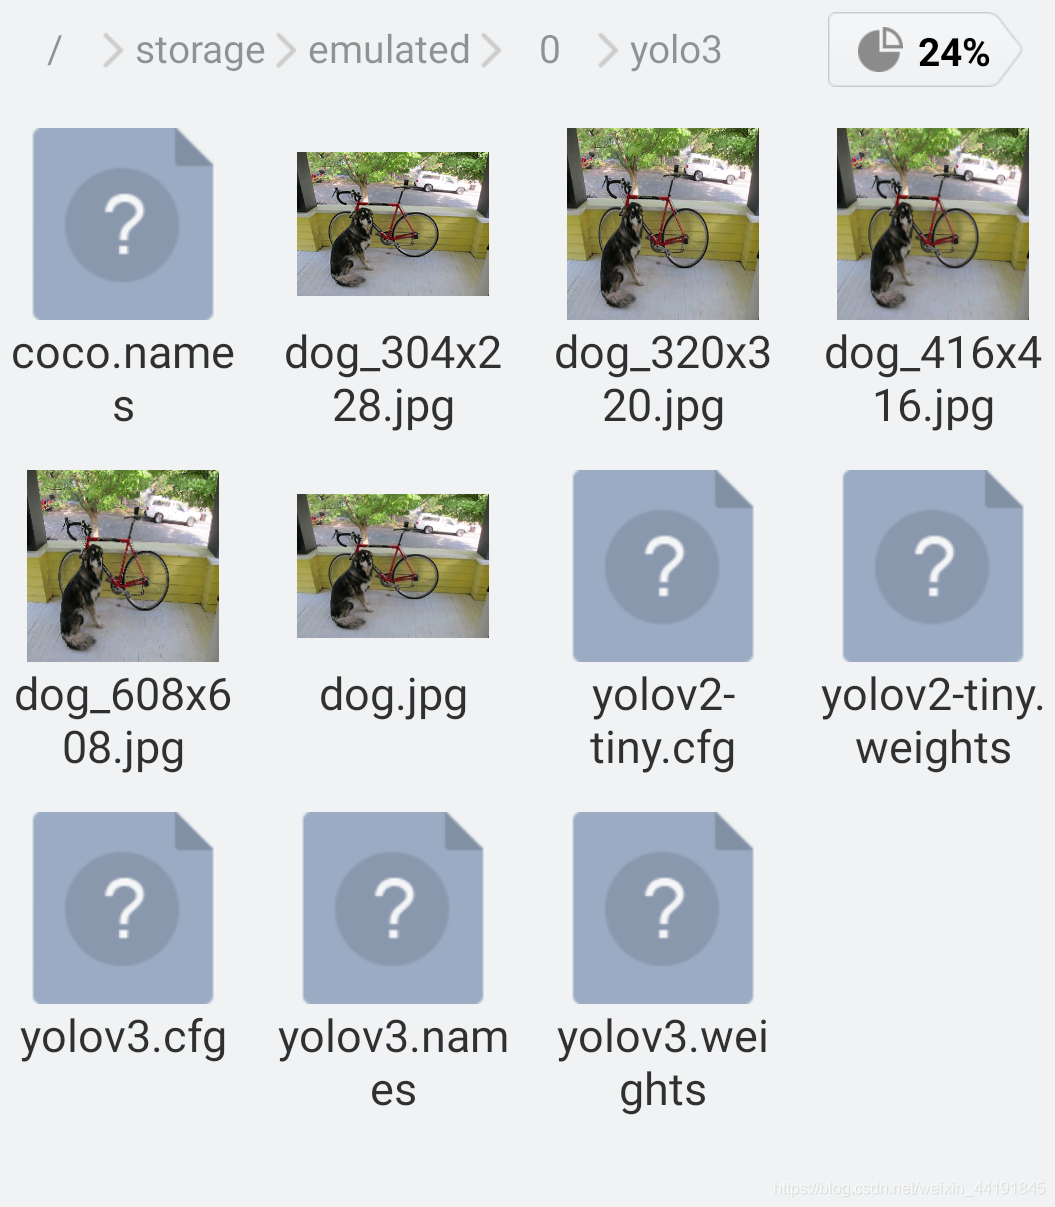
为了方便,直接在手机下建了个文件夹yolo3,放入了模型、参数、和类型、以及测试图片。
读取模型记得要在AndroidManifest.xml里添加权限:
<uses-permission android:name="android.permission.READ_EXTERNAL_STORAGE"/>
<uses-permission android:name="android.permission.WRITE_EXTERNAL_STORAGE"/>
申请权限的方法:
boolean isGrantExternalRW(Activity activity) {
if (Build.VERSION.SDK_INT >= Build.VERSION_CODES.M && activity.checkSelfPermission(
            Manifest.permission.WRITE_EXTERNAL_STORAGE) != PackageManager.PERMISSION_GRANTED) {
        activity.requestPermissions(new String[]{
                Manifest.permission.READ_EXTERNAL_STORAGE,
                Manifest.permission.WRITE_EXTERNAL_STORAGE
        }, 1);
        return false;
    }
    return true;
}之后在onCreate里调用。
加载yolo模型:
这里定义了一个类,具体方法参考了其他玩家的代码,但是找不到链接了。谢谢他们。再次感谢。
public class Yolo3 {
    private List<String> classNamesVec;
    private Net net;
    private String filePath = Environment.getExternalStorageDirectory().getAbsolutePath()+"/yolo3/";
    void init(Context activity){
        try {   //读取names
            File file = new File(filePath+"coco.names");
            InputStream instream = new FileInputStream(file);
            InputStreamReader inputreader = new InputStreamReader(instream);
            BufferedReader buffreader = new BufferedReader(inputreader);
            String line;
            while ((line = buffreader.readLine()) != null) {
                classNamesVec.add(line);
            }
            instream.close();
        }catch (Exception e) {
            e.printStackTrace();
        }
        String cfgPath = filePath+"yolov2-tiny.cfg";
        String weightsPath = filePath+"yolov2-tiny.weights";
        net = Dnn.readNetFromDarknet(cfgPath,weightsPath);
        if ( net.empty() ) {
            Log.e("error","Reading Net error");
        }
    }
Bitmap test(){
    String image_file = "dog.jpg";
    Mat im = Imgcodecs.imread(filePath + image_file, Imgcodecs.IMREAD_COLOR);
//    Imgproc.cvtColor(im, im, Imgproc.COLOR_BGR2RGB);	//转换通道
    Log.e("path:",filePath + image_file);
    Mat out = draw(detection(im),im);
    Bitmap bmp = Bitmap.createBitmap(out.cols(),out.rows(),Bitmap.Config.ARGB_8888);
    org.opencv.android.Utils.matToBitmap(out,bmp);
    return bmp;
}
Mat detection(Mat im){
        if( im.empty() ) {
            Log.e("error","Reading Image error");
        }
        Mat frame = new Mat();
        Size sz1 = new Size(im.cols(),im.rows());
        Imgproc.resize(im, frame, sz1);
        Mat resized = new Mat();
        Size sz = new Size(416,416);
        Imgproc.resize(im, resized, sz);
        float scale = 1.0F / 255.0F;
        Mat inputBlob = Dnn.blobFromImage(im, scale, sz, new Scalar(0), false, false);
        net.setInput(inputBlob, "data");
        Mat detectionMat = net.forward("detection_out");
        return detectionMat;
    }
    Mat draw(Mat detectionMat,Mat frame){
        if( !detectionMat.empty() ) {
            for (int i = 0; i < detectionMat.rows(); i++) {
                int probability_index = 5;
                int size = (int) (detectionMat.cols() * detectionMat.channels());
                float[] data = new float[size];
                detectionMat.get(i, 0, data);
                float confidence = -1;
                int objectClass = -1;
                for (int j = 0; j < detectionMat.cols(); j++) {
                    if (j >= probability_index && confidence < data[j]) {
                        confidence = data[j];
                        objectClass = j - probability_index;
                    }
                }
                if (confidence > 0.3) {
//                System.out.println("Result Object: "+i);
//                for (int j=0; j < detectionMat.cols();j++)
//                    System.out.print(" "+j+":"+ data[j]);
//                System.out.println("");
                    float x = data[0];
                    float y = data[1];
                    float width = data[2];
                    float height = data[3];
                    float xLeftBottom = (x - width / 2) * frame.cols();
                    float yLeftBottom = (y - height / 2) * frame.rows();
                    float xRightTop = (x + width / 2) * frame.cols();
                    float yRightTop = (y + height / 2) * frame.rows();
//                System.out.println("Class: "+ names[objectClass]);
//                System.out.println("Confidence: "+confidence);
//                System.out.println("ROI: "+xLeftBottom+" "+yLeftBottom+" "+xRightTop+" "+yRightTop+"\n");
                    Imgproc.rectangle(frame, new Point(xLeftBottom, yLeftBottom),
                            new Point(xRightTop, yRightTop), new Scalar(0, 255, 0), 3);
                }
            }
        }
        return frame;
    }
}
测试yolo3
在视图里随便建了个button,在clickListener里调用test方法
yolo3.init(getApplicationContext());
button.setOnClickListener(new View.OnClickListener() {
    @Override
    public void onClick(View view) {
    	yolo3.init(getApplicationContext());
        ImageView imageView = findViewById(R.id.imageView);
        imageView.setImageBitmap(yolo3.test());
    }
});记得必须要加载完OpenCV以后才能调用yolo3.init(getApplicationContext());加载模型。
加载OpenCV:OpenCVLoader.initDebug();
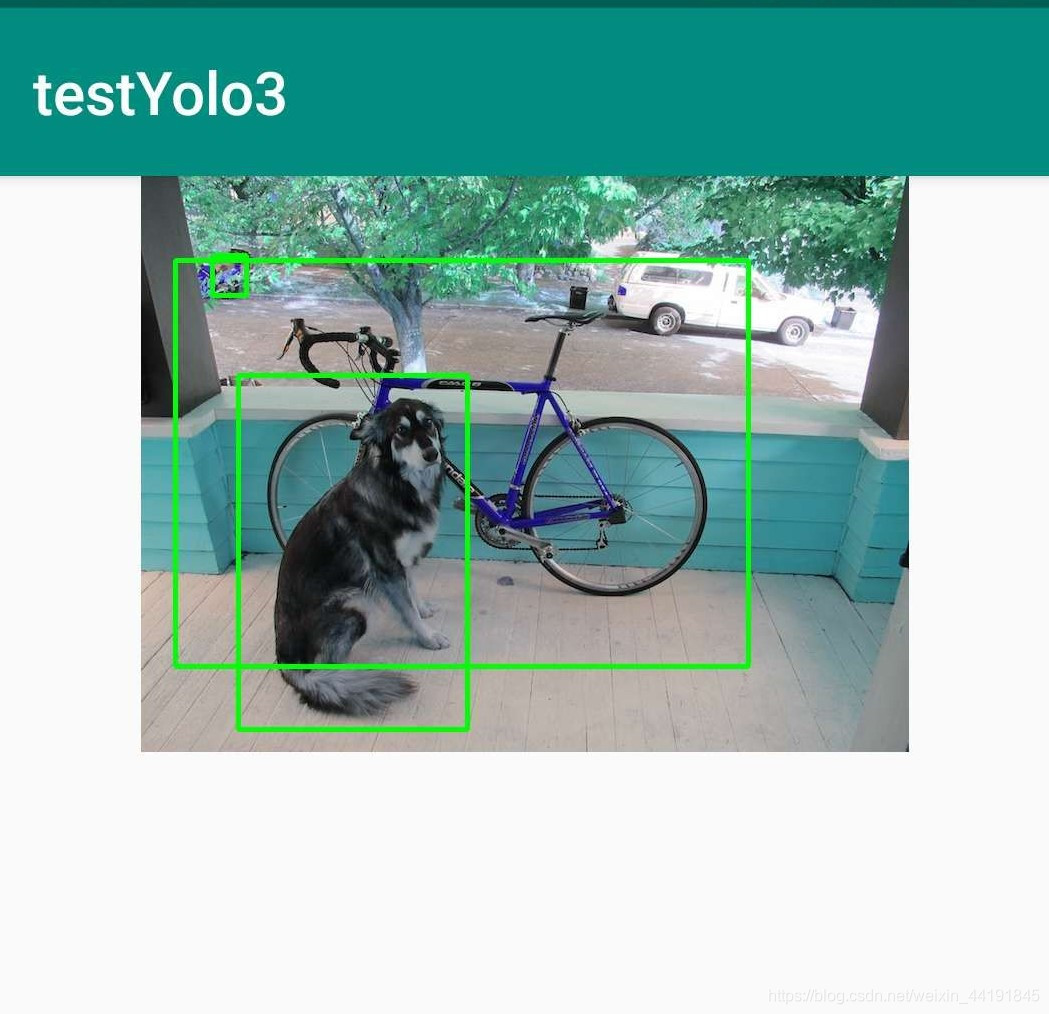 这么奇怪的颜色是因为OpenCV的通道顺序是BGR,所以要记得转换一下通道顺序。
Imgproc.cvtColor(im, im, Imgproc.COLOR_BGR2RGB);这样对Mat调整后再显示就正常啦。
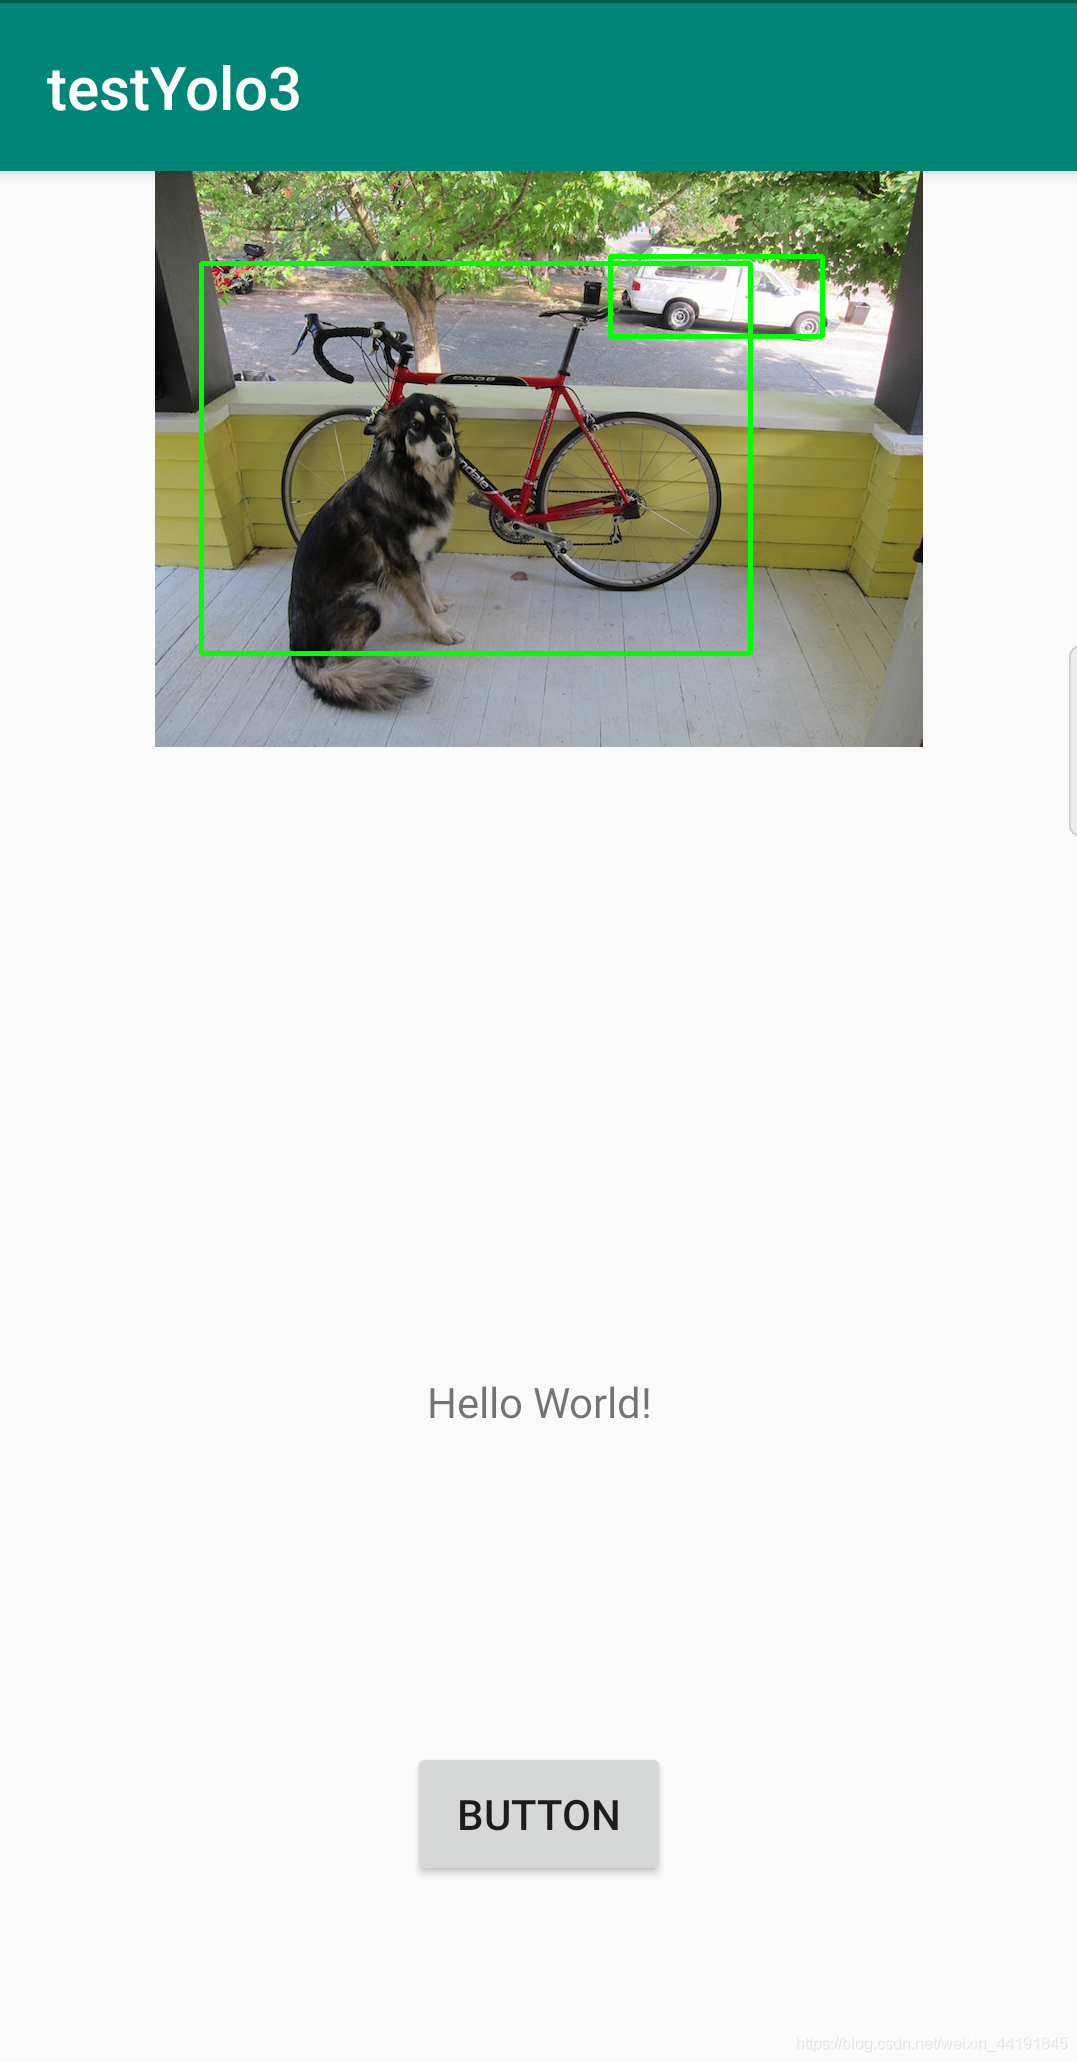
后记
完工啦


 668
668


 被折叠的 条评论
为什么被折叠?
被折叠的 条评论
为什么被折叠?
 到【灌水乐园】发言


