


Android学习记录(布局)
前言
Android中有六种布局方式:LinearLayout(线性布局)、RelativeLayout(相对布局)、TableLayout(表格布局)、FrameLayout(帧布局)、AbsoluteLayout(绝对布局)、GridLayout(网格布局)。
一、学习重点是什么?

!!!!!!!!引用图片来自菜鸟教程!!!!!!!!!
二、学习属性的使用方法
weight(权重)详解
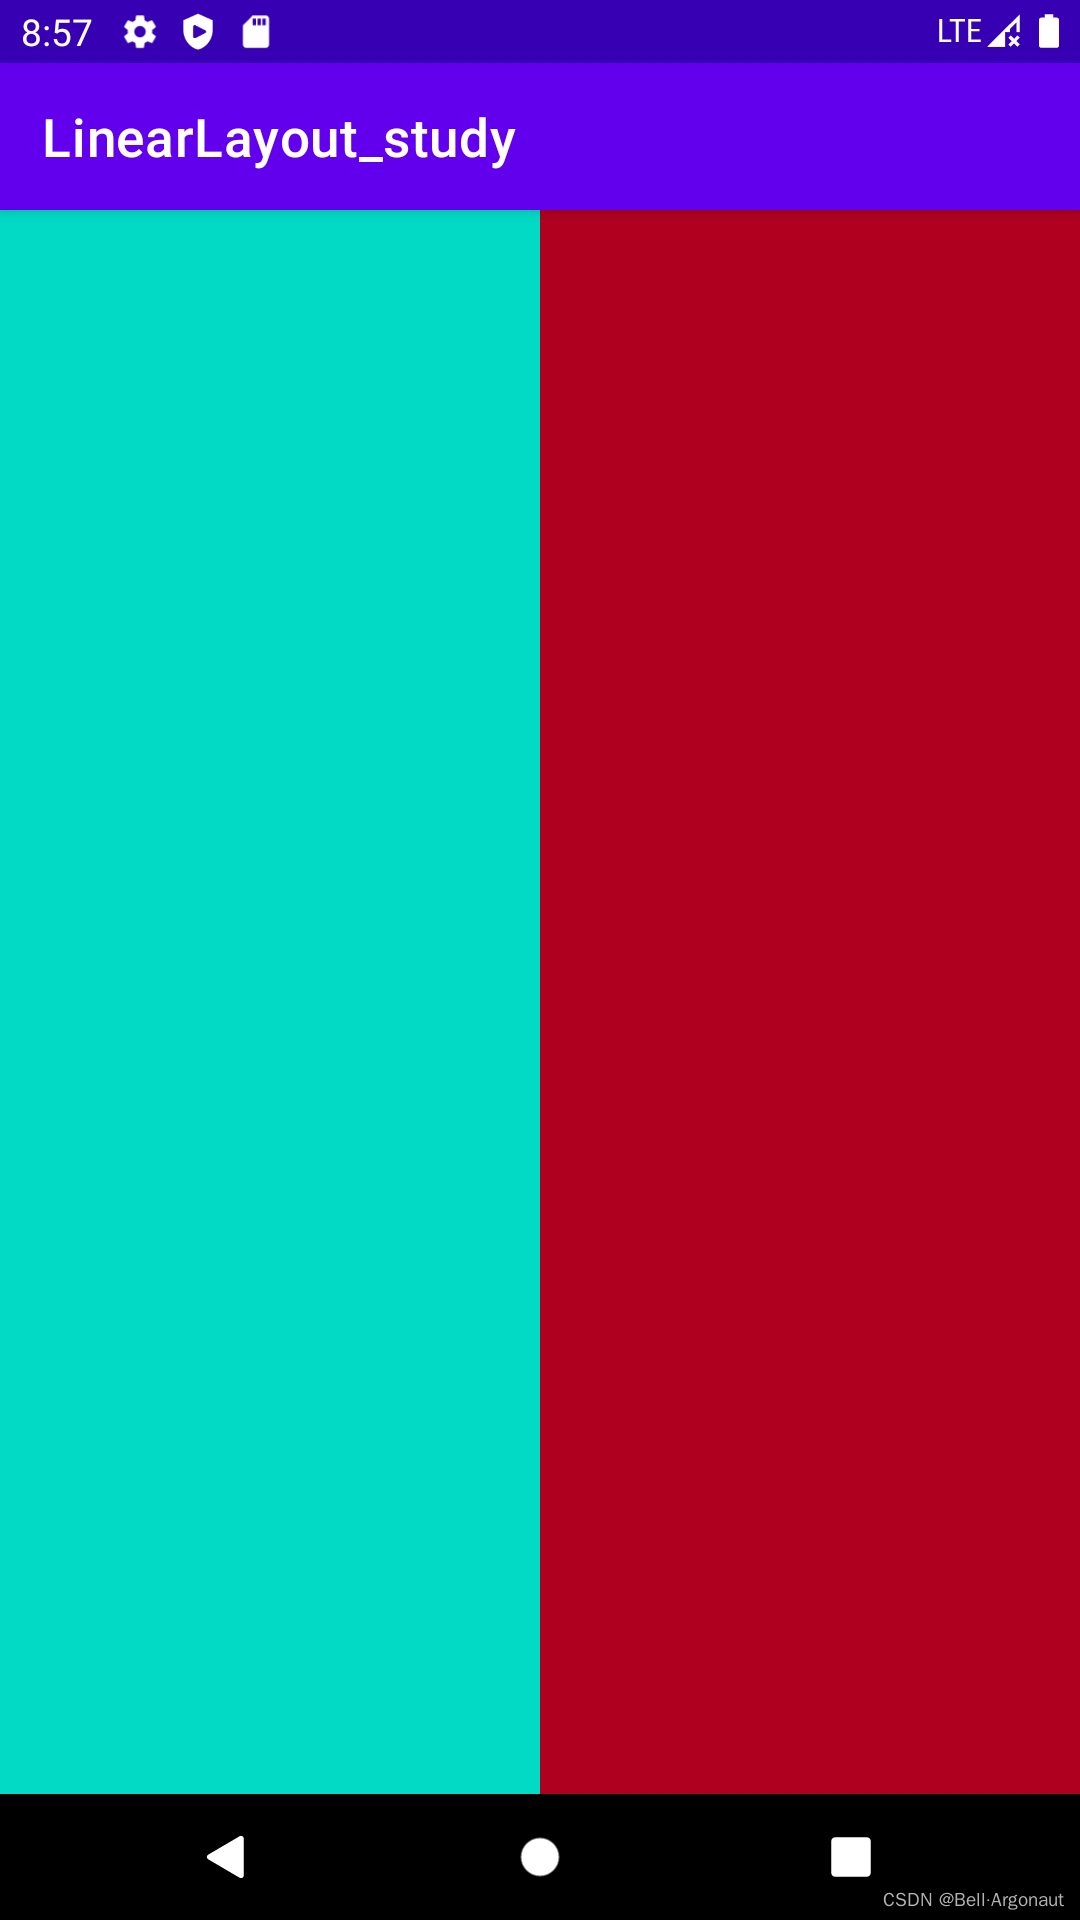
(1)演示
示图如下:
代码如下(示例):
<LinearLayout
    android:layout_width="match_parent"
    android:layout_height="match_parent"
    android:orientation="horizontal"
    xmlns:android="http://schemas.android.com/apk/res/android" >

    <LinearLayout
        android:layout_width="match_parent"
        android:layout_height="match_parent"
        android:id="@+id/line1"
        android:layout_weight="1"
        android:background="@color/teal_200"
        android:orientation="horizontal" />


    <LinearLayout
        android:layout_width="match_parent"
        android:layout_height="match_parent"
        android:id="@+id/line2"
        android:layout_weight="1"
        android:background="@color/design_default_color_error"
        android:orientation="horizontal" />

</LinearLayout>
实现上述的效果只需要将android weight设置为 1:1 的模式即可。
同时按照排列方式的不同归纳为:1、水平方向划分,涉及到View的android width属性设置为0,再设置android weight属性即可。2、竖直方向,只需要将android height设置为0dp,在设置weight就可以了。
!!!!!!!内容虽然很简单,但还是非常推荐大家实际操作一下。
(2)Weight属性详解
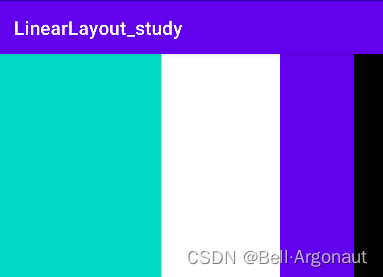
在不适用上述情况的时候,还可以设置wrap_content\match_parent,要使用这两种参数则需要深入了解weight属性,同时考虑在orientation属性在水平和竖直方向上比例的划分。
示意图:wrap_content(直接按照比例来)
代码如下:
<LinearLayout android:layout_width="match_parent"
    android:layout_height="match_parent"
    android:orientation="horizontal"
    xmlns:android="http://schemas.android.com/apk/res/android">

    <TextView
        android:layout_width="wrap_content"
        android:layout_height="match_parent"
        android:id="@+id/text1"
        android:layout_weight="1"
        android:background="@color/teal_200"/>

    <TextView
        android:layout_width="wrap_content"
        android:layout_height="match_parent"
        android:id="@+id/text2"
        android:layout_weight="2"
        android:background="@color/black"/>

    <TextView
        android:layout_width="wrap_content"
        android:layout_height="match_parent"
        android:id="@+id/text3"
        android:layout_weight="3"
        android:background="@color/design_default_color_primary"/>
</LinearLayout>
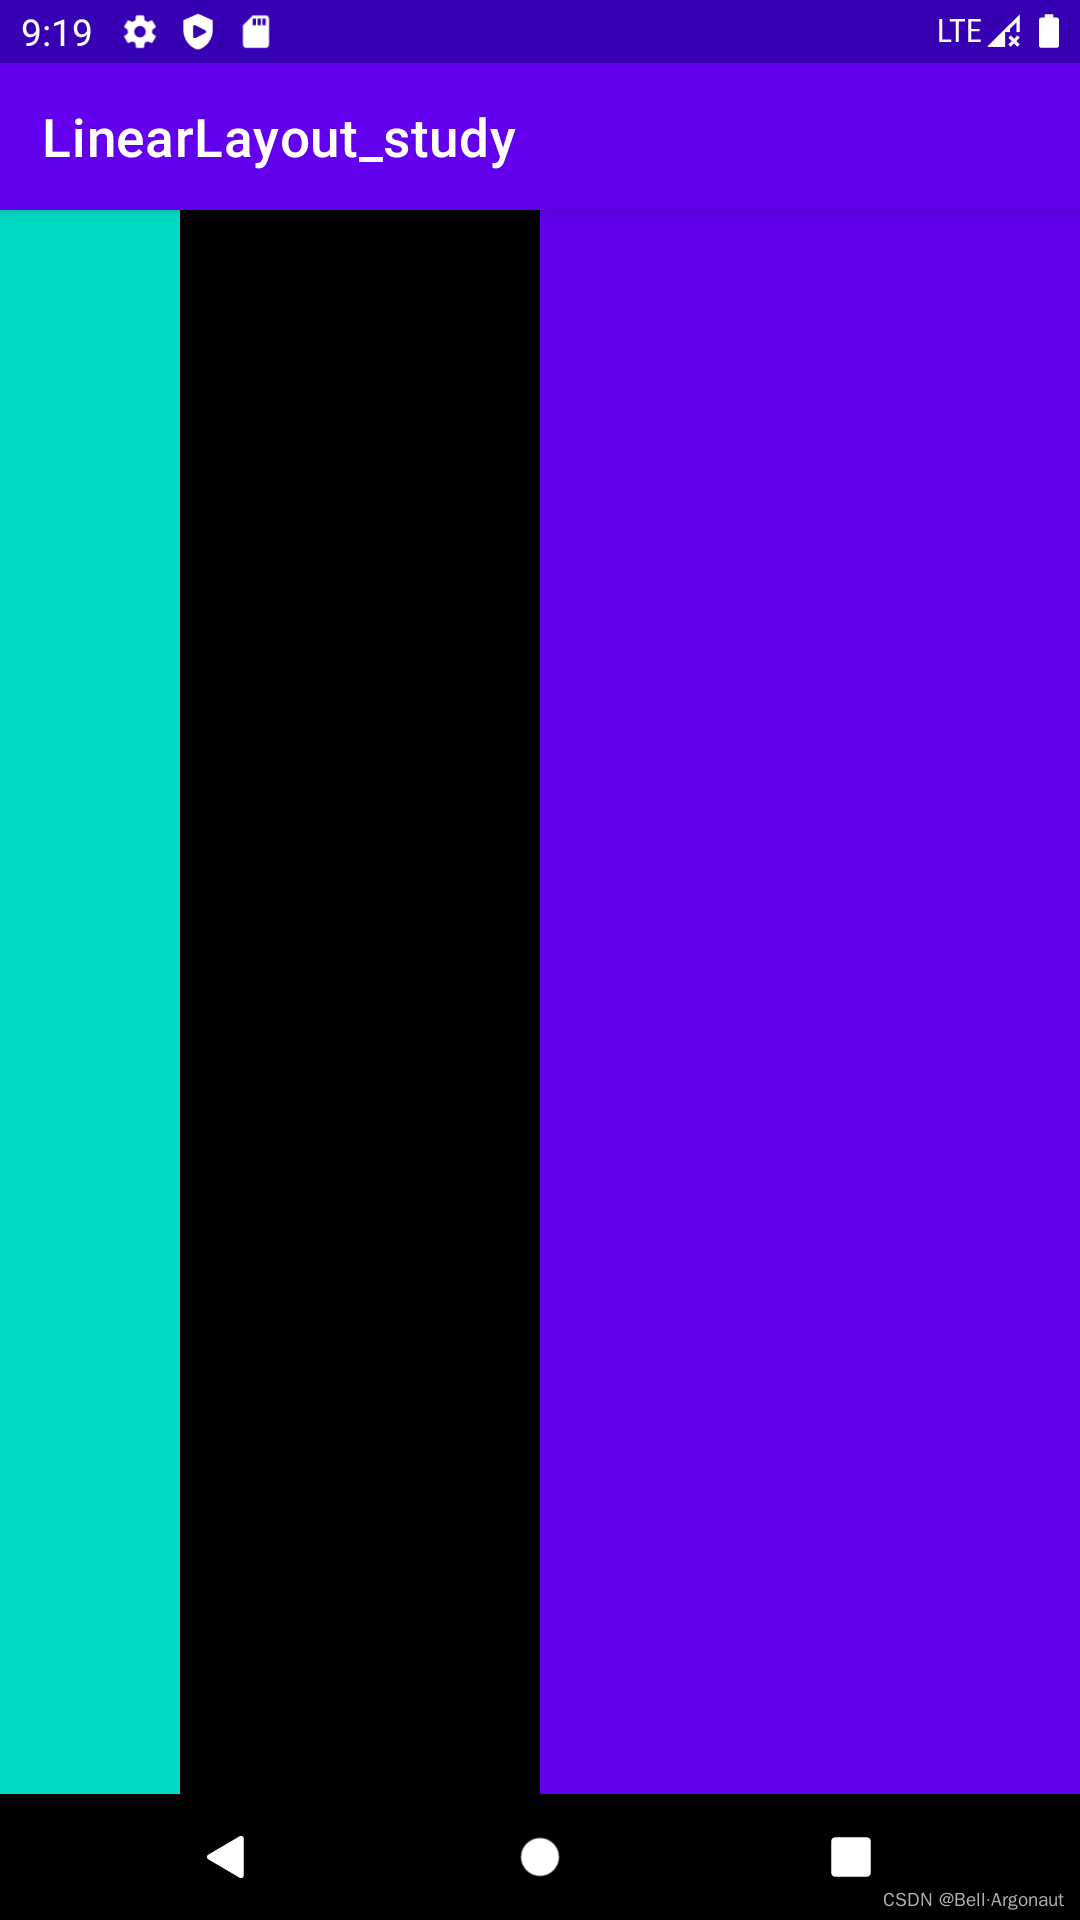
示意图:match_parent(需要进行计算)

代码如下:
<LinearLayout android:layout_width="match_parent"
    android:layout_height="match_parent"
    android:orientation="horizontal"
    xmlns:android="http://schemas.android.com/apk/res/android">

    <TextView
        android:layout_width="match_parent"
        android:layout_height="match_parent"
        android:layout_weight="1"
        android:background="@color/teal_200"/>

    <TextView
        android:layout_width="match_parent"
        android:layout_height="match_parent"
        android:layout_weight="2"
        android:background="@color/design_default_color_on_primary"/>

    <TextView
        android:layout_width="match_parent"
        android:layout_height="match_parent"
        android:layout_weight="3"
        android:background="@color/design_default_color_primary"/>

</LinearLayout>
可以看到在.xml中是写出了三个控件的比例大小。但是在实际呈现上最后一个控件没有显示出来。这是因为在使用match_parent的时候比例是需要计算的,如上我给每个板块分别设置比例为1:2:3。这里就给出笔者学习时觉得比较容易理解的一种: step 1:个个都是fill_parent,但是屏幕只有一个啦,那么1 - 3 = - 2 fill_parent step 2:依次比例是1/6,2/6,3/6 step 3:先到先得,先分给one,计算: 1 - 2 * (1/6) = 2/3 fill_parent 接着到two,计算: 1 - 2 * (2/6) = 1/3 fill_parent 最后到three,计算 1 - 2 * (3/6) = 0 fill_parent。大家看完可能还有点蒙,我们举两个例子。
示例:1:1:1

示例:5:6:7:8
大家可以按照给出的计算方式计算体会一下。记得mark下来计算方式哦!
Java中设置weight属性
代码示例:
setLayoutParams(new LayoutParams(LayoutParams.FILL_PARENT,LayoutParams.WRAP_CONTENT, 1));
总结
以上就是今天要讲的内容,后面的添加分割线会放在下一贴中。


 1107
1107


 被折叠的 条评论
为什么被折叠?
被折叠的 条评论
为什么被折叠?
 到【灌水乐园】发言


