cocos2d环境设置 流程
首先需要几个步骤
1 下载 python 2.7 版本的 在官网可以下载
2 下载 cocos2d 的引擎 可以在官网下载 ;

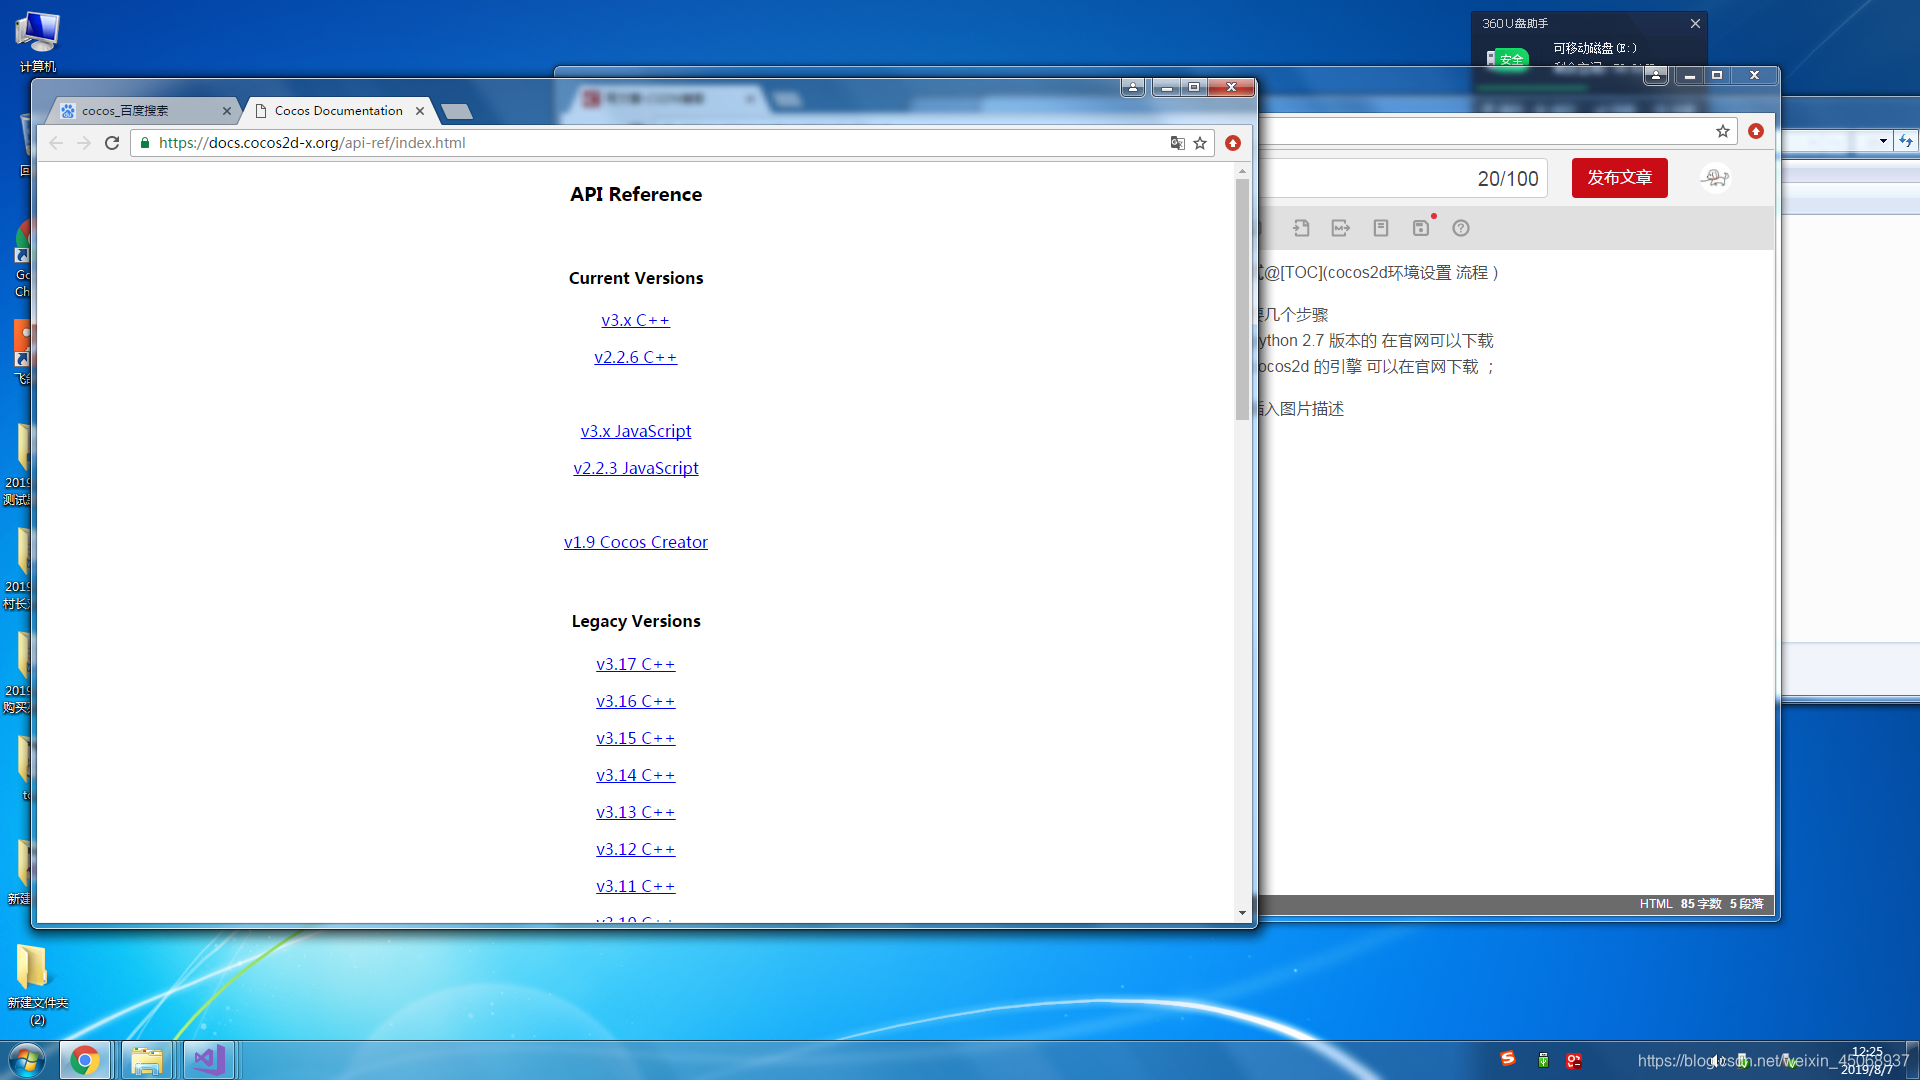
在这里插入图片描述这里下载 v.3. 版本的 下载安装 之后需要设置环境
首先 找到python 的决定路径复制 即可 然后右键点击我的电脑
点击高级系统设置 点击高级 环境变量
在系统变量 里找到 Path的关键字 然后把 目录复制到 最后 记得前边要加:并且 和:之间不能有 空格。完成之后点击 确定
当 设置 好了之后再 控制台输入 python setup.py指令 添加cocos 环境变量
然后在 重新打开一个控制台 输入cocos -v 要是有内容就是环境配置完成
你就可以输入 第一个 你想做的项目了
在控制台中输入 cocos new 文件名 -p 公司名 加 项目名称 -l 输入你用的语言 -d 要放的文件 目录 ,
以上的都应是英文
cocos new Game -p com.ff.feiji -l cpp -d /D: Game
然后进入这个文件找到
proj.win32 这个文件夹 打开六面 的 以 sln 的文件格式 进 如 vs 里 就可以编写你的游戏项目了
首先看 里面的内容
#include “AppDelegate.h”
#include “HelloWorldScene.h”
这个是引入的 头文件 暂时不用管
#if USE_AUDIO_ENGINE && USE_SIMPLE_AUDIO_ENGINE
#error “Don’t use AudioEngine and SimpleAudioEngine at the same time. Please just select one in your game!”
#endif 这点代码的意思是
使用 声音引擎 或者使用 一遍的声音引擎
跑出一个断点
声音引擎 Audio engine 和 简单的声音引擎 simple audio enging 只能使用一个 不能同时使用
结束if 判断
#if USE_AUDIO_ENGINE
#include “audio/include/AudioEngine.h”
using namespace cocos2d::experimental;
#elif USE_SIMPLE_AUDIO_ENGINE
#include “audio/include/SimpleAudioEngine.h”
using namespace CocosDenshion;
#endif
这个条件判断是什么意思
如果你使用 声音引擎 那么将引入 声音引擎和声音引擎的命名空间
否则就将 引入 简单的声音引擎和 命名空间
结束 条件 判断
USING_NS_CC;
static cocos2d::Size designResolutionSize = cocos2d::Size(480, 320);
static cocos2d::Size smallResolutionSize = cocos2d::Size(480, 320);
static cocos2d::Size mediumResolutionSize = cocos2d::Size(1024, 768);
static cocos2d::Size largeResolutionSize = cocos2d::Size(2048, 1536);
这段代码的意思是
首先是宏表达试 他实现的内容是 自定获取 使用者的屏幕信息 来 获得 屏幕 大小 来选择相应的 屏幕分辨,
AppDelegate::AppDelegate()
{
}
AppDelegate::~AppDelegate()
{
#if USE_AUDIO_ENGINE
AudioEngine::end();
#elif USE_SIMPLE_AUDIO_ENGINE
SimpleAudioEngine::end();
#endif
}
这段代码的意思是 构造 和析构
析构 代码里面的内容是 判断你使用的是那种引擎
用那种就是关闭哪种 end(); 这个文关闭引擎 函数
void AppDelegate::initGLContextAttrs()
{
GLContextAttrs glContextAttrs = {8, 8, 8, 8, 24, 8, 0};

GLView::setGLContextAttrs(glContextAttrs);
}
这个函数是设置屏幕渲染清晰度的 后三个参数 不用管 前三个参数是 控制清晰的 8为 最好 1为最次
gl 为渲染 Contextattrs 为 环境 属性
static int register_all_packages()
{
return 0; //flag for packages manager
}
这个函数 是设置 场景的一个节点 返回值节点0 的
返回值为 bool 的 构建 函数
bool AppDelegate::applicationDidFinishLaunching() {
// initialize director
初始化一个 管理指针
auto director = Director::getInstance();
获取一个 管理 显示 视图
auto glview = director->getOpenGLView();
如果 视图部位空
if(!glview) {
如果视图是 wendows 平台
#if (CC_TARGET_PLATFORM == CC_PLATFORM_WIN32) ||
如果是 mac 平台
(CC_TARGET_PLATFORM == CC_PLATFORM_MAC) ||
如果是 linus 平台
(CC_TARGET_PLATFORM == CC_PLATFORM_LINUX)
视图= impi 视图 :: 设置 与矩形 (第一个参数 “ 项目的名称”第二个参数
设计 屏幕分辨力的大小 宽,第三个参数 设计屏幕的分辨 大小 高 )
glview = GLViewImpl::createWithRect(“MyGame”, cocos2d::Rect(0, 0, designResolutionSize.width, designResolutionSize.height));
#else
否则 视图 =gl impl 视图::设置(项目文件夹名称 )
glview = GLViewImpl::create(“MyGame”);
#endif
那就 管理者 获取 打开视图 (视图)
director->setOpenGLView(glview);
}
这段函数的解释是
// turn on display FPS
是管理者调用 开始屏幕显示的开始(参数为 ture 是显示 false 是不显示)
director->setDisplayStats(true);
// set FPS. the default value is 1.0/60 if you don't call this
调用 设置 动画帧是间隔的参数 (参数1 为 1秒/60)
就是一秒60次
director->setAnimationInterval(1.0f / 60);
这段代码的意思是
视图调用 获取 设计的分辨率 大小 (第一个参数是 分辨率大小的 宽 ,第二个是 分辨率代销的 高 ,第三个是 分辨力决策的边界)
glview->setDesignResolutionSize(designResolutionSize.width, designResolutionSize.height, ResolutionPolicy::NO_BORDER);
获取框架的大小
auto frameSize = glview->getFrameSize();
这段代码我也不知道
if (frameSize.height > mediumResolutionSize.height)
{
director->setContentScaleFactor(MIN(largeResolutionSize.height/designResolutionSize.height, largeResolutionSize.width/designResolutionSize.width));
}
// if the frame’s height is larger than the height of small size.
else if (frameSize.height > smallResolutionSize.height)
{
director->setContentScaleFactor(MIN(mediumResolutionSize.height/designResolutionSize.height, mediumResolutionSize.width/designResolutionSize.width));
}
// if the frame’s height is smaller than the height of medium size.
else
{
director->setContentScaleFactor(MIN(smallResolutionSize.height/designResolutionSize.height, smallResolutionSize.width/designResolutionSize.width));
}
调用一下 返回节点 为0的代码
register_all_packages();
获取一下 HelloWorld 的场景 创建
auto scene = HelloWorld::createScene();
// run
管理者调用场景运行
director->runWithScene(scene);

return true;
}
// This function will be called when the app is inactive. Note, when receiving a phone call it is invoked.
进入后台运行的函数 应用 程序进入了后台
void AppDelegate::applicationDidEnterBackground() {
管理者调用函数 停止动画
Director::getInstance()->stopAnimation();
如果使用 声音引擎
#if USE_AUDIO_ENGINE
声音引擎调用 暂停所有声音
AudioEngine::pauseAll();
#elif USE_SIMPLE_AUDIO_ENGINE
所有背景音乐
SimpleAudioEngine::getInstance()->pauseBackgroundMusic();
音效
SimpleAudioEngine::getInstance()->pauseAllEffects();
#endif
}
如果 进入到 前台 全部都是开始
void AppDelegate::applicationWillEnterForeground() {
Director::getInstance()->startAnimation();
#if USE_AUDIO_ENGINE
AudioEngine::resumeAll();
#elif USE_SIMPLE_AUDIO_ENGINE
SimpleAudioEngine::getInstance()->resumeBackgroundMusic();
SimpleAudioEngine::getInstance()->resumeAllEffects();
#endif
}
HelloWorld 的cpp
USING_NS_CC; 宏定义 命名空间
场景的指针 设置 场景
Scene* HelloWorld::createScene()
{
return HelloWorld::create();
}
加载文件是有错误打印出错误
static void problemLoading(const char* filename)
{
printf(“Error while loading: %s\n”, filename);
printf(“Depending on how you compiled you might have to add ‘Resources/’ in front of filenames in HelloWorldScene.cpp\n”);
}
信息
bool HelloWorld::init()
{
//////////////////////////////
// 1. super init first
看一下上一个 信息是否为空 如果是空直接结束
if ( !Scene::init() )
{
return false;
}
获取一下尺寸
auto visibleSize = Director::getInstance()->getVisibleSize();
获取一下原点 也就是看是的点 世界坐标的点
Vec2 origin = Director::getInstance()->getVisibleOrigin();
/////////////////////////////
// 2. add a menu item with "X" image, which is clicked to quit the program
//    you may modify it.

// add a "close" icon to exit the progress. it's an autorelease object
添加一个关闭的选项图标 你可以设置他
auto closeItem = MenuItemImage::create(
                                       正常 关闭的图像
                                       "CloseNormal.png",
                                       关闭所选的图像
                                       "CloseSelected.png",
                                       宏 表达是  菜单回调  , 这个类
                                       CC_CALLBACK_1(HelloWorld::menuCloseCallback, this));
如果 临时关闭变量 是空执行
if (closeItem == nullptr ||
临时变量 调用得到宽的大小 《0》
closeItem->getContentSize().width <= 0 ||
临时变量 调用得到高的大小 《0》
closeItem->getContentSize().height <= 0)
{
两个图片入库
problemLoading("‘CloseNormal.png’ and ‘CloseSelected.png’");
}
else
{否则
设置突变的 位置
x= 本身的x坐标+屏幕的坐标-临时变量的坐标除2(临时坐标/2获得临时坐标的圆点)
float x = origin.x + visibleSize.width - closeItem->getContentSize().width/2;
float y = origin.y + closeItem->getContentSize().height/2;
  临时变量  设置 位置传入参数
    closeItem->setPosition(Vec2(x,y));
}

// create menu, it's an autorelease object
他是一本菜单自动释放的菜单
auto menu = Menu::create(closeItem, NULL);
menu->setPosition(Vec2::ZERO);
this->addChild(menu, 1);

/////////////////////////////
// 3. add your codes below...

// add a label shows "Hello World"
// create and initialize a label
设置一个标签在 屏幕上 (第一个参数 是什么字体,第二个是字体的出席 第三个是字体的大小)》
auto label = Label::createWithTTF(“Hello World”, “fonts/Marker Felt.ttf”, 24);
如果标签为空
if (label == nullptr)
{
解决问题 传入参数 传入字体的 样本
problemLoading("‘fonts/Marker Felt.ttf’");
}
else
{
否则标签的位置 设置 本身的原点+屏幕大小的宽/2
本身的y点+屏幕的高-标签的 高 就是他的位置
// position the label on the center of the screen
label->setPosition(Vec2(origin.x + visibleSize.width/2,
origin.y + visibleSize.height - label->getContentSize().height));
    // add the label as a child to this layer
    添加  子节点到 层
    this->addChild(label, 1);
}

// add "HelloWorld" splash screen"
 变量   设置 精灵 图片
auto sprite = Sprite::create("HelloWorld.png");
如果精灵=空
if (sprite == nullptr)
{
解决入库  图片
    problemLoading("'HelloWorld.png'");
}
else
{
    // position the sprite on the center of the screen
    获取精灵设置精灵的位置

    sprite->setPosition(Vec2(visibleSize.width/2 + origin.x, visibleSize.height/2 + origin.y));

    // add the sprite as a child to this layer
    this->addChild(sprite, 0);
}
return true;
}
函数回调
void HelloWorld::menuCloseCallback(Ref* pSender)
{
//Close the cocos2d-x game scene and quit the application
管理者 指针 关闭;
Director::getInstance()->end();
/*To navigate back to native iOS screen(if present) without quitting the application  ,do not use Director::getInstance()->end() as given above,instead trigger a custom event created in RootViewController.mm as below*/

//EventCustom customEndEvent("game_scene_close_event");
//_eventDispatcher->dispatchEvent(&customEndEvent);
}


 本文详细介绍Cocos2d-X游戏引擎的环境搭建步骤,包括Python与Cocos2d-X引擎的下载安装,环境变量配置,以及首个项目创建流程。深入解析AppDelegate类的构造与析构,游戏分辨率适配,声音引擎的选择与使用,以及菜单项与场景的创建。


 4186
4186

 被折叠的 条评论
为什么被折叠?


