


文章目录
「章节总览」
【ollama部署本地大模型 https://blog.csdn.net/weixin_45404884/article/details/139747748】
一、SpringAI简介
1.什么是SpringAI
Spring AI 是一个面向 AI 工程的应用框架,其目标是将 Spring 生态系统的可移植性和模块化设计等设计原则应用到 AI 领域,并推动将 POJO 作为应用的构建块应用于 AI 领域。
简单地说,就是不再需要我们再去封装各种各样的类或者方法,直接用spring框架内置的方法,和大模型进行通信
官网地址https://spring.io/projects/spring-ai
2.SpringAI支持的大模型类型
(1)聊天模型
- OpenAI
- Azure Open AI
- Amazon Bedrock
- Cohere’s Command
- AI21 Labs’ Jurassic-2
- Meta’s LLama 2
- Amazon’s Titan
- Google Vertex AI Palm
- Google Gemini
- HuggingFace - access thousands of models, including those from Meta such as Llama2
- Ollama - run AI models on your local machine
- MistralAI
(2)文本到图像模型
- OpenAI with DALL-E
- StabilityAI
(3)转录(音频到文本)模型
- OpenAI
(4)嵌入模型
- OpenAI
- Azure OpenAI
- Ollama
- ONNX
- PostgresML
- Bedrock Cohere
- Bedrock Titan
- Google VertexAI
- Mistal AI
(5)矢量数据库
- Azure Vector Search
- Chroma
- Milvus
- Neo4j
- PostgreSQL/PGVector
- PineCone
- Redis
- Weaviate
- Qdrant
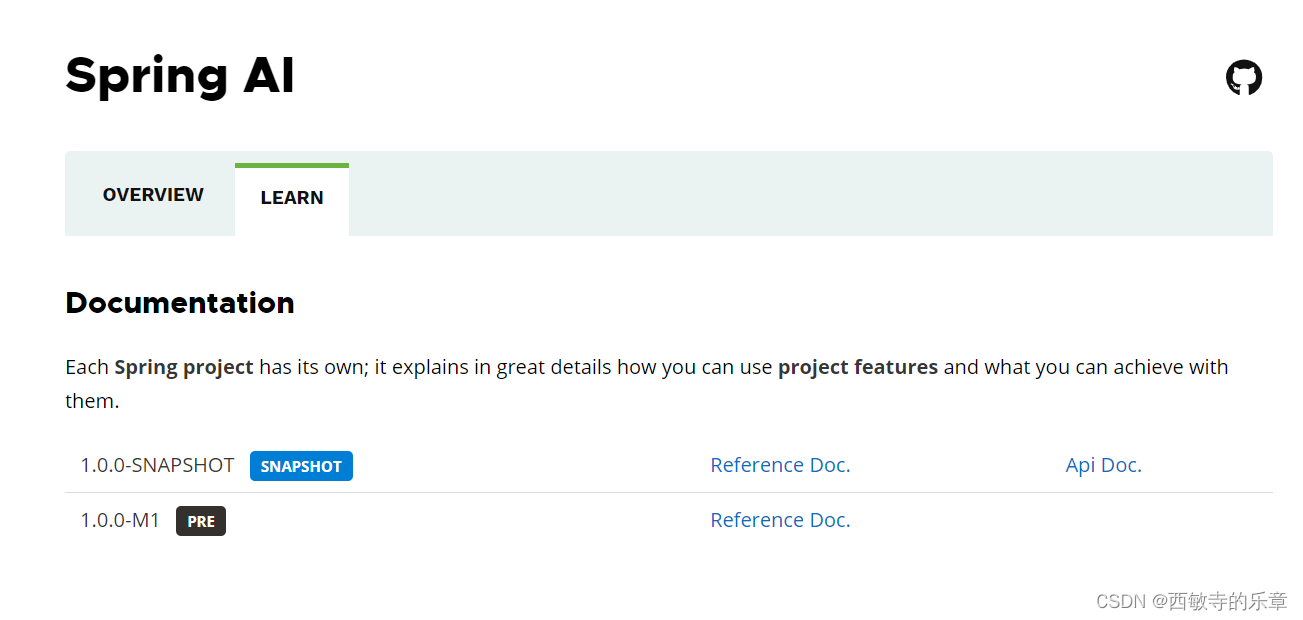
3.SpringAI版本
目前只出了一个版本1.0.0-M1
二、SpringAI框架使用,对接OpenAI
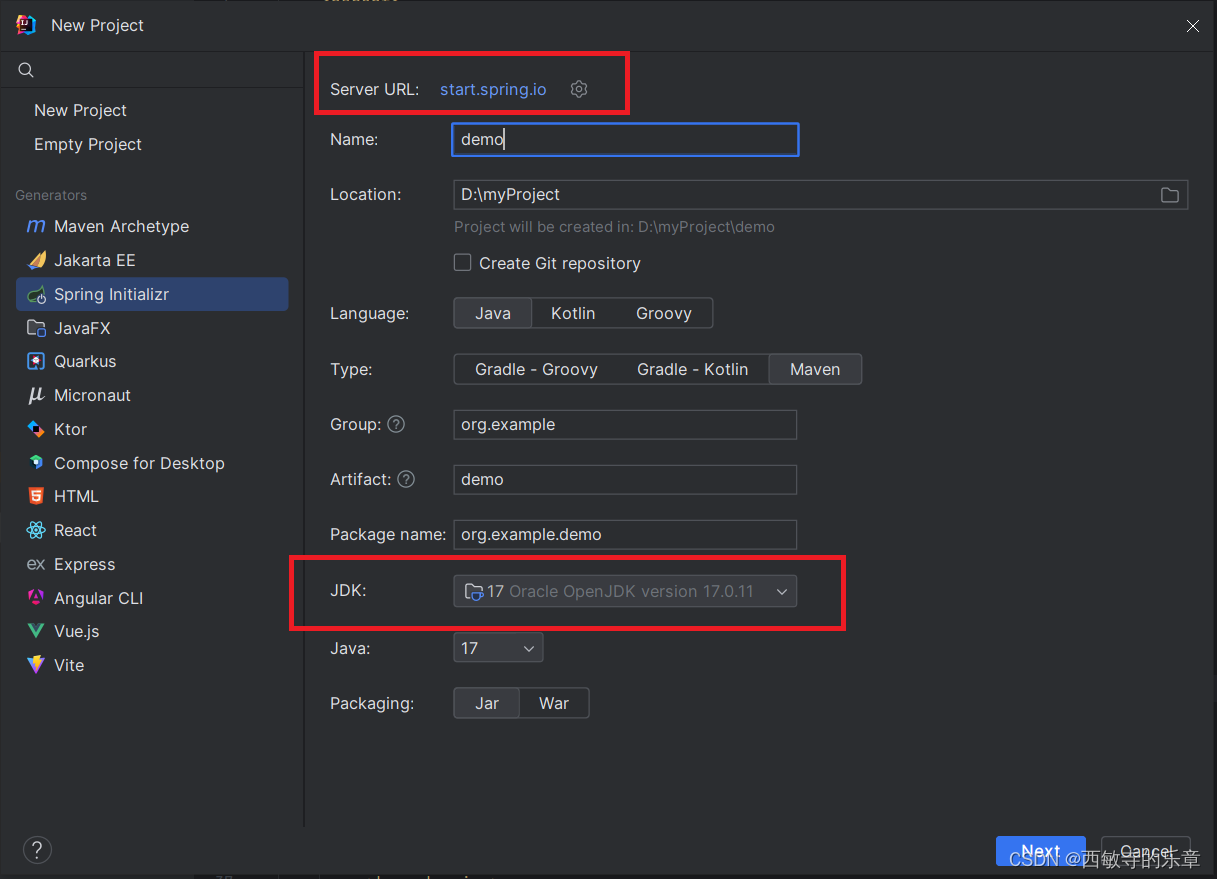
1.环境信息
- Maven: apache-maven-3.9.6
- springBoot: 3.3.0
- JAVA:JDK17
2.初始化
server url里面如果是阿里云的链接,给换掉,因为阿里云的构建springboot里面选不了AI模块
jdk一定要选17
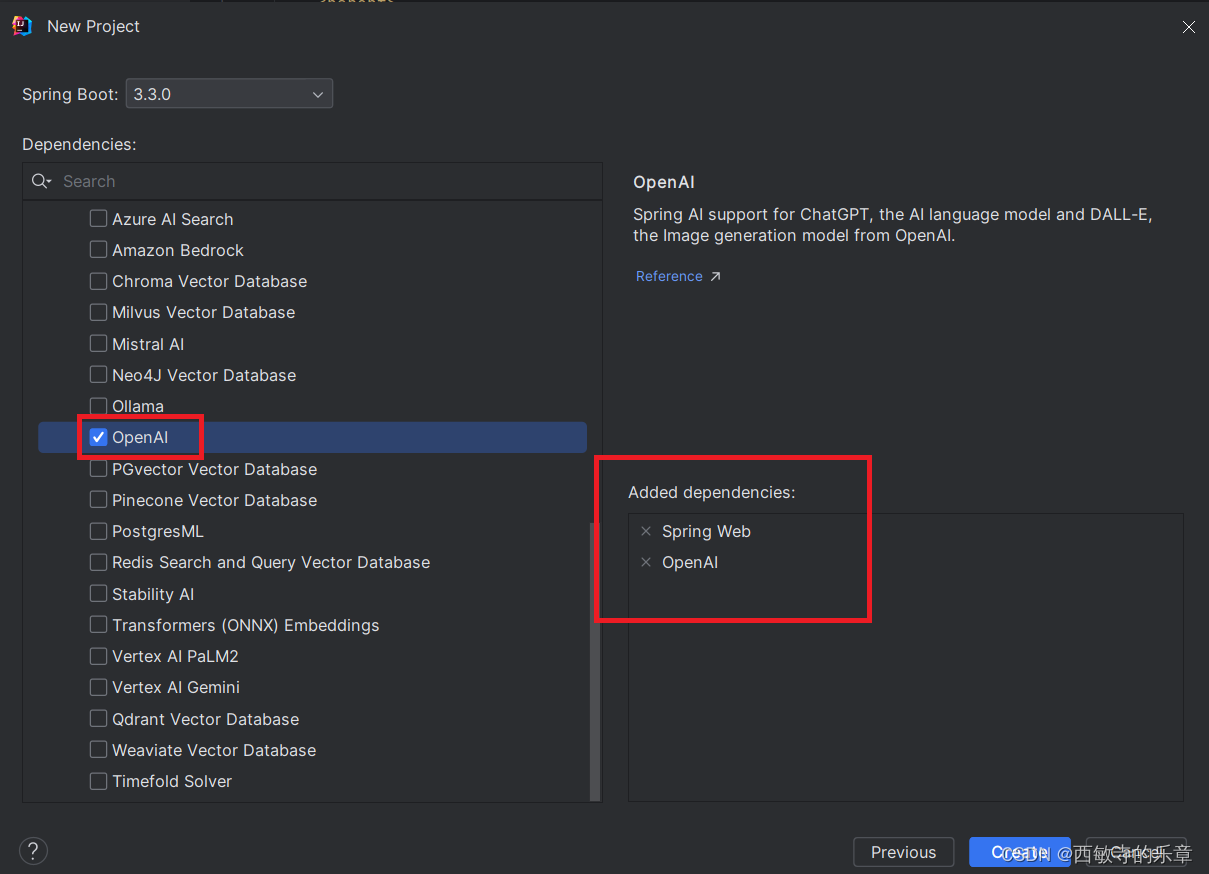
引入springweb和openAI两个依赖模块就可以
3.配置文件
(1)application.yml
这里面你要去百度上找,或者自己去买openai的api-key,贴在api-key后面就可以,
base-url可以通过代理方式去调用,后面会讲到。
spring:
  application:
    name: springAI
  ai:
    openai:
      api-key:
      base-url: https://api.chatanywhere.tech  #国内中转访问
(2)pom文件
<?xml version="1.0" encoding="UTF-8"?>
<project xmlns="http://maven.apache.org/POM/4.0.0" xmlns:xsi="http://www.w3.org/2001/XMLSchema-instance"
         xsi:schemaLocation="http://maven.apache.org/POM/4.0.0 https://maven.apache.org/xsd/maven-4.0.0.xsd">
    <modelVersion>4.0.0</modelVersion>
    <parent>
        <groupId>org.springframework.boot</groupId>
        <artifactId>spring-boot-starter-parent</artifactId>
        <version>3.3.0</version>
        <relativePath/> <!-- lookup parent from repository -->
    </parent>
    <groupId>com.kdx</groupId>
    <artifactId>springAI</artifactId>
    <version>0.0.1-SNAPSHOT</version>
    <name>springAI</name>
    <description>Demo project for Spring Boot</description>
    <properties>
        <java.version>17</java.version>
        <spring-ai.version>1.0.0-M1</spring-ai.version>
    </properties>
    <dependencies>
        <dependency>
            <groupId>org.springframework.boot</groupId>
            <artifactId>spring-boot-starter-web</artifactId>
        </dependency>
        <dependency>
            <groupId>org.springframework.ai</groupId>
            <artifactId>spring-ai-openai-spring-boot-starter</artifactId>
        </dependency>

        <dependency>
            <groupId>org.springframework.boot</groupId>
            <artifactId>spring-boot-starter-test</artifactId>
            <scope>test</scope>
        </dependency>
    </dependencies>
    <dependencyManagement>
        <dependencies>
            <dependency>
                <groupId>org.springframework.ai</groupId>
                <artifactId>spring-ai-bom</artifactId>
                <version>${spring-ai.version}</version>
                <type>pom</type>
                <scope>import</scope>
            </dependency>
        </dependencies>
    </dependencyManagement>

    <build>
        <plugins>
            <plugin>
                <groupId>org.apache.maven.plugins</groupId>
                <artifactId>maven-compiler-plugin</artifactId>
                <version>3.8.1</version>
                <configuration>
                    <compilerVersion>17</compilerVersion>
                    <source>16</source>
                    <target>16</target>
                    <encoding>UTF-8</encoding>
                    <!-- maven 3.6.2及之后加上编译参数,可以让我们在运行期获取方法参数名称。 -->
                    <parameters>true</parameters>
                    <skip>true</skip>
                </configuration>
            </plugin>
        </plugins>


    </build>
    <repositories>
        <repository>
            <id>spring-milestones</id>
            <name>Spring Milestones</name>
            <url>https://repo.spring.io/milestone</url>
            <snapshots>
                <enabled>false</enabled>
            </snapshots>
        </repository>
    </repositories>

</project>
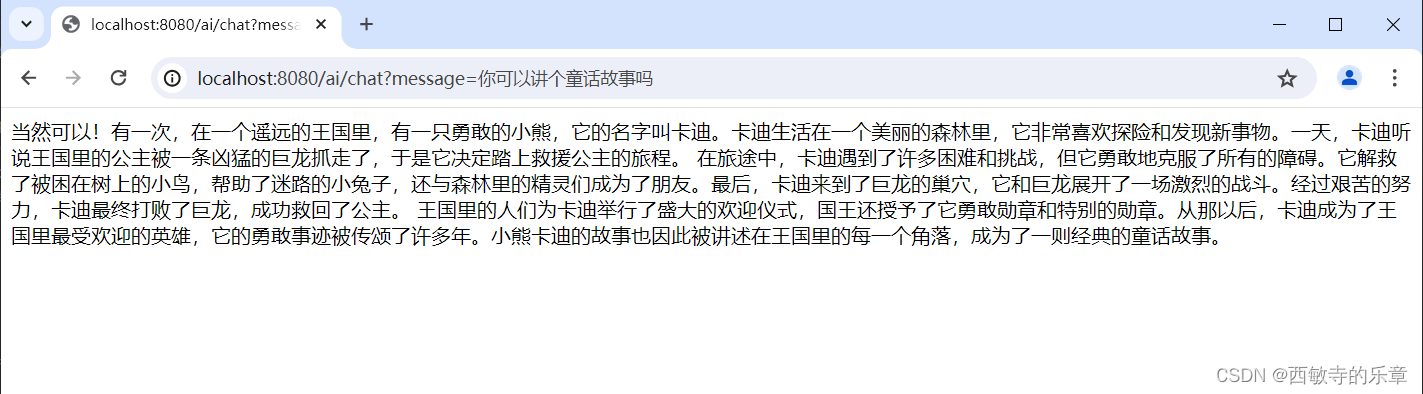
4.聊天代码测试
新建Controller类,通过接口调用测试
(1)聊天接口
    @Autowired
    private ChatClient chatClient;

//交流
    @RequestMapping("/chat")
    public String generation(@RequestParam(value = "message", defaultValue = "讲个笑话") String message) {

        //prompt:提示词
        return this.chatClient.prompt()
                //用户信息
                .user(message)
                //请求大模型
                .call()
                //返回文本
                .content();
    }
启动项目访问接口测试
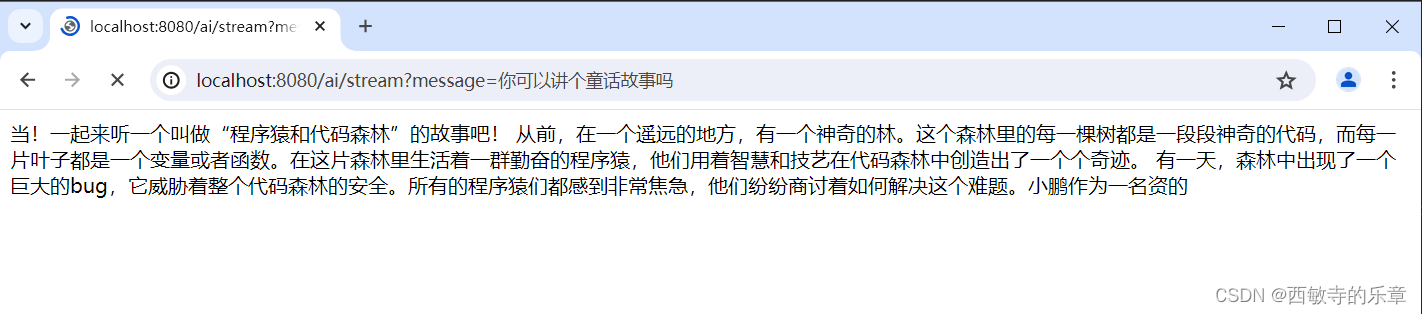
(2)流式响应
流式响应的意思就是,调用接口一次响应太多文字给浏览器需要等很久,使用流式响应真正的像GPT
    @Autowired
    private ChatClient chatClient;
//流式响应
    @RequestMapping(value = "/stream", produces = "text/html;charset=UTF-8")
    public Flux<String> stream(@RequestParam(value = "message", defaultValue = "讲个笑话") String message) {
        Flux<String> output = chatClient.prompt()
                .user(message)
                //流式调用
                .stream()
                .content();
        return output;
    }
启动项目访问接口测试
(3)chatModel api
chatModel API比ChatClient 更灵活,但是底层还是用的ChatClient ,可以去参考一下chatModel的API,可以设置很多参数,因为下面设置的是gpt-4,api-key必须要和版本对应
    @Autowired(required = false)
    private ChatModel chatModel;
    //chatModel api
    @RequestMapping(value = "/ChatResponse", produces = "text/html;charset=UTF-8")
    public String ChatResponse(@RequestParam(value = "message") String message) {
        ChatResponse response = chatModel.call(new Prompt(
                message,
                OpenAiChatOptions.builder()
                        //选择gpt版本
                        .withModel("gpt-4-32k")
                        .withTemperature(0.4f)
                        .build()
        ));
        return response.getResult().getOutput().getContent();
    }
(4)文字生成图片
它也是只有特定的模型才能使用,需要对应的api-key
    @Autowired(required = false)
    private OpenAiImageModel openaiImageModel;
	//文生图
    @RequestMapping(value = "/openaiImageModel", produces = "text/html;charset=UTF-8")
    public String openaiImageModel(@RequestParam(value = "message") String message) {
        ImageResponse response = openaiImageModel.call(
                new ImagePrompt(message,
                        OpenAiImageOptions.builder()
                                //图片质量
                                .withQuality("hd")
                                //生成几张
                                .withN(1)
                                //尺寸
                                .withHeight(1024)
                                .withWidth(1024).build())

        );
        return response.getResult().getOutput().getUrl();
    }
(5)文字生成语音
它也是只有特定的模型才能使用,需要对应的api-key
	//文生语音
    @RequestMapping(value = "/writeByte", produces = "text/html;charset=UTF-8")
    public String writeByte(@RequestParam(value = "message") String message) {
        OpenAiAudioSpeechOptions speechOptions = OpenAiAudioSpeechOptions.builder()
                .withModel(OpenAiAudioApi.TtsModel.TTS_1.value)
                .withVoice(OpenAiAudioApi.SpeechRequest.Voice.ALLOY)
                .withResponseFormat(OpenAiAudioApi.SpeechRequest.AudioResponseFormat.MP3)
                .withSpeed(1.0f)
                .build();

        SpeechPrompt speechPrompt = new SpeechPrompt(message, speechOptions);
        SpeechResponse response = openAiAudioSpeechModel.call(speechPrompt);

        byte[] body = response.getResult().getOutput();
        try {
            writeByte(body,"D:\\Project");
        } catch (Exception e) {
            System.out.println(e);
        }
        return "ok";
    }

    public static void writeByte(byte[] audioBytes, String outputFilePath) throws IOException {
        FileOutputStream fileOutputStream = new FileOutputStream(outputFilePath + "111.mp3");
        fileOutputStream.write(audioBytes);
        fileOutputStream.close();
    }
(6)预先定义角色
意思就是在调用聊天模型的时候,预先给他设定好一个角色
比如调用聊天接口,他是怎么知道他是java开发工程师的呢?就是通过预先定义角色

新建一个AIConfig 配置类,通过一段文字在springboot启动时,预先给他定义他的角色
@Configuration
public class AIConfig {

    //角色预设
    @Bean
    ChatClient chatClient(ChatClient.Builder builder) {
        return builder.defaultSystem("你现在不是chatGPT了,我希望你以一个java工程师的身份来和我对话,你是一个在卡迪熊公司工作的java开发工程师,你叫小鹏!")
                .build();
    }
}
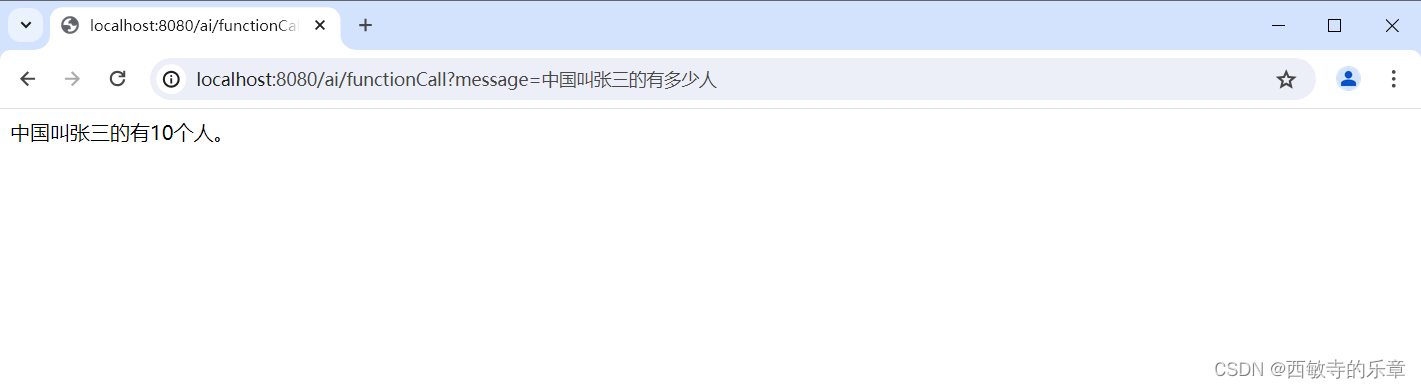
(7)functionCall功能
目的是可以让其他的应用程序结合GPT使用,可以更精准的返回信息,下面的apply方法就可以调用别的程序,收集信息。
- 在AIConfig的配置类中加入代码,这里的Description注解就是触发该Function方法的关键字
    @Bean
    @Description("有多少人")
    LocationNameFunction LocationNameFunction() {
        return new LocationNameFunction();
    }
- 然后再新建一个LocationNameFunction类,通过关键字"有多少人"触发动作,执行类中apply方法
package com.kdx.springai.functions;


import java.util.Objects;
import java.util.function.Function;


public class LocationNameFunction implements Function<LocationNameFunction.Request, LocationNameFunction.Response> {

    @Override
    public Response apply(Request request) {
        if (Objects.isNull(request.location) || Objects.isNull(request.name)) {
            return new Response("缺少参数");
        }

        return new Response("有10个人");
    }

    //接收提取关键信息

    public record Request(
            String name,
            String location) {
        @Override
        public String name() {
            return name;
        }

        @Override
        public String location() {
            return location;
        }
    }

    //最终响应给gpt
    public record Response(String message) {
    }

}
- 定义接口
	//functionCall
    @RequestMapping(value = "/functionCall", produces = "text/html;charset=UTF-8")
    public String functionCall(@RequestParam(value = "message") String message) {
        OpenAiChatOptions aiChatOptions = OpenAiChatOptions.builder()
                //设置实现了function接口的bean名称
                .withFunction("LocationNameFunction")
                .withModel(OpenAiApi.ChatModel.GPT_3_5_TURBO)
                .build();
        ChatResponse response = chatModel.call(new Prompt(message, aiChatOptions));
        return response.getResult().getOutput().getContent();
    }
- 测试
(8)如何通过代理的方式访问接口
现在是通过访问国内中转代理的方式,访问GPT的接口,但是怎么直接访问他的接口呢?
可以通过在启动类中加入代理信息。
    public static void main(String[] args) {
        System.setProperty("proxyType", "4");   //类型
        System.setProperty("proxyPort", "7890");    //端口
        System.setProperty("proxyHost", "127.0.0.1");   //ip
        System.setProperty("proxySet", "true");
        SpringApplication.run(SpringAiApplication.class, args);
    }
这个时候yaml文件的url就可以配置https://api.chatanywhere.cn,直接访问了
------------------------------------------------------需要源码,可以留言------------------------------------------------------
源码地址:https://github.com/ximinsideyuezhang/springAI


 8773
8773

 被折叠的 条评论
为什么被折叠?
被折叠的 条评论
为什么被折叠?
 到【灌水乐园】发言


