1.前言
由于前面学习了使用pygame的简单操作,现在学习当前的pygame怎么加载图片,并实现动画效果
2.首先在当前的界面中加载一个图片
使用的图片为:

# 使用当前的pygame加载图片

import pygame, sys

pygame.init()
screen = pygame.display.set_mode([640, 480])
screen.fill([255, 255, 205])
img = pygame.image.load("noavatar_small.gif")
screen.blit(img, [50, 50])
pygame.display.flip()

while True:
    for event in pygame.event.get():
        if event.type == pygame.QUIT:
            sys.exit()
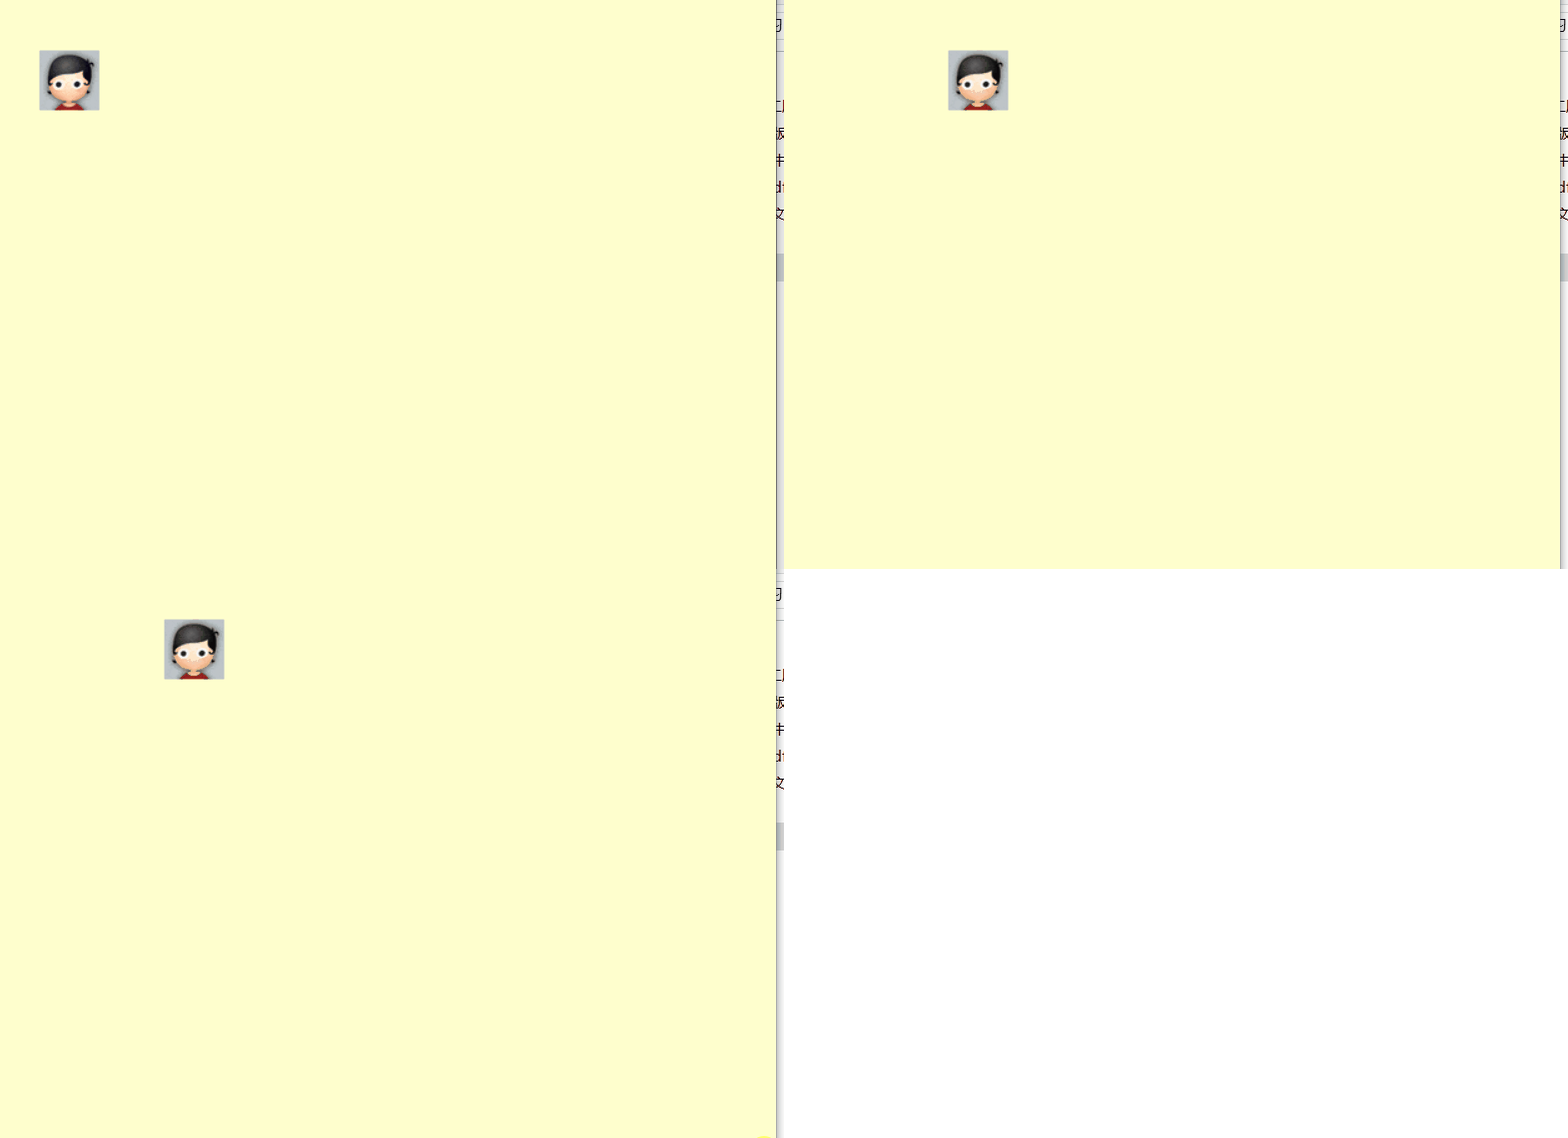
结果:

1.当前的加载图片需要使用pygame.image.load("noavatar_small.gif"),加载图片
2.将图片映射到界面上:screen.blit(img, [50, 50])
3.简单的让图片动起来
# 使用当前的pygame加载图片

import pygame, sys

pygame.init()
screen = pygame.display.set_mode([640, 480])
screen.fill([255, 255, 205])
img = pygame.image.load("noavatar_small.gif")
screen.blit(img, [50, 50])
pygame.display.flip()
pygame.time.delay(2000)
screen.blit(img, [150, 50])
pygame.draw.rect(screen, [255, 255, 205], [50, 50, 90, 90], 0)
pygame.display.flip()

while True:
    for event in pygame.event.get():
        if event.type == pygame.QUIT:
            sys.exit()
结果:

1.当前的移动就是将原来的图片位置复制到移动的位置,然后将旧位置的图片变成背景颜色即可!
2.还是通过screen.blit(img, [150, 50])复制图片到新的位置,通过pygame.draw.rect将原来的位置的图片变为背景颜色
3.pygame.time.delay(20)就是表示动画刷新的时间
4.让图片循环的动起来(左右动起来)
# 使用当前的pygame加载图片

import pygame, sys

pygame.init()
screen_x = 640
screen_y = 480
init_x = 50
init_y = 50
screen = pygame.display.set_mode([screen_x, screen_y])
screen.fill([255, 255, 205])
img = pygame.image.load("noavatar_small.gif")
img_width = 48
img_height = 48
screen.blit(img, [init_x, init_y])
pygame.display.flip()
# flag_reverse = True
x_speed = 5

while True:
    for event in pygame.event.get():
        if event.type == pygame.QUIT:
            sys.exit()
    pygame.time.delay(20)
    pygame.draw.rect(screen, [255, 255, 205], [init_x, init_y, 90, 90], 0)
    # if init_x >= screen_x - img_width:
    #     flag_reverse = False
    # elif init_x <= 0:
    #     flag_reverse = True
    # if flag_reverse:
    #     init_x = init_x + 5
    # else:
    #     init_x = init_x - 5
    init_x = init_x + x_speed
    # init_y = init_y + y_speed
    if init_x > screen.get_width() - img_width or init_x < 0:
        x_speed = -x_speed
    screen.blit(img, [init_x, init_y])
    pygame.display.flip()
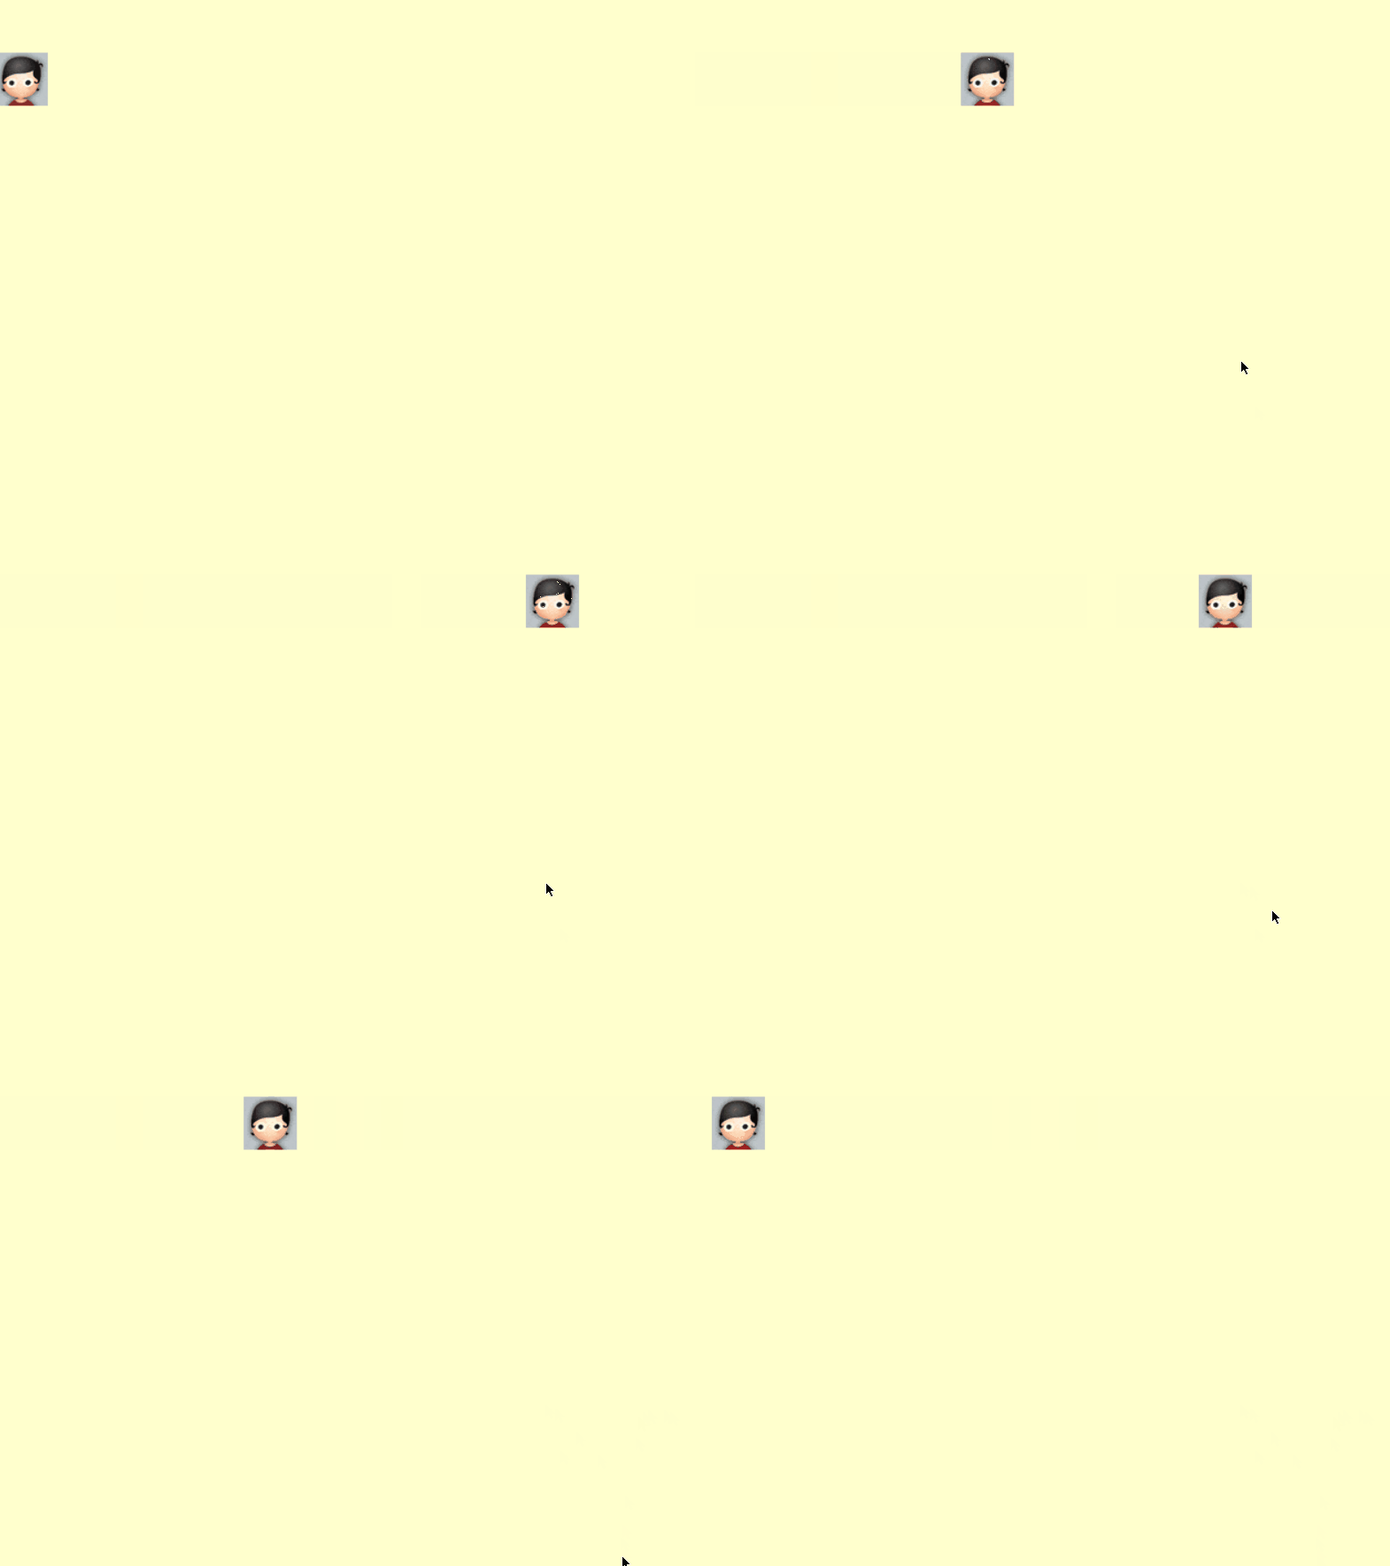
图片:

这里的动画就是判断边界即可
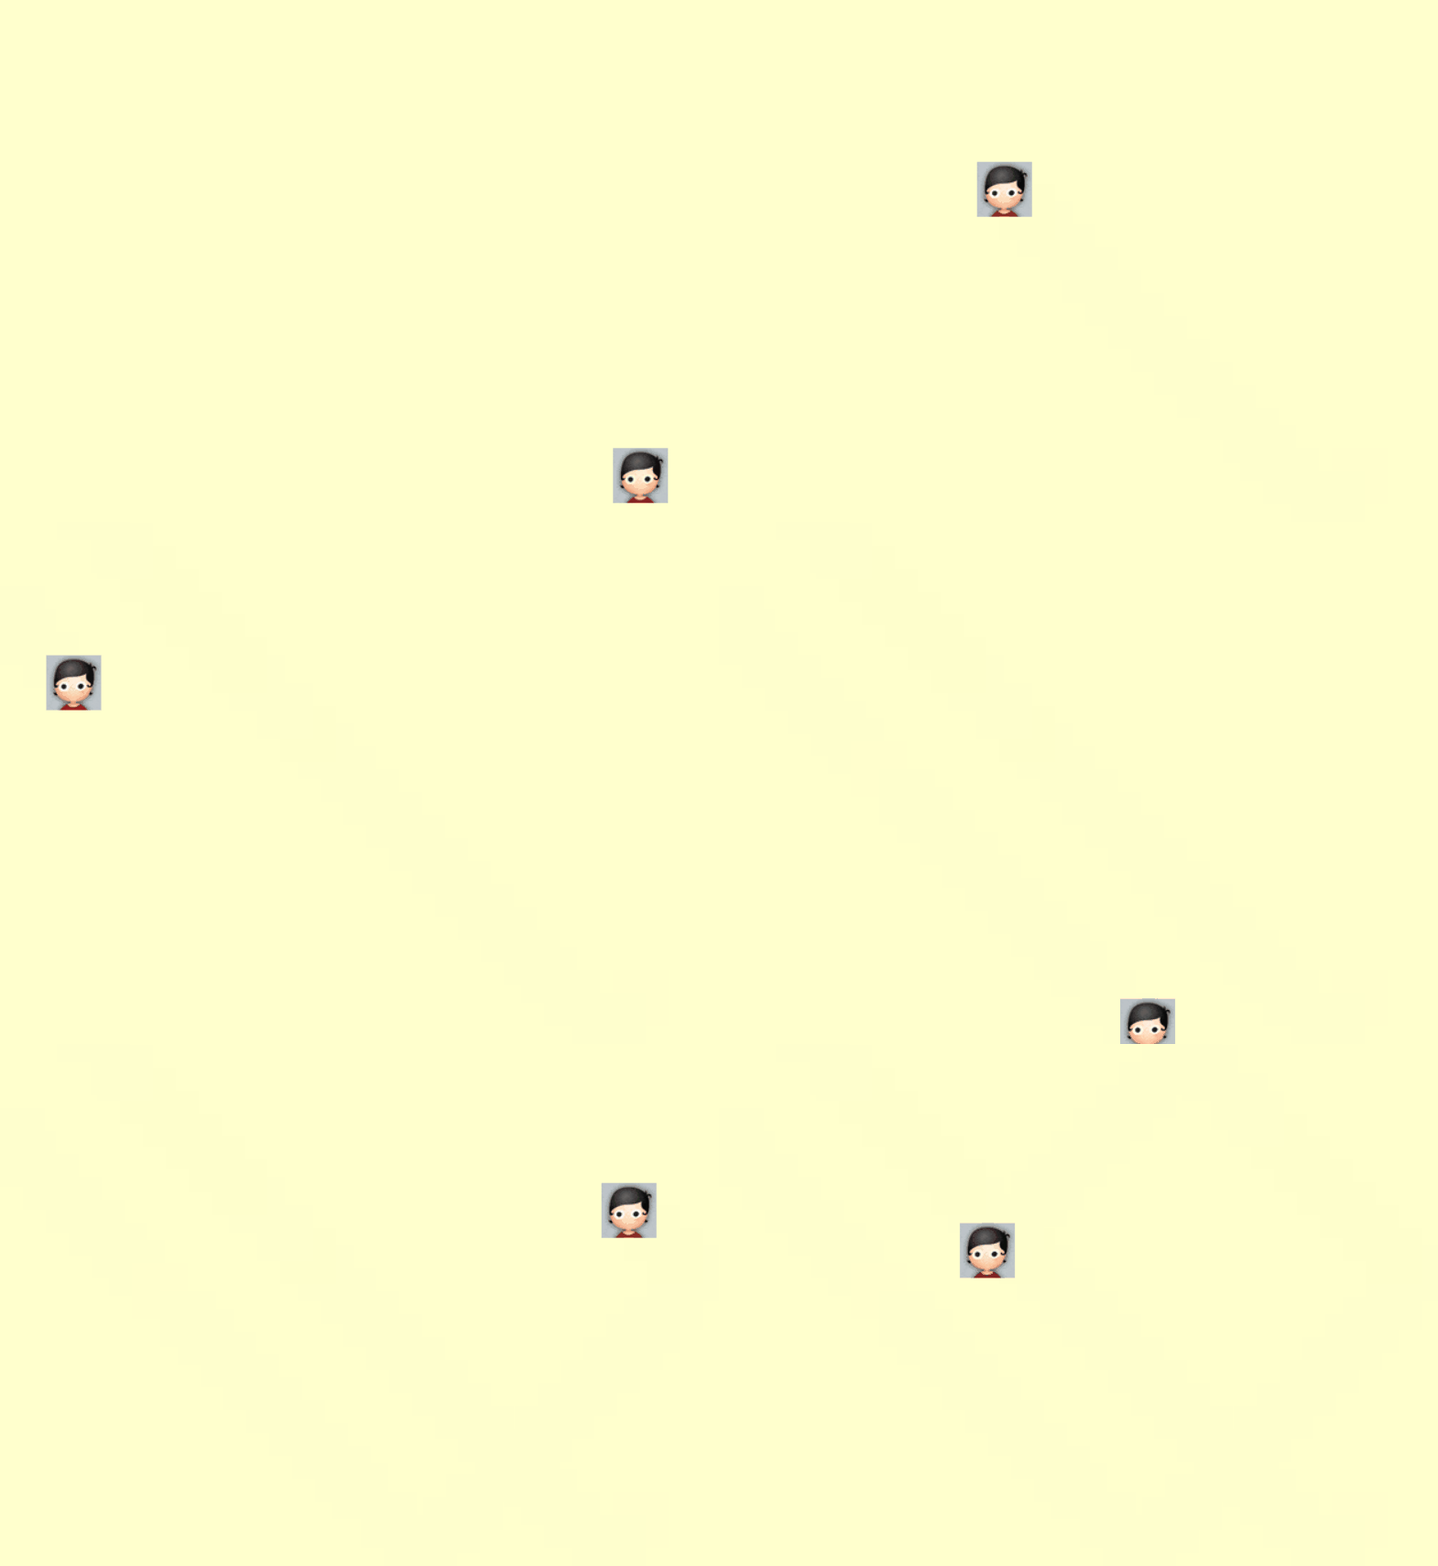
5.让当前的图片动起来2
# 使用当前的pygame加载图片

import pygame, sys

pygame.init()
screen_x = 640
screen_y = 480
init_x = 50
init_y = 50
screen = pygame.display.set_mode([screen_x, screen_y])
screen.fill([255, 255, 205])
img = pygame.image.load("noavatar_small.gif")
img_width = 48
img_height = 48
screen.blit(img, [init_x, init_y])
pygame.display.flip()
x_speed = 5
y_speed = 5

while True:
    for event in pygame.event.get():
        if event.type == pygame.QUIT:
            sys.exit()
    pygame.time.delay(20)
    pygame.draw.rect(screen, [255, 255, 205], [init_x, init_y, 90, 90], 0)

    init_x = init_x + x_speed
    init_y = init_y + y_speed
    if init_x > screen.get_width() - img_width or init_x < 0:
        x_speed = -x_speed
    if init_y > screen.get_height() - img_height or init_y < 0:
         y_speed = -y_speed
    screen.blit(img, [init_x, init_y])
    pygame.display.flip()

6.创建障碍物
# 使用当前的pygame加载图片
# 让图片在指定的墙上反弹
import pygame, sys

pygame.init()
screen_x = 640
screen_y = 480
init_x = 50
init_y = 50
screen = pygame.display.set_mode([screen_x, screen_y])
screen.fill([255, 255, 205])
img = pygame.image.load("noavatar_small.gif")
img_width = 48
img_height = 48
screen.blit(img, [init_x, init_y])
# 创建一个 指定的墙
# pygame.draw.rect(screen, [0, 0, 0], [200, 200, 10, 200], 1)
pygame.display.flip()
flag_reverse = True
x_speed = 5
y_speed = 5

while True:
    for event in pygame.event.get():
        if event.type == pygame.QUIT:
            sys.exit()
    pygame.time.delay(20)
    pygame.draw.rect(screen, [255, 255, 205], [init_x, init_y, 90, 90], 0)
    init_x = init_x + x_speed
    init_y = init_y + y_speed
    if init_x > screen.get_width() - img_width or init_x < 0:
        x_speed = -x_speed
    if init_y > screen.get_height() - img_height or init_y < 0:
        y_speed = -y_speed

    if (init_x >= 320 - img_width and init_x <= 325) \
            and (init_y >= 80 - img_width and init_y <= 100):
        x_speed = -x_speed
        y_speed = -y_speed

    screen.blit(img, [init_x, init_y])
    # 创建一个 指定的墙
    pygame.draw.rect(screen, [0, 0, 0], [320, 80, 5, 20], 1)
    pygame.display.flip()
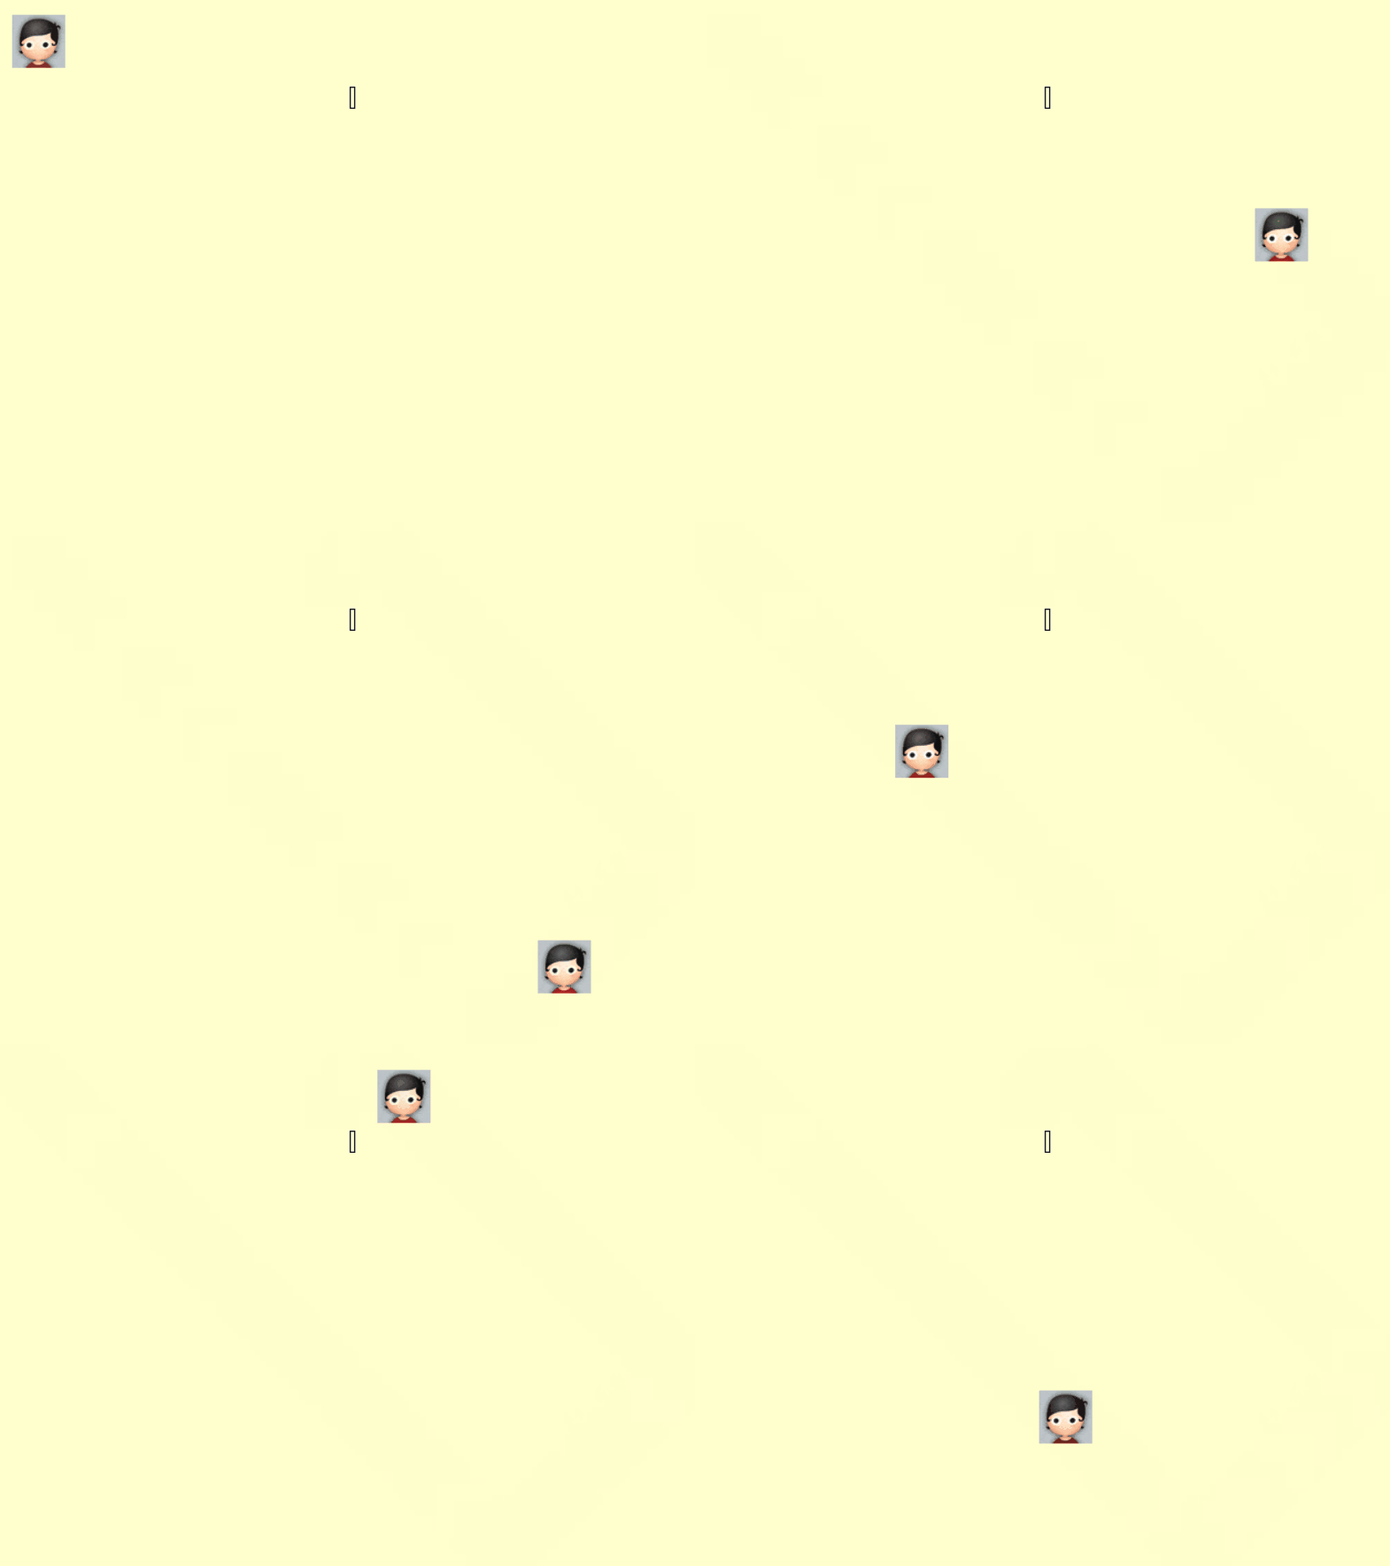
注意这里使用的是集合的并集!
结果:

7.总结
1.在任何使用的时候都首先需要初始化当前的pygame:pygame.init()
2.在导入动画的时候需要使用:pygame.image.load()加载本地的图片
3.在需要在pygame.display.set_mode()设置当前的显示界面的大小
4.通过screen.fill()填充画布的背景颜色
5.通过pygame.draw.XXX方式画任何图形
6.如果想让指定的位置显示这个图片:screen.blit(img,[x,y])画这个图片在指定的位置
7.动画就是将原来的图片复制到新的位置,然后将原来的图片擦除(就是附上同样的背景颜色),需要pygame.time.delay(20),和pygame.draw.rect(screen)


 1387
1387


 被折叠的 条评论
为什么被折叠?


