


 本文详细描述了如何配置新开发板,包括连接显示器、WiFi,烧录Ubuntu22.04系统,处理电源和散热问题,设置WiFi连接权限,管理防火墙规则,优化休眠功能,以及安装和配置TMUX。
开箱上手
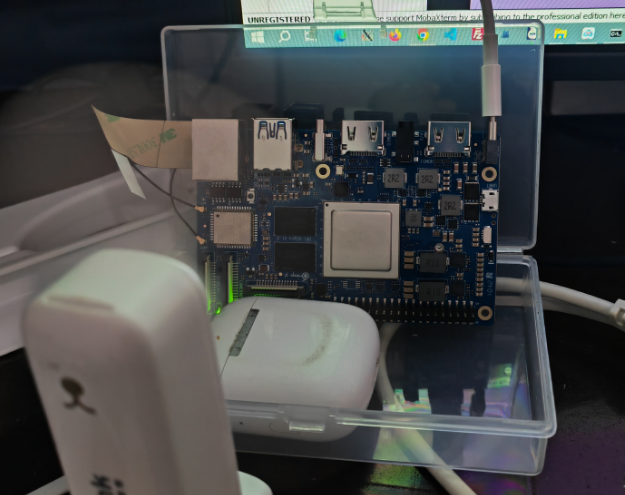
用显示器、键鼠连接开发板,连接了一下WiFi,并做了简单配置,后面就只需要一根电源线就够了。
系统烧录
使用256G的TF卡、windows10的balenaEtcher-Setup-1.18.4.exe烧录软件烧录“opiaipro_ubuntu22.04_desktop_aarch64_20240227.img.xz”文件。烧录有“烧录”、“验证”两个过程,我这里验证后提示烧录失败,但不影响在开发板上使用。
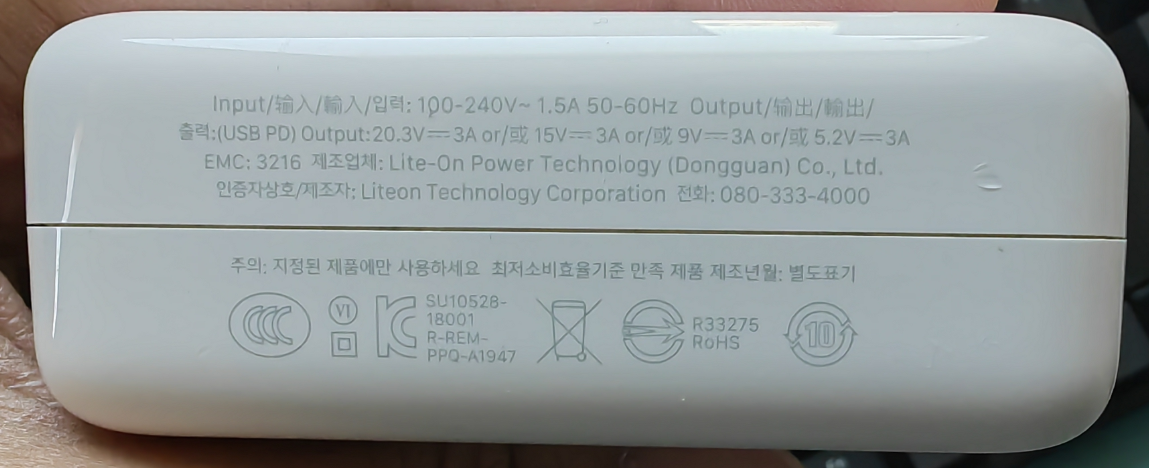
关于电源和散热
没有购买官方的电源所以找了两个已有电源试了试,都可以使用。
首先尝试使用的电源
第二次尝试使用的电源

板子到的第一天散热还没有到,我就用一把手持的小风扇对着板子吹,npu-smi info显示温度在30~34之间波动。这期间我连了一个1080的屏幕进行了一些配置,并没有跑AI的demo。
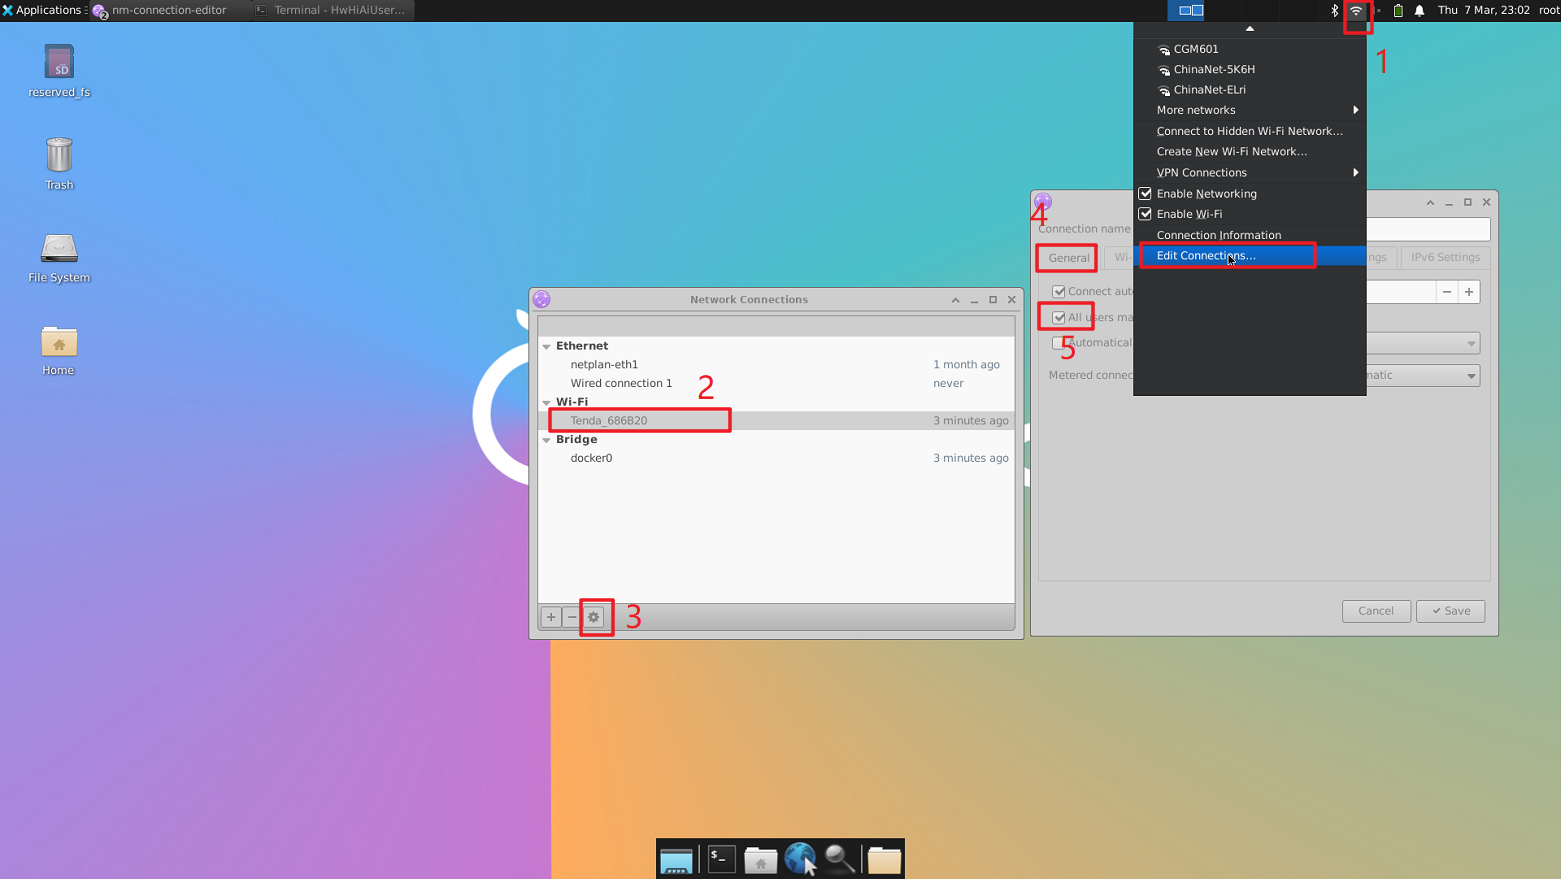
wifi相关
这里要设置一下任何用户都可以连接,不然上电开机后不会自动连接。需要手动输入密码,进入图形化界面才能连接。
防火墙相关
sudo apt-get update
sudo apt-get install ufw
sudo ufw allow 22		# ssh的端口
sudo ufw allow 5901		# vnc的端口
sudo ufw allow 6001		# vnc的端口
效率必备
休眠相关
systemctl mask sleep.target suspend.target hibernate.target hybrid-sleep.target
pip源
往pip.conf文件中写入配置
#创建一个文件夹
mkdir ~/.pip
#打开文件
vim ~/.pip/pip.conf
写入配置内容
[global]
index-url = https://pypi.tuna.tsinghua.edu.cn/simple
conda源
在~/.condarc文件中写入镜像路径
# 打开文件
vim ~/.condarc
写入如下内容
default_channels:
  - https://mirrors.tuna.tsinghua.edu.cn/anaconda/pkgs/main
  - https://mirrors.tuna.tsinghua.edu.cn/anaconda/pkgs/free
  - https://mirrors.tuna.tsinghua.edu.cn/anaconda/pkgs/r
tmux
无法apt直接安装,需要源码安装。
参考:TMUX安装教程
# tmux_download_installer.sh
# download
read -p "Enter the Download path: " target_path
read -p "Enter the install path: " install_path

mkdir ${install_path}

wget -P ${target_path} https://github.com/libevent/libevent/releases/download/release-2.1.11-stable/libevent-2.1.11-stable.tar.gz
wget -P ${target_path} https://github.com/tmux/tmux/releases/download/3.0a/tmux-3.0a.tar.gz
wget -P ${target_path} https://ftp.gnu.org/gnu/ncurses/ncurses-6.2.tar.gz --no-check-certificate

# unzip
tar -xzvf ${target_path}/libevent-2.1.11-stable.tar.gz -C ${install_path}
tar -xzvf ${target_path}/ncurses-6.2.tar.gz -C ${install_path}
tar -xzvf ${target_path}/tmux-3.0a.tar.gz -C ${install_path}

#bevent
cd ${install_path}/libevent*
./configure --prefix=/opt/tmux/tmux_depend --disable-shared
make && make install

#ncurses
cd ${install_path}/ncur*
./configure --prefix=/opt/tmux/tmux_depend
make && make install

#tmux
cd ${install_path}/tmux*
./configure CFLAGS="-I/opt/tmux/tmux_depend/include -I/opt/tmux/tmux_depend/include/ncurses" LDFLAGS="-L/opt/tmux/tmux_depend/lib -L/opt/tmux/tmux_depend/include/ncurses -L/opt/tmux/tmux_depend/include"

#CPPFLAGS="-I/opt/tmux/tmux_depend//include -I/opt/tmux/tmux_depend//include/ncurses" LDFLAGS="-static -L/opt/tmux/tmux_depend//include -L/opt/tmux/tmux_depend//include/ncurses -L/opt/tmux/tmux_depend//lib"

# add config file
echo "  " >  ~/.tmux.conf
cat>~/.tmux.conf<<EOF
# Send prefix
set-option -g prefix C-a
unbind-key C-a
bind-key C-a send-prefix

# Use Alt-arrow keys to switch panes
bind -n M-Left select-pane -L
bind -n M-Right select-pane -R
bind -n M-Up select-pane -U
bind -n M-Down select-pane -D

# Shift arrow to switch windows
bind -n S-Left previous-window
bind -n S-Right next-window

# Mouse mode
set -g mouse on


# Set easier window split keys
bind-key v split-window -h
bind-key h split-window -v

# Easy config reload
bind-key r source-file ~/.tmux.conf \; display-message "tmux.conf reloaded"
EOF

tmux source ~/.tmux.conf


 949
949


 被折叠的 条评论
为什么被折叠?
被折叠的 条评论
为什么被折叠?
 到【灌水乐园】发言


