


一、获取昵称和头像
TODO:用户通过邮箱登录后跳转到用户信息页,用户信息页展示用户头像和用户昵称信息,用户头像和用户昵称在用户信息页中均可修改,在点击下方的更新信息按钮后,新的用户信息将重新传递到云端。
方法一:云端API
// 获取用户信息的两种方法:

cloud.auto().getCruuentUser()
方法二:AppStorage
// 方法二:在用户登录时,将返回的用户信息存储在AppStorage中,在用户信息页中在取出展示。

// 登录页主要代码:
 const result = await cloud.auth().signIn({
         credentialInfo: {
           kind: 'email',
           email: this.phone,
           verifyCode: this.verifCode
         }
       })
const user = result.getUser()
 AppStorage.setOrCreate("user",user) // 存
// 用户信息页:
// 注意 Authuse 和null是不兼容的,所以需要联合类型
 @StorageLink("user")  user :AuthUser |null = null
  aboutToAppear(): void {
    this.UserName =  this.user?.getDisplayName()? this.user?.getDisplayName():""
    this.UserImgUrl = this.user?.getPhotoUrl()?this.user?.getPhotoUrl():""
  }
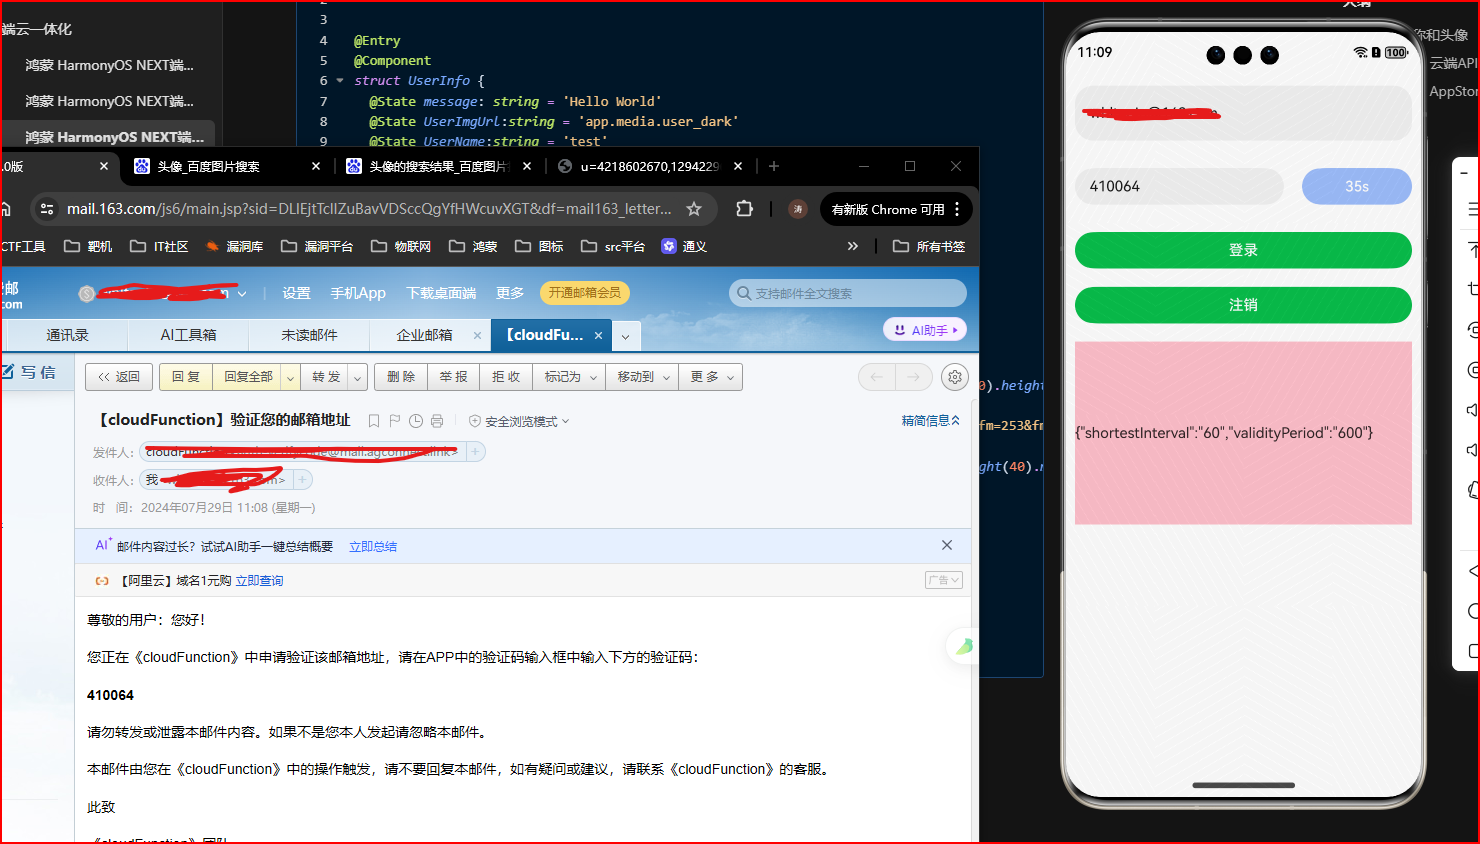
示例
TODO:用户通过邮箱登录后,获取到用户昵称和头像
- 登录页:
import cloud from '@hw-agconnect/cloud';
import { Auth, VerifyCodeAction } from '@hw-agconnect/cloud';
import router from '@ohos.router';

@Entry
@Component
struct PageTest {
  @State verificationBtnStr:string= "验证码"
  @State phone:string = ""
  @State verifcationBtnStatus:boolean = true
  @State timer :number = 0
  @State countDown:number = 60
  @State data:string = ""
  @State verifCode:string = ""
  // 注销
  loginOut(){
    cloud.auth().signOut().then(() => {
      //登出成功
      AlertDialog.show({
        title: "提示",
        message: "注销用户成功",


      })
    }).catch(() => {
      //登出失败
    });
  }
  //登录
  async login(){


     this.data = this.verifCode

     try{
       const result = await cloud.auth().signIn({
         credentialInfo: {
           kind: 'email',
           email: this.phone,
           verifyCode: this.verifCode
         }
       })

       const user = result.getUser()

       AppStorage.setOrCreate("user",user)
       router.replaceUrl({url:'pages/UserInfo'})
     } catch (e) {
       this.data= JSON.stringify(e)
       AlertDialog.show({
         title: "提示",
         message: JSON.stringify(e),

       })
     }


  }
  // 云端获取
  getCloudQrCode(){
    cloud.auth().requestVerifyCode({
      action: VerifyCodeAction.REGISTER_LOGIN,
      lang: 'zh_CN',
      sendInterval: 60,
      verifyCodeType: {
        email: this.phone,
        kind: "email",
      }
    }).then(verifyCodeResult => {
      //验证码申请成功
      console.log(JSON.stringify(verifyCodeResult))
      this.data = JSON.stringify(verifyCodeResult)
      AlertDialog.show({
        title: "提示",
        message: "获取验证码成功",
      })
    }).catch((error: Promise<Result>) => {
      AlertDialog.show({
        title: "提示",
        message: "获取验证码失败",
      })
      //验证码申请失败
    });

  }
  // 初始化参数:
  initData(){
    clearInterval(this.timer)
    this.verifcationBtnStatus = true
    this.verificationBtnStr  = "验证码"
    this.countDown  = 60
  }
  // 发送验证码
  getCode(){
    if(this.phone==''){
      AlertDialog.show({
        title: "提示",
        message: "请输入用户邮箱",

      })
      return;
    }
    this.verifcationBtnStatus = false

    this.getCloudQrCode()


    this.timer  = setInterval(()=>{
      this.verificationBtnStr = `${this.countDown}s`
      if(this.countDown===0){
        this.initData()
        return;
      }

      this.countDown --

    },1000)
  }
  build() {
    Column({space:20}){
      TextInput({placeholder:'请输入用户邮箱:'}).width("100%").height(60).margin({top:20})
        .onChange((value)=>{
          this.phone = value
        })
      Row(){
        TextInput({placeholder:"请输入验证码"}).layoutWeight(1).margin({right:20})
          .onChange((value)=>{
            this.verifCode =value
          })
        Button(this.verificationBtnStr).width(120).onClick(()=>{
          this.getCode()

        }).enabled(this.verifcationBtnStatus)

      }.width("100%").height(60)
      Button("登录").onClick( ()=>{
        this.data = "1aaaaaa"
        this.login()

      }).width("100%").height(40).padding({
        left:50,right:50
      }).backgroundColor("#ff08be4b")

      Button("注销").onClick( ()=>{
        this.data = "1aaaaaa"
        this.loginOut()

      }).width("100%").height(40).padding({
        left:50,right:50
      }).backgroundColor("#ff08be4b")


      Text(this.data).width("100%").height(200).backgroundColor(Color.Pink)
    }.width("100%").height("100%").padding({left:10,right:10})
  }
}
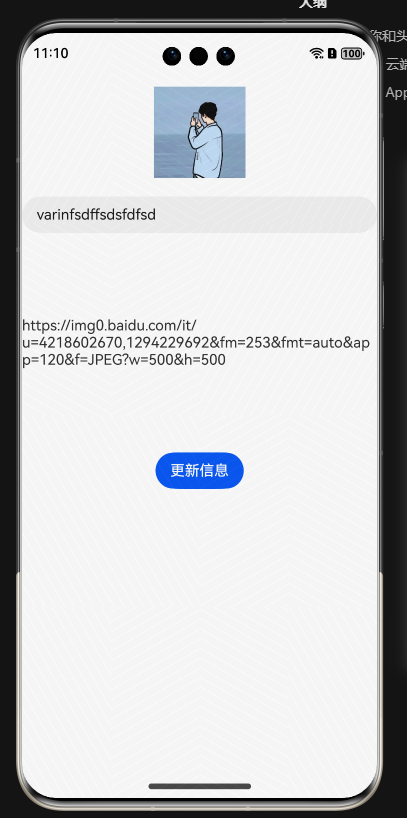
- 用户信息页:
import { AuthUser } from '@hw-agconnect/cloud'


@Entry
@Component
struct UserInfo {
  @State message: string = 'Hello World'
  @State UserImgUrl:string = 'app.media.user_dark'
  @State UserName:string = 'test'
  // 注意 Authuse 和null是不兼容的,所以需要联合类型

  @StorageLink("user")  user :AuthUser |null = null
  aboutToAppear(): void {
    this.UserName =  this.user?.getDisplayName()? this.user?.getDisplayName():""
    this.UserImgUrl = this.user?.getPhotoUrl()?this.user?.getPhotoUrl():""
  }


  build() {
      Column({space:20}){
        Image(this.UserImgUrl?this.UserImgUrl:$r("app.media.user_dark")).width(100).height(100).margin({top:20})
          .onClick(()=>{
            this.UserImgUrl = "https://img0.baidu.com/it/u=4218602670,1294229692&fm=253&fmt=auto&app=120&f=JPEG?w=500&h=500"
          })
        TextInput({placeholder:"请设置昵称",text:this.UserName}).width("100%").height(40).margin({left:20,right:20})
          .onChange((value)=>{
            this.UserName = value
          })
        Text(this.UserImgUrl).width("100%").height(200)


      }.width("100%").height("100%")
  }
}
二、云存储服务
本项目在创建项目时就开通了云存储业务,所以就不演示了。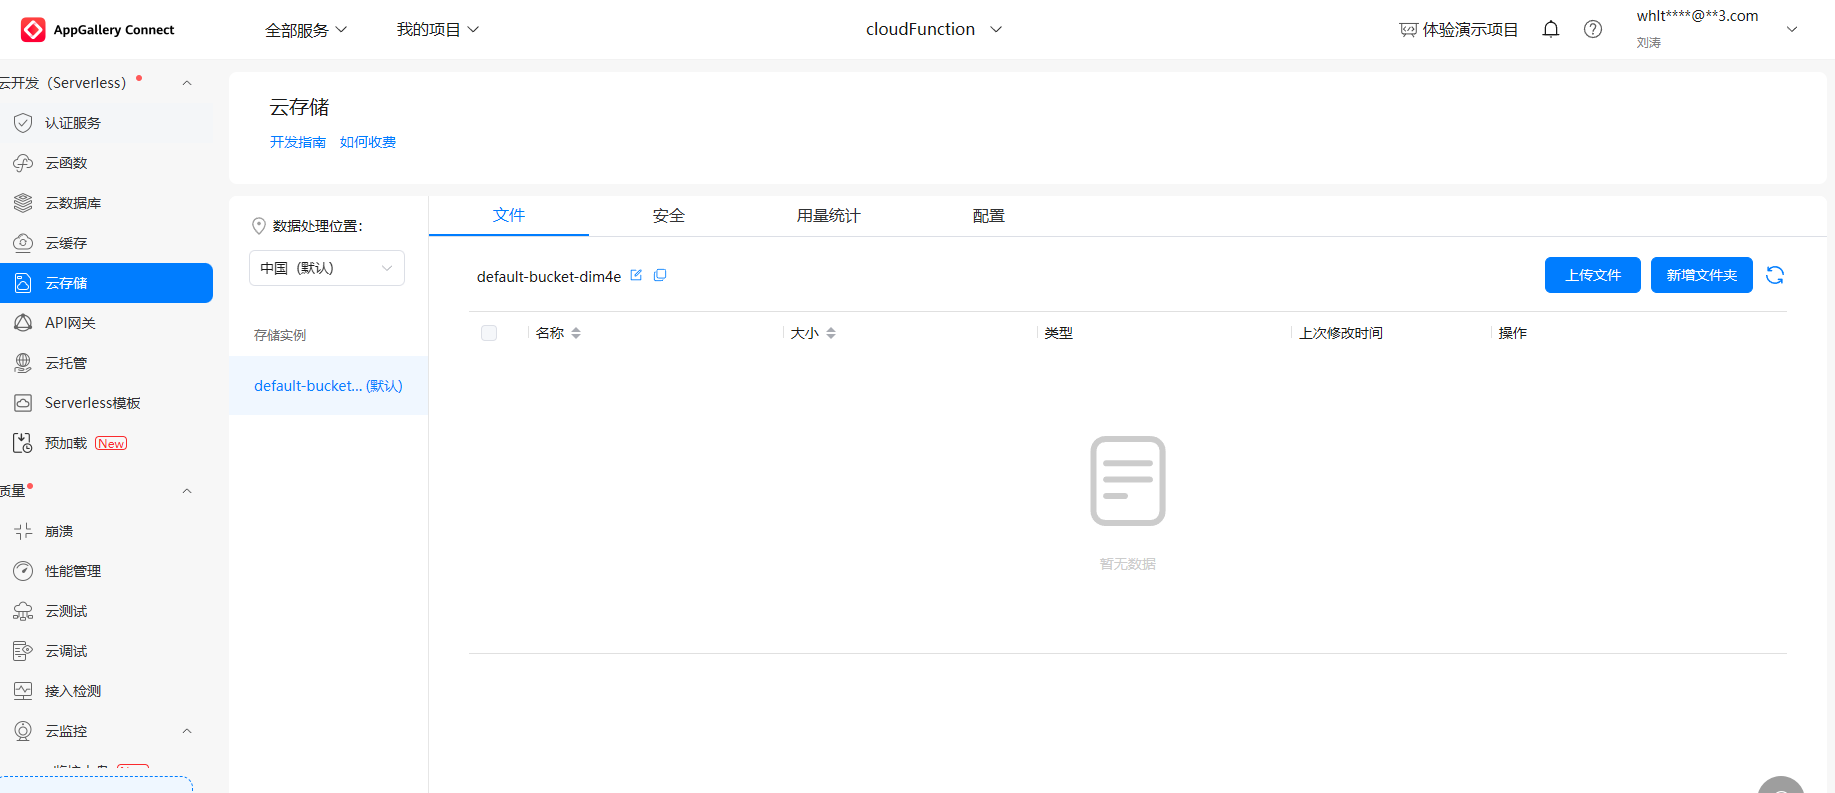
注意点1:免费额度为:5G(超过则需要付费)
注意点2:如果是需要点击开通该服务的,在操作完开通流程后,记得更新agconnect-services.json文件
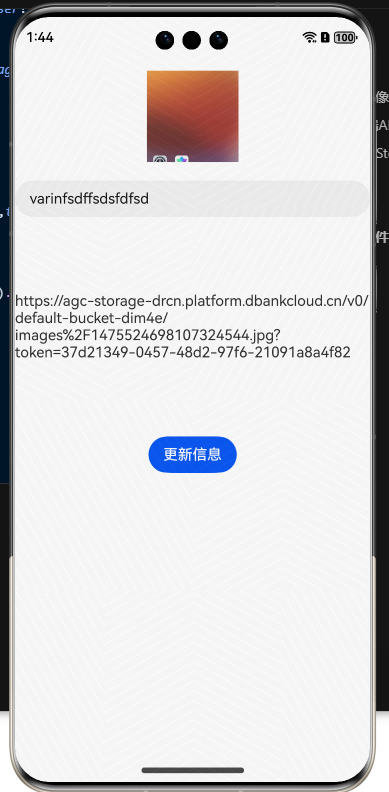
三、云存储上传文件
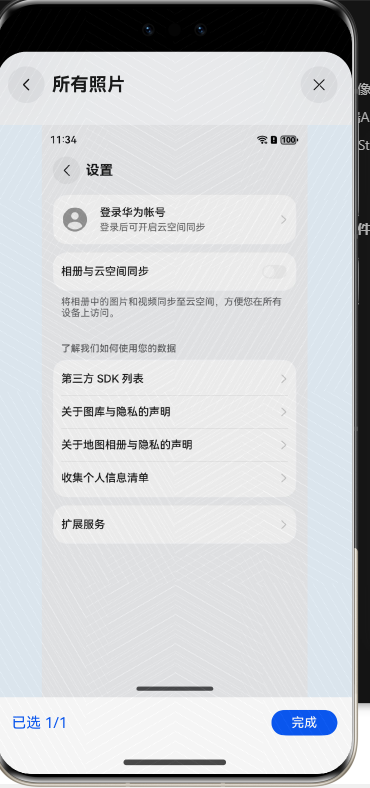
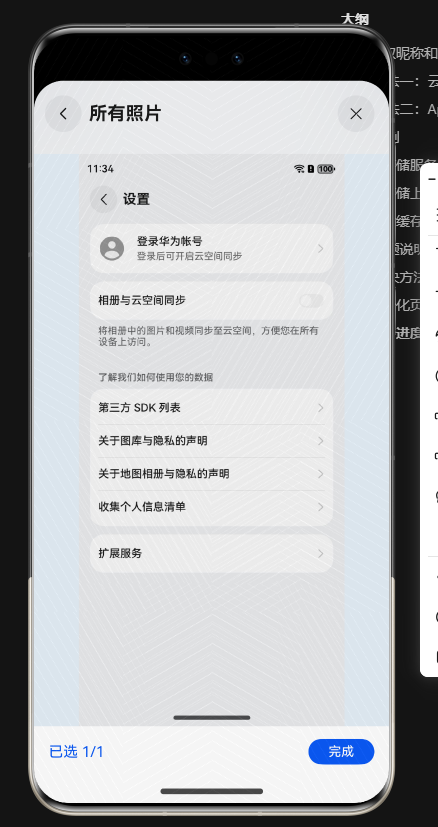
TODO:用户登录后,通过点击头像打开相册,将相册中的图片上传到云存储中,并更新用户信息。:
// 示例代码

 // 步骤1:打开相册
const options = new picker.PhotoSelectOptions()
options.MIMEType= picker.PhotoViewMIMETypes.IMAGE_TYPE // img类型
options.maxSelectNumber=1 // 选择图片数量
const result = await new picker.PhotoViewPicker().select(options)
//步骤2:上传
await cloud.storage().upload({
  localPath:result.photoUris[0],
  cloudPath:`images/${this.user?.getUid()}.jpg`
})
//步骤3:回显
const url = await cloud.storage().getDownloadURL(`images/${this.user?.getUid()}.jpg`)
this.UserImgUrl = url // 赋值给UserImgUrl显示到用户信息页上
完整示例:
- 用户信息页:
import cloud, { AuthUser } from '@hw-agconnect/cloud'
import { picker } from '@kit.CoreFileKit'


@Entry
@Component
struct UserInfo {
  @State message: string = 'Hello World'
  @State UserImgUrl:string = 'app.media.user_dark'
  @State UserName:string = 'test'
  // 注意 Authuse 和null是不兼容的,所以需要联合类型

  @StorageLink("user")  user :AuthUser |null = null
  aboutToAppear(): void {
    this.UserName =  this.user?.getDisplayName()? this.user?.getDisplayName():""
    this.UserImgUrl = this.user?.getPhotoUrl()?this.user?.getPhotoUrl():""
  }

  async updateInfo(){
    await this.user?.updateProfile({
      displayName:this.UserName,
      photoUrl:this.UserImgUrl
    })
    AlertDialog.show({
      title: "提示",
      message: "用户信息更新成功",

    })
  }
  build() {
      Column({space:20}){
        Image(this.UserImgUrl?this.UserImgUrl:$r("app.media.user_dark")).width(100).height(100).margin({top:20})
          .onClick(async ()=>{
            // this.UserImgUrl = "https://img0.baidu.com/it/u=4218602670,1294229692&fm=253&fmt=auto&app=120&f=JPEG?w=500&h=500"

            try{
              // 打开相册
              const options = new picker.PhotoSelectOptions()
              options.MIMEType= picker.PhotoViewMIMETypes.IMAGE_TYPE // img类型
              options.maxSelectNumber=1 // 选择图片数量
              const result = await new picker.PhotoViewPicker().select(options)
              // 上传
              await cloud.storage().upload({
                localPath:result.photoUris[0],
                cloudPath:`images/${this.user?.getUid()}.jpg`
              })
              // 回显
              const url = await cloud.storage().getDownloadURL(`images/${this.user?.getUid()}.jpg`)
              this.UserImgUrl = url

            } catch (e) {
            }

          })
        TextInput({placeholder:"请设置昵称",text:this.UserName}).width("100%").height(40).margin({left:20,right:20})
          .onChange((value)=>{
            this.UserName = value
          })
        Text(this.UserImgUrl).width("100%").height(200)

        Button("更新信息")
          .onClick(()=>{
            this.updateInfo()
          })
      }.width("100%").height("100%")
  }
}
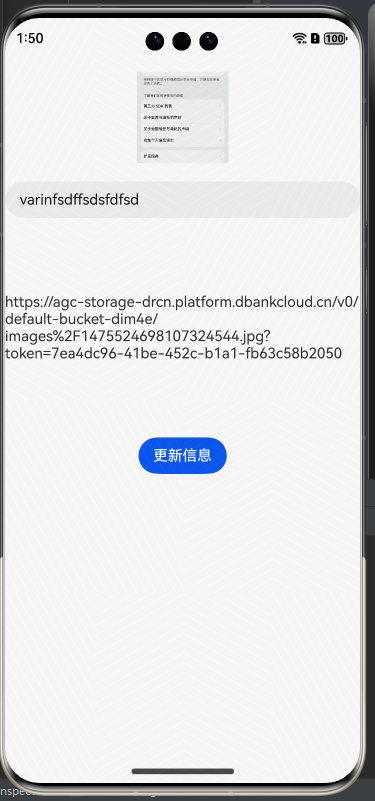
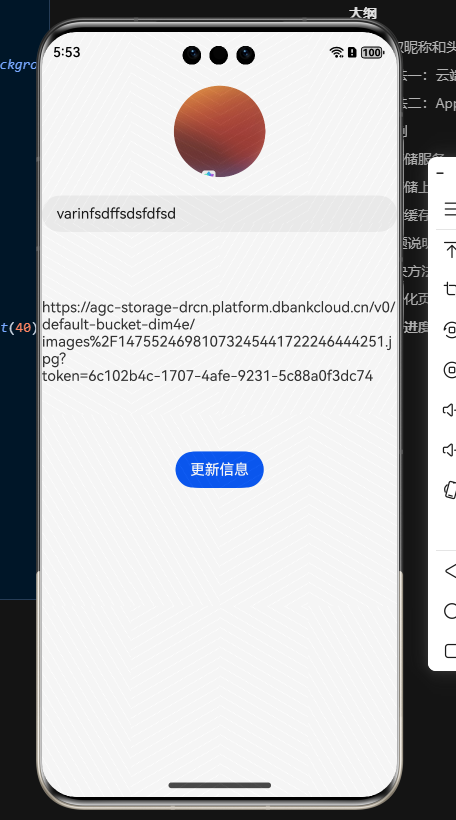
- 效果
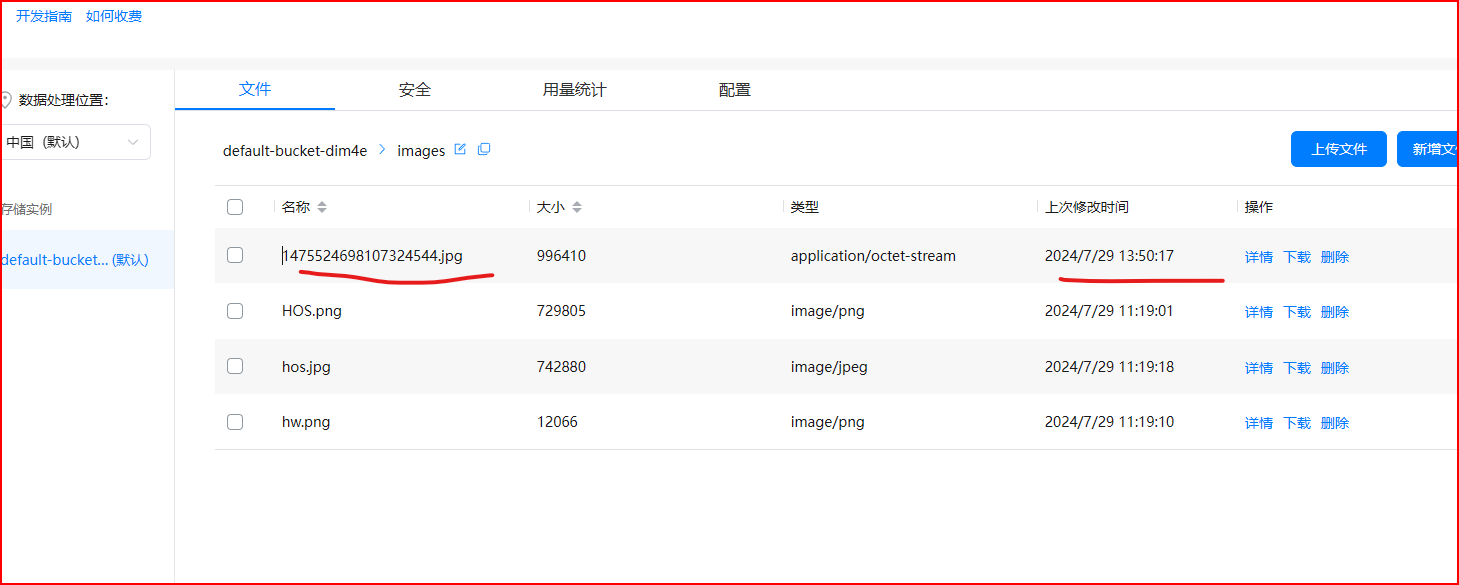
四、图片缓存问题
问题说明:
因为本次实例是以登录用户的UUID作为图片的名称上传的,所以如果切换图片上传的话,
新的图片地址和旧的图片地址都是一样的,系统就会认为是同一张图片,从而只显示系统中存在
图片,而并不会重新更新云存储中新的图片。
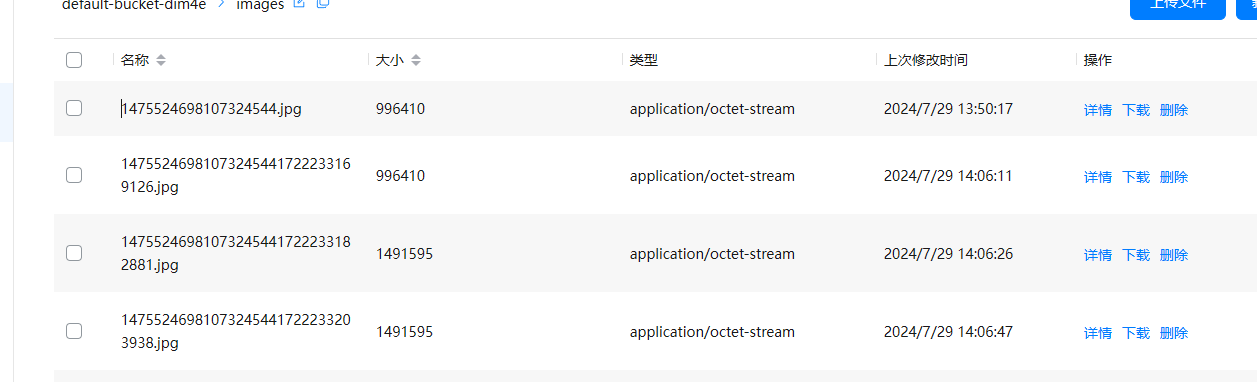
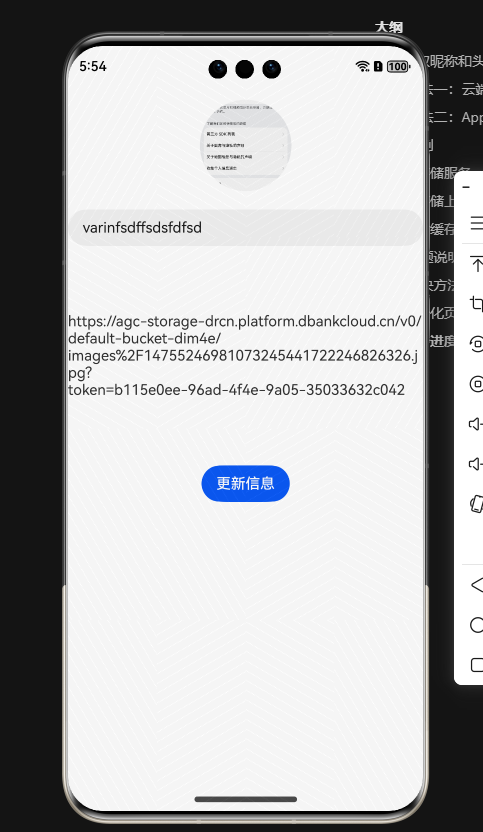
解决方法:
// 在每次上传成功后,重新更新存储图片的RUL即可。
// 方法1:可以修改上传时的图片名称
// 方法2:在url后添加一个随机的参数
// 方法1:`images/${this.user?.getUid()}${new Date().getTime().toString()}.jpg`
// 打开相册
const options = new picker.PhotoSelectOptions()
options.MIMEType= picker.PhotoViewMIMETypes.IMAGE_TYPE // img类型
options.maxSelectNumber=1 // 选择图片数量
const result = await new picker.PhotoViewPicker().select(options)
// 上传

const imgName = `images/${this.user?.getUid()}${new Date().getTime().toString()}.jpg`
await cloud.storage().upload({
  localPath:result.photoUris[0],
  cloudPath:imgName
})
// 回显
const url = await cloud.storage().getDownloadURL(imgName)
this.UserImgUrl = url
五:初始化页面判断(自动登录)
TODO:在应用的登录界面,初始化Auth实例,获取AGC的用户信息,检查是否有已经登录的用户。如果有,则可以直接进入用户界面,否则显示登录界面。
// 在生命周期方法内判断,如果存在user信息就直接跳转到用户信息页中
aboutToAppear(): void {

    cloud.auth().getCurrentUser().then(user=>{
      if(user){
        //业务逻辑
        AppStorage.setOrCreate("user",user)
        router.replaceUrl({url:'pages/UserInfo'})
      }
    });
  }
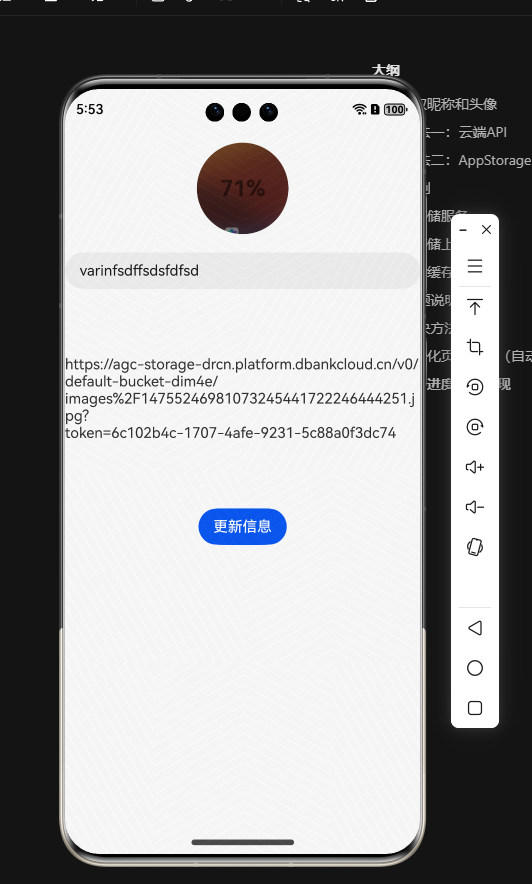
六:上传进度功能实现
TODO:点击头像框时,跳转到图库中,选择需要的头像并点击确定后,返回到用户信息页中,加载文件上传的进度,到100%时,头像上传成功,并显示选择的图片。
// 使用层叠布局将上传进度显示在头像框上
// 通过头像框是否可用判断是否显示进度框
import cloud, { AuthUser } from '@hw-agconnect/cloud'
import { picker } from '@kit.CoreFileKit'


@Entry
@Component
struct UserInfo {
  @State message: string = 'Hello World'
  @State UserImgUrl:string = 'app.media.user_dark'
  @State UserName:string = 'test'
  @State loadingText:string = "0" // 上传进度
   @State UserImgEnable:boolean = true // 头像是否可用
  // 注意 Authuse 和null是不兼容的,所以需要联合类型

  @StorageLink("user")  user :AuthUser |null = null
  aboutToAppear(): void {
    this.UserName =  this.user?.getDisplayName()? this.user?.getDisplayName():""
    this.UserImgUrl = this.user?.getPhotoUrl()?this.user?.getPhotoUrl():""
  }

  async updateInfo(){
    await this.user?.updateProfile({
      displayName:this.UserName,
      photoUrl:this.UserImgUrl
    })
    AlertDialog.show({
      title: "提示",
      message: "用户信息更新成功",

    })
  }
  build() {
      Column({space:20}){
        Stack(){
          Image(this.UserImgUrl?this.UserImgUrl:$r("app.media.user_dark")).width(100).height(100).borderRadius(100)
            .enabled(this.UserImgEnable)
            .onClick(async ()=>{
              try{
                // 打开相册
                const options = new picker.PhotoSelectOptions()
                options.MIMEType= picker.PhotoViewMIMETypes.IMAGE_TYPE // img类型
                options.maxSelectNumber=1 // 选择图片数量
                const result = await new picker.PhotoViewPicker().select(options)
                // 上传
                const imgName = `images/${this.user?.getUid()}${new Date().getTime().toString()}.jpg`
                await cloud.storage().upload({
                  localPath:result.photoUris[0],
                  cloudPath:imgName,
                  onUploadProgress:(value)=>{
                    this.UserImgEnable = false
                     this.loadingText =  Math.floor(100* value.loaded/value.total).toString()
                  }
                })
                this.UserImgEnable = true
                // 回显
                const url = await cloud.storage().getDownloadURL(imgName)
                this.UserImgUrl = url

              } catch (e) {
              }
            })
        // 判断头像框可用状态
         if(!this.UserImgEnable){
           Text(`${this.loadingText}%`).width(100).height(100).borderRadius(100).backgroundColor(Color.Black).opacity(.5)


             .fontWeight(700)
             .fontSize(24)
             .fontColor(Color.Black)
             .textAlign(TextAlign.Center)
         }

        }.margin({top:20})


        TextInput({placeholder:"请设置昵称",text:this.UserName}).width("100%").height(40).margin({left:20,right:20})
          .onChange((value)=>{
            this.UserName = value
          })
        Text(this.UserImgUrl).width("100%").height(200)

        Button("更新信息")
          .onClick(()=>{
            this.updateInfo()
          })
      }.width("100%").height("100%")
  }
}
- 效果图:


 744
744

 被折叠的 条评论
为什么被折叠?
被折叠的 条评论
为什么被折叠?
 到【灌水乐园】发言


