


 本文介绍了两种实现8x12点阵效果的方法,一种使用Vue组件,另一种通过HTML5canvas。方法一是通过触摸事件动态生成和修改点阵,方法二是利用canvas进行直观的格子绘制。文章还讨论了各自的优缺点及潜在的改进方向。
目录
一 、简介
本文用两种方式实现一个8x12的点阵效果,主要用于自定义点阵图案,生成点阵数据通过wifi/ble等传输途径,传入嵌入式设备驱动点阵屏显示对应图案。
二、主要思路
方法一:
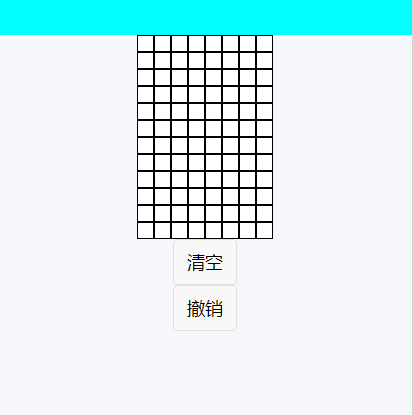
构建8x12的点阵视图
采用两个for循环生成一个8x12的矩阵
<view class="test-box" @touchstart="handleTouchStart" @touchmove="handleTouchMove" @touchend="handleTouchEnd">
			<view class="list" v-for="(list,listIndex) in 12" :key="listIndex">
				<view class="line" v-for="(line,lineIndex) in 8" :key="lineIndex">
					<!-- @tap="changeColor(listIndex, lineIndex)" -->
					<view class="little-btn"  :style="{backgroundColor: clickedViews[listIndex][lineIndex] == 1 ? 'red' : 'white' }"></view>
				</view>
			</view>
</view>
<button @click="clear">清空</button>
<button @click="revocation">撤销</button>
设置布局
.test-box{
display: flex;
flex-wrap: wrap;
width:136px;
height: 204px;
}
.list {
display: flex;
width: 100%;
}
.line {
width: calc(100% /8);
height: 15px;
border: 1px solid #000;
}
.little-btn{
width: 100%;
height: 100%;
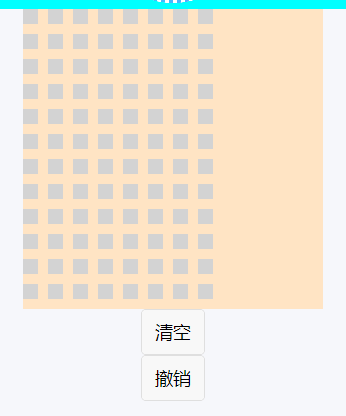
}效果图
js 代码
data() {
return {
clickedViews: [
[0,0,0,0,0,0,0,0],
[0,0,0,0,0,0,0,0],
[0,0,0,0,0,0,0,0],
[0,0,0,0,0,0,0,0],
[0,0,0,0,0,0,0,0],
[0,0,0,0,0,0,0,0],
[0,0,0,0,0,0,0,0],
[0,0,0,0,0,0,0,0],
[0,0,0,0,0,0,0,0],
[0,0,0,0,0,0,0,0],
[0,0,0,0,0,0,0,0],
[0,0,0,0,0,0,0,0]
],
view:[],
count:0,
left1 : 0,
top1 : 0,
right1 : 0,
bottom1 : 0,
moving: false
}
},
mounted() {
this.getXY();
},
methods:{
getXY(){
uni.createSelectorQuery().select('.test-box').boundingClientRect().exec((rect) => {
const { left, top } = rect[0];
const { right, bottom} =rect[0];
this.left1=left;
this.top1=top;
this.right1=right;
this.bottom1=bottom;
});
},
//单次点击记录
handleTouchStart(e) {
this.moving = true;
this.count+=1;
this.handleTouchMove(e);
},
//记录滑动路径
handleTouchMove(event) {
if (this.moving) {
const moveX = 8*(event.touches[0].clientX -this.left1); //this.startX;
const moveY = 12*(event.touches[0].clientY -this.top1); //this.startY;
// console.log(moveX,moveY);
// console.log((this.right1-this.left1)/8,(this.bottom1-this.top1)/12)
// 计算手指滑动对应的格子坐标
let offsetX = Math.floor(moveX / (this.right1-this.left1));
let offsetY = Math.floor(moveY / (this.bottom1-this.top1));
// console.log(offsetX,offsetY);
offsetX = Math.max(0, Math.min(offsetX, 7)); // 限制 offsetX 在 0 到 11 之间
offsetY = Math.max(0, Math.min(offsetY, 11)); // 限制 offsetY 在 0 到 7 之间
if(this.clickedViews[offsetY][offsetX]==0)
this.$set(this.clickedViews[offsetY], offsetX, 1);
this.view.push({count:this.count,x:offsetX,y:offsetY});
}
},
handleTouchEnd() {
this.moving = false;
},
//清空
clear(){
for(let i=0;i < this.clickedViews.length;i++){
for(let j=0;j < this.clickedViews[0].length;j++){
if(this.clickedViews[i][j]==1)
this.$set(this.clickedViews[i],j,0);
}
}
this.view=[];
this.count=0;
},
//撤回上一步操作
revocation(){
let th =this;
for(let i=th.view.length-1; i >= 0;i--){
if(th.view[i].count === th.count){
th.$set(th.clickedViews[th.view[i].y],th.view[i].x,0);
th.view.splice(i,1);
}else break;
}
if(th.count > 0)
th.count-=1;
}
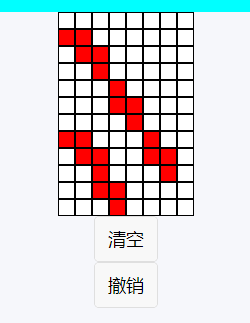
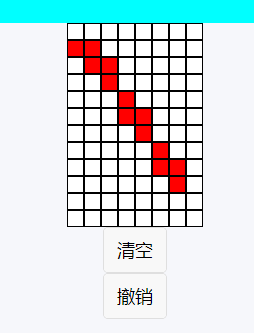
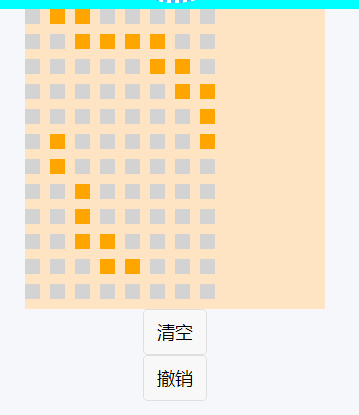
};运行效果:
方法二:
直接用canvas
<canvas style="width: 300px; height: 300px; background-color: bisque;" canvas-id="myCanvas" disable-scroll="true" @touchstart="handleTouchStart" @touchmove="handleTouchMove" ></canvas>
<button @click="clear">清空</button>
<button @click="revocation">撤销</button>
js代码主要逻辑与方法一相差不大
data() {
return {
selectedCell:[[0,0,0,0,0,0,0,0],
[0,0,0,0,0,0,0,0],
[0,0,0,0,0,0,0,0],
[0,0,0,0,0,0,0,0],
[0,0,0,0,0,0,0,0],
[0,0,0,0,0,0,0,0],
[0,0,0,0,0,0,0,0],
[0,0,0,0,0,0,0,0],
[0,0,0,0,0,0,0,0],
[0,0,0,0,0,0,0,0],
[0,0,0,0,0,0,0,0],
[0,0,0,0,0,0,0,0]], // 初始未选中任何格子
view:[],
count:0,
cellSize: 15, // 每个格子的大小
margin: 10, // 格子之间的间距
};
},
mounted: function() {
this.drawGrid();
},
methods:{
drawGrid() {
let that = this;
const ctx = uni.createCanvasContext('myCanvas', this);
for (let i = 0; i < 8; i++) {
for (let j = 0; j < 12; j++) {
const x = i * (that.cellSize + that.margin);
const y = j * (that.cellSize + that.margin);
ctx.setFillStyle(that.getCellColor(i, j));
ctx.fillRect(x, y, that.cellSize, that.cellSize);
}
}
ctx.draw();
},
getCellColor(i, j) {
if (this.selectedCell[j][i] == 1) {
// if (this.selectedCell.some(cell => cell.x === i && cell.y === j)) {
return 'orange'; // 如果是选中的格子,返回橙色
} else {
return 'lightgray';
}
},
handleTouchStart(e) {
this.count+=1;
this.handleTouchMove(e); // 处理起始位置
},
handleTouchMove(e) {
let that =this;
const x = Math.floor(e.touches[0].x / (that.cellSize + that.margin));
const y = Math.floor(e.touches[0].y / (that.cellSize + that.margin));
let offsetX = Math.max(0, Math.min(x, 7)); // 限制 offsetX 在 0 到 11 之间
let offsetY = Math.max(0, Math.min(y, 11)); // 限制 offsetY 在 0 到 7 之间
if(that.selectedCell[offsetY][offsetX] == 0){
that.$set(that.selectedCell[offsetY],offsetX,1); // 添加当前格子到选中格子数组
that.view.push({count:this.count,x:offsetX,y:offsetY});
that.drawGrid(); // 重新绘制格子
}
},
clear(){
for(let i=0;i < this.selectedCell.length;i++){
for(let j=0;j < this.selectedCell[0].length;j++){
if(this.selectedCell[i][j]==1){
this.$set(this.selectedCell[i],j,0);
}
}
}
this.drawGrid();
this.view=[];
this.count=0;
},
revocation(){
let th =this;
for(let i=th.view.length-1; i >= 0;i--){
if(th.view[i].count === th.count){
th.$set(th.selectedCell[th.view[i].y],th.view[i].x,0);
th.view.splice(i,1);
}else break;
}
this.drawGrid();
if(th.count > 0)
th.count-=1;
}
},
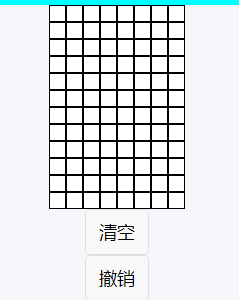
};运行效果:
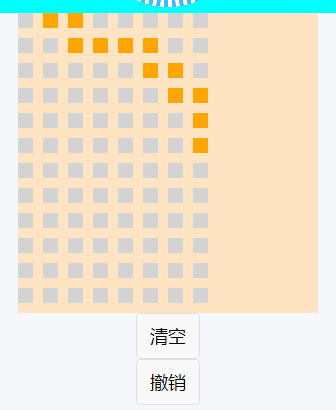

三、总结
优点:用12x8的矩阵记录对应位置点的数据方便数据点对点
缺点:这个点阵中在触控移动中是没有限定边界,后续优化是需要限定一下边界 处理速度还可以优化避免重复渲染


 5554
5554


 被折叠的 条评论
为什么被折叠?
被折叠的 条评论
为什么被折叠?
 到【灌水乐园】发言


