


一、简介
使用canvas实现的简单圆形色盘,可自定义相关大小,简单移植即可使用,多平台都可使用。
二、示例图

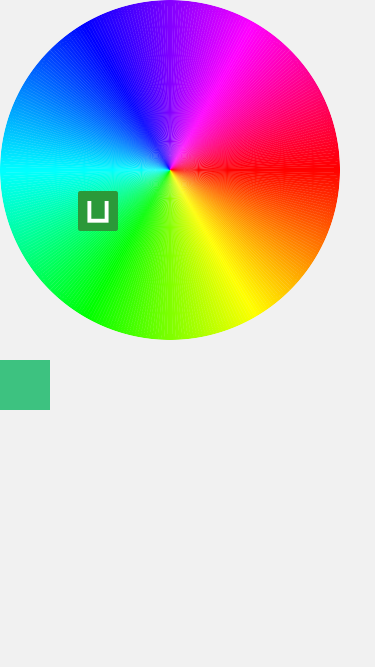
可拖拽取色
三、示例代码
<template>
	<view>
		<view class="round_picker" >
			<canvas  class="canvas1" canvas-id="boardcanvas">
				<canvas  class="canvas2" canvas-id="boardcanvas1" disable-scroll="true" @touchmove="drag" ></canvas>
			</canvas> <!-- disable-scroll="true" @touchmove="drag"  -->
		</view>
		<view style="margin-top: 20px;width: 50px;height: 50px;" :style="{backgroundColor:RGBcolor}"></view>
	</view>
</template>

<script>
	export default {
		data() {
			return {
				x: 0, //mouse point
				y: 0, // mouse point
				centerX: 0,
				centerY: 0,
				hsv: {},
				colorRes: '',
				RGBcolor:'',
			};
		},
		mounted() {
			this.boardInit()
		},
		methods: {
			boardInit() {
				let ctx = uni.createCanvasContext('boardcanvas', this)
				var width = 340
				var height = 340
				const centerX = width / 2;
				const centerY = height / 2;
				this.x = centerX
				this.y = centerY
				this.centerX = centerX
				this.centerY = centerY
				const radius = Math.min(centerX, centerY);
				for (let angle = 0; angle < 360; angle++) {
					 // 计算起始角度和结束角度(将角度转换为弧度)
					const startAngle = angle * Math.PI / 180;
					const endAngle = (angle + 1) * Math.PI / 180;
					// 创建环形渐变
					const gradient = ctx.createCircularGradient(centerX, centerY, radius);
					gradient.addColorStop(0, this.hslTohex(angle, 1, 0.5, false)); // 添加起始颜色
					gradient.addColorStop(1, this.hslTohex(angle + 1, 1, 0.5, false)); // 添加结束颜色
					// 设置填充样式为渐变色
					ctx.setFillStyle(gradient);
					// 开始绘制路径
					ctx.beginPath();
					// 将路径移动到圆心位置
					ctx.moveTo(centerX, centerY);
					// 绘制圆弧路径
					ctx.arc(centerX, centerY, radius, startAngle, endAngle);
					// 关闭路径
					ctx.closePath();
					// 填充路径
					ctx.fill();
				}
				ctx.draw()
			},
			drag(event) {
				var width = 340
				var height = 340
				const centerX = width / 2;
				const centerY = height / 2;
				const radius = Math.min(centerX, centerY) - 10;
				let x = event.touches[0].x - this.centerX;
				let y = event.touches[0].y - this.centerY;
				let distanceToCenter = Math.sqrt(
				    Math.pow(x, 2) + Math.pow(y, 2)
				);
				console.log(x,y,distanceToCenter)
				const distance = Math.sqrt(x * x + y * y);
				if(distanceToCenter > centerX){
					x = centerX*(x/distanceToCenter)
					y = centerY*(y/distanceToCenter)
					// return;
				}
				this.drawTouchPosition(centerX,centerY, x, y);
				var hue = Math.atan2(y, x) * 180 / Math.PI;
				if (hue < 0) {
					hue = 360 + hue
				}
				const saturation = distance / radius;
				const lightness = 0.5;
				this.hsv.h = hue
				this.hsv.v = lightness * 100
				// const color = `hsl(${hue}, ${saturation * 100}%, ${lightness * 100}%)`;
				this.$emit('change', this.hslTohex(hue, saturation, lightness,true));
			},
			 drawTouchPosition(centerX,centerY, x, y) {
				let ctx = uni.createCanvasContext('boardcanvas1', this);
				// console.log(1)
				// 清除所有内容
				ctx.clearRect(0, 0, centerX * 2, centerY * 2);
				// 绘制触摸位置
				ctx.drawImage('/static/logo.png', x+centerX-20, y+centerY-20, 40, 40);
				// 绘制完成后刷新画布
				ctx.draw(true);
			},
			/**
			 *
			 * @param {Number} H 色相 [0,360]
			 * @param {Number} S 饱和度 [0,1]
			 * @param {Number} L 亮度 [0,1]
			 */
			hslTohex(H, S, L,isTransferParam) {
				const C = (1 - Math.abs(2 * L - 1)) * S
				const X = C * (1 - Math.abs(((H / 60) % 2) - 1))
				const m = L - C / 2
				const vRGB = []
				if (H >= 0 && H < 60) {
					vRGB.push(C, X, 0)
				} else if (H >= 60 && H < 120) {
					vRGB.push(X, C, 0)
				} else if (H >= 120 && H < 180) {
					vRGB.push(0, C, X)
				} else if (H >= 180 && H < 240) {
					vRGB.push(0, X, C)
				} else if (H >= 240 && H < 300) {
					vRGB.push(X, 0, C)
				} else if (H >= 300 && H <= 360) {
					vRGB.push(C, 0, X)
				}
				const [vR, vG, vB] = vRGB
				const R = 255 * (vR + m)
				const G = 255 * (vG + m)
				const B = 255 * (vB + m)
				// return `rgb(${R},${G},${B})`
				var hex = "#" + ((1 << 24) + (Math.round(R) << 16) + (Math.round(G) << 8) + Math.round(B)).toString(16).slice(1);
				if(isTransferParam){
					this.RGBcolor = hex;
				}
				return hex
			}
		}
	}
</script>

<style>
	.round_picker {
		/* position: relative; */
		width: 340px;
		height: 340px;
		border-radius: 50%;
		overflow: hidden;
	}
	.canvas1 {
		position: relative;
		width: 100%;
		height: 100%;
	}
	.canvas2{
		position: absolute;
		width: 100%;
		height: 100%;
	}
</style>
css 中定义的宽高与script函数中的width 和heigth 值是相等关系,可定义相关函数自动获取view的宽高,让视图变的更灵活。
四、优缺点
优点:自定义的取色器可玩性很高。
缺点:某些处理能力较差的平台上会出现卡顿的现象,相较原生的性能差点。


 1327
1327


 被折叠的 条评论
为什么被折叠?
被折叠的 条评论
为什么被折叠?
 到【灌水乐园】发言


