


前言
在学习yolo的过程中,最后还是需要在载体上去体现,从开发来说使用QT/TK进行PC的应用开发比较常见。在学习的过程中有发现较为成熟的QT设计工具,因商业授权可能存在歧义后续转为TK处理,在过程中除了了解基于TK生成不错的UI组件库ttkbootstrap以及其他的便捷工具。
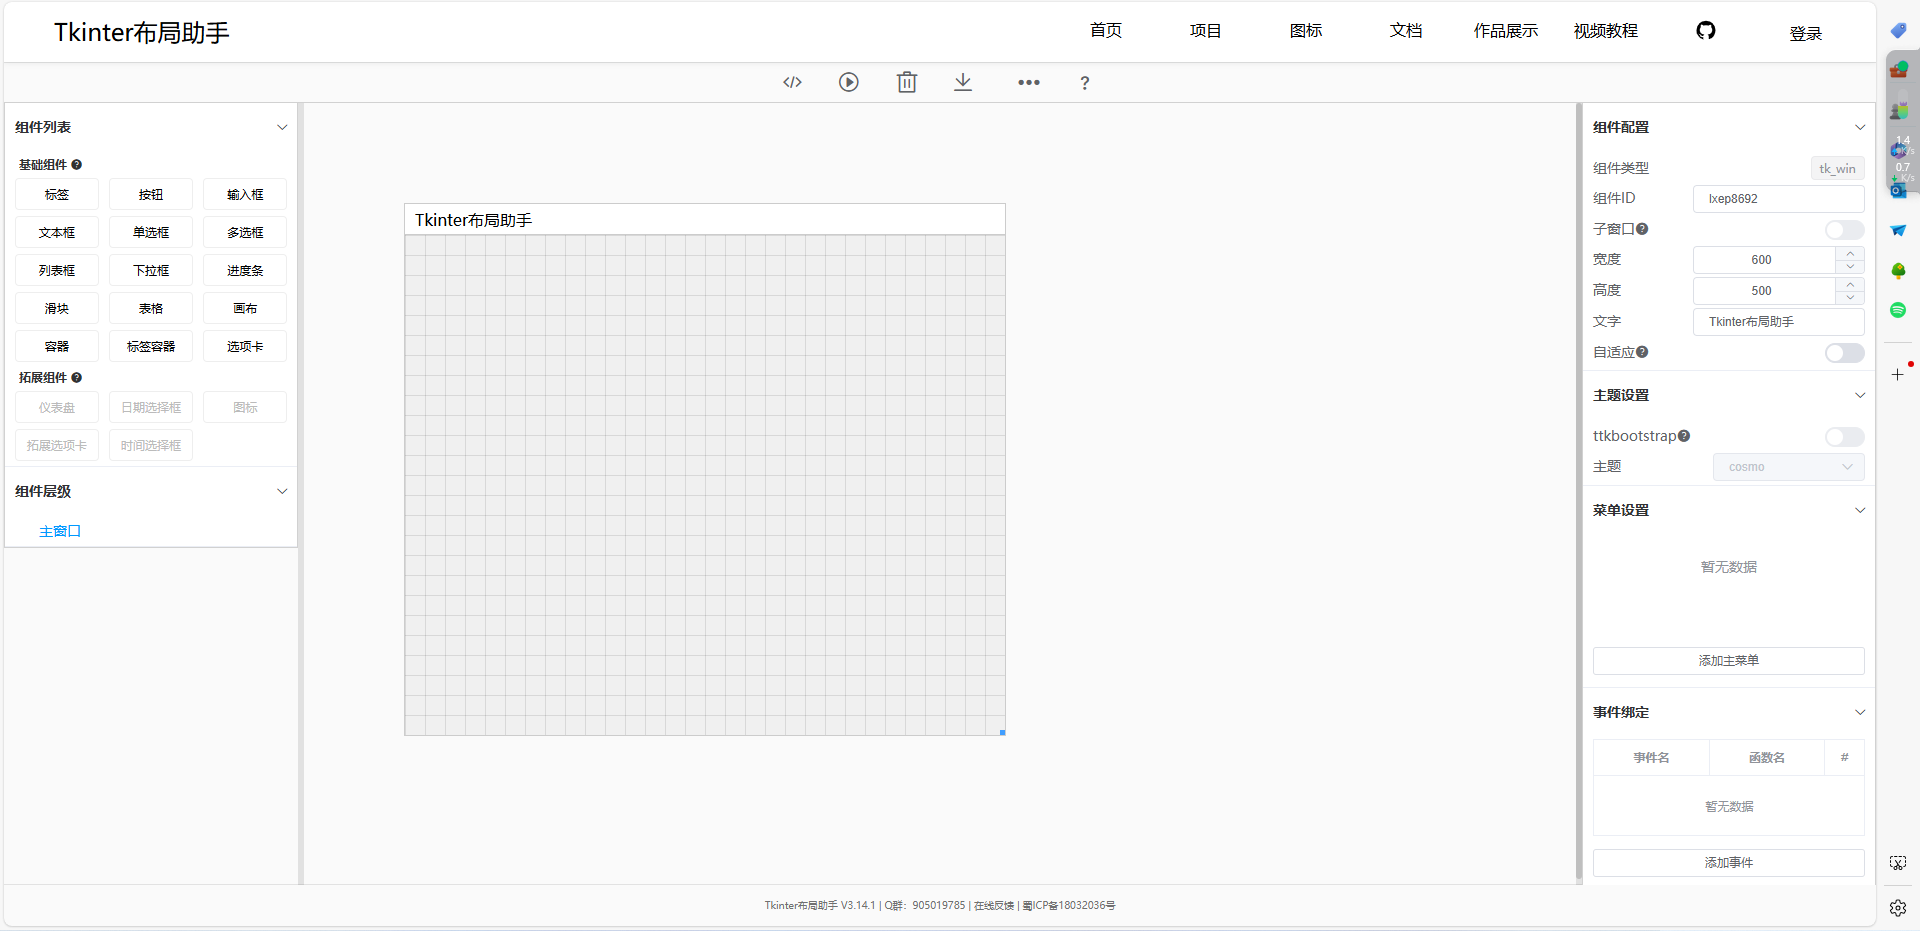
从使用的便捷性和基础案例的开发上来说,下面所介绍的布局助手操作蛮有特色的,如果是制作简单的界面,感兴趣的朋友可以可以进行了解。
项目相关介绍
项目地址:https://pytk.net/
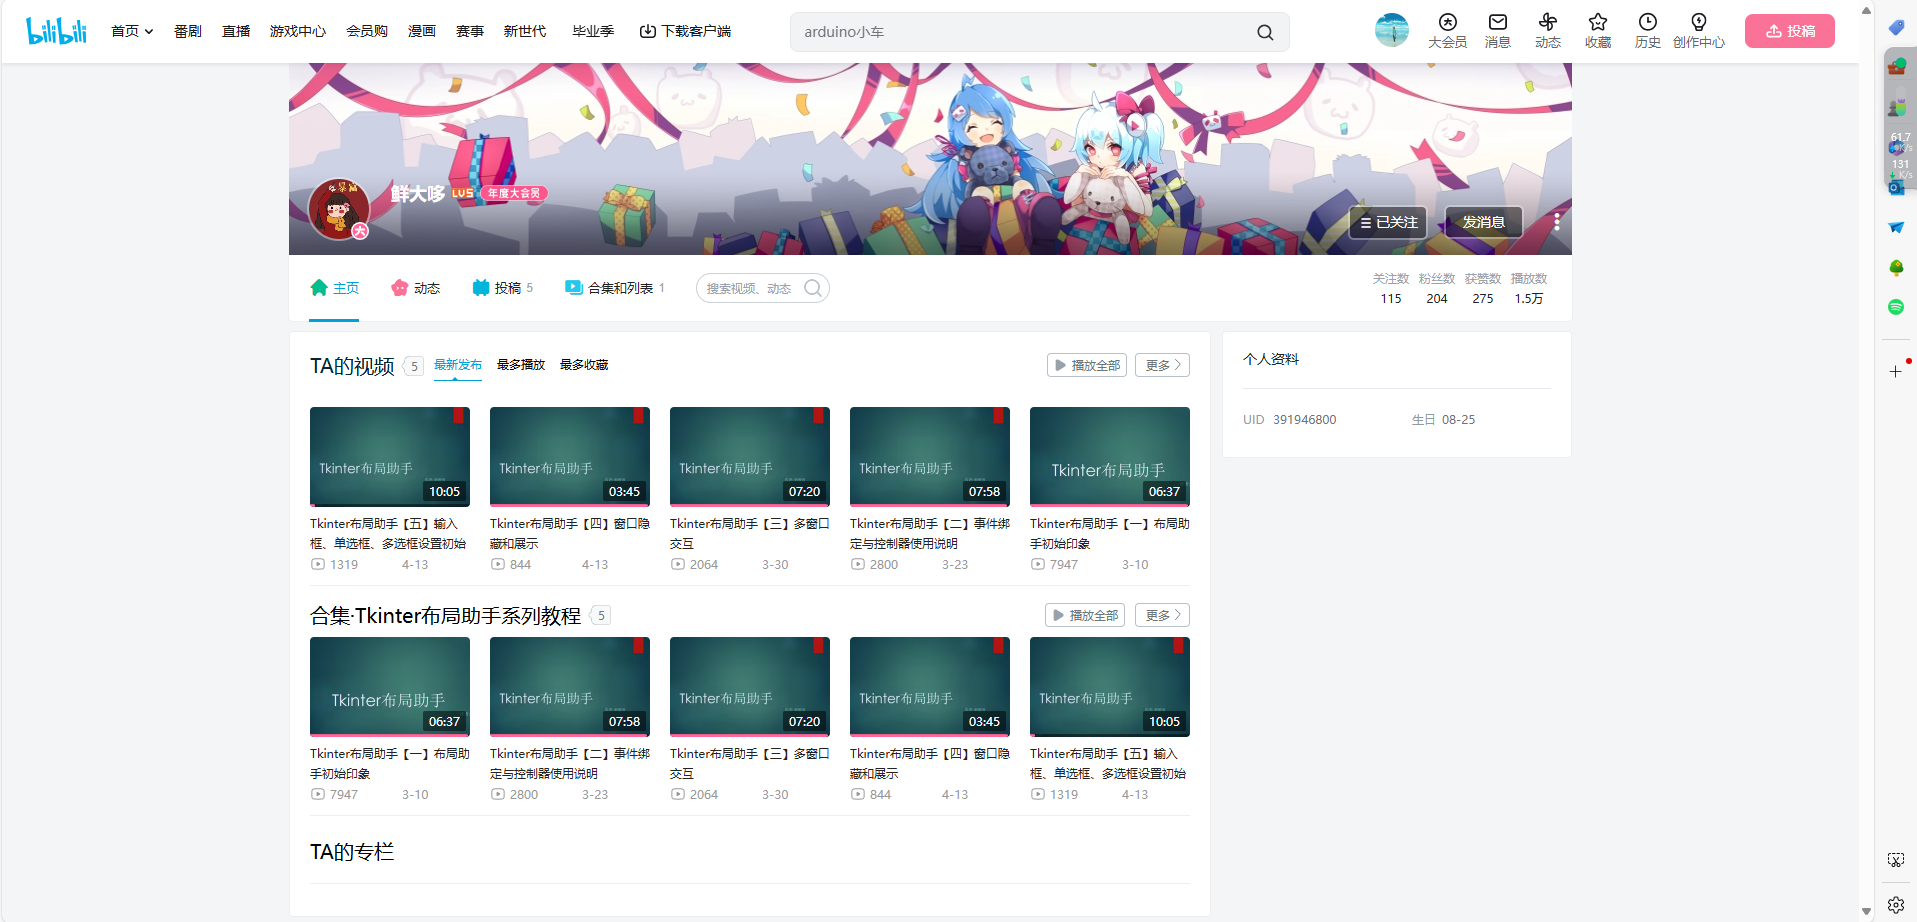
B站视频地址:https://space.bilibili.com/391946800?spm_id_from=333.788.0.0
截至到现在视频主要介绍了生成的几个东西:MVC架构、事件绑定、多窗口互动、窗口展示与隐藏、组件介绍…
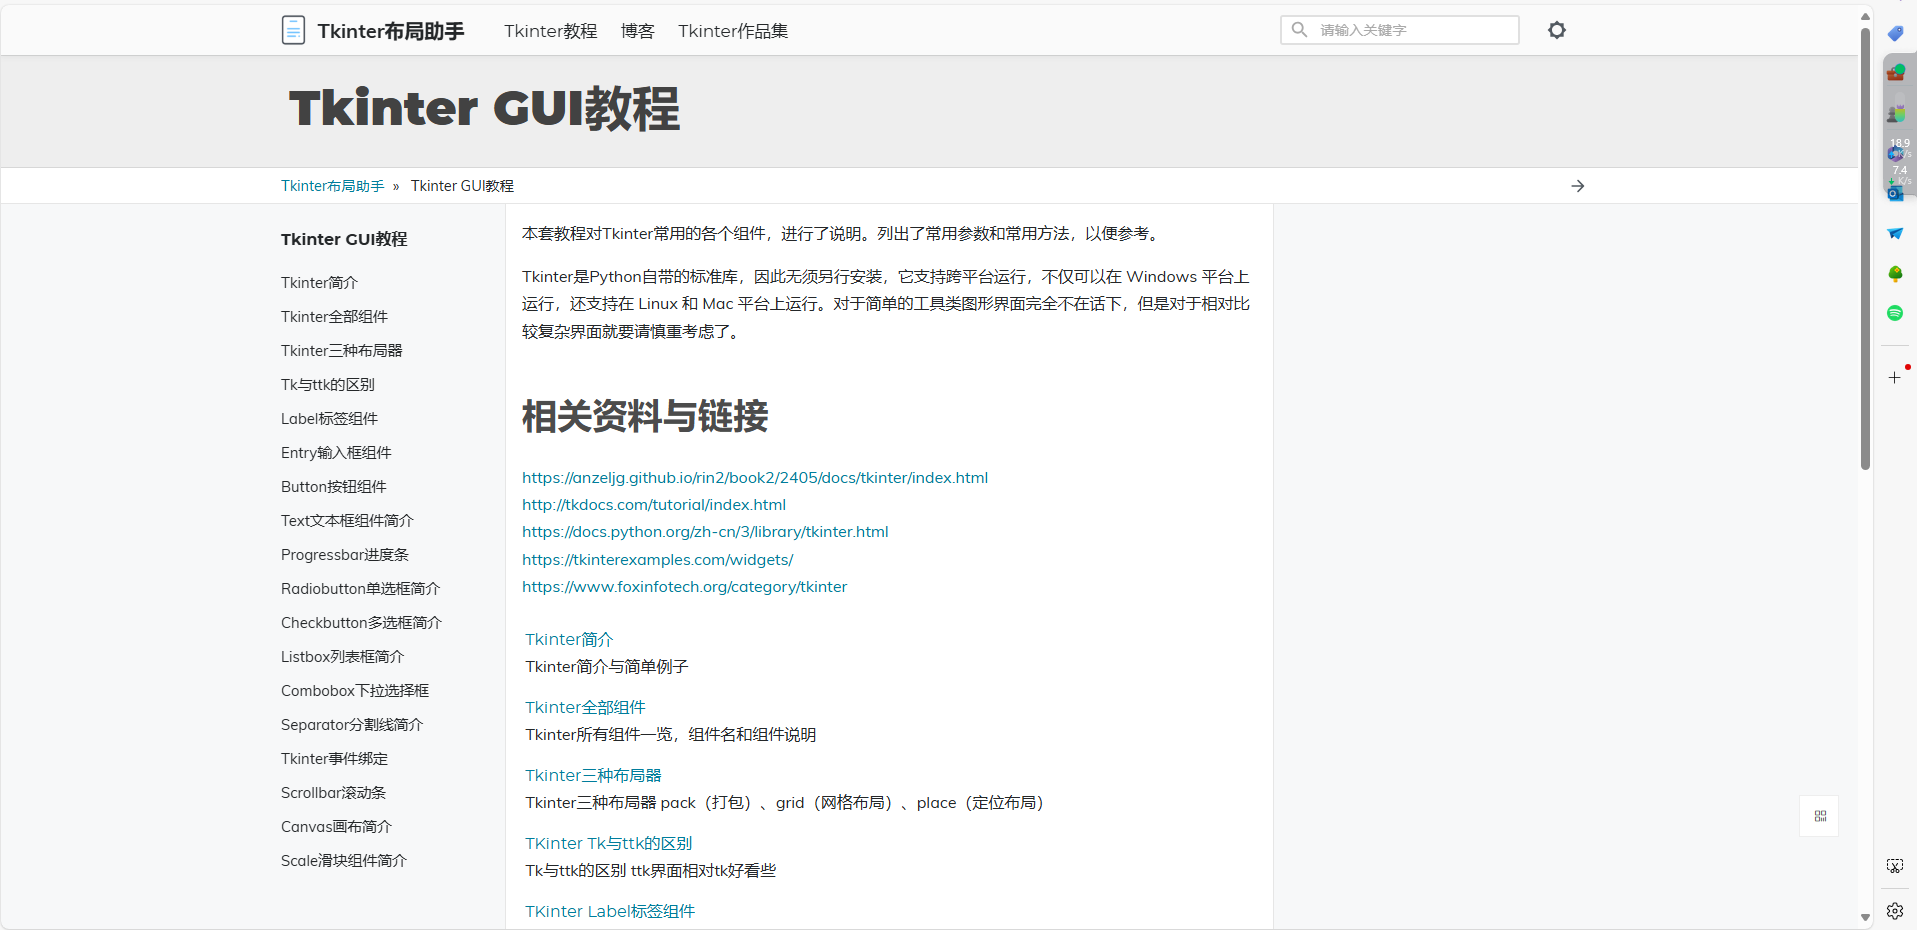
项目文档:https://www.pytk.net/tkinter.html
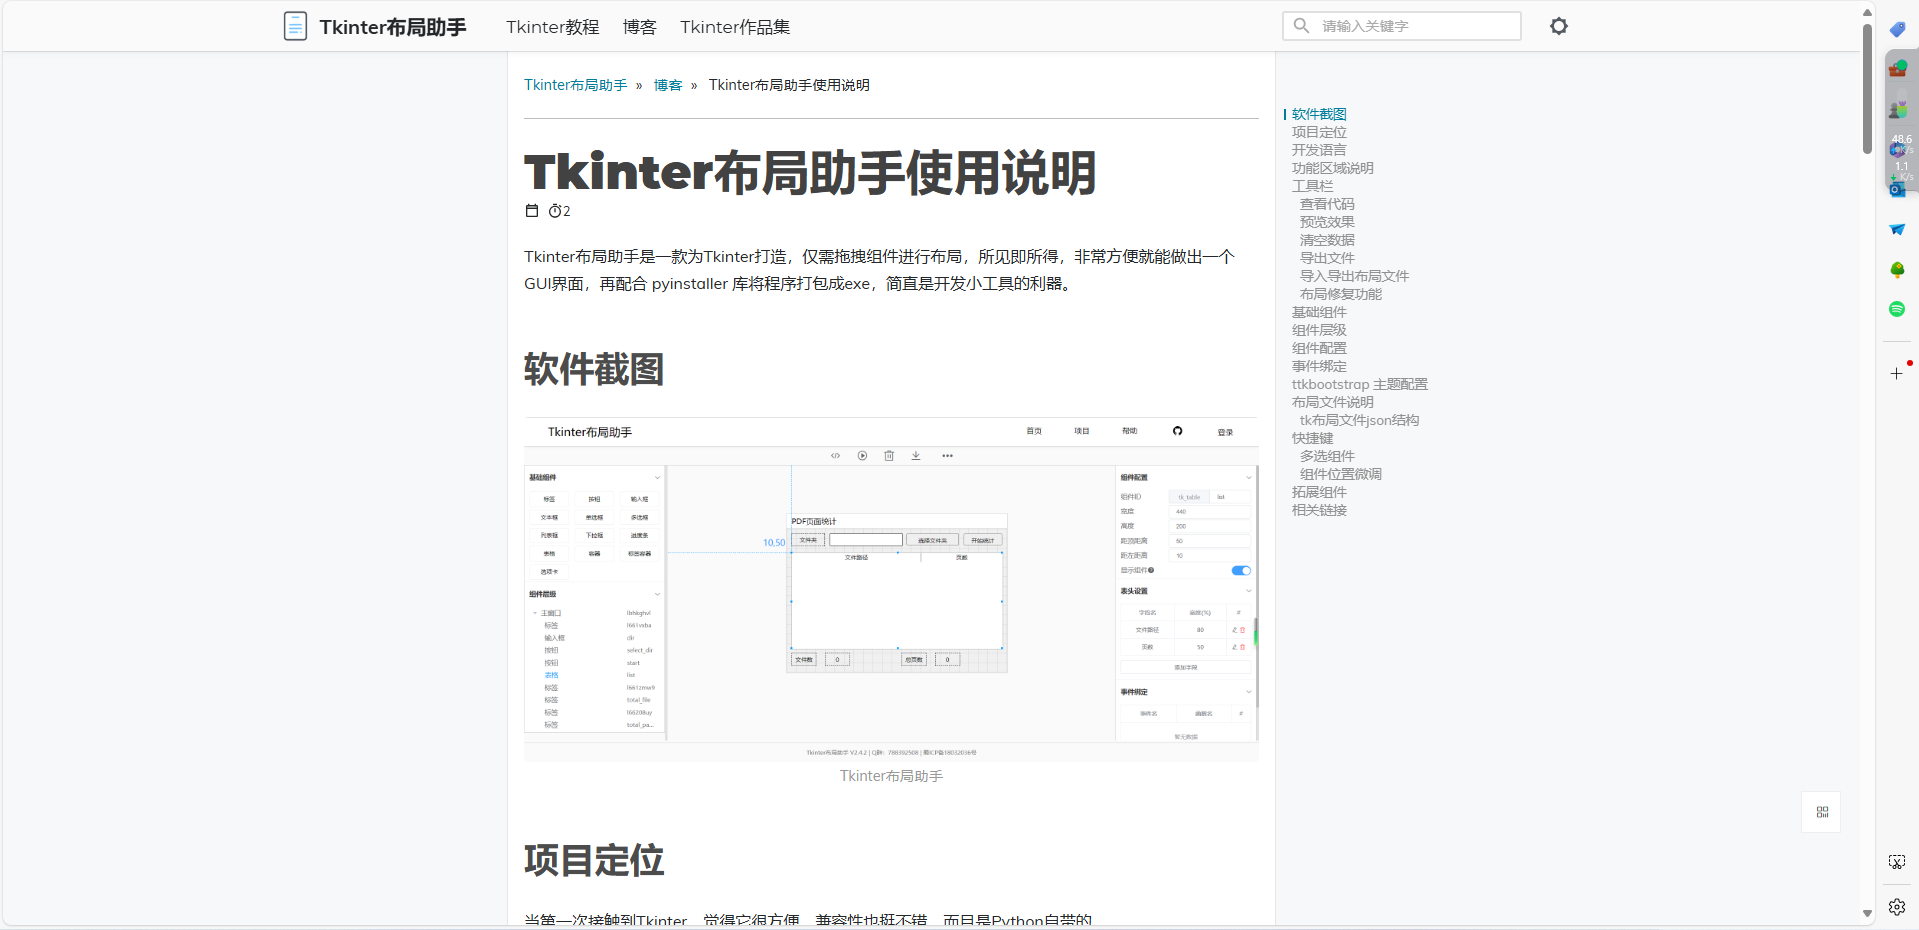
操作文档:https://www.pytk.net/blog/1660703137.html
实际使用
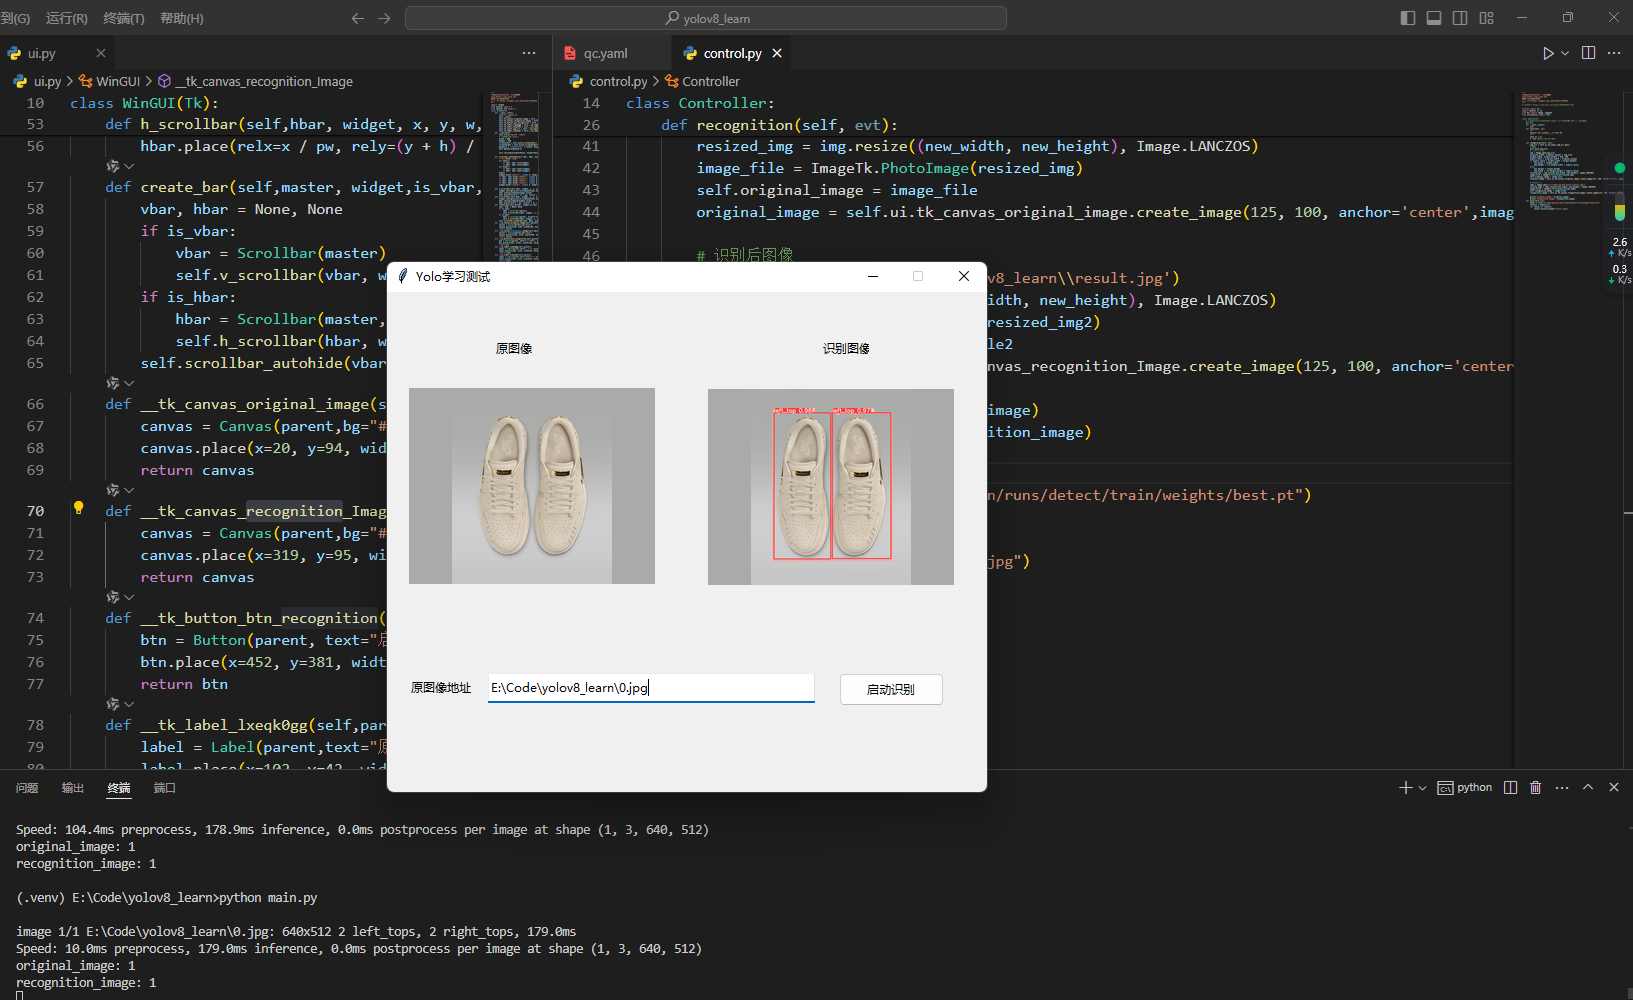
从实际使用上来说,因目前主要是为了验证识别的情况,以及输出对应的结果,简单的展示非常的便捷,
这边也简单的写了一个测试的案例
脚本
脚本如下,包含main,control,ui三个部分,在使用时可以切换自己的路径进行使用
main.py
# 导入布局文件
from ui import Win as MainWin
# 导入窗口控制器
from control import Controller as MainUIController
# 将窗口控制器 传递给UI
app = MainWin(MainUIController())
if __name__ == "__main__":
    # 启动
    app.mainloop()
ui.py
import random
from tkinter import *
from tkinter.ttk import *
class WinGUI(Tk):
    def __init__(self):
        super().__init__()
        self.__win()
        self.tk_canvas_original_image = self.__tk_canvas_original_image(self)
        self.tk_canvas_recognition_Image = self.__tk_canvas_recognition_Image(self)
        self.tk_button_btn_recognition = self.__tk_button_btn_recognition(self)
        self.tk_label_lxeqk0gg = self.__tk_label_lxeqk0gg(self)
        self.tk_label_lxeqlh9e = self.__tk_label_lxeqlh9e(self)
        self.tk_input_img_url = self.__tk_input_img_url(self)
        self.tk_label_lxeqn26f = self.__tk_label_lxeqn26f(self)
    def __win(self):
        self.title("Yolo学习测试")
        # 设置窗口大小、居中
        width = 600
        height = 500
        screenwidth = self.winfo_screenwidth()
        screenheight = self.winfo_screenheight()
        geometry = '%dx%d+%d+%d' % (width, height, (screenwidth - width) / 2, (screenheight - height) / 2)
        self.geometry(geometry)

        self.resizable(width=False, height=False)

    def scrollbar_autohide(self,vbar, hbar, widget):
        """自动隐藏滚动条"""
        def show():
            if vbar: vbar.lift(widget)
            if hbar: hbar.lift(widget)
        def hide():
            if vbar: vbar.lower(widget)
            if hbar: hbar.lower(widget)
        hide()
        widget.bind("<Enter>", lambda e: show())
        if vbar: vbar.bind("<Enter>", lambda e: show())
        if vbar: vbar.bind("<Leave>", lambda e: hide())
        if hbar: hbar.bind("<Enter>", lambda e: show())
        if hbar: hbar.bind("<Leave>", lambda e: hide())
        widget.bind("<Leave>", lambda e: hide())

    def v_scrollbar(self,vbar, widget, x, y, w, h, pw, ph):
        widget.configure(yscrollcommand=vbar.set)
        vbar.config(command=widget.yview)
        vbar.place(relx=(w + x) / pw, rely=y / ph, relheight=h / ph, anchor='ne')
    def h_scrollbar(self,hbar, widget, x, y, w, h, pw, ph):
        widget.configure(xscrollcommand=hbar.set)
        hbar.config(command=widget.xview)
        hbar.place(relx=x / pw, rely=(y + h) / ph, relwidth=w / pw, anchor='sw')
    def create_bar(self,master, widget,is_vbar,is_hbar, x, y, w, h, pw, ph):
        vbar, hbar = None, None
        if is_vbar:
            vbar = Scrollbar(master)
            self.v_scrollbar(vbar, widget, x, y, w, h, pw, ph)
        if is_hbar:
            hbar = Scrollbar(master, orient="horizontal")
            self.h_scrollbar(hbar, widget, x, y, w, h, pw, ph)
        self.scrollbar_autohide(vbar, hbar, widget)
    def __tk_canvas_original_image(self,parent):
        canvas = Canvas(parent,bg="#aaa")
        canvas.place(x=20, y=94, width=250, height=200)
        return canvas
    def __tk_canvas_recognition_Image(self,parent):
        canvas = Canvas(parent,bg="#aaa")
        canvas.place(x=319, y=95, width=250, height=200)
        return canvas
    def __tk_button_btn_recognition(self,parent):
        btn = Button(parent, text="启动识别", takefocus=False,)
        btn.place(x=452, y=381, width=105, height=33)
        return btn
    def __tk_label_lxeqk0gg(self,parent):
        label = Label(parent,text="原图像",anchor="center", )
        label.place(x=102, y=42, width=50, height=30)
        return label
    def __tk_label_lxeqlh9e(self,parent):
        label = Label(parent,text="识别图像",anchor="center", )
        label.place(x=434, y=42, width=50, height=30)
        return label
    def __tk_input_img_url(self,parent):
        ipt = Entry(parent, )
        ipt.place(x=101, y=381, width=327, height=30)
        return ipt
    def __tk_label_lxeqn26f(self,parent):
        label = Label(parent,text="原图像地址",anchor="center", )
        label.place(x=14, y=381, width=81, height=30)
        return label
class Win(WinGUI):
    def __init__(self, controller):
        self.ctl = controller
        super().__init__()
        self.__event_bind()
        self.__style_config()
        self.ctl.init(self)
    def __event_bind(self):
        self.tk_button_btn_recognition.bind('<Button-1>',self.ctl.recognition)
        pass
    def __style_config(self):
        pass
if __name__ == "__main__":
    win = WinGUI()
    win.mainloop()
control.py
from ui import Win
import tkinter as tk
from PIL import Image, ImageTk
from ultralytics import YOLO

class Controller:
    # 导入UI类后,替换以下的 object 类型,将获得 IDE 属性提示功能
    ui: Win
    def __init__(self):
        pass
    def init(self, ui):
        """
        得到UI实例,对组件进行初始化配置
        """
        self.ui = ui
        # TODO 组件初始化 赋值操作

    def recognition(self, evt):
        img_url = self.ui.tk_input_img_url.get()
        # 推理
        self.yolo(img_url)
        # 原始图像显示
        img = Image.open(img_url)
        original_width, original_height = img.size
        target_width, target_height = 250, 200
        aspect_ratio = original_width / original_height
        if aspect_ratio > target_width / target_height:
            new_width = target_width
            new_height = int(target_width / aspect_ratio)
        else:
            new_height = target_height
            new_width = int(target_height * aspect_ratio)
        resized_img = img.resize((new_width, new_height), Image.LANCZOS)
        image_file = ImageTk.PhotoImage(resized_img)
        self.original_image = image_file
        original_image = self.ui.tk_canvas_original_image.create_image(125, 100, anchor='center',image=self.original_image)

        # 识别后图像
        img2 = Image.open('E:\\Code\\yolov8_learn\\result.jpg')
        resized_img2 = img2.resize((new_width, new_height), Image.LANCZOS)
        image_file2 = ImageTk.PhotoImage(resized_img2)
        self.recognition_image = image_file2
        recognition_image = self.ui.tk_canvas_recognition_Image.create_image(125, 100, anchor='center',image=self.recognition_image)

        print("original_image:",original_image)
        print("recognition_image:",recognition_image)
    def yolo(self,url):
        model = YOLO("E:/Code/yolov8_learn/runs/detect/train/weights/best.pt")
        results = model(url)
        for result in results:
            result.save(filename="result.jpg")


 2217
2217

 被折叠的 条评论
为什么被折叠?
被折叠的 条评论
为什么被折叠?
 到【灌水乐园】发言


