


 NerdFonts项目通过添加额外的图标集到常见字体中,如FontAwesome和Octicons。本文以Ubuntu系统和Consolas字体为例,介绍了如何使用NerdFontPatcher进行字体转换,包括必要的准备工作、安装FontForge及其依赖,以及运行FontPatcher脚本的详细步骤。完成转换后,可以在Vim、Tmux等工具中使用这些带有图标的字体。
分享:Nerd Fonts Patcher: 制作自己的Nerd Font
分享:Nerd Fonts Patcher: 制作自己的Nerd Font
1. Nerd Font 介绍
Nerd Fonts is a project that attempts to patch as many developer targeted and/or used fonts as possible. The patch is to specifically add a high number of additional glyphs from popular ‘iconic fonts’ such as Font Awesome, Devicons, Octicons, and others.
可以理解为他在普通的字体上增加了一下icon. 可以实现图形的显示,终端用户想要在终端显示一些图案,往往会用到它。
比较常用的场景例如在vim\tmux\oh my zsh等等的配置中,为了显示一些漂亮的图案往往会用到他们,如下图所示是我的neovim的配置截图。
2. Nerd Font Patcher(以Ubuntu系统转换consolas字体为例)
github上也有很详细的介绍,关于各个参数的。其实很多参数是一般用不到的
1. 准备工作
-
准备字体
一般window10、11都自带consolas字体,在C:\Windows\Fonts中可以找到,复制出来即可 -
依赖
# install python3 python3-fontforge
sudo apt install python3 python3-fontforge
sudo apt install fontforge
sudo apt install libthai-dev
sudo apt install libharfbuzz-bin
用AppImage也行,用上面 apt install fontforge下载的也行,下面以AppImage为例:
如果AppImage下载之后没有执行权限,那么用sudo chmod u+x xxx.AppImage赋一下权限
# 除了FontForge.AppImage之外的其他路径( font-patcher、consolas.ttf、输出文件夹(提前创建好) ) 全部建议使用绝对路径
./FontForgexxx.AppImage -script $PWD/FontPatcher/font-patcher $PWD/consolas.ttf --complete -out ${输出文件夹路径}
- 注意要添加
--complete,否则图标不全
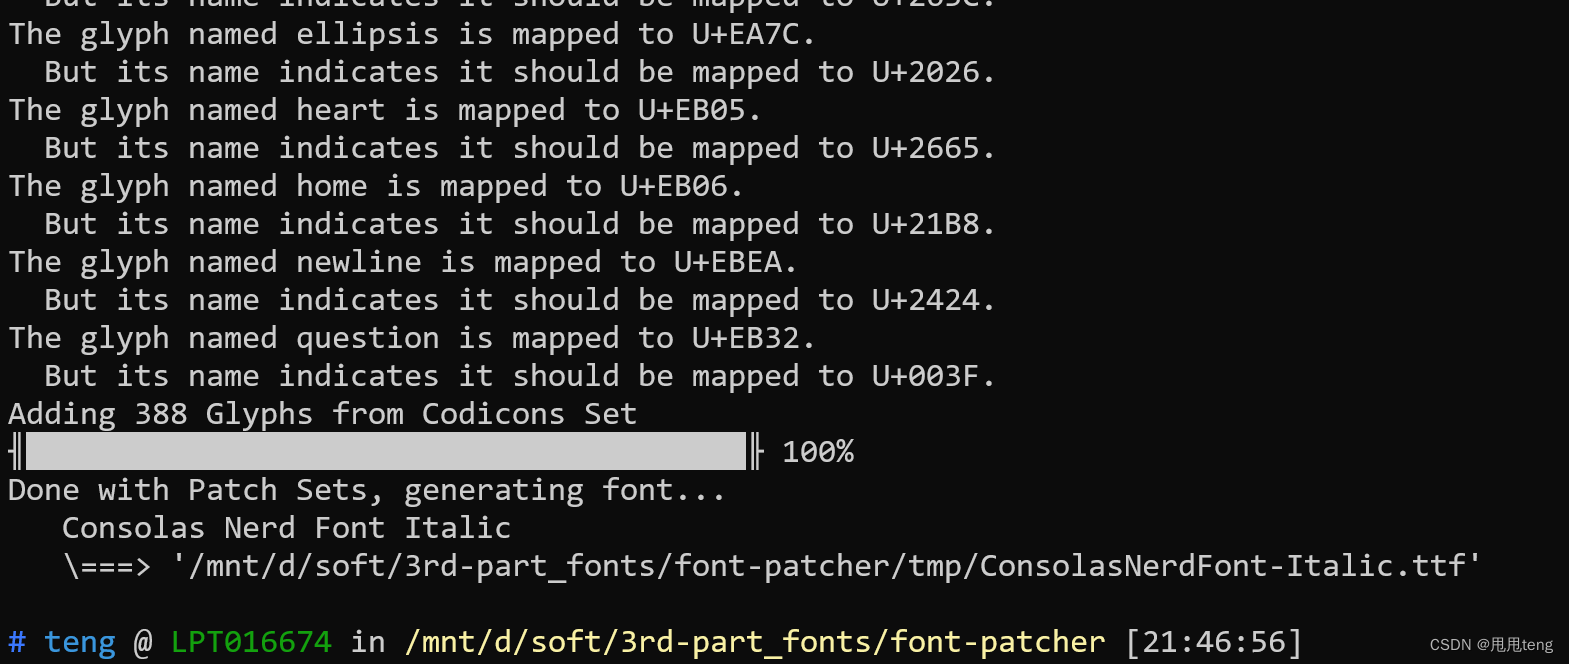
如下图所示就是成功了,找到文件所在位置,安装即可


 1063
1063

 被折叠的 条评论
为什么被折叠?
被折叠的 条评论
为什么被折叠?
 到【灌水乐园】发言


