


一.Spark Streaming 框架介绍
Spark Streaming
是
Spark core API
的扩展,支持实时数据流的处理,并且具有可扩展,
高吞吐量,容错的特点。
数据可以从许多来源获取,如
Kafka
,
Flume
,
Kinesis
或
TCP sockets
,
并且可以使用复杂的算法进行处理,这些算法使用诸如
map
,
reduce
,
join
和
window
等高
级函数表示。 最后,处理后的数据可以推送到文件系统,数据库等。 实际上,您可以将
Spark
的机器学习和图形处理算法应用于数据流。
二.框架集成
1. 创建 Maven 项目
<?xml version="1.0" encoding="UTF-8"?>
<project xmlns="http://maven.apache.org/POM/4.0.0"
xmlns:xsi="http://www.w3.org/2001/XMLSchema-instance"
xsi:schemaLocation="http://maven.apache.org/POM/4.0.0 http://maven.apache.org/xsd/maven-4.0.0.xsd">
<modelVersion>4.0.0</modelVersion>
<groupId>com.atguigu.es</groupId>
<artifactId>es-sparkstreaming</artifactId>
<version>1.0</version>
<properties>
<maven.compiler.source>8</maven.compiler.source>
<maven.compiler.target>8</maven.compiler.target>
</properties>
<dependencies>
<dependency>
<groupId>org.apache.spark</groupId>
<artifactId>spark-core_2.12</artifactId>
<version>3.0.0</version>
</dependency>
<dependency>
<groupId>org.apache.spark</groupId>
<artifactId>spark-streaming_2.12</artifactId>
<version>3.0.0</version>
</dependency>
<dependency>
<groupId>org.elasticsearch</groupId>
<artifactId>elasticsearch</artifactId>
<version>7.8.0</version>
</dependency>
<!-- elasticsearch的客户端 -->
<dependency>
<groupId>org.elasticsearch.client</groupId>
<artifactId>elasticsearch-rest-high-level-client</artifactId>
<version>7.8.0</version>
</dependency>
<!-- elasticsearch依赖2.x的log4j -->
<dependency>
<groupId>org.apache.logging.log4j</groupId>
<artifactId>log4j-api</artifactId>
<version>2.8.2</version>
</dependency>
<dependency>
<groupId>org.apache.logging.log4j</groupId>
<artifactId>log4j-core</artifactId>
<version>2.8.2</version>
</dependency>
<!-- <dependency>-->
<!-- <groupId>com.fasterxml.jackson.core</groupId>-->
<!-- <artifactId>jackson-databind</artifactId>-->
<!-- <version>2.11.1</version>-->
<!-- </dependency>-->
<!-- <!– junit单元测试 –>-->
<!-- <dependency>-->
<!-- <groupId>junit</groupId>-->
<!-- <artifactId>junit</artifactId>-->
<!-- <version>4.12</version>-->
<!-- </dependency>-->
</dependencies>
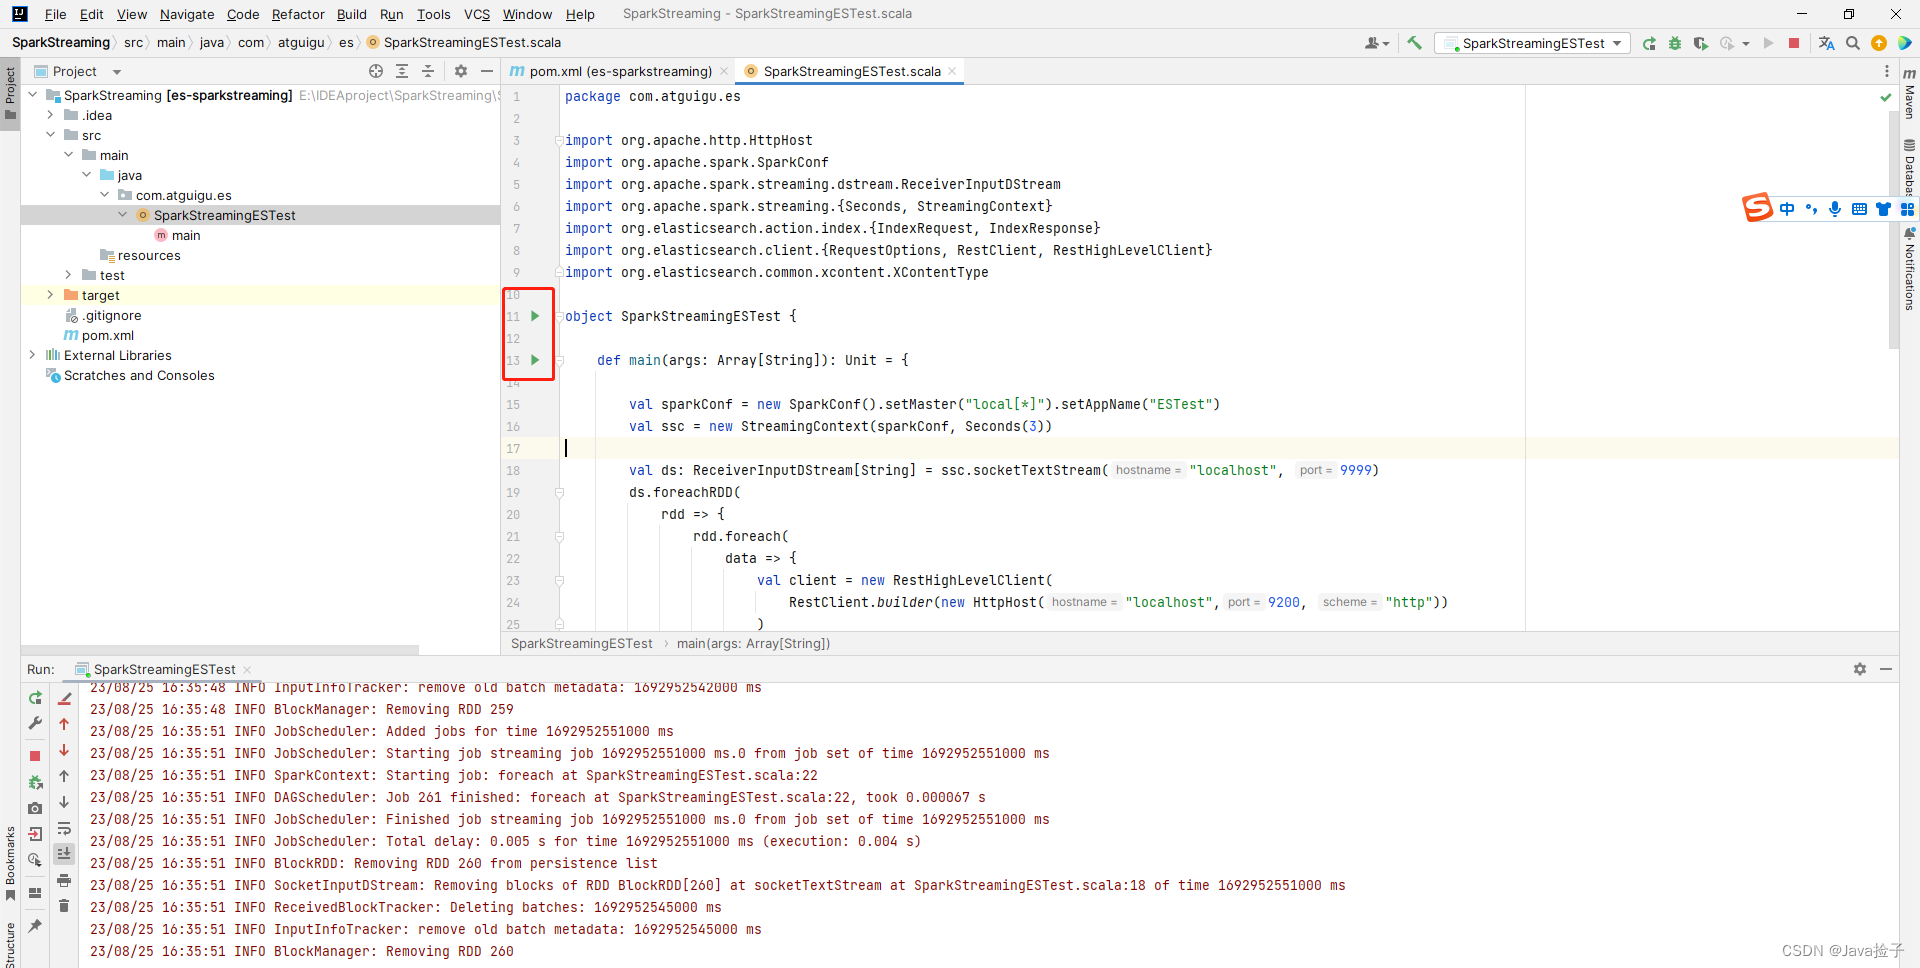
</project>2.功能实现
package com.atguigu.es

import org.apache.http.HttpHost
import org.apache.spark.SparkConf
import org.apache.spark.streaming.dstream.ReceiverInputDStream
import org.apache.spark.streaming.{Seconds, StreamingContext}
import org.elasticsearch.action.index.{IndexRequest, IndexResponse}
import org.elasticsearch.client.{RequestOptions, RestClient, RestHighLevelClient}
import org.elasticsearch.common.xcontent.XContentType

object SparkStreamingESTest {

    def main(args: Array[String]): Unit = {

        val sparkConf = new SparkConf().setMaster("local[*]").setAppName("ESTest")
        val ssc = new StreamingContext(sparkConf, Seconds(3))

        val ds: ReceiverInputDStream[String] = ssc.socketTextStream("localhost", 9999)
        ds.foreachRDD(
            rdd => {
                rdd.foreach(
                    data => {
                        val client = new RestHighLevelClient(
                            RestClient.builder(new HttpHost("localhost",9200, "http"))
                        )

                        val ss = data.split(" ")

                        val request = new IndexRequest()
                        request.index("product").id(ss(0))
                        val json =
                            s"""
                              | {  "data" : "${ss(1)}" }
                              |""".stripMargin
                        request.source(json, XContentType.JSON)

                        val response: IndexResponse = client.index(request, RequestOptions.DEFAULT)
                        println(response.getResult)
                        client.close()
                    }
                )
            }
        )

        ssc.start()
        ssc.awaitTermination()
    }
}
3.界面截图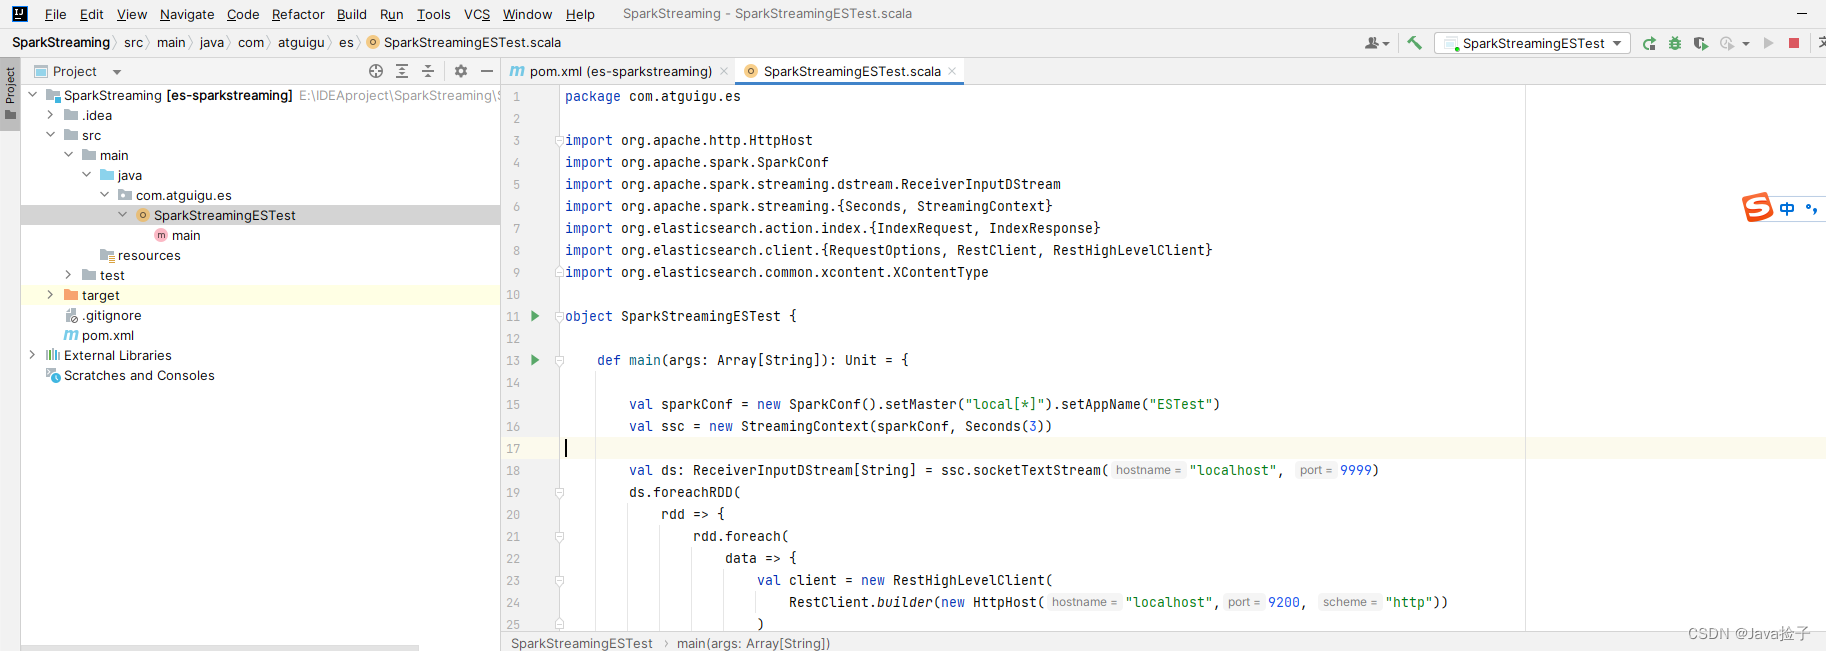
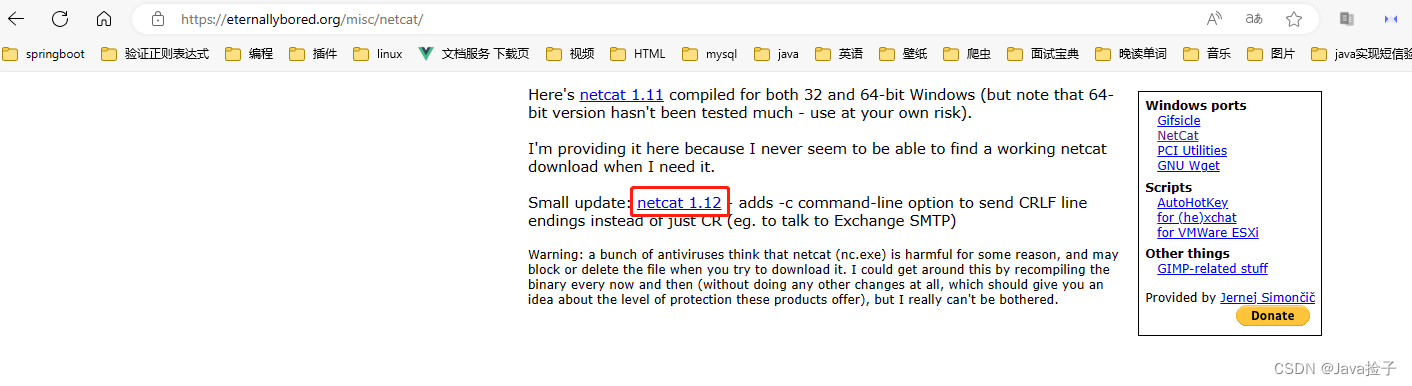
三.安装NetCat
1.下载网址:netcat 1.11 for Win32/Win64
2.解压压缩包
右键zip文件-->解压到当前文件夹
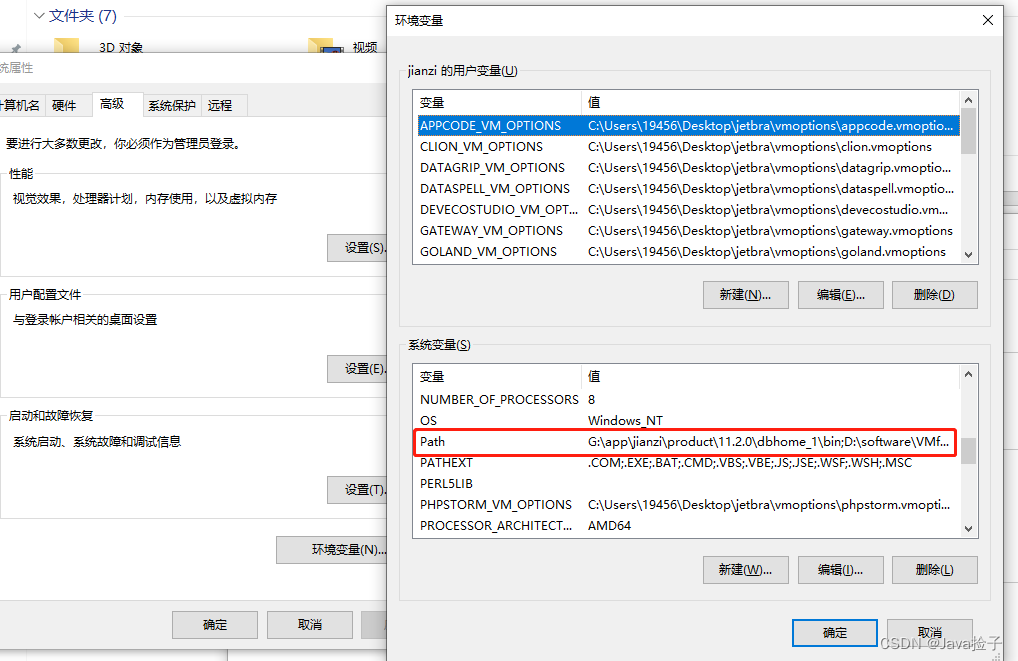
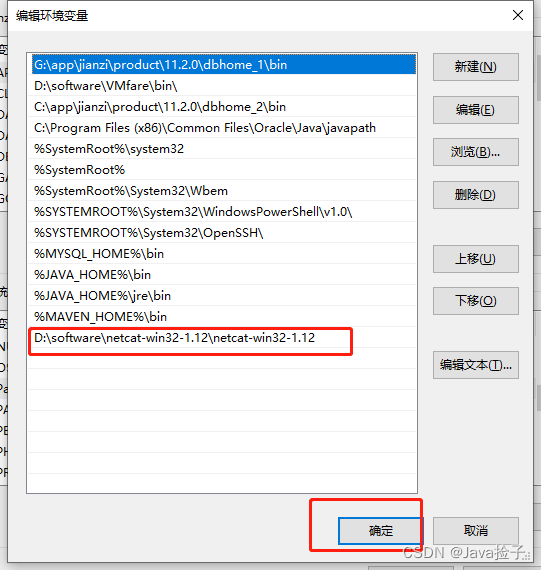
3.配置环境变量
右键此电脑-->属性-->高级系统设置-->环境变量
四.测试
Window + R 重新启动cmd命令窗口
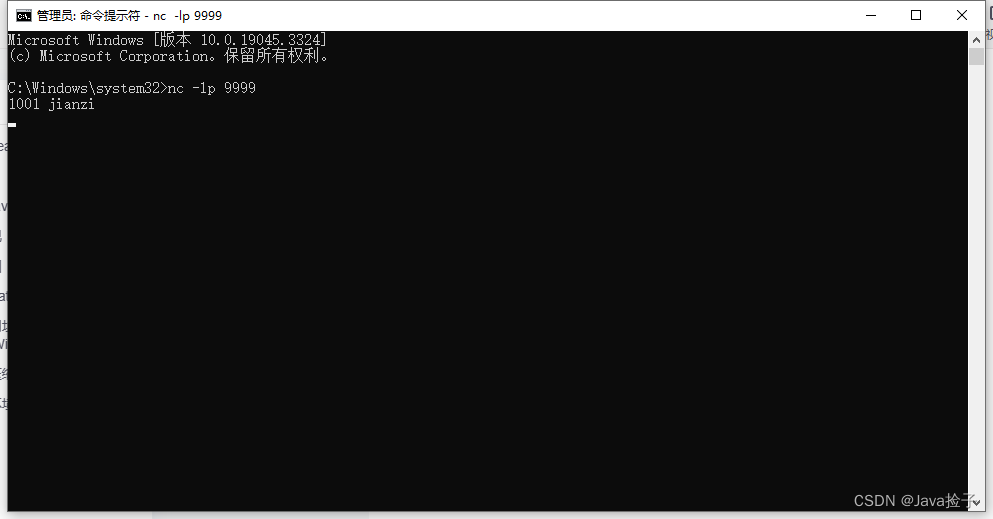
4.1测试:输入 nc -l -p 9999
4.2 启动测试
4.3 cmd输入 1001 jianzi
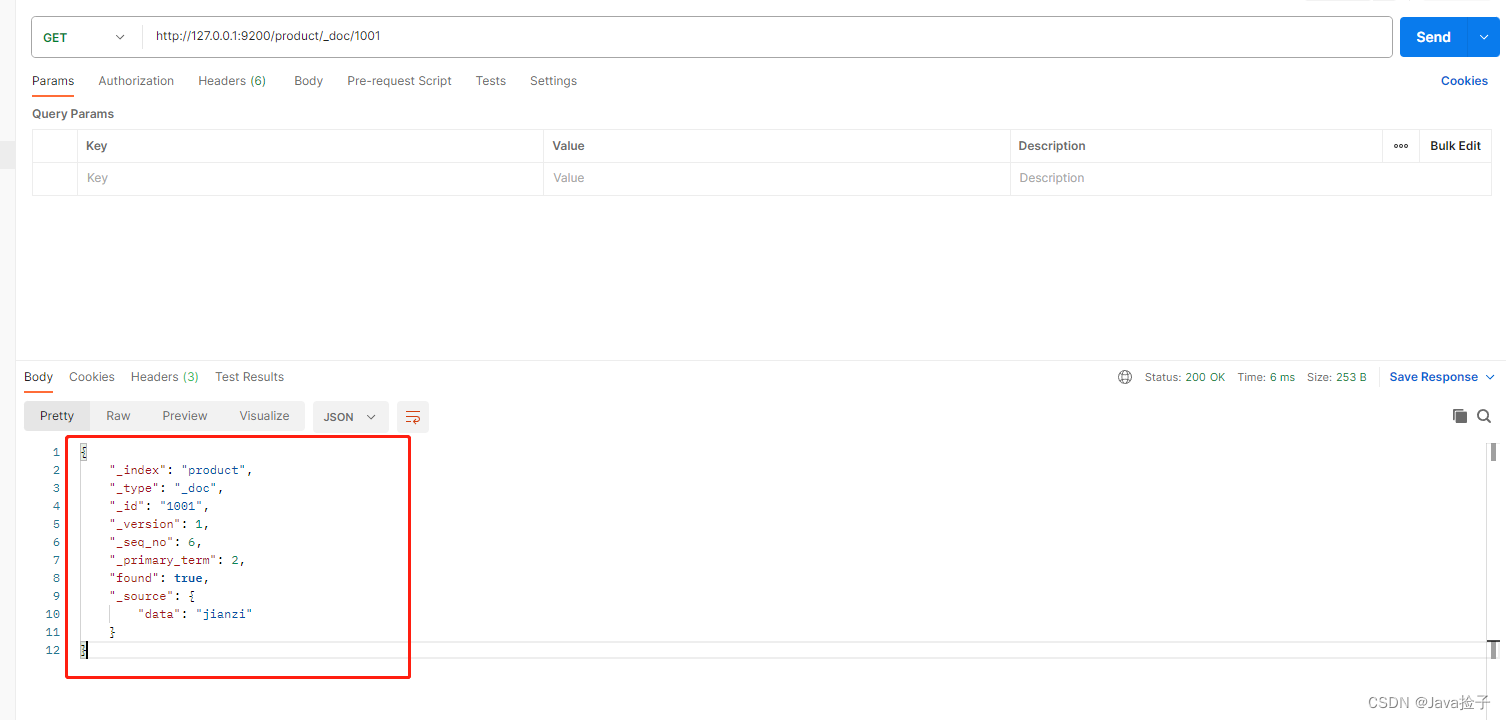
4.4 postman 查看
get http://127.0.0.1:9200/product/_doc/1001


 1868
1868


 被折叠的 条评论
为什么被折叠?
被折叠的 条评论
为什么被折叠?
 到【灌水乐园】发言


