


大家好,今天我们来分享一下Linux上部署lamp
lamp指的是Linux+Apache+MySQL数据库+php几者相结合的web框架结构
虽然我在这之前,就写过有关于这方面的博客,但是那个不详细
今天再写一下
测试服务器是否可以上网
[root@localhost ~]# ping www.baidu.com
PING www.a.shifen.com (180.101.49.11) 56(84) bytes of data.
64 bytes from 180.101.49.11 (180.101.49.11): icmp_seq=1 ttl=128 time=9.78 ms
64 bytes from 180.101.49.11 (180.101.49.11): icmp_seq=2 ttl=128 time=7.27 ms
64 bytes from 180.101.49.11 (180.101.49.11): icmp_seq=3 ttl=128 time=25.3 ms
64 bytes from 180.101.49.11 (180.101.49.11): icmp_seq=4 ttl=128 time=8.80 ms
^C
--- www.a.shifen.com ping statistics ---
4 packets transmitted, 4 received, 0% packet loss, time 4026ms
rtt min/avg/max/mdev = 7.270/12.813/25.389/7.315 ms
[root@localhost ~]#
以上的结果没有问题
安装http服务
[root@localhost ~]# yum install  httpd -y
已加载插件:fastestmirror, langpacks
Loading mirror speeds from cached hostfile
 * base: mirrors.aliyun.com
 * centos-ceph-nautilus: mirrors.cn99.com
 * centos-nfs-ganesha28: mirrors.cn99.com
 * centos-openstack-train: mirrors.cn99.com
 * centos-qemu-ev: mirrors.ustc.edu.cn
 * extras: mirrors.aliyun.com
 * updates: mirrors.aliyun.com
base                                                                                                     | 3.6 kB  00:00:00
centos-ceph-nautilus                                                                                     | 3.0 kB  00:00:00
centos-nfs-ganesha28                                                                                     | 3.0 kB  00:00:00
centos-openstack-train                                                                                   | 3.0 kB  00:00:00
centos-qemu-ev                                                                                           | 3.0 kB  00:00:00
docker-ce-stable                                                                                         | 3.5 kB  00:00:00
docker-ce-test                                                                                           | 3.5 kB  00:00:00
epel                                                                                                     | 4.7 kB  00:00:00
extras
开启http服务
[root@localhost ~]# systemctl start httpd
设置http服务为开机自启动
[root@localhost ~]# systemctl  enable  httpd
Created symlink from /etc/systemd/system/multi-user.target.wants/httpd.service to /usr/lib/systemd/system/httpd.service.
[root@localhost ~]#
设置防火墙的策略
[root@localhost ~]# firewall-cmd --permanent --add-service=http
You're performing an operation over default zone ('public'),
but your connections/interfaces are in zone 'work' (see --get-active-zones)
You most likely need to use --zone=work option.

success
重启防火墙
[root@localhost ~]# systemctl restart firewalld
浏览器访问http服务(状态正常)
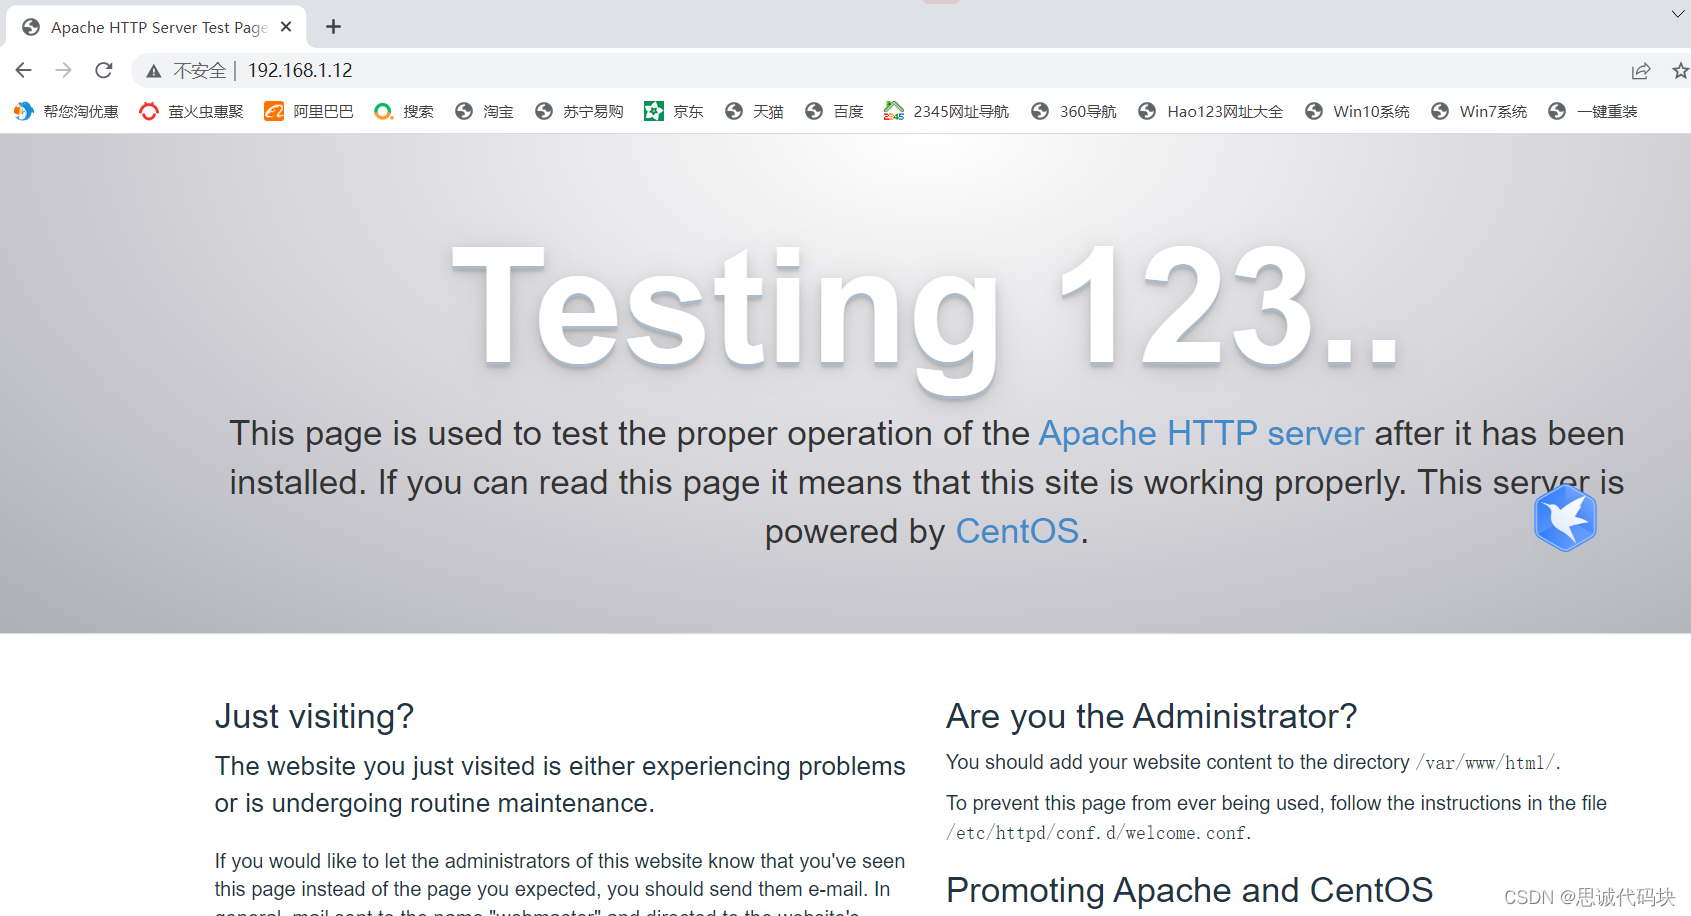
到这里,Apache服务器安装成功
接下来,我们来安装一下MySQL,我们在这里使用mariadb数据库,它们在功能和使用上是一样的
安装 mariadb 数据库
[root@localhost ~]# yum install mariadb-server mariadb -y
开启maridb数据库
[root@localhost ~]# systemctl start mariadb.service
设置mariadb数据库的开机自启动
[root@localhost ~]# systemctl  enable  mariadb.service
Created symlink from /etc/systemd/system/multi-user.target.wants/mariadb.service to /usr/lib/systemd/system/mariadb.service.
[root@localhost ~]#
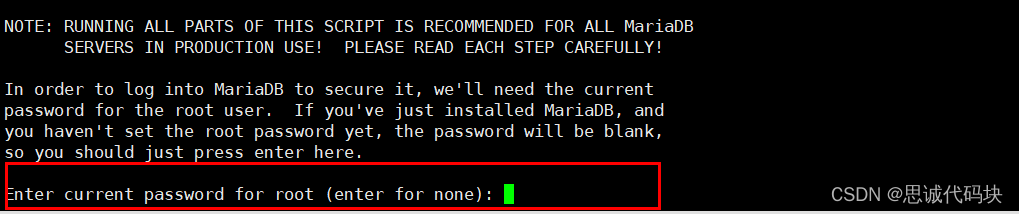
设置数据库密码
[root@localhost ~]# mysql_secure_installation
点击回车就可以了
设置密码
Set root password? [Y/n] y
New password:
Re-enter new password:
Password updated successfully!
Reloading privilege tables..
 ... Success!
是否删除匿名用户 yes

是否禁止远程登录

是否删除test数据库 yes

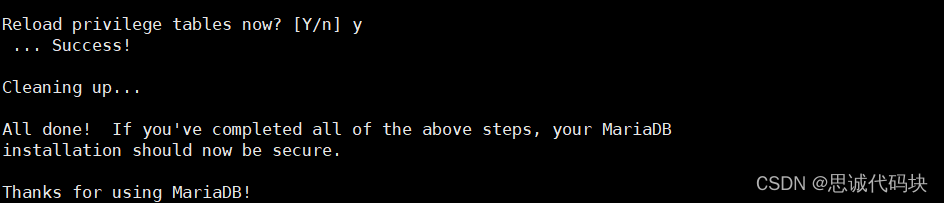
是否重新加载权限表
安装php 环境
[root@localhost ~]# yum install php php-mysql php-gd php-pear -y
编写一个PHP 的测试脚本
[root@localhost ~]# vim /var/www/html/testphp.php
<?php
phpinfo();
?>
重启Apache
[root@localhost ~]# systemctl restart httpd.service
浏览器上访问
http://192.168.1.12/testphp.php
这样的话,PHP环境就没有问题

安装一下依赖
[root@localhost ~]# yum install epel-release -y
安装phpmyadmin 这个软件
[root@localhost ~]# yum install phpmyadmin -y
编辑这个配置文件
vim /etc/httpd/conf.d/phpMyAdmin.conf
在配置文件当中加上这一块
<Directory /usr/share/phpMyAdmin/>

        Options none

        AllowOverride Limit

        Require all granted

</Directory>
截图:
如果你不知道将这一块放到哪里,就看上面的行数

编辑这个配置文件
[root@localhost ~]# vim /etc/phpMyAdmin/config.inc.php
这样改成http

从浏览器上访问phpmyadmin

root 是用户
密码: 123456 (这是设置的MySQL数据库密码)
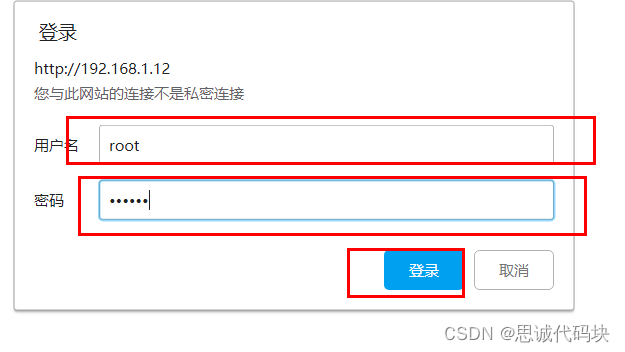
成功进入
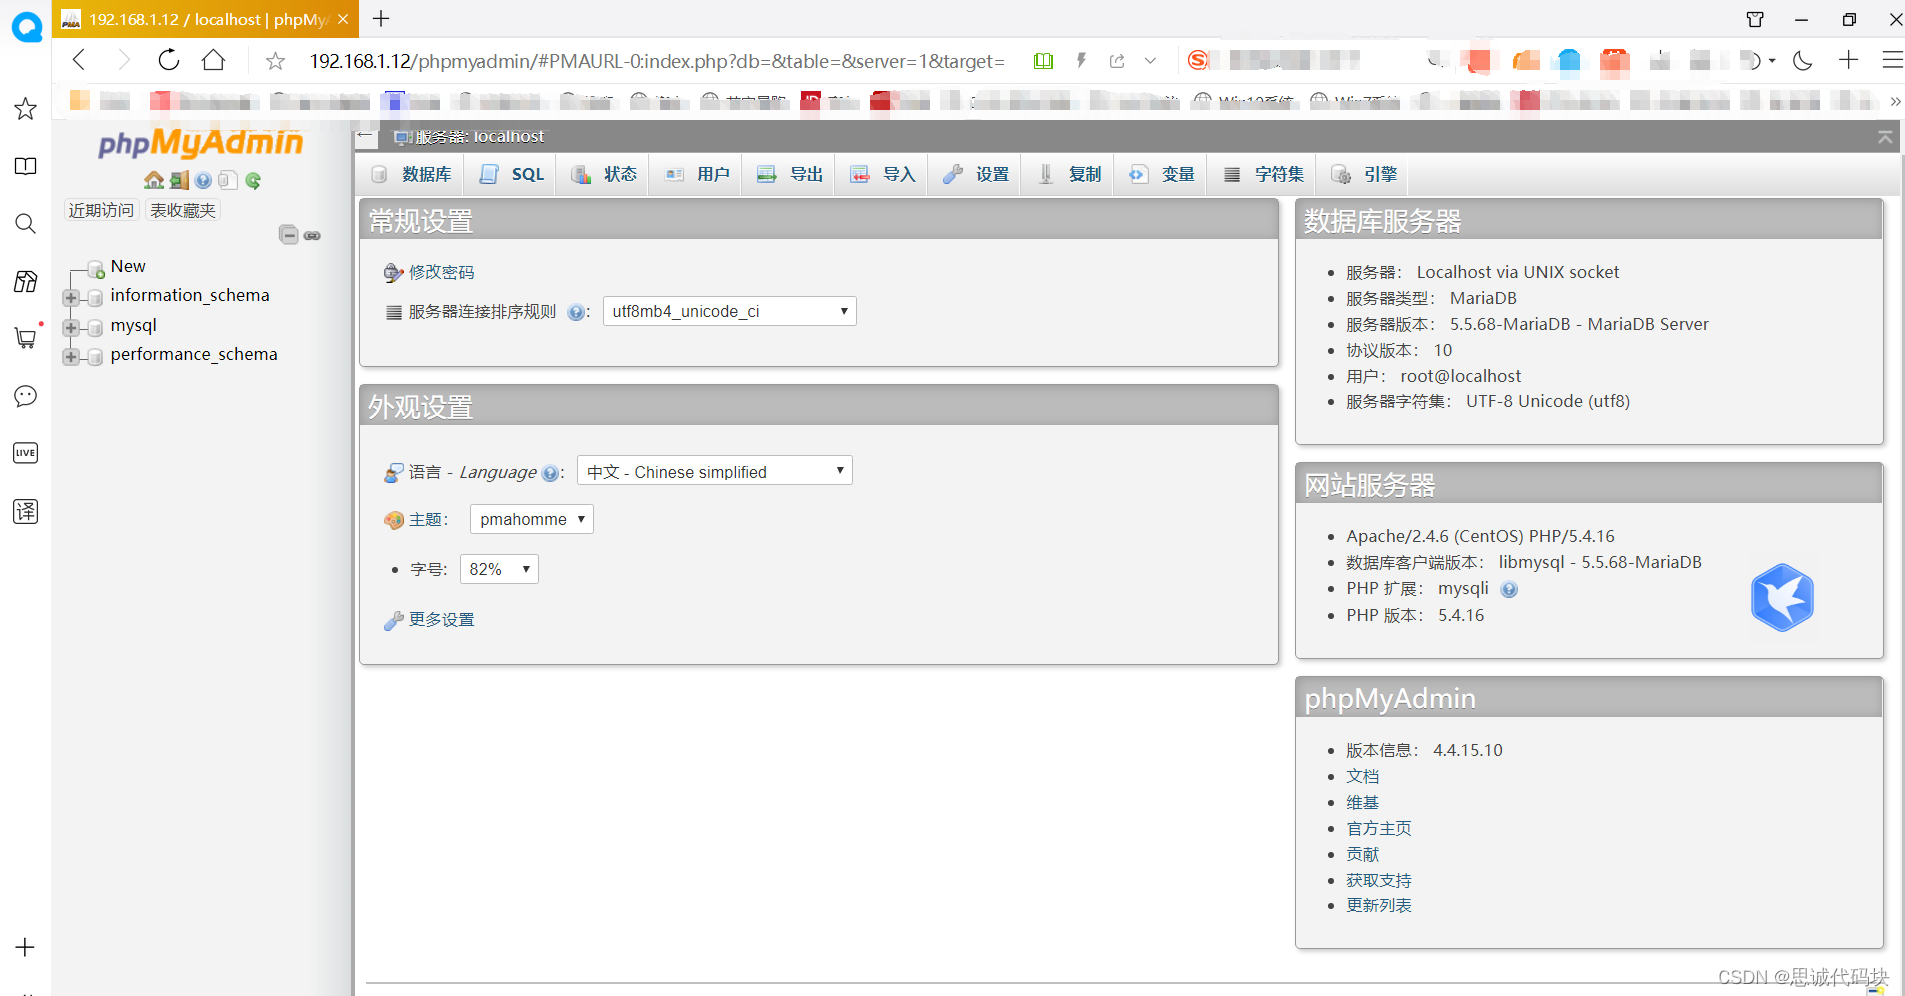
这样,我们就可以在浏览器上操作MySQL数据库了
这样会更加的方便
好了,有关于Linux部署lamp的环境,就到这里了,谢谢大家


 918
918


 被折叠的 条评论
为什么被折叠?
被折叠的 条评论
为什么被折叠?
 到【灌水乐园】发言


