


1、创建一个空的maven项目!


2、创建一个注册中心模块


3、配置注册中心

package com.example.eurekaserver;

import org.springframework.boot.SpringApplication;
import org.springframework.boot.autoconfigure.SpringBootApplication;
import org.springframework.cloud.netflix.eureka.server.EnableEurekaServer;

@SpringBootApplication
//声明为注册中心
@EnableEurekaServer
public class EurekaServerApplication {

    public static void main(String[] args) {
        SpringApplication.run(EurekaServerApplication.class, args);
    }

}
配置文件改用yml,配置如下:
server:
  #运行端口
  port: 8888
eureka:
  instance:
    #注册ip
    hostname: localhost
  client:
    #禁止自己当做服务注册
    register-with-eureka: false
    #屏蔽注册信息
    fetch-registry: false
    #注册url
    serviceUrl:
      defaultZone: http://${eureka.instance.hostname}:${server.port}/eureka/

启动成功后,访问本地+端口即可看到注册中心页面,说明成功啦!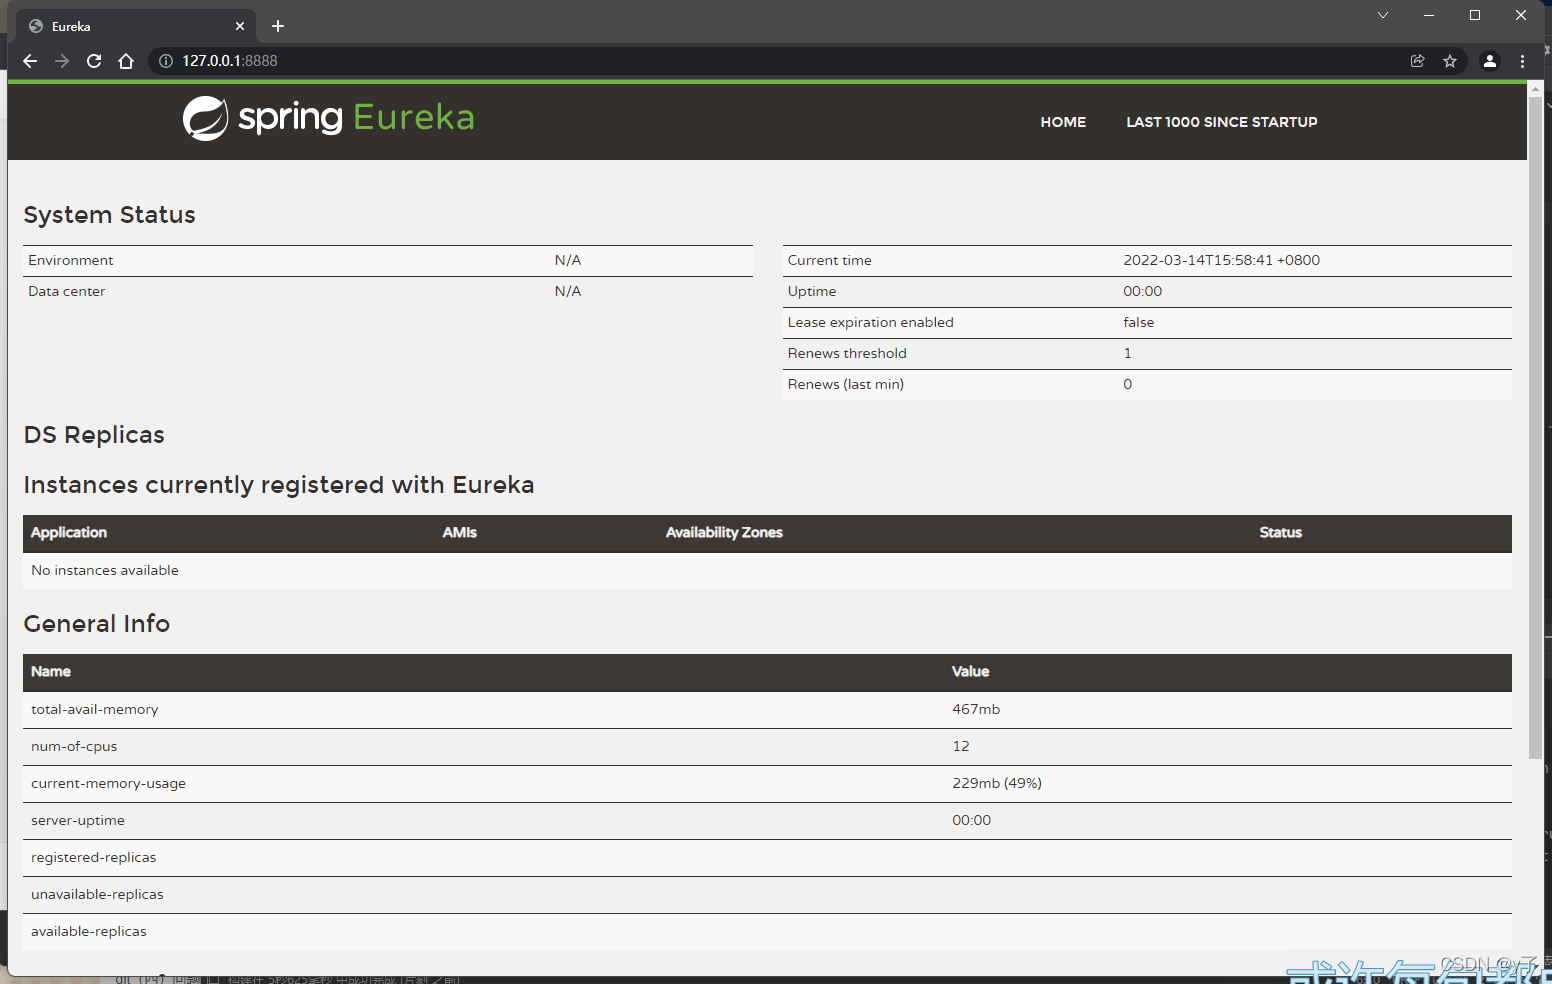
3、创建一个服务提供者(就是常写的spring-boot)


服务提供者配置,如下:

package com.example.provider;

import org.springframework.boot.SpringApplication;
import org.springframework.boot.autoconfigure.SpringBootApplication;
import org.springframework.cloud.netflix.eureka.EnableEurekaClient;

@SpringBootApplication
//声明为注册服务
@EnableEurekaClient
public class ProviderApplication {

    public static void main(String[] args) {
        SpringApplication.run(ProviderApplication.class, args);
    }

}
配置文件改用yml,配置如下:
eureka:
  client:
    serviceUrl:
      #服务注册地址
      defaultZone: http://localhost:8888/eureka/
server:
  #运行端口
  port: 8001
spring:
  application:
    #服务注册名称
    name: service-provider
按照写springboot那样写一个查库接口

package com.example.provider;

import org.mybatis.spring.annotation.MapperScan;
import org.springframework.boot.SpringApplication;
import org.springframework.boot.autoconfigure.SpringBootApplication;
import org.springframework.cloud.netflix.eureka.EnableEurekaClient;
import org.springframework.context.annotation.ComponentScan;

@SpringBootApplication
//声明为注册服务
@EnableEurekaClient
//扫描所有包
@ComponentScan("com.test")
//扫描mapper
@MapperScan("com.test.mapper")
public class ProviderApplication {

    public static void main(String[] args) {
        SpringApplication.run(ProviderApplication.class, args);
    }

}
yml配置
eureka:
  client:
    serviceUrl:
      #服务注册地址
      defaultZone: http://localhost:8888/eureka/
server:
  #运行端口
  port: 8001
spring:
  application:
    #服务注册名称
    name: service-provider
  #数据库链接
  datasource:
    username: root
    password: yh996112
    url: jdbc:mysql://localhost:3306/yanghao?useUnicode=true&characterEncoding=utf-8&useSSL=true&serverTimezone=UTC
    driver-class-name: com.mysql.cj.jdbc.Driver
#mybatis配置
mybatis:
  mapper-locations: classpath:mapper/*Mapper.xml
type-aliases-package: com.test.doman 

OK,查库然后接口返回数据成功!
咱们的服务也在注册中心中注册成功啦!

4、创建一个消费者服务


点击完成创建该模块
启动器配置

package com.example.consumer;

import org.springframework.boot.SpringApplication;
import org.springframework.boot.autoconfigure.SpringBootApplication;
import org.springframework.cloud.netflix.eureka.EnableEurekaClient;
import org.springframework.cloud.openfeign.EnableFeignClients;
import org.springframework.context.annotation.ComponentScan;
import org.springframework.stereotype.Component;

@SpringBootApplication
//声明为注册服务
@EnableEurekaClient
//把调用注册子模块接口引入到Spring容器中(不加此注解会出现找不到@FeignClient修饰的接口)
@EnableFeignClients
public class ConsumerApplication {

    public static void main(String[] args) {
        SpringApplication.run(ConsumerApplication.class, args);
    }

}
配置文件改用yml,配置如下:
eureka:
  client:
    serviceUrl:
      #服务注册地址
      defaultZone: http://localhost:8888/eureka/
server:
  #运行端口
  port: 8002
spring:
  application:
    #服务注册名称
    name: service-consumer
将服务提供者模块中的controller复制到消费者模块,如果涉及doman中文件就一并复制过去。


package com.example.consumer.service;

import com.example.consumer.doman.Test;
import org.springframework.cloud.openfeign.FeignClient;
import org.springframework.stereotype.Service;
import org.springframework.web.bind.annotation.GetMapping;
import org.springframework.web.bind.annotation.RequestParam;

/**
 * @Description:使用@FeignClient注解调用注册子模块接口方法
 * @Author :y
 */
//注册子模块名称
@FeignClient("service-provider")
public interface TestService {
    //接口访问地址
    @GetMapping("index/index")
    public Test getTest(@RequestParam("id") Integer id);
}
接口调用该service

启动消费者,进行接口测试!

访问消费者接口没有问题,成功的调用了服务提供者的接口返回了数据!!!
以上就是idea快速部署springCloud的全部过程,其中发现了一个问题,在消费者模块中启动器貌似无法使用@ComponentScan注解扫描包,使用后启动会报错???具有原因没有了解,建议不要把启动类放在别的包。
2022-03-14:该问题解决!
问题描述:

在消费者模块中,当启动类在别的包下时,使用@ComponentScan扫描包来自动javaBean
但是因为service接口中的@FeignClient注解同样不在启动类的包下,所以仅用@ComponentScan扫描包而找不到@FeignClient同样会报错的。
所以在启动类的@EnableFeignClients注解应该指定包去扫描一下!!!
消费者模块配置如下:

package com.example.consumer;

import org.springframework.boot.SpringApplication;
import org.springframework.boot.autoconfigure.SpringBootApplication;
import org.springframework.cloud.netflix.eureka.EnableEurekaClient;
import org.springframework.cloud.openfeign.EnableFeignClients;
import org.springframework.context.annotation.ComponentScan;
import org.springframework.stereotype.Component;
@SpringBootApplication

//扫描所有包
@ComponentScan("com.test")
//声明为注册服务
@EnableEurekaClient
//把调用注册子模块接口引入到Spring容器中(不加此注解会出现找不到@FeignClient修饰的接口)
@EnableFeignClients("com.test")//包路径解决启动类在别的包下问题

public class ConsumerApplication {

    public static void main(String[] args) {
        SpringApplication.run(ConsumerApplication.class, args);
    }

}


 523
523


 被折叠的 条评论
为什么被折叠?
被折叠的 条评论
为什么被折叠?
 到【灌水乐园】发言


