


DeepFilterNet2是一款针对嵌入式设备实时语音增强的低复杂度框架,旨在改善音频质量,特别是在噪声环境下的语音清晰度。它是DeepFilterNet的进化版本,采用了多项优化措施以提高语音增强(SE)性能,同时保持较低的资源消耗。
第一步:导入相关包
import gradio as gr
import torch
import tempfile
import os
from pydub import AudioSegment
from df import config
from df.enhance import enhance, init_df, load_audio, save_audio
from df.io import resample
第二步:初始化模型和设备
device = torch.device("cuda" if torch.cuda.is_available() else "cpu")
model, df, _ = init_df("./DeepFilterNet2", config_allow_defaults=True)
model = model.to(device=device).eval()
第三步:定义相关函数
匹配原始采样率,MP3转wav
def denoise_audio(input_audio_path: str, output_audio_path: str = None) -> str:
    # 设置采样率
    sr = 48000

    # 加载输入音频
    print("开始加载音频")
    sample, meta = load_audio(input_audio_path, sr)
    if sample.dim() > 1 and sample.shape[0] > 1:
        sample = sample.mean(dim=0, keepdim=True)

    # 降噪处理
    enhanced = enhance(model, df, sample)

    # 重采样以匹配原始采样率
    if meta.sample_rate != sr:
        enhanced = resample(enhanced, sr, meta.sample_rate)

    # 保存降噪后的音频
    if output_audio_path is None:
        output_audio_path = tempfile.NamedTemporaryFile(suffix=".wav", delete=False).name
    save_audio(output_audio_path, enhanced, meta.sample_rate)

    return output_audio_path

def mp3_to_wav(mp3_filename, wav_filename, frame_rate=48000):
    mp3_file = AudioSegment.from_file(mp3_filename)
    mp3_file.set_frame_rate(frame_rate).export(wav_filename, format="wav")

def process_audio(input_mp3_path: str, output_wav_path: str, frame_rate=48000) -> str:
    # 首先将MP3转换为WAV
    temp_wav_path = tempfile.NamedTemporaryFile(suffix=".wav", delete=False).name
    mp3_to_wav(input_mp3_path, temp_wav_path, frame_rate)

    # 然后进行降噪处理
    denoised_audio_path = denoise_audio(temp_wav_path, output_wav_path)

    # 清理临时WAV文件
    if os.path.exists(temp_wav_path):
        os.remove(temp_wav_path)

    return denoised_audio_path

def gradio_interface(input_audio_path):
    # 创建临时输出路径
    output_wav_path = tempfile.NamedTemporaryFile(suffix=".wav", delete=False).name

    # 处理音频
    processed_audio_path = process_audio(input_audio_path, output_wav_path)

    # 返回处理后的音频路径
    return processed_audio_path
第四步:创建应用并运行
使用 Blocks 创建 Gradio 应用
# 使用 Blocks 创建 Gradio 应用
with gr.Blocks() as demo:
    gr.Markdown("<h1 style='text-align: center;'>录音降噪——JYD</h1>")
    with gr.Row():
        audio_input = gr.Audio(type="filepath", label="上传需要降噪音频文件 (MP3/wav)")
        process_button = gr.Button("降噪",variant='primary')
    audio_output = gr.Audio(label="降噪后的音频")

    process_button.click(fn=gradio_interface, inputs=audio_input, outputs=audio_output)

# 运行 Gradio 应用
if __name__ == "__main__":
    demo.launch(server_port=8001, server_name='0.0.0.0',max_threads=3)
运行成功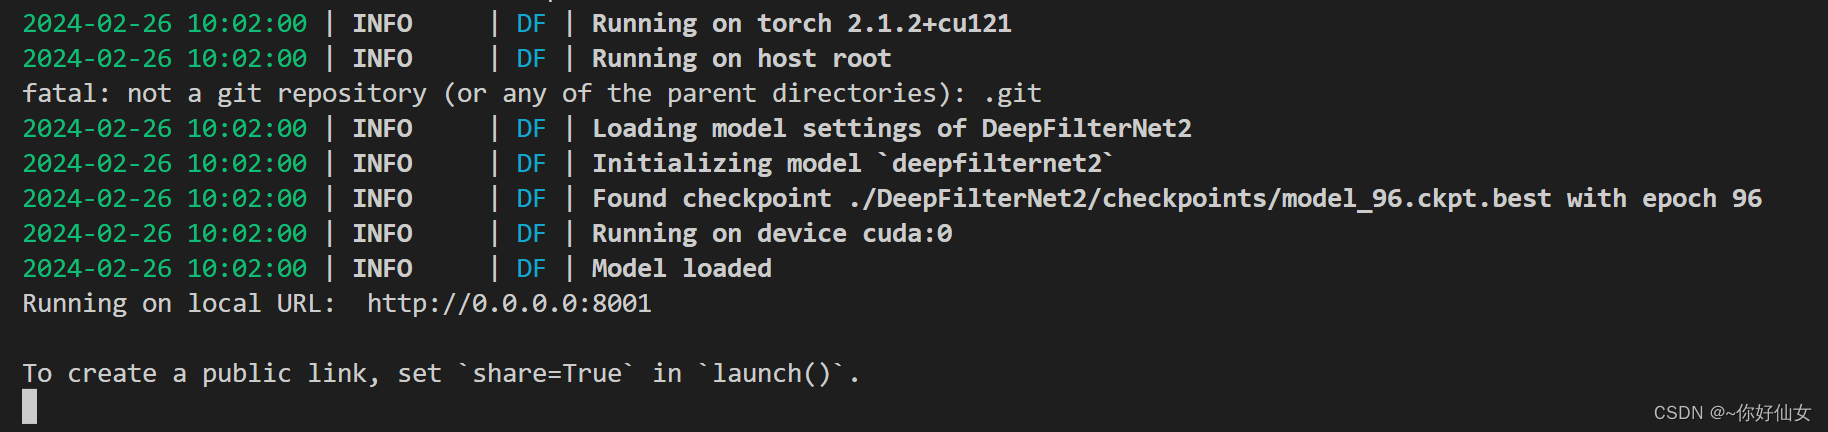
代码
import gradio as gr
import torch
import tempfile
import os
from pydub import AudioSegment
from df import config
from df.enhance import enhance, init_df, load_audio, save_audio
from df.io import resample


# 初始化模型和设备
device = torch.device("cuda" if torch.cuda.is_available() else "cpu")
model, df, _ = init_df("./DeepFilterNet2", config_allow_defaults=True)
model = model.to(device=device).eval()


def denoise_audio(input_audio_path: str, output_audio_path: str = None) -> str:
    # 设置采样率
    sr = 48000

    # 加载输入音频
    print("开始加载音频")
    sample, meta = load_audio(input_audio_path, sr)
    if sample.dim() > 1 and sample.shape[0] > 1:
        sample = sample.mean(dim=0, keepdim=True)

    # 降噪处理
    enhanced = enhance(model, df, sample)

    # 重采样以匹配原始采样率
    if meta.sample_rate != sr:
        enhanced = resample(enhanced, sr, meta.sample_rate)

    # 保存降噪后的音频
    if output_audio_path is None:
        output_audio_path = tempfile.NamedTemporaryFile(suffix=".wav", delete=False).name
    save_audio(output_audio_path, enhanced, meta.sample_rate)

    return output_audio_path

def mp3_to_wav(mp3_filename, wav_filename, frame_rate=48000):
    mp3_file = AudioSegment.from_file(mp3_filename)
    mp3_file.set_frame_rate(frame_rate).export(wav_filename, format="wav")

def process_audio(input_mp3_path: str, output_wav_path: str, frame_rate=48000) -> str:
    # 首先将MP3转换为WAV
    temp_wav_path = tempfile.NamedTemporaryFile(suffix=".wav", delete=False).name
    mp3_to_wav(input_mp3_path, temp_wav_path, frame_rate)

    # 然后进行降噪处理
    denoised_audio_path = denoise_audio(temp_wav_path, output_wav_path)

    # 清理临时WAV文件
    if os.path.exists(temp_wav_path):
        os.remove(temp_wav_path)

    return denoised_audio_path

def gradio_interface(input_audio_path):
    # 创建临时输出路径
    output_wav_path = tempfile.NamedTemporaryFile(suffix=".wav", delete=False).name

    # 处理音频
    processed_audio_path = process_audio(input_audio_path, output_wav_path)

    # 返回处理后的音频路径
    return processed_audio_path


# 使用 Blocks 创建 Gradio 应用
with gr.Blocks() as demo:
    gr.Markdown("<h1 style='text-align: center;'>录音降噪——JYD</h1>")
    with gr.Row():
        audio_input = gr.Audio(type="filepath", label="上传需要降噪音频文件 (MP3/wav)")
        process_button = gr.Button("降噪",variant='primary')
    audio_output = gr.Audio(label="降噪后的音频")

    process_button.click(fn=gradio_interface, inputs=audio_input, outputs=audio_output)

# 运行 Gradio 应用
if __name__ == "__main__":
    demo.launch(server_port=8001, server_name='0.0.0.0',max_threads=3)
相关包
gradio==3.33.0
funcy
linkify
mutagen
pytorch_seed
pyyaml
sentencepiece
soundfile; platform_system == "Windows"
sox; platform_system != "Windows"
transformers
torch==1.13.0
torchaudio==0.13
deepfilternet
matplotlib
Pillow


 259
259

 被折叠的 条评论
为什么被折叠?
被折叠的 条评论
为什么被折叠?
 到【灌水乐园】发言


