


1、 类文件具有错误的版本 61.0, 应为 55.0 请删除该文件或确保该文件位于正确的类路径子目录中。
因为我用的是最新版,SpringBoot使用了3.0或者3.0以上,因为Spring官方发布从Spring6以及SprinBoot3.0开始最低支持JDK17
解决:可以将SpringBoot版本降低,或者使用JDK17
JDK17官网下载地址:https://download.oracle.com/java/17/latest/jdk-17_windows-x64_bin.zip
2、The bean ‘spelResolver’, defined in class path resource [io/github/resilience4j/springboot3/spelresolver/autoconfigure/SpelResolverConfigurationOnMissingBean.class], could not be registered. A bean with that name has already been defined in class path resource [io/github/resilience4j/spelresolver/autoconfigure/SpelResolverConfigurationOnMissingBean.class] and overriding is disabled.
Action:
Consider renaming one of the beans or enabling overriding by setting spring.main.allow-bean-definition-overriding=true
解决:springcloud 2022.0.2版本的resilience4j,不需要引入io.github.resilience4j的包。去掉该依赖即可。
估计内部已经引用该包。
3、SpringCloud2022.0.2版本的Resilience4J的服务隔离bulkhead配置不生效,查阅官网文档也是没问题。其他的功能都可以使用。
4、SpringBoot3.0版本后,SpringCloudSleuth被迁移到MicrometerTracing中
可以使用MicrometerTracingBrave去替代Sleuth,但是依赖跟配置文件有些不同。
5、skywalking9.4.0在启动一次之后,将storage的数据库进行修改后,发现只能打开界面,不能显示数据。
解决方案:即不要启动SkyWalking,先配置好再启动
- 我直接把skywalking安装目录删除了:
rm -rf /usr/local/apache-skywalking-apm-bin/ - 重新解压缩:
tar -zxvf /opt/apache-skywalking-apm-9.4.0.tar.gz -C /usr/local/ - 然后修改webapp下的application.yml文件:
vim /usr/local/apache-skywalking-apm-bin/webapp/application.yml
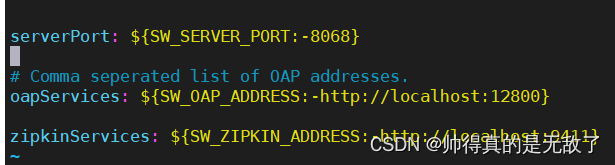
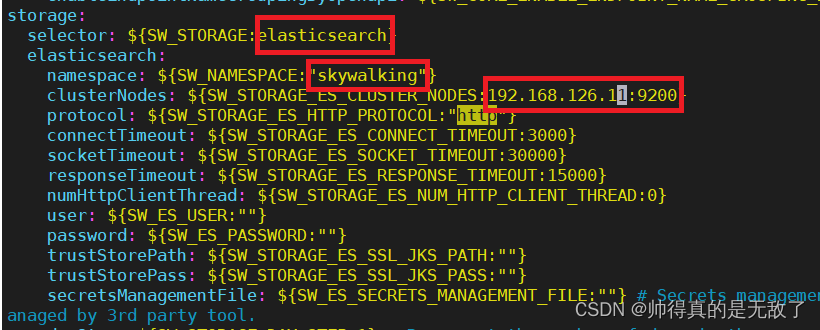
- 编辑skywalking的application.yml配置:
vim /usr/local/apache-skywalking-apm-bin/config/application.yml
- 启动SkyWalking
1)进入到SkyWalking的bin目录下:cd /usr/local/apache-skywalking-apm-bin/bin
2)启动SkyWalking:./startup.sh
6、java.lang.NoSuchMethodError: ‘void com.sun.mail.util.LineInputStream.(java.io.InputStream, boolean)’
解决方法:spring-boot3.0.5版本,SpringCloud2022.0.2版本 添加如下依赖即可
<dependency>
   <groupId>javax.mail</groupId>
   <artifactId>mail</artifactId>
   <version>1.4.7</version>
</dependency>
7、error msg=“Unable to start web listener” err=“listen tcp 0.0.0.0:9090: bind: address already in use”
- 检查是哪个进程在占用9090端口:
lsof -i :9090 - 杀死该进程:
kill -9 PID号,再启动就可以了

8、springboot3.0.5 actuator/prometheus server returned HTTP status 404
解决方法:
修改prometheus.yml配置文件的/actuator/prometheus/为/actuator/prometheus
- job_name: "cloud-provider-prometheus-payment8001"
  scrape_interval: 5s
  metrics_path: "/actuator/prometheus"
  static_configs:
    - targets: ["192.168.126.1:8001"]
因为我在浏览器中访问 http://localhost:8001/actuator/prometheus/时,报404错误,而访问 http://localhost:8001/actuator/prometheus时,能访问到。


 176
176


 被折叠的 条评论
为什么被折叠?
被折叠的 条评论
为什么被折叠?
 到【灌水乐园】发言


