


1、前期工作
-
下载img镜像(去清华大学镜像源下载比较快)
-
使用win32imgdisk将img镜像烧录至大于8G的SD卡上
-
在sd卡上新建文件名为wpa_supplicant.conf,并在文本里添加
country=CN ctrl_interface=DIR=/var/run/wpa_supplicant GROUP=netdev update_config=1 network={ ssid="wifi_name" psk="password" key_mgmt=WPA-PSK/*无论使用WPA-PSK还是WPA2-PSK如果wifi没有密码,则key_mgmt=NONE*/ priority=100/*数字越大优先级越高*/ } network={ ssid="wifi_name2" psk="password" key_mgmt=WPA-PSK priority = 5 } -
在sd卡上继续添加ssh文件(无后缀名,启动树莓派ssh服务)
-
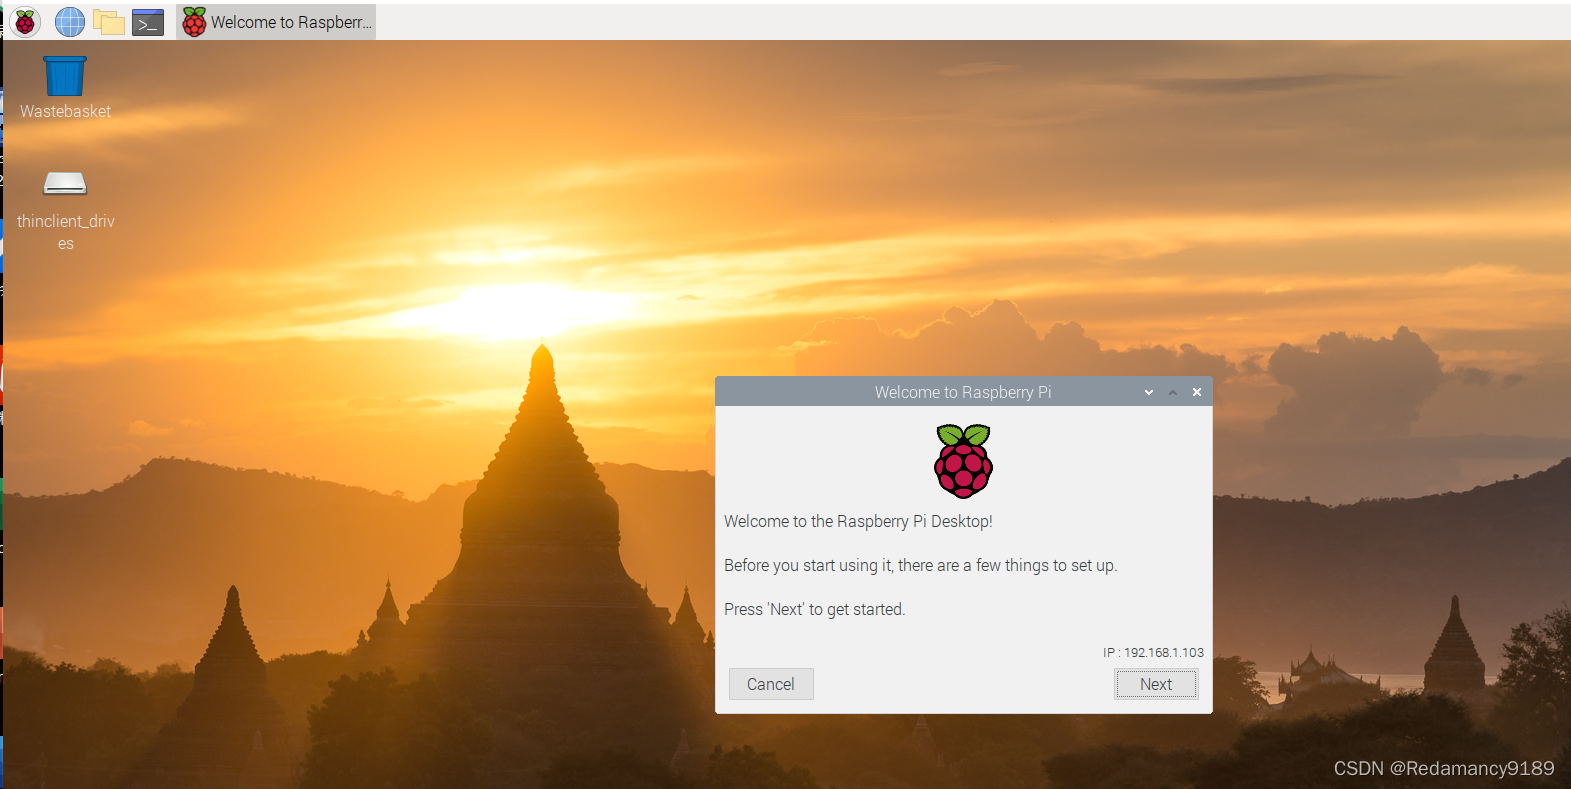
接下来插入树莓派中通电启动
远程连接
-
同一个wifi下,查看树莓派IP地址并使用Putty远程连接
初识用户名:pi
初识密码:raspberry -
修改root密码:
sudo passwd root
然后输入两次密码ok(初次系统没有密码) -
然后解锁root账户
sudo passwd --unlock root -
切换进入root
su root
在ssh客户端更新源,将系统默认的国外源换成国内源
-
树莓派更新apt-get的源列表在
/etc/apt/sources.listsudo nano /etc/apt/sources.list另外,要注意查看已经的系统镜像是哪一个版本
树莓派的镜像源Debian系统分好几种,wheezy、jessie、stretch、buster,它们分别对应:Debian版本 对应名称 Debian7 wheezy Debian8 jessie Debian9 stretch Debian10 buster Debian11 bullseye -
把官方给的源用
#注释掉,我们这里可以看到官方源是buster版本,那么我们添加的软件源就必须得是buster版本的;
-
加上阿里的源(以11为例)
deb http://mirrors.aliyun.com/debian/ bullseye main non-free contrib
deb-src http://mirrors.aliyun.com/debian/ bullseye main non-free contrib
deb http://mirrors.aliyun.com/debian-security/ bullseye-security main
deb-src http://mirrors.aliyun.com/debian-security/ bullseye-security main
deb http://mirrors.aliyun.com/debian/ bullseye-updates main non-free contrib
deb-src http://mirrors.aliyun.com/debian/ bullseye-updates main non-free contrib
deb http://mirrors.aliyun.com/debian/ bullseye-backports main non-free contrib
deb-src http://mirrors.aliyun.com/debian/ bullseye-backports main non-free contrib
注意!!!raspian与bullseye中间的空格不能删去!!不然无法更新
-
继续打开
sudo nano /etc/apt/sources.list.d/raspi.list
将第一行的官方Debian系统源注释掉,在前面加上
#,加上deb http://mirrors.tuna.tsinghua.edu.cn/raspberrypi/ bullseye main -
保存、退出编辑器,再执行一遍
sudo apt-get update和sudo apt-get upgrade,就成功了。
安装xrdp
为了实现Windows桌面远程连接,需要这个
sudo apt-get install xrdp  //安装xrdp远程桌面服务

sudo /etc/init.d/xrdp start  //开启xrdp服务

sudo update-rc.d xrdp defaults //将xrdp服务加入到默认系统启动列表
接下来使用桌面的远程连接程序连接即可


 1万+
1万+


 被折叠的 条评论
为什么被折叠?
被折叠的 条评论
为什么被折叠?
 到【灌水乐园】发言


