


- 小记录一波
前台
gitee建立仓库
步骤A
- 初始化
- commit 后面单引号随便写
git init
git add .
git commit -m 'v1.0'
- 绑定远程仓库
git remote add origin 【仓库链接】
- 将代码存入
- 个人 做到这一步已经将代码上传
git push -u origin "master"
- 如果已经创建了仓库
git remote add origin 【仓库链接】
git push -u origin "master"
- 创建分支
- 后面接上分支名字newbranch
git branch newbranch
- 切换分支
- (此时可以对代码进行更改 这些更改都只发生在newbranch中)
git checkout newbranch
- 更改之后
// 提交更改内容
git add .
git commit -m 'v2.0'
// 远程创建分支
git push origin newbranch
- 切换回master
git checkout master
- 将分支合并到master中
git merge newbranch
- 将新的数据远程上传
- git push就是默认将master上传
git push
如果是双人 则有步骤B
- 初始化之后 绑定仓库
git remote add origin 【仓库链接】
- 创建,切换,提交分支
- 尽量都去使用分支 而不是直接在master中修改
git branch new
git checkout new
git add .
git commit -m 'update'
- 远程上传分支
git push origin new
- 将远程仓库的master分支下载到当前的branch中
- 此步开始进行合并步骤
- 在新分支中先进行合并,再将新分支和主分支合并( 避免错误 )
git fetch origin master
- 允许合并
git merge origin/master --allow-unrelated-histories
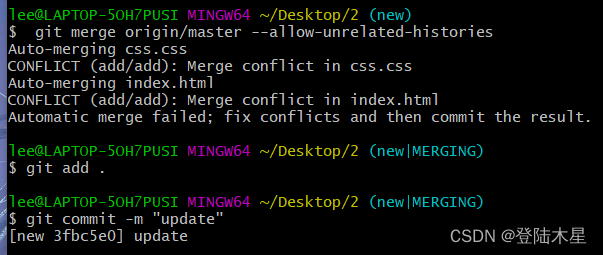
- 提交更改信息
git add .
git commit -m "update"
- 切换分支
git checkout master
- 合并信息
- master和新分支合并
git merge new
- 提交
// 重新提交
git add .
git commit -m 'update2.0'
// 远程将信息
git push -u origin master
后台
gitee建立仓库 复制链接

代码拷贝
- VSC中点击enable(这里已经点击)
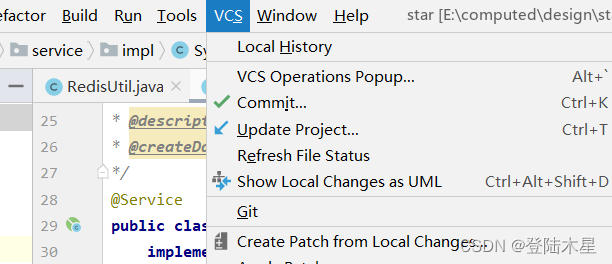
- 成功后显示

- 提交
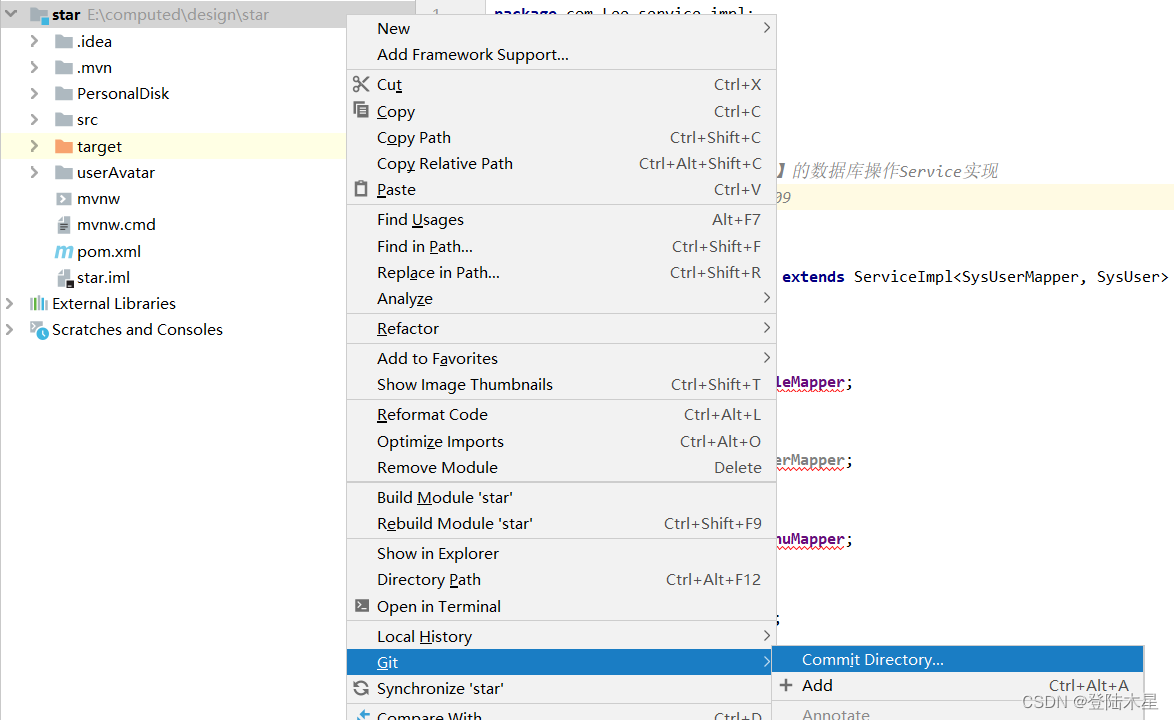
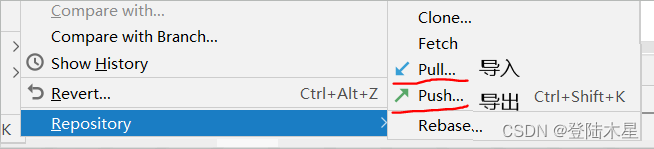
提交
- 将链接填入
- 填入账号(手机号码)密码
- commit


 2万+
2万+


 被折叠的 条评论
为什么被折叠?
被折叠的 条评论
为什么被折叠?
 到【灌水乐园】发言


