


模型文件百度网盘链接:https://pan.baidu.com/s/1sV2ZA2MAdimXn98NaVoS1w?pwd=y14e
提取码:y14e
开发一个小玩意,可以根据给出的人脸图片,查找文件夹中所有包含此人脸的图片,并将含有该人脸的图片保存到指定路径。本文将完成从准备虚拟环境到将其打包为 GUI 程序的一系列步骤。
#Conda虚拟环境准备
首先添加镜像源。
conda config --add channels https://mirrors.tuna.tsinghua.edu.cn/anaconda/pkgs/main
conda config --add channels https://mirrors.tuna.tsinghua.edu.cn/anaconda/pkgs/free
conda config --add channels https://mirrors.tuna.tsinghua.edu.cn/anaconda/pkgs/r
conda config --add channels https://mirrors.tuna.tsinghua.edu.cn/anaconda/pkgs/pro
conda config --add channels https://mirrors.tuna.tsinghua.edu.cn/anaconda/pkgs/msys2
然后创建虚拟环境。
conda create -n your-env-name python=3.8
切换到刚创建的虚拟环境中。
conda activate your-env-name
导入cmake以及boost包。
pip instal cmake boost
dilb常规的导入方法通常都会失败且过于繁琐,因此改用下列语句导入。
conda install -c conda-forge dlib
最后导入face_recognition,还有一些后续需要用到的包。
pip install face_recognition tkinter pyinstaller#源码
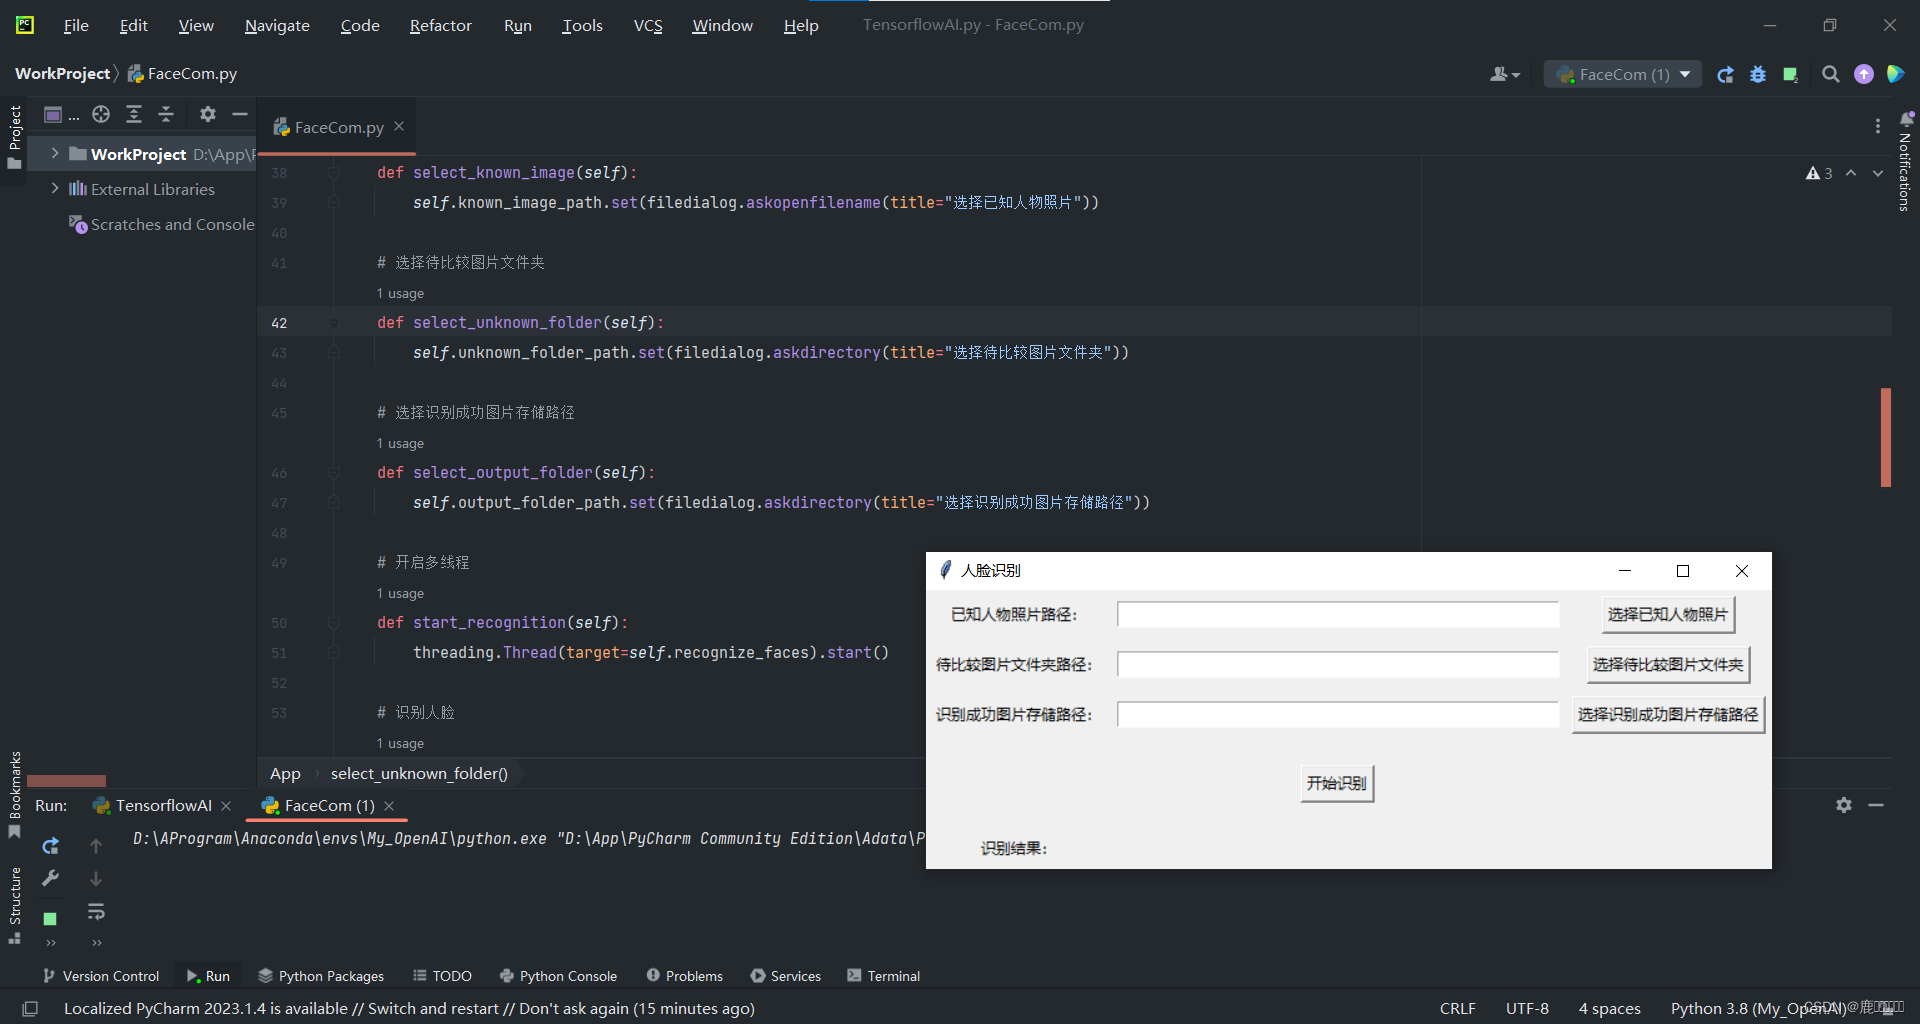
记得使用刚刚创建并导好包的虚拟环境。
import tkinter as tk
from tkinter import filedialog, messagebox
import face_recognition
import os
import shutil
import threading


class App:
    def __init__(self, root):
        self.root = root
        self.known_image_path = tk.StringVar(value="")
        self.unknown_folder_path = tk.StringVar(value="")
        self.output_folder_path = tk.StringVar(value="")
        self.result_text = tk.StringVar(value="")

        # 创建GUI界面布局
        tk.Label(root, text="已知人物照片路径:").grid(row=0, column=0, padx=5, pady=5)
        tk.Entry(root, textvariable=self.known_image_path, width=50).grid(row=0, column=1, padx=5, pady=5)
        tk.Button(root, text="选择已知人物照片", command=self.select_known_image).grid(row=0, column=2, padx=5, pady=5)

        tk.Label(root, text="待比较图片文件夹路径:").grid(row=1, column=0, padx=5, pady=5)
        tk.Entry(root, textvariable=self.unknown_folder_path, width=50).grid(row=1, column=1, padx=5, pady=5)
        tk.Button(root, text="选择待比较图片文件夹", command=self.select_unknown_folder).grid(row=1, column=2, padx=5,
                                                                                              pady=5)

        tk.Label(root, text="识别成功图片存储路径:").grid(row=2, column=0, padx=5, pady=5)
        tk.Entry(root, textvariable=self.output_folder_path, width=50).grid(row=2, column=1, padx=5, pady=5)
        tk.Button(root, text="选择识别成功图片存储路径", command=self.select_output_folder).grid(row=2, column=2,
                                                                                                 padx=5, pady=5)

        tk.Button(root, text="开始识别", command=self.start_recognition).grid(row=3, column=1, padx=5, pady=20)

        tk.Label(root, text="识别结果:").grid(row=4, column=0, padx=5, pady=5)
        tk.Label(root, textvariable=self.result_text, width=50).grid(row=4, column=1, columnspan=2, padx=5, pady=5)

    # 选择已知人物照片
    def select_known_image(self):
        self.known_image_path.set(filedialog.askopenfilename(title="选择已知人物照片"))

    # 选择待比较图片文件夹
    def select_unknown_folder(self):
        self.unknown_folder_path.set(filedialog.askdirectory(title="选择待比较图片文件夹"))

    # 选择识别成功图片存储路径
    def select_output_folder(self):
        self.output_folder_path.set(filedialog.askdirectory(title="选择识别成功图片存储路径"))

    # 开启多线程
    def start_recognition(self):
        threading.Thread(target=self.recognize_faces).start()

    # 识别人脸
    def recognize_faces(self):
        known_image = face_recognition.load_image_file(self.known_image_path.get())
        known_encodings = face_recognition.face_encodings(known_image)

        unknown_folder = self.unknown_folder_path.get()
        output_folder = self.output_folder_path.get()

        if not os.path.exists(output_folder):
            os.makedirs(output_folder)

        result = ""
        for filename in os.listdir(unknown_folder):
            if filename.endswith(".jpg") or filename.endswith(".jpeg") or filename.endswith(".png"):
                image_path = os.path.join(unknown_folder, filename)
                unknown_image = face_recognition.load_image_file(image_path)
                unknown_encodings = face_recognition.face_encodings(unknown_image)

                if len(unknown_encodings) > 0:
                    for unknown_encoding in unknown_encodings:
                        results = face_recognition.compare_faces(known_encodings, unknown_encoding, tolerance=0.5)

                        if True in results:
                            result_single = f"人脸识别成功--》 {filename}!\n"
                            shutil.copy(image_path, os.path.join(output_folder, filename))
                            self.update_result_text(result_single)
                            break
                    else:
                        result_single = f"人脸不匹配 {filename}!\n"
                        self.update_result_text(result_single)
                else:
                    result_single = f"没有找到人脸 {filename}!\n"
                    self.update_result_text(result_single)

        self.root.after(0, self.update_result_text, result)
        messagebox.showinfo("提示", "程序运行完成")

    # 更新识别结果显示
    def update_result_text(self, text):
        self.result_text.set(text)


if __name__ == '__main__':
    root = tk.Tk()
    root.title("人脸识别")
    app = App(root)
    root.mainloop()
试着运行一下
#打包
在conda中进行打包,在上述步骤中创建的虚拟环境中进行。
切换到上述步骤创建的虚拟环境后,将工作目录切换到源码所在目录,使用pyinstaller进行打包。
conda activate your_env_name

cd /d your_project_directory

pyinstaller -F --noconsole  -w your_project.py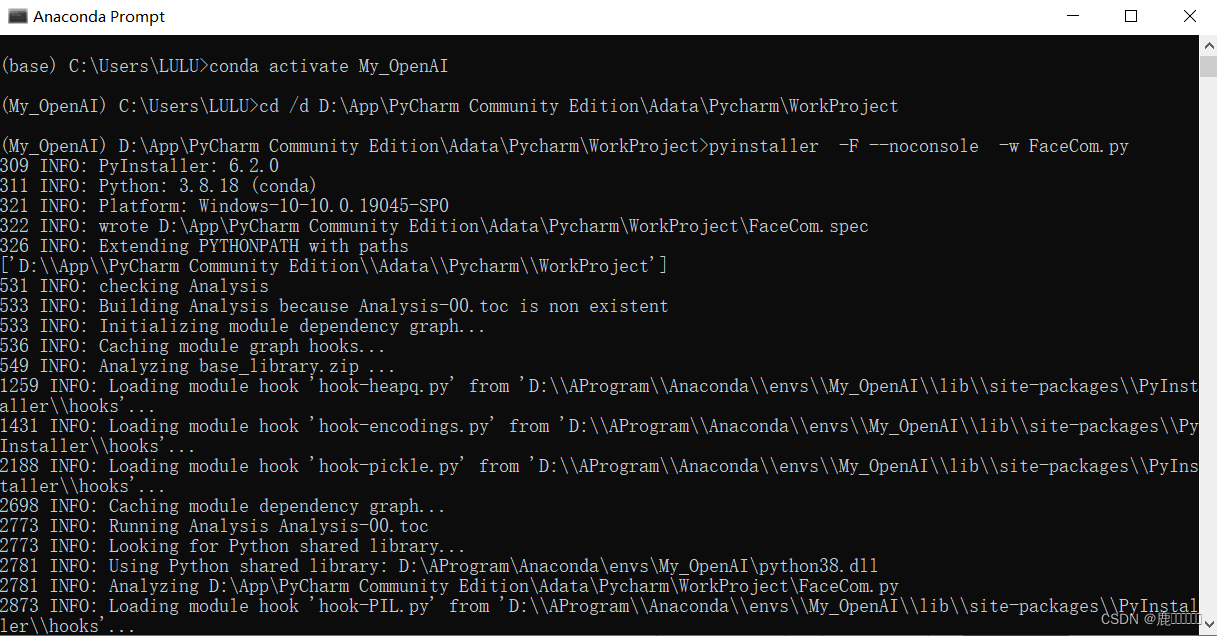
打包完后会在目录下生成build、dist文件夹,以及一个spec文件。exe程序在dist文件夹中,点击运行会出现报错。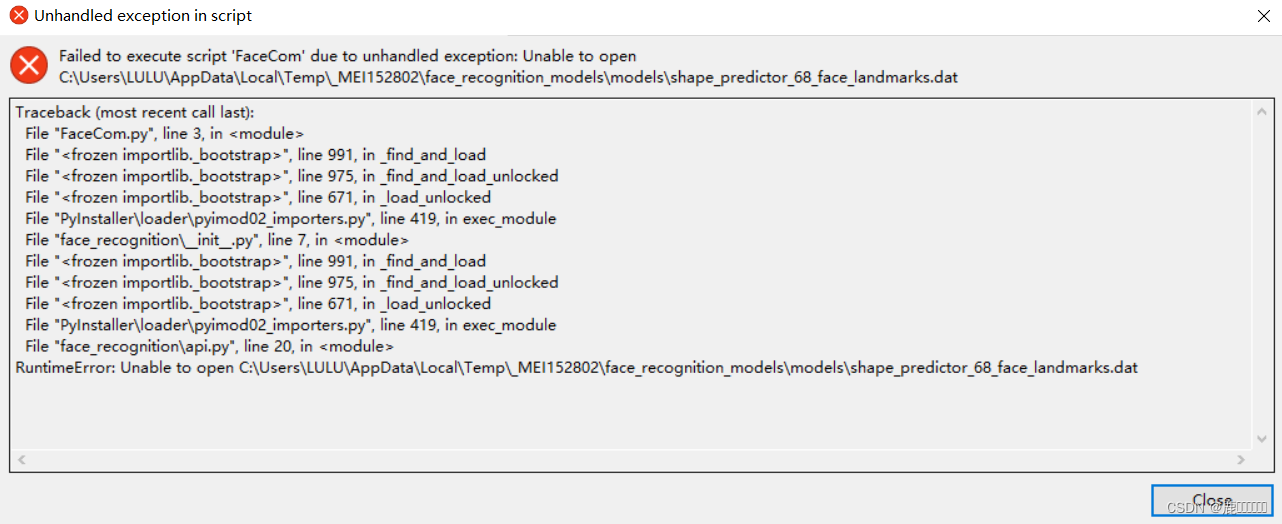
这是由于打包时无法找到模型文件导致的,因此需要将模型文件也放在需要打包的目录中,并修改spec文件。
该模型文件夹在你所创建的虚拟环境的Lib\site-packages中,face_recognition_models整个文件夹都需要复制过去。(找不到也没关系,我已经把该文件夹上传,可以直接拿来用)
我的虚拟环境为My_OpenAI,所以该文件夹路径为
D:\AProgram\Anaconda\envs\My_OpenAI\Lib\site-packages\face_recognition_models

复制过去后,将spec文件以记事本形式打开,对以下内容修改,其它不变
face_models = [
('.\\face_recognition_models\\models\\dlib_face_recognition_resnet_model_v1.dat', './face_recognition_models/models'),
('.\\face_recognition_models\\models\\mmod_human_face_detector.dat', './face_recognition_models/models'),
('.\\face_recognition_models\\models\\shape_predictor_5_face_landmarks.dat', './face_recognition_models/models'),
('.\\face_recognition_models\\models\\shape_predictor_68_face_landmarks.dat', './face_recognition_models/models'),
]

a = Analysis(
    ['FaceCom.py'], #你自己源码文件的名称
    pathex=[],
    binaries=face_models,
    datas=[],
    hiddenimports=[],
    hookspath=[],
    hooksconfig={},
    runtime_hooks=[],
    excludes=[],
    noarchive=False,
)
最后打包该spec文件即可
pyinstaller your_program.spec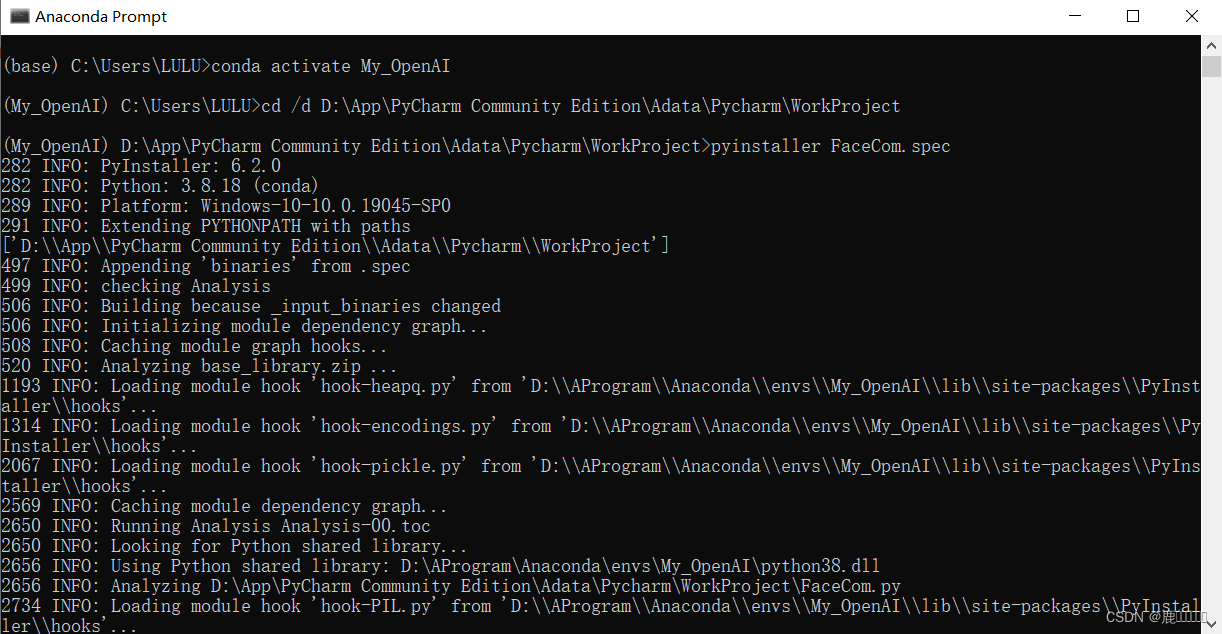
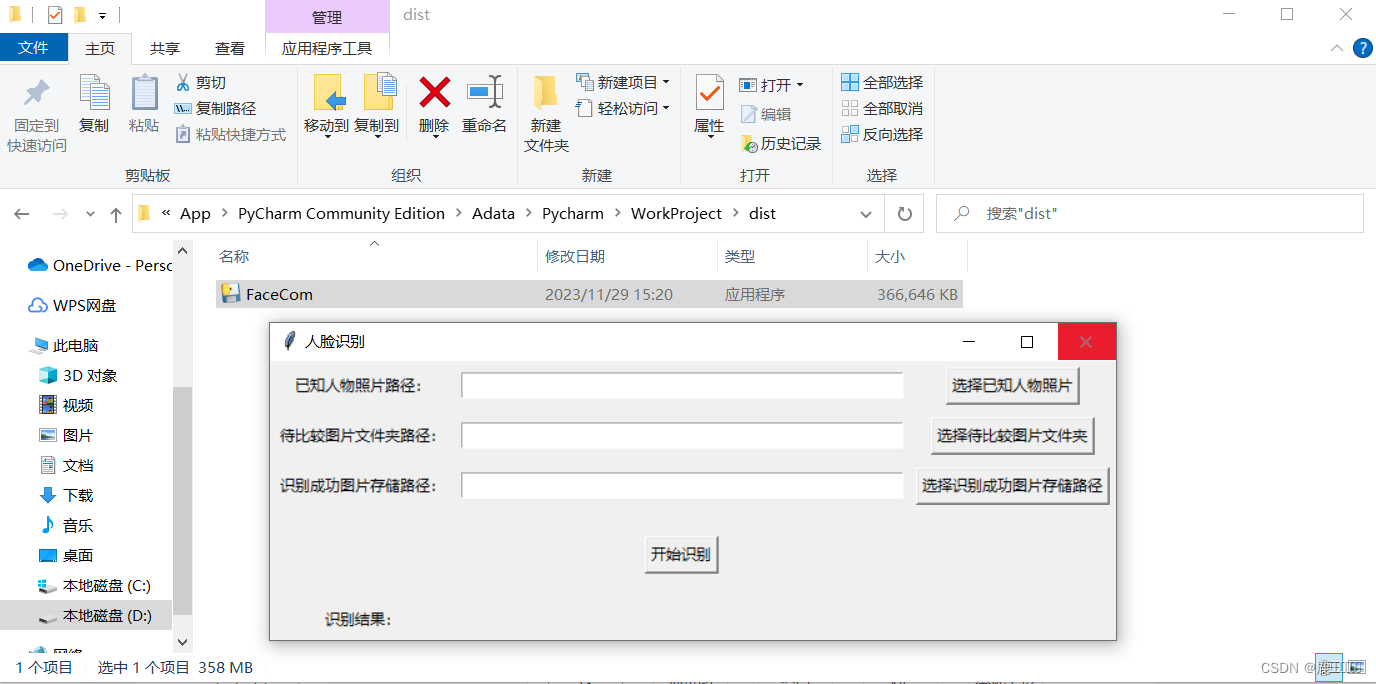
成功运行。
这篇文章是我发布的第一篇文章,文笔多有不足之处,还望多多包涵。


 905
905


 被折叠的 条评论
为什么被折叠?
被折叠的 条评论
为什么被折叠?
 到【灌水乐园】发言


